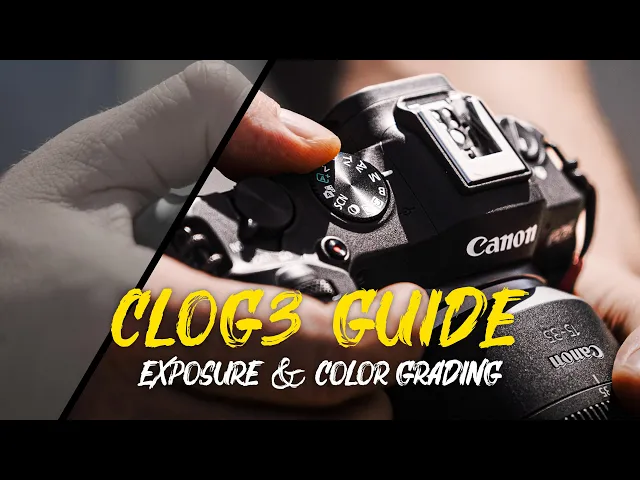
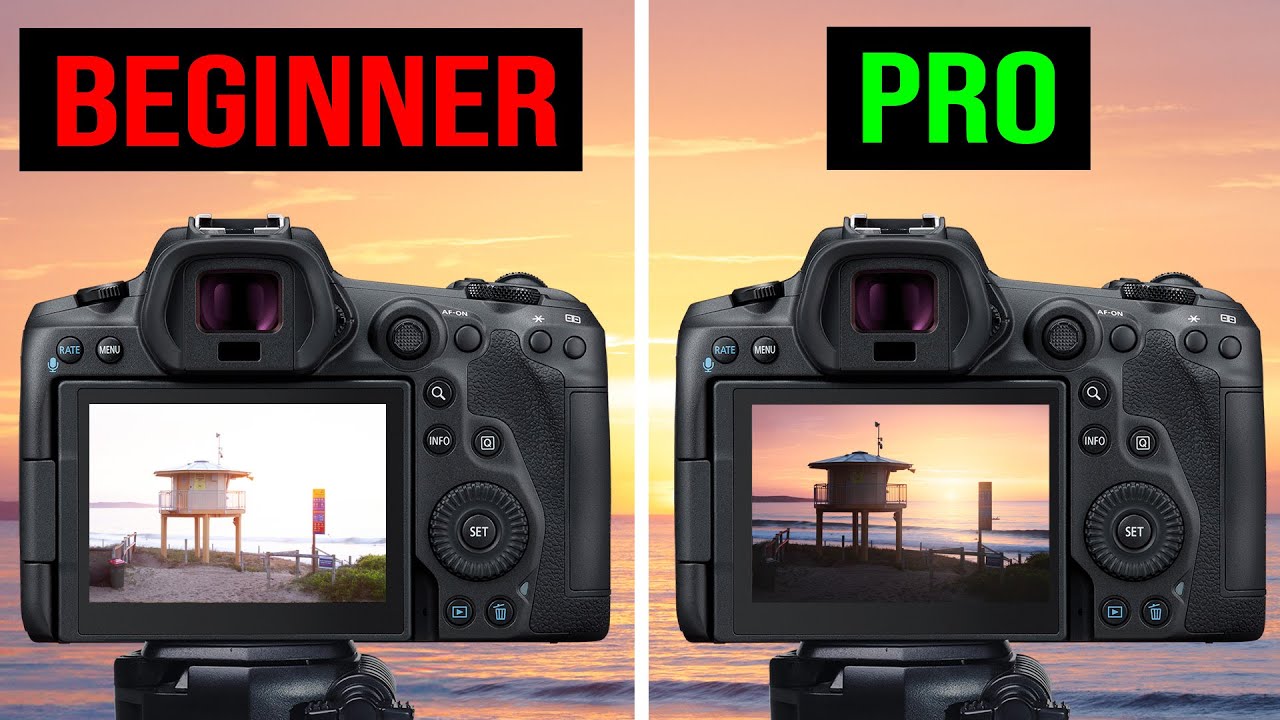
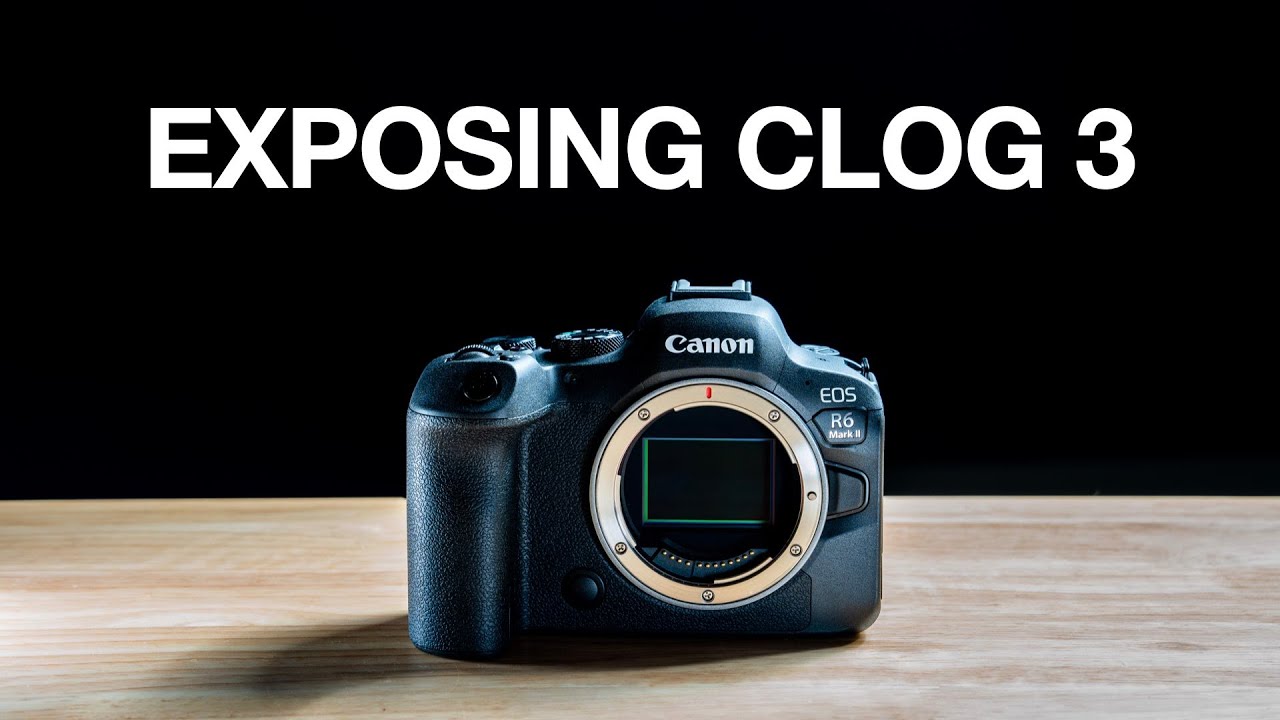
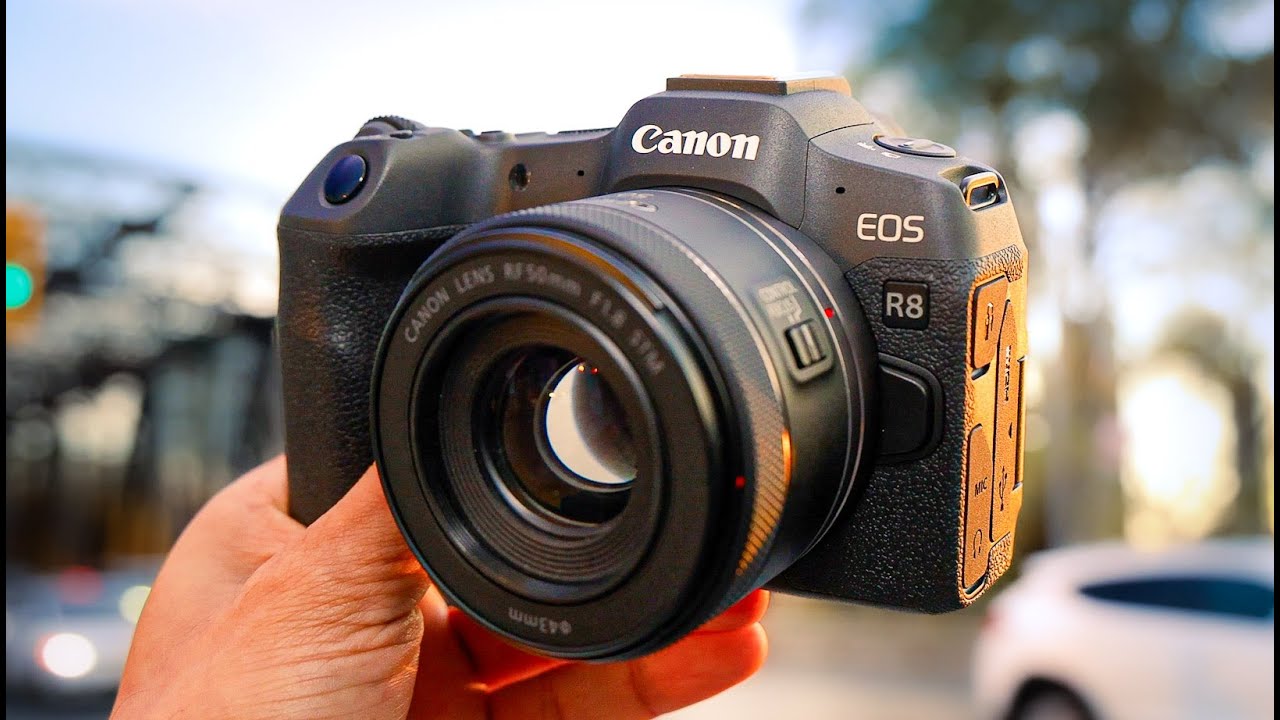
starting to shoot in c-lock 3 on Canon cameras such as the R8 of 5 or R6 can be a bit difficult at first you might see noise in the shadows the videos could come out under Overexposed and maybe you get problems color grading the footage of course there are quite a few tutorials out there on how to do all these things but nothing that is short and straight to the point so you know exactly what to do so here I want to give you an easy tutorial on how to expose and color grade c-lock 3
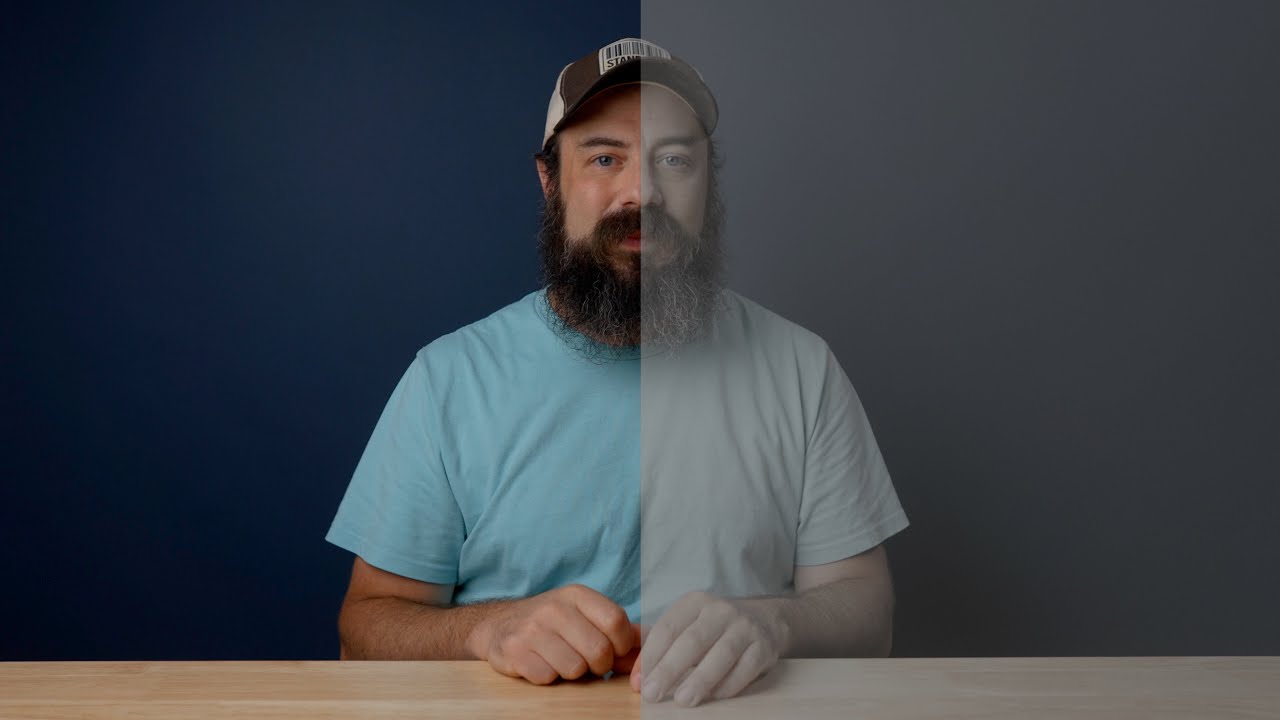
footage so you always get good results even if you don't have any experience working with lock footage let's get started [Music] when it comes to exposing c-lock 3 the first thing you should do is to turn the viewers this function in the Canon lock settings menu on and ensure that the color space is set to cinema gamut that shows the video as it will look like after color grading and saves more colors what is better for color grading later after that you basically have two options to expose your shots you either want to expose for
the highest dynamic range or you want to expose for good skin tone straight out of camera but after applying a conversion Lut so if you want to maximize the dynamic range it's true what most people say which is to overexpose by using a technique called exposing to the right exposing to the right means that you expose brighter as you would usually do for that it's important that you turn the histogram on it first to capture the maximum dynamic range simply expose brighter until the histogram touches the right side and then dial the exposure a little
bit back so that you're one step away from touching the right side of the histogram if you have a direct light source such as the sun and the shot this technique can be a problem though because direct light sources should touch the right side of the histogram so in that case simply look on the screen to see what size you want the Sun or the light source to be and completely ignore the histogram but as mentioned before exposing to the right is only there to maximize dynamic range but it doesn't necessarily give you a good
looking image directly in post that's why the way how I usually expose my shots in c-lock 3 is that I set the zebras in the menu to 60 plus minus five and then I simply make sure that the bright parts of my skin show zebras that looks a bit darker on the screen but it gives pretty good results after converting c-lock 3 to normal colors during the color grade it's still a bit too bright usually which is good to cause less noise in the shadows but it makes color grading a lot easier feel free to
adjust the 60 number so it looks good for your skin tones so this is the way of exposing your shots that I recommend in bright conditions because it makes color grading very easy and looks pretty good straight out of camera after like a few small Corrections and I would only recommend using the exposing to the right technique for very contrasty situations where you really need the maximum dynamic range of the camera because it's harder to color grade and I also have little Pro tip if you don't have a person in the shot to expose for
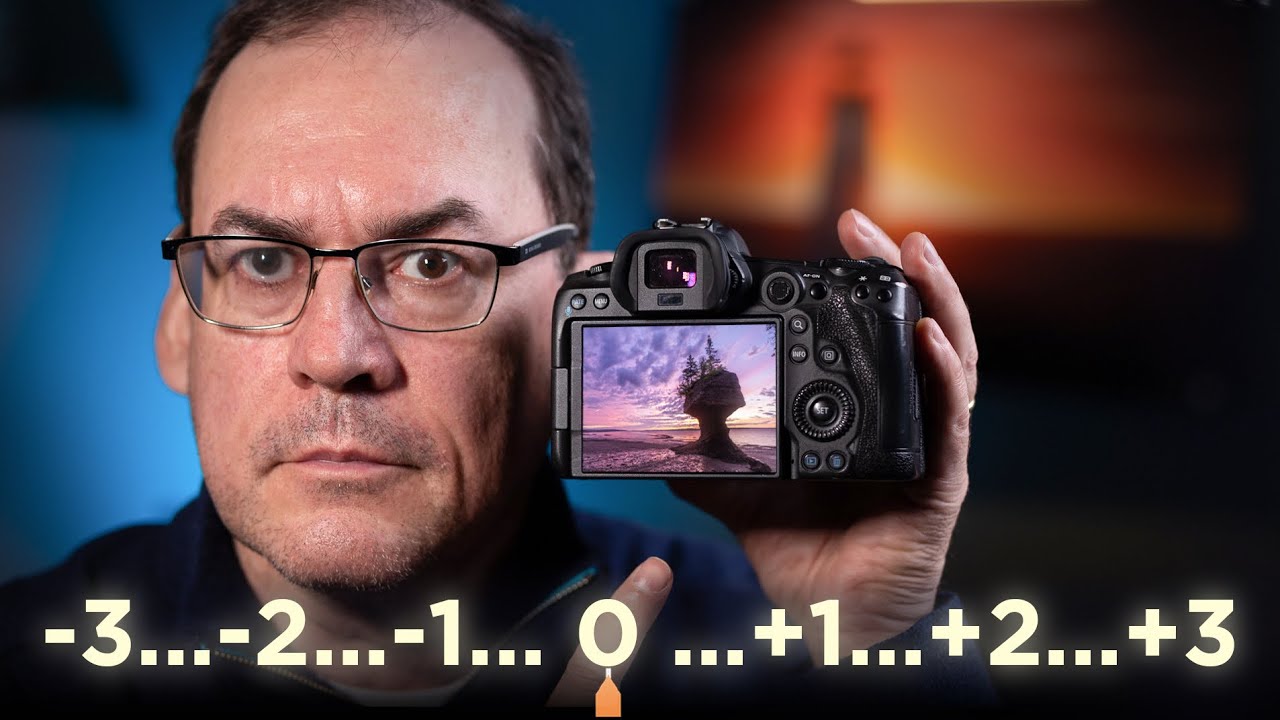
bright skin just hold your hand in the shot exposed for the bright skin on your hand and then the exposure is correct for the rest of the scene as well when filming in low color profiles when it's dark you will likely get a lot of noise in the footage that's why in such situations you should definitely overexpose to make that easy I recommend to look at your exposure meter and be sure that it shows at least plus one but better higher it depends on the shot and how dark it is generally the darker is the
brighter you want to expose so in very dark situations you can even go as far as plus two or even plus three when it's really dark so that's how you should expose c-lock 3 but depending on how exact you exposed it you have to color grade it slightly different to get good results and no worries it's actually nothing complicated you just have to darken the image a little bit more or less depending on how you exposed and you have to do that before the Lut gets applied it's also exactly the same in all video editors
so for example here you can see that the image doesn't look good at all after I applied the Luts because this shot was Overexposed quite a bit to get that right you simply use a three-way color correction before the Lut gets applied and you tweak it there until it looks good it's important to do that before the Lut gets applied because if you do it after you already lost information in the highlights during the conversion process but let's also look at another shot here where I exposed for my skin tones as you can see after
applying the Lut it directly looks pretty good and I just have to make it a little bit darker to get it to look right you will find the Lut for free on the Canon website I will leave a link to it in the description below but it's a zip file with many Luts actually so the one that I recommend is the rec 709 white Dr lot and that is the technique that most people use to color grade lock footage or to at least bring it to normal colors but there's one more technique that I actually
prefer and DaVinci resolved which is called the resolve color managed workflow and that technique is also available in the free version so you don't have to pay anything for it but it's a bit more complicated which is why I made another more in-depth video about it recently so I will also leave that video in the description below but how this workflow basically works is that after changing some project settings you can just tell resolve that you shot in c-log 3 under input color space and it automatically converts it to normal colors and you can tweak
the exposure Etc but as mentioned you have to change some settings first to make that work so definitely check out the other video in the description below so you just have to either expose directly for the skin tones or if you decide to overexpose the image you simply we have to set the exposure before you apply the Lut to get the results you want in the color grade and if you know that it's actually quite easy to color grade C log 3. so try it out for yourself and let me know in the comments below
how you color grade C log 3 and how it works for you and if you found this tutorial helpful then please leave me a thumbs up and consider subscribing for more tutorials and if you also want to know more about that color managed workflow individual soft that I mentioned before you will also find the video here you don't extra have to scroll down in the description so hope to see in the next video