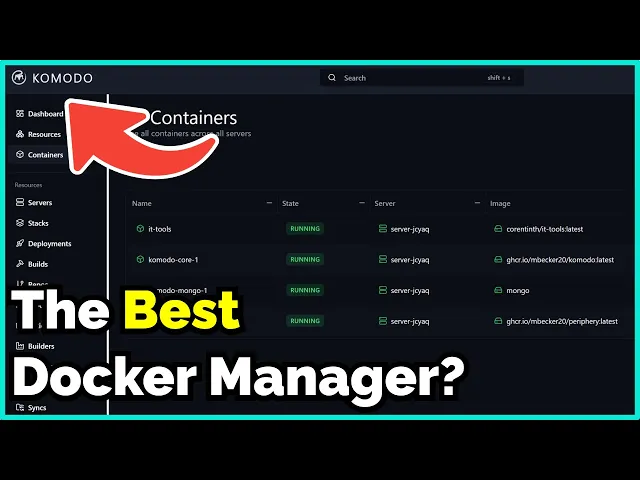
hey everybody and welcome back to Jim's Garage on this channel you know I love a bit of pora but what if I told you there's a free and open source container management called commodo that does most of what Pena puts behind a pay wall for free now it doesn't quite have the same feature par so things like the identity and access management providers aren't as robust nor does it do kubernetes which might be a deal breaker for you if you're using it to manage your kubernetes infrastructure but for pretty much any home labber and probably
any sort of small Enterprise this could be a perfect tool for you some of the key benefits are the ability to pull and build images through the UI as well as deploy Stacks much like paa does but also to build some powerful automations so you can actually script things to do things in a certain order so you can tell it to build or pull images build them you can even put in custom code custom commands custom scripts Etc into those pipelines effectively making a cicd and you can also tie it into things like GitHub or
your own personal repo it's pretty cool now I'm just getting started on this so this is my initial Impressions but by the end of this video I'll have walked you through the setup process and I'll also given you a demonstration of what it looks like and spinning up some containers Etc now what's also good about kodo is it doesn't have to just do the single host it can also much like pora you can manage many servers through this apparently almost Limitless according to the documentation so now let's head over to vs code here we've got
the two files that we need so we've got the docket compos file with all of the services and we've got the respective EMV which it will call and make use of for things like this so the first thing we've got is itself so the database we're going to set up the database we're going to give it some persistence it's going to be using some Docker volumes to store this and it's going to set up a username and password here now the ports we don't need to open up because it's going to be on this network
here it's going to spin up a network called default all of these containers are going to be on that Network next up we've got the core which I think is sort of the web UI from what I can tell so the interface that you're going to be talking to that's going to depend on the database being available here and it's also going to require a connection to this database here and we'll be accessing it through Port 9120 and you can change that if you needed to and in the future I might come back to this
and add a reverse proxy like traffic for example but in the first instance you're unlikely to have a proxy up and running anyway so you might want to be accessing it through an IP and a port you can actually specify and you might be able to see that in the EnV file when we go through it you can specify your own certificate already if you've got one so you could access it through https with a valid certificate off the bat but I prefer to do things and manage it through traffic just because it makes life
easier it's got Auto refresh Etc so once we've got that set up and we're also going to set some volumes for the repository cache we've then got one final container called periphery and the periphery is what actually connects in the back end to the docker s we've got some volumes that are going to be created for various different things here you can see for example if you put the SSL certain in here that's what it can actually use we've then got the volumes being created down below and we' also got that network default being created
now one thing to note is it's obviously a little bit more involved than just spinning up painer which you can do with a single Docker run command whether that's an issue or not cuz pretty much composed once you've got it right it set it and forget it but anyway let's hop into the EMV file let's see what's going on in there there's a ton of stuff actually that you can tweak in here I'm going to leave it as the default just to get this up and running so you can see it but obviously you'll want
to go through that and tailor it to your needs so in here we can see that we've got a load of different things that we can set so for example we can use which version of commodo we want I'm going to use the latest one that's the default makes sense for doing this it also seems as though you could use this for podman albeit there's something that needs to be set here now I might do that again in the future I am Keen to revisit podman I've done that sort of a year and a half
ago and I suspect there's been a lot of change since then you'll obviously want to put in a random Pass key for the authentication between the core and the periphery containers and then we actually get get on to some of the core environment I'm just going to leave this as the demo but obviously if I was going to put this behind a reverse proxy I would change this host to something like cod. Jims garage. co.uk next we get on to some settings for polling the different servers and like as I said this can manage multiple
Docker servers so whatever your polling rate is you'll want to put that in here the following secret section you'll obviously want to use a strong random secret now because I'm not going to be using oidc I've just got this set to the local authorization true but if you wanted to you could obviously set that up you can also here as well set up whether you want new users to be able to register or not here you would actually set whether you want oidc on so if you remember from my previous videos where we go through
authentic when you actually generate those credentials it will give you all of the sort of callback addresses the client IDs the secret you'd want to come in here uncomment them and paste those in that will allow you then to sign in through kodo through your own identity provider you can also use GitHub for your signin as well as Google oor and you can also use AWS which I believe it can also plug into as well for managing some of your containers the commodo periphery environment as well also has some keys that you would want to
generate it defaults to having SSL enabled and that's pretty much all we need to do so like I say I'm leaving this as default so it should just be a simple case now of firing up the terminal changing over to this Docker compose folder and running a pseudo Docker compose up- D now with any Lu that should go away pull all those containers and spin this up so that all looked as though it Spa up properly so hopefully now we can head over into the incognito window and if I put in this IP address and
the port we specified earlier we should reach the homepage so in this instance it's do1 126 and Port 9120 which is the default hopefully hit and return yeah we've got to the login page so it's a little bit tricky here but all have to do is create a username and password and instead of clicking login just click sign up so if I go with the ever secure admin and password and hit sign up we should be in and so here we are in the UI for the first time you can see that this server I.E
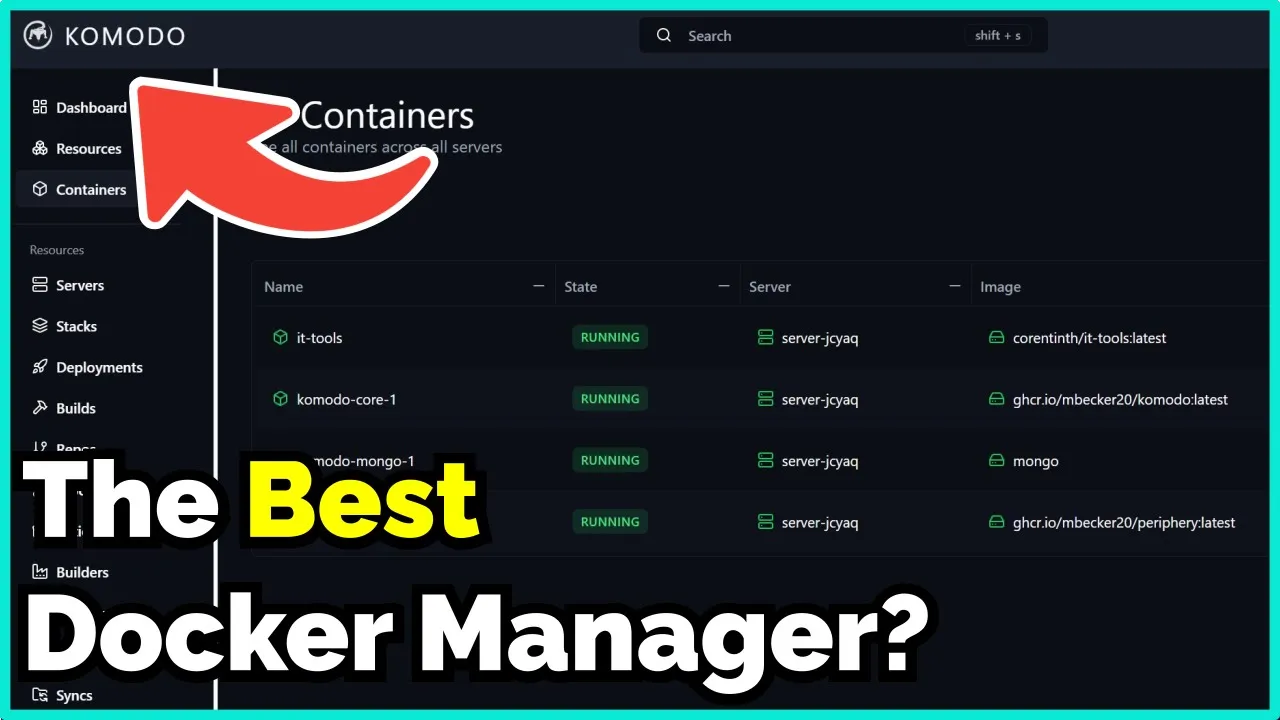
the default server this which this is what it's running on is this one here conveniently named jcy AQ and if we click on that you can see the virtual machine I've got four cores Just sh 4 gigs of RAM and 12 gigs of dis space now if you actually clicked on the servers here you can add a new server so you could add another Docker host for example and you could manage it through here I don't believe it supports Docker swarm but I'll have to go and check on that but going from top to bottom
over here we've got the resources tab which basically shows all of your servers and Builders we'll have a look at that later and then also the containers that are running so at the moment we know that we've just got those three containers containers that's basically the three containers that are required for commodo to work on the left we've already looked at servers but if we have a look at Stacks Stacks are basically what you would do in say paina whereby you can copy a Docker compos file and spin up a new container we'll do that
in a minute but I want to go through the menu first next we've got deployments and this is basically where you can create your own deployment without an existing stack so in a stack you've probably got a compos file you're going to put in in a deployment you basically create all of that yourself so you add the network you add the volumes Etc and you'll do that through a UI so for example if we hit test you can see here that we've basically got the server that you want to put it on you've got the
image so you could put in here say pie hole you've got the network mode you might want to try any environment variables you want to pass any volumes you want to create Etc and a whole host of other stuff just on the other side so what you want the restart polic to be auto update and exra auto update is pretty cool it's almost like it's got its own built-in Watchtower then we get onto the stuff that I haven't really covered before and that's largely because this is behind a pay wall in paina it might be
something now that I've got this freely available that I actually play with and that is all of the stuff down here so builds repos procedures actions Builders alerters and even templates so the builds are pretty interesting it basically builds that docket image for you so usually you have to do that through the command line you might pull something and then you might do say a Docker build but this gives you a handy and convenient user interface to do that for you so once you've created one you basically go through and you say well where do
you want to build it so which Builder do we want we want this local Builder I believe you can choose other ones so for example if you had one on your Network a different machine and it was set up and configured as a builder you should be able to select that one you can then go through a lot of the things that you would normally find in things like your Docker file for example and you could actually build out that image so for example you would tie this into something like a repo doesn't have to
be GitHub I believe you can choose your own so a custom one for example so it could be something like gy which we've looked at before type in the repo name the branch Etc path to the docker file and then hopefully along with all of the other Advanced options you should be able to pull down and build that image next up we actually manage all of those repos add a repo here so I could clone my GitHub for example if I had it for building Docker images and then once it's added in here I should
be able to reference it throughout the application so the procedures is pretty cool and as it says at the top it composes Komodo actions together so if we created a new procedure for example what we could do is basically add stages and this would be a little bit like I guess especially when you tie it up with the actions and the building ERS a bit like an answerable Playbook where you might do something first whereby you pull something then you build something then you tell it to spin it up and then I don't know you
do a load of other stuff off the back so do health checks or do checks for new versions Etc and so for example here we've got this web hook we could add a stage if we wanted to we could say what kind of execution do you want so it can be a run a batch run a run action a run build all of the stuffs that you would naturally associate with kind of a cicd pipeline so we could pull a new deployment start a deployment restart it all of those sorts of things and there's a
ton of stuff in here that I'm still learning so as you can probably tell by the way I'm talking I'm not an expert in using this within commodo but now that I've got this it might be something that I start to implement into my home lab because I haven't really done that before next we've got actions so this is custom scripts using the commodo client so again I haven't really played too much with this but what's cool is it basically takes a script and we'll do something with it so I'm assuming in here we can
tie in some actions and we can also put in things like a web hook URL and maybe when it does this action it can actually create an alert and tell us which we'll get on to later on the builders as I said we touched on that before for builds so we've set this local server up as a build server but again because this can manage multiple servers you might have another server within your network that you want to assign to being able to do building things so you could remotely use it maybe that machine has
got a lot more horsepower um different types of acceleration Etc that might make it more adapt to uh making build files Etc then we've got some alerts which is quite cool as well so having some custom alerting we can set this up to do certain things by default this is obviously going to send the alert to I believe this instance on local post but I do want to play with this and see for example could I send an email for example um could I send it to gotify all of those sorts of things the templates
looks pretty cool as well it says it's going to deploy more cloud-based servers on a button click so let's just have a look it looks like we can actually then deploy straight into the cloud and I think as we saw in the environment file we saw things for AWS and hetner so if I do AWS I'm guessing it's going to say yeah which region and then it's going to ask for my am I ID Etc so it does look as though it can sync up with a AWS environment and obviously if you are deploying into
the cloud and you've got a Docker environment in the cloud I suspect you can have all these powerful cicd things pushing into the cloud which is really awesome maybe I'll spin up a small Cloud instance and I'll have a play with that in a future video now I'm not exactly sure what syncs do but I suspect it's something to do with interhost behavior so if I do UI defined although you can do files on a server and a git repo and then looking at the bottom we've obviously got the alerts themselves and the updates and
if we head into settings we can see that we can set some variables not entirely sure what they for yet uh some tags for various things we've got different providers for uh git accounts and registry accounts we've got some user management here now remember we're not using oidc or any third party authentication provider but here we can manually assign new users and Dish them out and we can also change obviously our password here so let's just keep this simple let's spin up a new container using a stack so the good news is obviously my GitHub
is full of dock compos files so I'm going to go away now grab one of those and spin something up so I'm going to use it tools just cuz that's an easy one so once we're in here and I've gotone and copied the compost file for it tools you want to make sure that this server is set to the server we're on or whichever one you're going to use and then we need to choose the mode for actually setting up this stack now I'm going to use UI defined cuz most of you if you're using
panum might put your stack through that or something like unraid for example but it is good to see that if we've got files on a server um we could select a file and also if we've got a git repo so for example my GitHub if you forked that or if you've got your own you should be able to tie it into your git repo which obviously would specify over on the repost section over here so I'm going to use UI defined and then that opens up this kind of compost file and all the various options
below it all the way down here so hopefully if I crl a all of that and hit crl +v here you can see that we've got the compost file which I set up for it tools I need to keep remembering that that's now deprecated but basically here we've got the composed file I'm going to just leave all of this as is I might actually get rid of all of the traffic labels just so it doesn't get confused and I think we had default as the network it set up when we first did this so if
I put in default here this should now put it onto the same network that painer and everything is using and I'm not going to change any other environment variables I'm not going to specify aemv file but it would default to EMV which is good anyway for something like it tools which doesn't actually have any persistent data I'd probably want to Poll for updates and automatically update it because maybe there's new tools fixes Etc um that might be useful everything else down here we can specify some project names if we want to do anything pre- deepy
again we could do some execution in the Shell to do certain tasks beforehand we might want to put some extra arguments so it's given the example here maybe maybe sometimes you want to specify a different compos file name or you want to do say a force recreate something like that we can also tell it to ignore certain services and exit early we can choose a different image registry if we wanted to so where we're actually pulling that docket image from and it's saying it's going to pre-pull the image before running a deploy now once we
scroll up to the top you see why it might want to do that because we have the option here to basically pull the IM image and then deploy it or we can click deploy and it automatically should pull that image then try and deploy it I think we need to click save because we've obviously added in this compos file so we're going to click update and you always have to get used to this click confirm again so that should have done it now you can see in the top right that that has saved and now
hopefully what I can do is Click deploy and again we want to confirm that should go away and pull but why didn't it the network default couldn't be found okay um so let's go back down and let's just try a new one we'll call this one just it tools it tools and we're going to get rid of the external true because we're going to get this composed file to create it so now hopefully if we hit save we can update that and it shows us what's changed great maybe now if we hit deploy let's see
what happens yeah brilliant so now it's deployed the stack and it says it's running so hopefully if we go back to Containers yeah we can see the it tools is running here if we click on that what do we see we get the log of what's happening and it all spinning up that looks great I'm not sure if there's actually a way to exec into the Container I haven't found that yet but maybe there is obviously import tainer that's a really handy tool but now with that container running and you can see here it's put
it on the it tools Network it's created that I want to just check actually because I think I did something stupid I don't think I put any uh ports yeah those ports were actually commented out so I don't know what happens now if I save this update confirm and then I redeploy I wonder if that will now apply let's see so it says it's redeployed and hopefully if we click on that everything looks fine it says it's started up so hopefully if I go to this same IP address up here but in this case we
want to do I think it was P 8080 let's see if that works so with any look we should be greeted with it tools and yes we are perfect so basically this is behaving very similar to Pena so if you are looking to come from Pena over to Komodo a lot of that behavior a lot of the syntax a lot of the naming conventions are pretty much identical so that's going to be a wrap for this video like I said this is my first initial impressions of Komodo as an alternative to Pena without that pay
wall and I'm really impressed so far I would arguably say it's got way more features than I've typically been using through Pano anyway because of that payall so I'm looking forward to getting stuck into some of these things maybe building some automations using it to actually create some of my build files in a user interface cuz I'm a bit of a noob at heart I quite like a user interface it makes life easier I don't know why you wouldn't want to use it so I'll try and put that through its paces and I'll probably do
an update video or send out some tweets or whatever in the future saying how I get on with it but let me know if this is something that you're going to try or whether you've already been using it for a long time and what you think the differences are between this and paina I'm really excited to see how I get on with this so fingers crossed anyway if you like this video give it a thumbs up hit that subscribe I'll see you on the next one take care everybody [Music]