you're watching the Jake Kaminski YouTube channel hey I'm Jake Kaminski two-time Olympic silver medalist in the sport of archery and today I'm here to talk to you about another episode of the bow tuning series that I've been working on so this episode is going to basically cover how to do things what to just how to adjust it how to measure it how to document and so on so because there is some confusion about what is bow wait what is tiller how do you adjust the settings what is a rough rule of thumb and I think
preference pressing this series that I've got working on it's gonna be really important for me to cover how to adjust these topics so that way I don't have to go into detail as the series progresses this this video will be great reference to reference back to if you're a very new shooter when it comes to this or if you're using a different language and the terminology doesn't translate so anyway so what we want to do today I'm gonna show you how to adjust and measure and it's affects the bow weight the tiller the brace height
Center shot arrow length versus draw length and your site like how the site moves also we need to talk about knocking point how to measure it and how to adjust it anyway I'm going to show you again how to adjust and measure these things so it's very very simple pretty straightforward I've got you know your standard Olympic recurve set up here and I want to show you first the bow weight how to adjust it what it means and I will show you with the bow scale how it works so each limb each set of limbs
is marked with the actual draw weight on the limb now that's measured at a very specific distance and it's either 26 inches or 28 inches depending on the manufacturer of the limb the winning wins are measured at the shorter distance so they're actually heavier than a Hoyt limb if you were to compare apples to apples you can't there are a few pounds off because of that rough rule of thumb is just so you guys know every inch of drawing see you gain is roughly 2 ish pounds give or take I mean it depends on the
lens setups individually as far as the stiffness the rigidity the stacking all that stuff really contributes to it but that's just kind of a rough rule of thumb at least that I was taught way back when so draw length is really important to take into consideration with your bow weight so on this setup I've got a clicker so I can consistently check my bow at the exact same draw length every single time so basically bow weight is adjusted with the tiller bolts or limb bolts depends on what you call them I call them limb bolts
but some people call them tiller bolts it can be confusing because some people say oh I adjusted my tiller bolts and they meant they adjusted their bow weight or whatever so anyway teller or limb bolts doesn't matter the more you screw them in the more that preloads the limb Bend so the bow weight goes up now the rough rule of thumb is give or take you have about a 10 percent plus or minus adjustment so if you've got a 25 pound limb you're gonna have about two and a half pounds of adjustment if you had
a 40 pound lamb you'd have about 4 pounds of adjustment within the range of the bow now I don't know specific to win and win how far in or out you can limit your bow your limb bolts I know for sure on heights it's roughly 6 turns from all the way in so you go all the way in and you can come out 6 turns you can't go out any further I wouldn't win it's gonna be different I'm gonna show you I'm gonna create a drawing but if you look at the tenth limb bolt here
and you look at where the this side of the limb the tip of it you can see it touching the limb bolt in here see it in there and what you want to do is you don't want that tip to go further this direction of the centerline of the limb bolt so I'll come up with a little diagram and I'll be putting that up right now for you to check out so you can see you don't want to go too far out and you want to stay in the middle or better or down right so
this is the top limb bolt and then you also don't want to go in so far that this part of the limbo is pinching against the riser so you wouldn't want to go in past where this surface of the limb is sitting flat on the limb bolt now I'm only saying that because there are so many different risers out there not all of them have limits on how far in or out you can put the limbs and there's not a lot of information out there so I just wanted to make sure I noted that so
again if you want your bow weight to go up you screw your limb bolts in if you want your bow way to go down you screw them out I wouldn't go out any further really past this so this is as light as setup as it's gonna be so when you're moving limb bolts there's two different types of limb bones there's this style which is a collet style you can see there's slits in the threads here and then there's a expander bolt that comes from the backside and expands these and locks them inside the riser so
I can screw it out by hand and you can see that that is going to lock the the collet style and there's another style which is typically a little bit of the older systems it's literally just a solid limb bolt with a lock on the backside that crushed it pushes in and locks it in place so first when you're moving you're first adjusting your limb bolts you have to crack them loose from the backside so all you do is just give them I give them a turn on the collet style limb bolts is just really
a turn not really too important the other style that it butts up against the limb bolt if you're going to go in five turns you got to back it off five turns so anyway you cracked it free and I'm gonna measure my bow weight first with the clicker so I have a regular bow scale here nothing fancy let's see once it's zeros so it's set in pounds and then I hook it underneath the lock and I pull it back I pointed a safe location until it clicks and then I let down and so this one's
set to read maximum weight this one is set up at thirty 1.02 pounds I'm gonna tar it this is just a light set of practice lines I've got on this boat and I check it just to be sure 30.8 for so I'm going to say 31 pounds now let's say I want to throw up in BO wait I already backed to the lock off now I'm going to move the limbs in one I'm gonna go one and a half turns on top and bottom you have to do both equals alright now I'm gonna check it
again 31.8 alright 31.9 so it's pretty simple screw the loom bolts in the ball weight goes up screw the bolts out the weight goes down something to quickly note about Bowie is that when you're using a both scale like this it's pulling from one location on the string a very central small point and as you pull back you see the string conforms to the one hook right but when you're pulling the bow back with your three fingers look at this is very difficult see how it's not one point like this it's pulled back more because
you're using three fingers to hold on to the string you're actually pulling the limb backs move the limbs back more with your fingers than you are with a scale so that means that your bow weight is actually a little heavier when you're at full draw with your fingers compared to your scale that'll change anywhere from a half to a pound and a half depending on how heavy your setup is I find in the heavier bow weights that your bow weight actually goes up about a pound ish with your fingers I made a little jig that
simulates my fingers on the string basically I have a stamped piece of steel that I use to cut out all my cordovan leather pieces and I bent it in two fingers and hooked it on the string with a hole in the back of it and found out that I gained some extra Bowie I've heard from other people that that was happening but I just wanted to see for myself and I did verify it does go up about a pound at 45-ish pounds for me so just FYI next is tiller what is tiller and how to
adjust it so tiller is the distance from the base of the limb where it mounts in the riser to the string top and bottom so you split them differently top to bottom because of where we're pulling our fingers on the string but essentially how you measure it would be a take-up this is called a bow square this is an L square and then there's also a t-square so instead of it looking you know like the letter L it'd be a letter T so you hold it against the base of the limbs and then you rock
it up and down like this until you find your shortest measurement and you make note if it's on the front or the back side of the string it doesn't matter you just got to be consistent from top to bottom so this one's six and fifteen sixteenths on the top and on the bottom I've got six and thirteen sixteenths so down here is shorter it's about an eighth of an inch shorter which is exactly what you're looking for you want to be roughly an eighth of an inch to a quarter of an inch shorter on the
bottom than the top the reason is when we're pulling the bow back we're not pulling the bow back in the center of the actual bow we're slightly off-center because the arrow is not in the center of the bow the arrow is slightly above Center so therefore our hand is also slightly above Center and we're using one finger above and two below so when we pull back to full draw the limbs are imbalanced meaning they're not equal top and bottom so we adjust the tiller we preload the bottom limb more than the top limb in order
to compensate for those factors so when we're at folderol the limbs are balanced now how do we adjust tiller it's very simple it's the balance of the limb bolts top to bottom so if I were to screw this bottom limb bolt in and preload this limb more so I'm gonna make this limb stronger watch what it does to the distance here if I were to make this limb stronger see how it's shortening this distance so that's all it is if you make one limbs stronger it's gonna pull the whole mechanism down and shorten the break
or the tiller down here so right now I've got an eighth of an inch shorter on the bottom but say if I wanted to bring it up to a quarter of an inch which is still within the acceptable range I've already got the back of the limb bolts loose so now all I'm gonna do is I'm going to add a quarter turn on the bottom then I'm gonna take that both square Yury measure at the top and I've got six and fifteen sixteenths to the center of the string and on the bottom I've got six
and three-quarters well yeah about six and three-quarter to the center of the string so I've got three sixteenths now which is more than an eighth so I've got to take it a quarter of an inch quarter turn more and I'll have exactly where I need to be [Applause] take my bow Twitter to the back side of the string I've got seven inches to the bottom the backside of the string I have six and three-quarter so there's my quarter inch tiller split this is something that is extremely important to record and take make note of once
you find your final tiller but that's how you adjust tiller and what it does something to note about tiller is that it does slightly change your bow weight but it's not enough to really even worry about in my experience you just saw I did a turn and a half on the limb bowl and it got me point eight point nine pounds of adjustment on the bottom limb to get the quarter inch of tiller adjustment I did less than a half a turn on one side so it's probably less than a tenth of a pound total
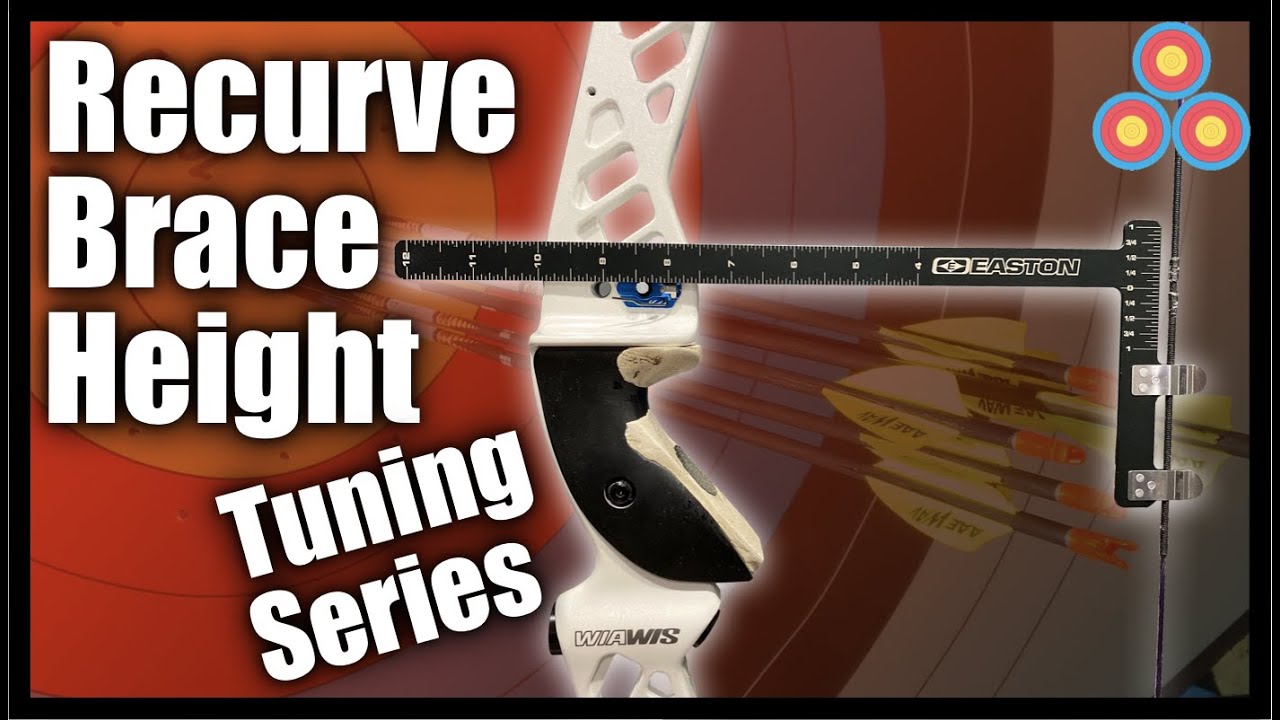
okay so brace height what is Bray site and how do we adjust it race height is simply the distance from the string to either the center of your plunger or the string to your the throat of your grip it's different for different people different people have different preferences I choose to go from the string to the center of the plunger the reason I do that is it's consistent from bow to bow I change my grip from time to time I modify them and not always do I have the same grips on everybody every bow so
all I do it's pretty simple you can just you can either hold the bow square like this against the string and then check your your brace height or you click it on to the string itself this one has two clicks so you got to put it in the same one I always put it all the way in against the both square itself and then I look at the center of the plunger and right here is eight and a half inches to the center of my plunger so you can measure it that way you can also
go from the throat of the grip to the center of the string and you'll see it's eight and 5/8 here so it's actually a little different from the grip instead of to the center of the plunger so there's always a lot of questions as to which brace height to run basically every bowl manufacturer or limb manufacturer has recommended brace Heights in their catalogues or in their manuals that they send along with the bows so what's really important I find that you typically set your brace height to the limb manufacturer's recommendations not to the risers recommended
recommendations with the exception of the HP geometry and Heights risers that actually changes the actual grip position and space relative to the actual limb pockets it moves it further back about seven hundred thousandths of an inch so your brace height will be seven hundred thousandths of an inch shorter on an HP geometry point riser but very few other manufacturers make limbs it will snap into that bow so really just to quiff limb manufacturers recommendations so how do you adjust brace height it's very very simple all you do is you add or remove twists to the
string so if the limb tips are in fixed in space as I shorten the string the string will pull the limbs more back and then the string will get further and further away from the riser so using that method as you add twists to the string your brace height will grow doesn't matter which side you add twists from because essentially one solid piece so if you add twist from the bottom you're adding twist if we add twist from the top your head and twist really not important just adding twists raises your brace height removing twists
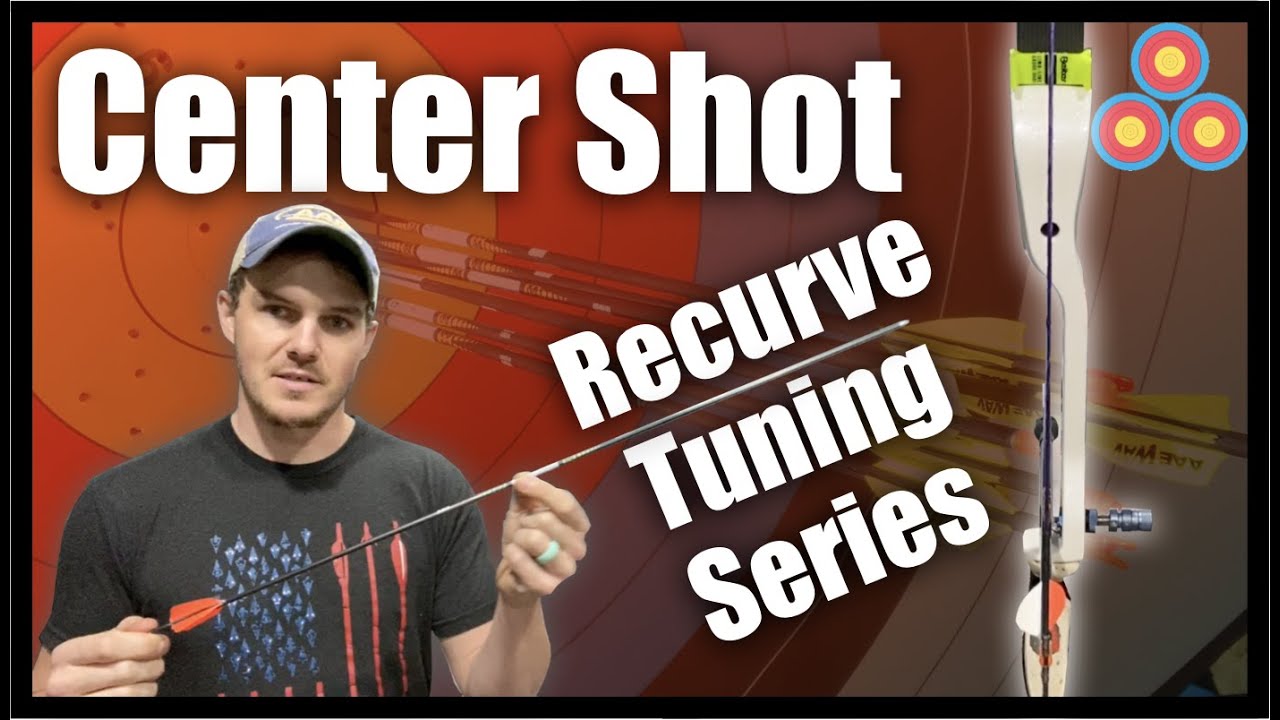
lowers your brace height Center shot is very simple it's just where the arrow is in relation to the bow so we want it to be pushed straight or be centered when you're at full draw or when you're releasing the string so really all you need to do is adjust this thing here that's called the plunger so if I take this off I'll be able to show you it much simpler so this side of the plunger here is adjusting the depth of how far in or out the plunger tip is it's a simple threaded it's five
sixteen twenty-four thread so that means there's twenty four threads an inch just for random facts anyway you can see here there's a set screw you just loosen that set screw and then you can adjust it and screw it further in or back it further out so you can adjust where the arrow rests against the plunger and how far out how far in or in the center it will be set so it's very simple just adjusting the center shot depth with the plunger I get questions all the time about arrows being difficult to select for their
spine chart for their bow people will use a program to select our arrows or they just have a hard time getting arrows a spine for them and typically I see that with youth art tricks and the reason that that is is because they typically use a clicker that's mounted on the sight bar itself so instead of the clicker being mounted here just in front of the riser there's a clicker mounted on the bar out here so their arrows are much longer so there's a difference between arrow length and draw length draw length is simply the
measurement from the nock of the arrow when you're at full draw to the front of the riser that's generally your draw length which is not the same as your arrow length obviously because you can change how long your arrows are independent of your draw length for example I've shot both of these arrows out of same bow basically this x10 here is roughly 30 inches well that's about 29 and a half inches from the groove of the nock to the end of the shaft whereas this longer one here is about 36 inches so when your spine
checking arrows or checking spine charts to select arrows go with your arrow length not your draw length especially if you're gonna run longer arrows because they're stiffer you want to use them indoors or your youth and you're starting out you're gonna anticipate growing use the arrow length not the draw length now arrow length is youth is measured from the throat of the nock so inside of the throat of the nock to the end of the shaft that's how arrow manufacturers have used a market standard to measure arrow length so again it's from the groove of
the nock to the end of the shaft not to the end of the point okay and last we're gonna talk about our sights how we move them how we adjust them and what the different adjustments make for those of you out there that are new we are you adjusting our sight on the front the front sight not the rear sight so anybody that shot rifle or a gun before you adjust your rear sight so when you're shooting a bow you're adjusting the front sight it's an opposite adjustment as a rifle so if our groups are
low we want to move our sight down if our groups are high we want to move our sight up and the same with right and left if you're hitting right move your sight right you'll always move it towards the arrow not where you want the arrow to go like in a rifle so also at a sight bar if you have a sight bar like this if I set it here versus here when I move it in like this my impact point will go up a lot so I have to adjust my sight to compensate for
that so keep in mind it's extremely important to always put your sight bar in the same location every single time and use the same hole every single time as I do here thanks for watching be sure to subscribe and hit that notification bell so you get notified every time a new video is uploaded for seminar and book code info head to Jay Kaminski comm or click on the link below and yeah I appreciate you guys watching if you would please share this video and really help get the word back out that I am back out
there thanks again take care