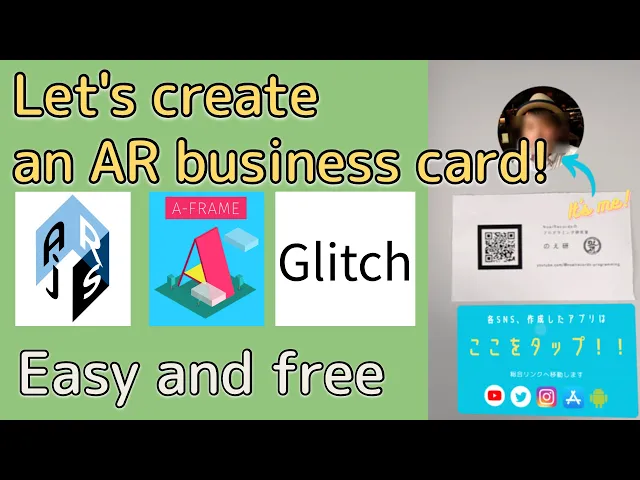
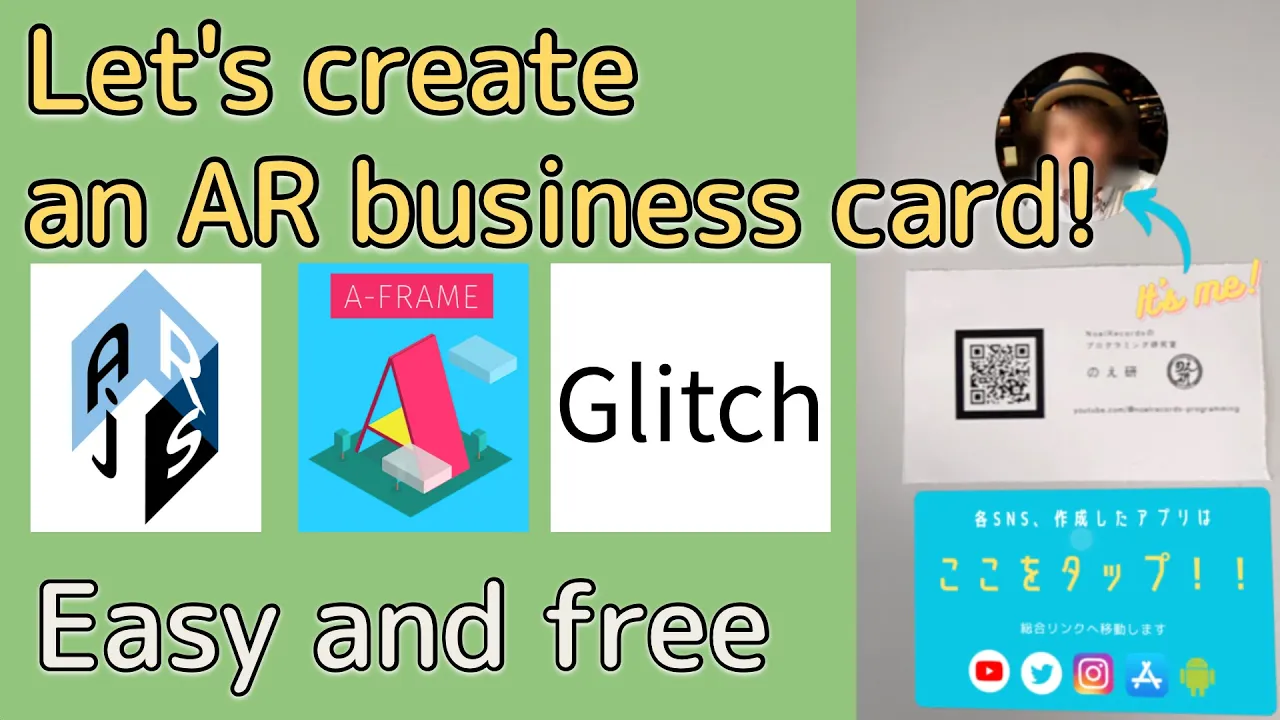
hello welcome to n records programming laboratory this time I would like to create an AR business card as shown on the screen as you can see an image is displayed on the business card and this is AR if you search the internet you will find many services that can create this AR business card but it can actually be created with simple programming and it's free so please take a look at the explanation until the end if you like first let's talk about ar ar stands for augmented reality it is a technology that superimposes virtual information on real images captured by a camera in an easy to understand example Pokémon go and Drgon Ball scouter are also AR by using AR technology to create a business card you can display self-introduction company information Etc on the business card by holding your smartphone's camera over it it is often the case that you do not know who someone is just by hearing their name because you have only met them a few times but with this AR business card you can easily identify them by displaying their photo and profile on it which is very convenient there are several ways to use AR but this time we will display AR on a web browser this is probably the easiest way to do it so let's explain the overall flow of creating an AR business card and actually displaying AR first create a web app that displays AR then create a business card with the function of displaying AR next ask the user to access the web app when the user reads the business card using the camera on the web app AR is displayed on the business card the most difficult part of this is creating a web app but actually a web app app that displays AR can be created very easily for example the web app that displays the AR that appeared on the screen earlier can be created with just this code it is 42 lines long even though it has many line breaks because it is formatted with prettier if you have created a web app before you can see that it is written in a very small number of lines and it's free to create it's great isn't it now let me introduce the tools you will use to create an AR business card A-frame is one of the web VR Frameworks that allows you to create a 3D virtual space on a web page you can easily create 3D graphics with HTML for example you can create a web page where your name or photo is displayed in three dimensions next is arjs this is also one of the web VR Frameworks and is used to Overlay AR content on a real world using a web camera it is written in JavaScript and can be integrated with other Frameworks such as a frame and 3js AR arjs has various functions but this time we will use a function called marker based AR this is a function that places AR objects such as images videos and 3D models at a specified distance from an image with such characteristics as a marker this time I'm going to create a QR code for accessing the web app to be created which will also be used as an AR marker the last tool you mentioned is glitch an online editor tool for creating web applications it started in 2017 and allows developers to create and share their projects with other developers the created web applications can also be published as they are glitch's free plan has some limitations but it is sufficient to use by combining a frame and AR arjs with glitch you can easily create an our business card although the introduction was long let's get started this is what the test environment looks like access glitch an online editor I don't have a glitch account at the moment so I'll create one if you already have a glitch account click login and skip the account creation explanation first click sign up in the upper right corner there are three ways to create an account but this time we will use a GitHub account enter your GitHub account ID and password to sign in a notification will be sent to your smartphone so verify your identity with two Factor authentication now that your identity has been verified move to the confirmation screen to link your glitch account with your GitHub account and approve it you can now log into glitch with your GitHub account the screen after loging in looks like this there are many project templates aren't there next access the official A-frame website click get started move to the introduction page and click remix the starter sample on glitch a sample project of a frame will be copy to glitch four 3D models of a plane sphere square and cylinder are displayed on the screen click remix your own in the lower right corner to move to the editor screen of this sample project the left tab displays files included in this project object such as settings and assets let's open index. html the 3D model seem to be expressed in just this code it's only 15 lines in total a frame library is loaded in head and only seven lines are in body tags such as a box and a sphere seem to correspond to each 3D model the preview screen of this sample app is displayed on the right if it is not displayed you can display the preview screen by pressing the preview button at the bottom of the editor you can change the Viewpoint by dragging with the mouse or move around in 3D space with the direction Keys Next access the official page of arjs click the link import the library in the left tab since we will use marker based AR this time copy the code to import the A-frame version of the library in the arjs with marker tracking section return to glitch's editor and paste the code you just copied into head don't forget to write the end tag of the script a dialogue asking for permission to use the camera will be displayed so please allow it although the camera can be used in this sample app the processing becomes heavy when the camera is activated in the preview screen of glitch's editor so let's close the preview for now you can close the preview screen with the dots at the bottom of the editor now let's rewrite the code to make a frame in ajs work together add embedded to the acen in body this enables a frame and AR arjs to work together by the way glitch's editor automatically saves so you can rest assured let's set up the marker image and display the 3D model based on that marker arjs has default marker images that can be used but they are not very good so let's create our own marker image as mentioned earlier this time we will use the QR code to access the web app we are currently creating as a marker image first check the URL of the web app you are currently creating in glitch you can copy the URL from the dots on the preview screen create a QR code from the copied URL you can create it in any way you like search for a QR code creation site on your browser and create it from there once you have created the QR code return to the arjs official website and click marker based in the menu at the top click the link that you can create your pattern markers with this tool you will be taken to a page where you can create an original marker image upload the QR code you created earlier from the upload link the black border is large this can be adjusted by the pattern ratio value this time I set it to 0. 80 remember this value as we will use it later then click the download marker button to download the pattern file of the created marker image and the marker image itself with download image the extension of the pattern file is pad in the images in PNG format the file names were a bit confusing so I changed them to marker.
pad and marker. png respectively [Music] now that you have created and downloaded the original marker image and pattern file upload the pattern file to glitch so that the original marker can be recognized click the Plus in the files tab on the left click upload the file and upload the downloaded pattern file there is no need to upload the image file when the upload is complete you will be automatically taken to the assets page so click on the uploaded pattern file then the URL of this pattern file will be displayed so click copy URL to copy the URL return to index. html from the left tab again and write the code to recognize the original marker write the following a marker tag so that it is surrounded by the aene tag paste the URL of the pattern file you copied earlier into URL and tag of a marker should be placed around 3D models that will be displayed in the r space also write this a entity just below a marker this will make the position of the marker image the reference point when displaying 3D models Etc in the AR space finally add this attribute to aene the value of pattern ratio here is the pattern ratio value set when creating the original marker image that's it let's format the code with preter for now it's easier to read now currently there are many squares and spheres displayed so let's delete everything except the squares to make it easier to understand be careful not to delete anything you need also change the position of the square to 0000 0 so that it is directly above the marker image now let's use the marker image to access this web app from your smartphone's camera and check if a square 3D model is displayed on this marker this time the devices in Android pixel 6A when you access the web app the dialogue for using the camera will be displayed for the first time so allow it as you can see a square 3D model is floating near the marker image if you use an iPhone as the reading device it will look like this when you move to the web app the camera usage permission is displayed in the same way as on Android but but you also need to allow the use of motion sensors as you can see from the screen the 3D model is displayed even if permission is not granted but if permission to use the motion sensor is not granted the display position May shift so be sure to Grant permission it's good that the security is higher on the iPhone but it's inconvenient that permission is required even for this kind of thing let's create the data for the business card once we have reached this point there are many ways to create business card data but I recommend using canva as it is easy to use canva is an online design tool that allows you to easily customize templates and use free materials this allows you to create designs quickly so I created the data for the business card like this I put the original marker image QR code the name and logo of no records programming labor atory and the URL of the YouTube channel you can order the business card from canva but to confirm that this business card actually functions as an AR business card let's download the data and print it first Click Share in the upper right corner select download and change the file type to PDF print check trim marks and bleed and download the PDF data has been downloaded print this data at 100% magnification and cut the paper along the trim marks I printed it in black and white on A4 paper this time but when you cut it along the trim marks it looks like this it's thin but it's enough to test as you can see a square 3D model is floating on top of the business card now let's display proper information on the business card instead of a square 3D model in AR using A-frame and AR arjs you can display not only 3D models but also text images videos and more this time I will prepare an image like this to display because I don't intend to make anything too elaborate the completion image is like this when you tap the guide image it it will move to the general link please note that the size of the image to be used must be square a frame converts the displayed image to a 1:1 ratio by default therefore if there is an original image that is not a 1:1 ratio it will be forcibly converted to a square like this when displayed in a frame create a 1:1 ratio image with margins in advance let's return to glitch first upload the image to be used this time open assets from the left tab and drag and drop the image to be used now that the image has been uploaded let's write the code to display the images in order first let's start with the profile image click on the profile image to copy the URL let's go back to index.