hiya welcome to tiny automations i'm ryan and today i'm going to show you how to create an infographic image with dynamic stats using nan let's go so what we're going to do we're going to create an image like this here so i just knocked this up on canva as you can see currently that has an image there what we want to do is fill that dynamically to do that what we're going to do we're going to use na10 and we're going to use a query string when we call a url to dynamically generate that image
on the fly so what i've done here is i've exported that image that we saw previously on canva and i've removed the i've removed the numbers from here so that we can fill that in dynamically and then i've uploaded it to amazon s3 so that we can access it from the workflow now we're in na10 and what we'll do is create a web hook now what a web hook does it gives us access to this workflow from outside of this workflow so we'll be able to call it a url or embed it in a document
or something like that so when you create a web hook you can see the url here so i'll click that to copy it and then if we click this listen for a test event you can see it's listening and we'll hit that url and it says here workflow started we'll go back to this and as you can see here this is the data that came through from that call now we're not actually passing any variables through at the moment and it's just returning a response code of 200. [Music] so this is all good here apart
from the respond so we need to change that so that it uses a response to webhook node which will cover as the last step now in the last step that will return an image but we don't need to worry about that at the moment so we want to get data into this workflow and to do that we're going to pass a parameter via the query string of the url so we'll listen to the test event again here click on here add a url called stat [Music] and then hit that workflow [Music] so as you can
see that came through as the stat 1000 in the query so we can see it here as well in the json [Music] so just covering that again we added a variable called stat and we set it to 1000. now you can obviously set that number to whatever you like and what we'll do in the next step is draw it to the image now what we need to do is load the image template that we created earlier so if i click there i can add a node for http request as you can see na10 has very
kindly filled in the data that we got from the web hook so you can see that's that 1000 now we're not actually going to use that in this step but it'll come in handy in the next step after this so what this is doing is loading in an image so let me just grab the url for the image there we go paste that in there response format well we don't want jason we want a file [Music] okay so then we click execute node and let's see what happens [Music] there we go so we can see
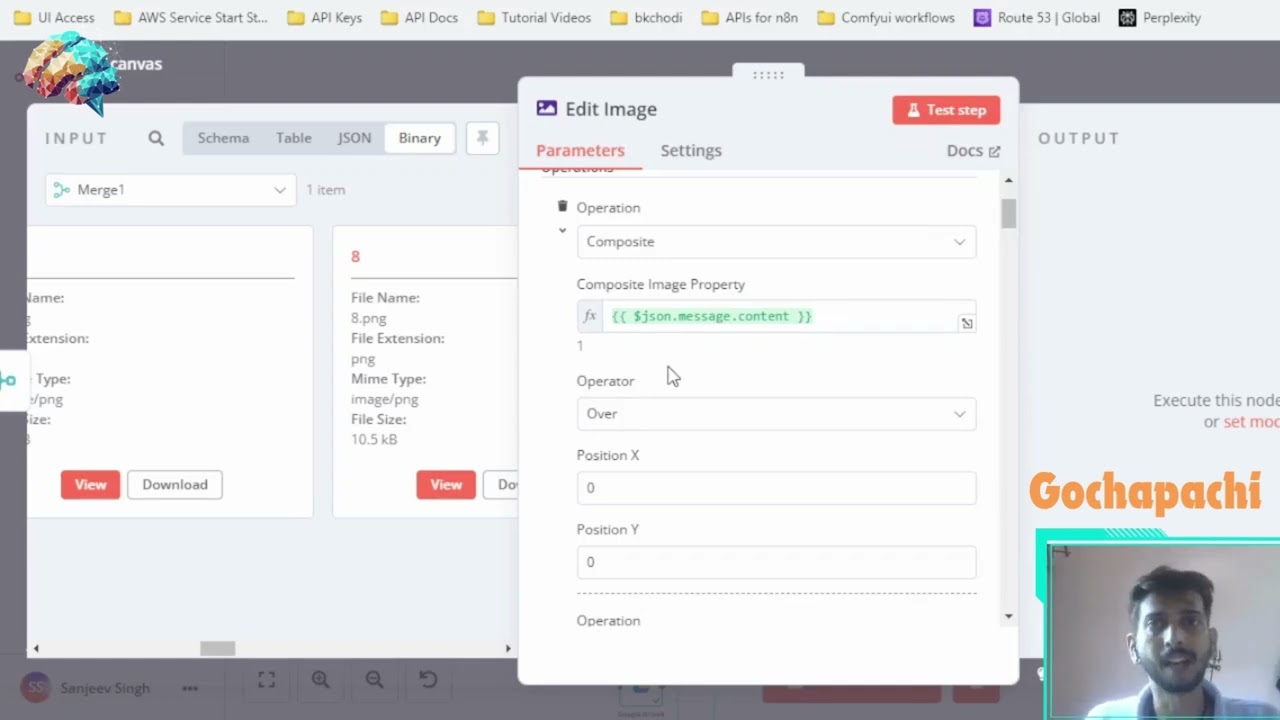
something's happened but we don't actually know what's loaded yet but we can click view here and there we go we've got the template great so in the next step what we need to do is add that 1000 to the space here above new signups now we want to add the text to the image so we'll add a new node edit image once again you can see that nan has very kindly populated the input and the operation is text so we want to add text and let's just practice by putting 1200 there for now and the
position is 380 1000 and let's [Music] change the font to something a little bit nicer you can actually map your fonts to this and have all different types of fonts [Music] okay click execute node as always [Music] let's see what we've got ah look at that pretty good but it's tiny let's make that a little bit bigger i think maybe something around 96 execute that [Music] view it ah look that's loads better it's not exactly lined up but i won't faff around with that now now what we want to do is use that variable that
we passed in called stat previously [Music] just here [Music] we want to pass that and use that in this text rather than having this static so we can use the expression editor add expression just click through these the input data json query stat 1000 there we go simple as that click close that click execute node view as you can see that's changed from 1200 to 1000 so we've created that now all we need to do is get that image out of the workflow and into wherever we need to use it okay now for the final
step what we need to do is add that respond to web hook node that we mentioned in the first node [Music] add that as we can see we're getting the infographic pass through and so what this node does is return the image as a binary to the url rail that you put in to your browser or you embed in a document so we can choose automatically from input as well as always click execute node we can view that 1000 new silence brilliant that doesn't look like it does anything different but i can show you [Music]
if we go back to here we can execute this whole workflow let's change the number let's say 9000 hit that [Music] there we go dynamically generated image brilliant now let's just save that workflow and mark it as active then you can grab the production url i'll show you how to embed in something like obsidian so we've got that url [Music] and then we add the query param one two three four five so this is markdown [Music] and then what i've done then i'll just put it onto live preview [Music] boom it's embedded one two three
four five sign ups obviously this is very simple but you could do anything you could use it for your website your blog or just to create images and distribute them thanks for watching hit subscribe or like if you found this useful cheers