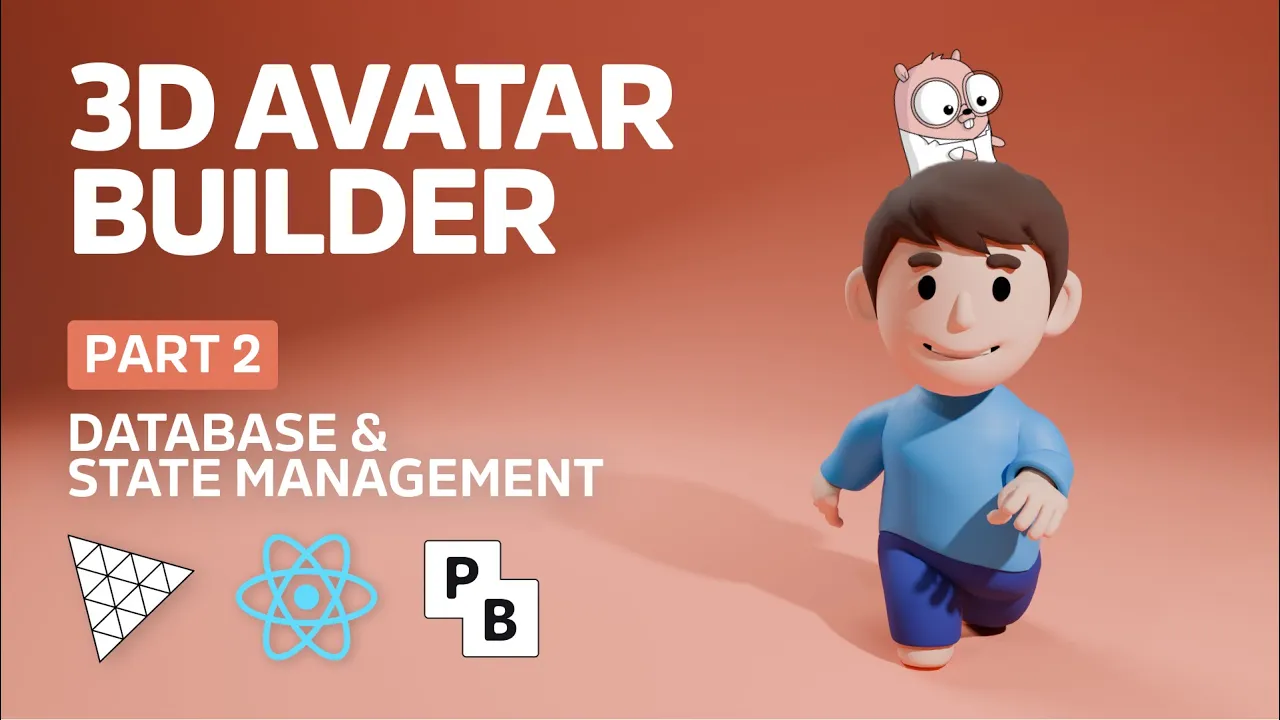
let's continue building our 3D avatar creator in this second part we'll focus on storing fetching and displaying assets from a database as we don't want to change the code every time we will want to add assets and to let non-developers being able to have control we need a user interface to add new items into our database instead of setting up a database a backend writing SQL queries and handling file uploads we will leverage pocket base a free open source backend as a service solution you can have a preview of what it is and how we are able through code to contact our instance when working locally you can download the installer from the documentation and for production purpose and for my use case to be able to have it online so you can try it I will continue to use lso the can sponsor of this video series on your lso dashboard open your service which will contain all your cicd pipelines and on the top right you will see deploy a new pipeline button which shows GitHub before for hosting our project this time we will use Docker compos to use ready to use software let's type pocket base click on it and select because we already have a VM we can choose Deploy on existing VM if you have multiple be sure it's the right one and on the right you can see it doesn't affect the price because it doesn't create a new server it's on the same then hit next you can find the docker compos configuration add environment variables but we don't need to touch at it we can just hit create cicd pipeline it will take a few seconds to build and deploy your pocket base instance and once it's done you will need to click on show for pocket base admin then you will have the URL to access the administration panel first click here to copy the password to your clipboard and open the URL type your email address and paste the password from your clipboard then login you arrive on your pocket base instance what you can see here we are in collections and you have the list of collections on the left you have one by default which is users it is here if you use authentication services from pocket base we will skip this part in this video but if you want to add authentication login you can definitely use it for the moment we will create two collection one will be the groups which will be what parts we can modify for example the head the hair the top bottom Etc and the second collection will be the assets we put into those categories let's go we hit new collection this is the name of your collection let's name it customization groups automatically it will create a unique ID a created date and an updated so when you do a change it will update the updated that for each group we will need a name a position so it will be a number so we can order them and I think we will add the other ones later so now we can hit create and create the second collection customization assets the first thing we would need is to add a relation to the group it belongs to Let's name it group we select the collection which is related to this one so far as it's customization groups and we want the relation to be single because one asset is only linked to one group then we can add a name to the asset this way it would be easier for you to manage them we also want to display a thumbnail a preview of the asset for this we will be using an image a file let's name it a thumbnail and again we have the choice between one file one image or multiple one but we will keep it to single and then another file which is the glb file the 3D model we'll be using let's name it URL again only one and that should be good we can create it by the way create is here on the bottom right behind my head we will add other columns later maybe other collection but for now it's good let's just fill it a bit let's add a few customization groups we'll have the head we can set the position to one it will be the first one then the hair position two here I will add them one by one and I know what I will enter so the position will be linear but if you want later to add another category between the position will be very useful and let me speedrun the other ones okay so we have a nice list of customization groups from the head to glasses to show access ories currently they are all at the same level so maybe later we will split head and body or cloth part but for now I don't know yet so we'll do it later if we ever do and now let's add a few assets go to customization assets new record and now we have the Picker so we need to select to which group we add it to so for now we just add a few top example go to top selection then the name let's name it to 01 we add a thumbnail because we will create our thumbnail letter with the nice process for now we just use some samples from the centraland I downloaded a few thumbnail downloads and thumbnail one okay open URL it will be the glb file but we won't do it right now so create we do it again name top 02 don't forget to add the group so top and the thumbnail and go and the last one top three attach the group you can even search here so it can be easier than if you have a lot in your list than just scrolling and searching for it top set selection at the thumbnail open and create fine it should be good for the moment we'll come to it later adding more columns adding the assets with the glb file but for now it's good to start fetching assets the last thing before diving into our code is if you go to settings and you have for example file storage currently it's hosting the content on pocket base but if for some reason maybe space reason you want to host it elsewhere you can use S3 storage S3 is the AWS one but you have a lot of Provider that are free that are S3 compatible for example Cloud flare and you also have Mino but it was just for information purpose and I think I will be using this for this series then if you want to give access to other people if you don't want to work alone on this project or if you have a 3D designer that will help you uh do the assets you can invite them into the admin section new admin you invite them with the email create them a password and then they will be able to do like what you did before fetching our assets from pocket base we need to have a global store a global State Management to have access to the categories and the data from our back end we will be using Zend so let's install the library in the terminal run yarn add Zend once it's done yarn Dev and hide the terminal then let's create our store in Source we can create a file we name store. js you have the example on how to create a in the documentation let's copy it and paste it so currently it's name use bear store we will name it use configurator store so everywhere in our project we'll be able to use that hook then we have a simple example showing us how to have data and methods to impact our data for now we'll want to have categories which are the customization groups and the current category we are on by default let's set it to null and we also want the assets that are currently loaded from one category so assets is an array we can get rid of the two example method and create a first method named fetch categories it will be an asking method because we need to call our back end let's see on pocket base how we fetch data from it let's start by the groups on the top right you have API pre preview and here you have examples on how to use the API either list search this is what we will need to get all the data but you also have view create update delete to have a real back end at your disposal go to list search and it starts by import pocket base and using the URL for pocket base copy it and paste it on the top of your file but we didn't install pocket base so first let's open the terminal yarn add and add it find yarn Dev again and currently it is using my URL hardcoded here but instead we'll be using an environment variable this way I won't be using the same locally that I'm using when I deploy my project we are using vit with the react to create environment variable we simply need to create a on. loal file and also to prefix our keys with vitore let's do it we copy the URL of course take yours and maybe if you are using the local one it won't be a URL address but Local Host then create new file do.
local enter put it on the root of the folder so here it is create file accept the use of a DOT so if you look it's here after the source folder vitore pocket basore URL is equal to and paste your url hit save and we can now create our pocket base URL it will be equal to vit pocket base URL and if we don't have one we will throw an error in the console so you will be able to easily know what is the problem and then new pocket base with the URL variable load it from the environment don't forget if you decided to use lsj to host your project go to the deployment of the react app then build and deploy don't change anything except inside environment variables here you can add your pocket base URL I can simply copy what I have here and paste it here then apply changes and continue now our pocket base setting should be good we can go into fetch categories and code the logic we have a few example here of course you can check the JavaScript SDK documentation if you need to go further but for our use case it's pretty simple we just need this one so we have a sort example with minus created if you look at sort it's using minus or plus to decide if you are in a descending or ascending order ring let's take it let's name it Con categories is equal to this but instead of starting it by created we'll be using plus because we want an ascending order and position then we do the same for the assets we want all the assets customization assets and sort by minus created of course you could also add a position column on the Assets Now to update our store easily we have access to a set method we call it and we add the updated variable so categories this is the one we have here then current category we set it to categories of zero so the first categories will be the current one we are on by default and then all the assets let's also prepare another method Set current category to be able to switch between the different categories so it will take a category as a parameter and it will simply update it and to have access to our store outside this file we need to export use configurator store so now to be able to use it and to see that it is working or not we will create a new component to organize the B hour code let's add a new folder name it components and let's create ui. jsx this is where we'll put our user interface let's do it export const UI is equal to and we will return our UI we will have have a main container containing everything that is fixed on top of the screen then we'll add a full screen container that will be using Flex to be able to space things so we'll have one big container on top and one on the bottom containing our assets and our group on the top we'll be using justify between to have my logo but you can use your logo of course on the top left and a download button component on the top right so when we have it ready we'll be able to download the glb file then we have another container that will be pushed between because of the justify B and it will contain the assets box let's start with the download button it will simply be a button to do the UI that you like with a download later we'll add the logic to trigger the download now we can create our asset box inside the first thing we need to do to use our new store use configurator store and inside we have access to many things categories the current category fetch categories and Set current category then in a use effect because the first time we load it we want to fetch the categories from our backend so we do it then we can render our UI it's a rounded box on the bottom but maybe we'll change the UI later for now we focus on the functional then in a flex container we'll put all the categories name so we Loop through all our categories and for each of them we add a button so we add the key is category ID we know it's Unique so it's perfect then onclick we will Set current category with the category we are currently on so it's the full object not only the name and then for the styling of our button we add if it's our current category we can change the color of it if it's not we have a gray and then for the content of the button we add the category name don't forget to do all the required Imports use configuration store use effect and it should be fine just before checking if it works or not a quick explanation about how I am using currently used configurator store by using it like this and getting any variables I want it will render the component every time anything Chang in use configurator store in general you don't want to do this but in this case because we are fetching almost everything for our state it's good but later on the project on isolated components you will do the same that this example from the documentation you will do use bear store and from the state you will get only the variables you expect an update from and only if Bears is updated it will render that component so keep that in mind now to be able to check check if it works on our app next to the canva we'll add the UI component we reload and we have a few errors first my logo is not here I will add it new folder images and I drag and drop my logo here but of course it's not the biggest problem we have an error because we are not allowed to fetch the data from the back end and actually this is good that we are not allowed because we didn't allow people to fetch data from our back end but in our case the data is not critical and we want anyone to have access to those data without the need to login or anything to be able to change it click here on the Cog edit collection and you have API rules and you can see that currently admins only are able to do things on our database the only one we will need to unlock is list search rule we click here and leave empty to Grant everyone access so we just do it save it closed everything but let's open again and you can see that the others are admin only and I have a button to unlock it but this one it's not admin only so it's empty so everyone has access to it and I have a button to set admin only so now it's in the good State we need to do the same on the assets API rules unlock it but you can see it's powerful you could make more specific rules if you are using the authentication authorization system save changes and let's try it again we can reload and now we have all our groups that are displayed here if I click on one we don't see the updates so maybe something is wrong with the Set current category and I think oh yeah I say it's the whole object so it's maybe current category. name and it's way better no worries about the UI and the nonresponsive will fix it later you can also see that we have an error in the console which is that the request was autoc canell this is because we are in development mode and in strict mode so the use effect is called twice but no worries on the deployed version it won't happen you can just ignore okay currently we are displaying the groups now we want to display the Assets in the group to display all the assets from one category we display them in the asset box below here but first we need to have access to all those data we could just look at the assets and do the filter in our component but the most convenient way is to store the asset categories inside each category so we Loop through each category and then inside each category we add an assets array which will be all the assets filtered based on if the asset group is equal to the ID of our current category that way it's only processed once at the loading of of our application of course you would use a different approach if you were using paging or if you are loading the assets only when you click on a category but here because we don't have a thousands of items it's a good approach to load everything now below our categories we can add a flex container for all our assets so we Loop inside our category through the assets then for each asset we will add a button but then inside the button we want to add the image that we have in the thumbnail column so if we try to do image and set the source to asset.
thumbnail we'll have a fun surprise let's try it we reload we go to the top section and all path are broken if we check with the inspector we go on the image and you can see that we have only the end of the path so it's trying to load my thumbnail locally this is because with pocket base you can have a few options to be able to adjust your thumbnail adjust your images with URL parameters so what you need to do is to use the SDK and use get URL so that way you can use uh other parameters but at least it will create the full URL for you to be able to use pocket base everywhere let's export it from our store and in the UI here for the source it will be PB for pocket base. files. getet URL and you pass asset in the full op object and asset.