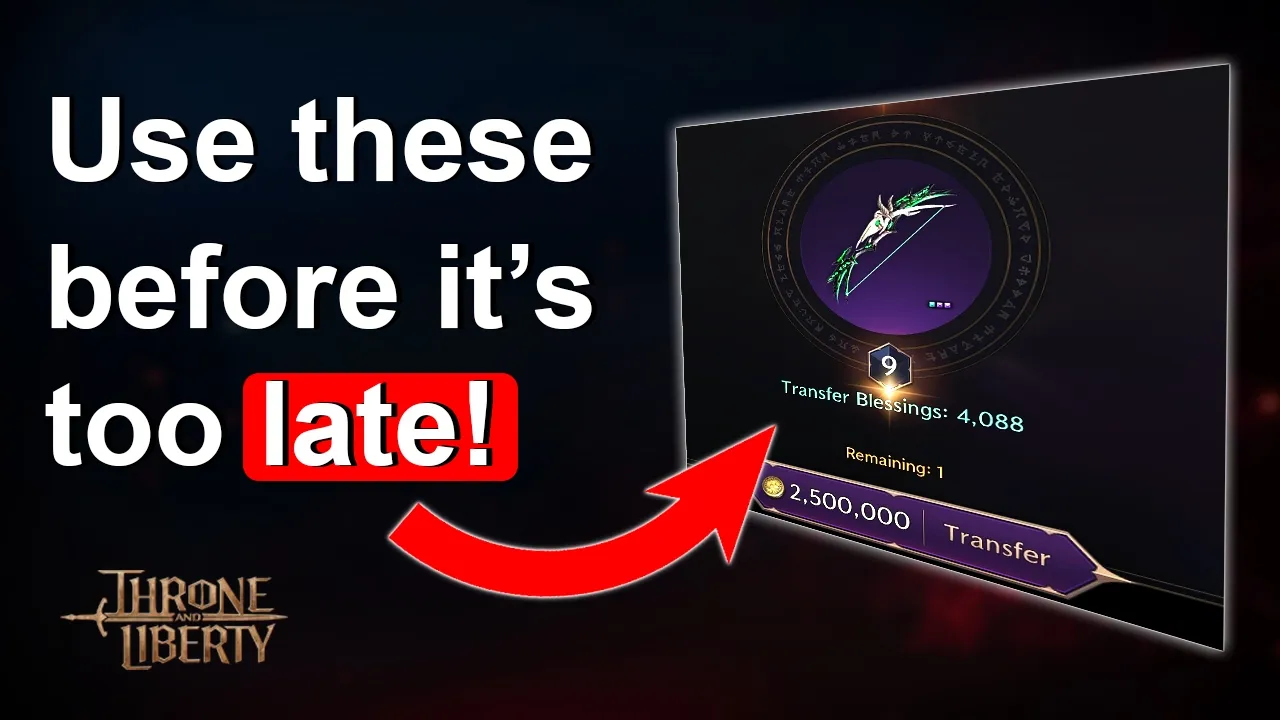
a lot of you liked my previous video where I showed you 10 secrets that nobody's telling you about I decided to dug deeper into Trona Liberty and find 10 more secrets 10 more tips whatever you want to call them that nobody told you about and that you should know ASAP you will want to watch this video Until the End cuz some of these are actually super fun first let's start with something that's called fail stacking blessing as you already know when you transfer a fully traded blue gear item into a purple item you get something
called transfer blessing as you can see if I was going to transfer these blue daggers into this purple great sword I would get 960 blessing on this great sword I already explained that before you already know how this works so I'm not going to bother you too much with this you can also do it with a purple item where a fully traded plus n purple gear item is going to give double the amount of transfer blessing but that's not the only blessing that you can get you can infinitely stack this blessing as long as the
RNG is not in your favor let me show you exactly how you can do that for example I have this CarX nether boo that I'm currently using and as you can see it has critical hit chance on it and it has two shitty traits now why did I unlock two shitty traits on it because I wanted to fail stack blessing on this gear item because I don't want to play carix bow in my build instead I'm going to craft two black bow and then I'm going to transfer all of these traits and all of this
blasing into a two black bow so how does fail stacking blasing actually work first you'll want to go into an auction house find your weapon and find your gear piece whatever you're trying to do it it works literally on blue purple on any gear item you want to do it for example I already had critical hit chance so I didn't need to buy these but I un locked Undead bonus damage and Health Region because they're super cheap and then what you want to do you want to go into search criteria put the rare find trade
and type Health Region and select weapons this is going to find all the weapons with the Health Region and as you can see they are all super cheap we're going to buy five of them so I'm going to demonstrate how fail stacking actually works we're going to select the ball and here are all the five weapons with the Health Region now when you transfer a blue item into a purple you have 10% chance if I was to use blessing it would consume some of that blessing and it's going to give me 100% that's why stacking
blessing is important but you do not want this to succeed because as long as it doesn't succeed you can infinitely spam this as long as you have some loosened and you can actually stack the blessing super high as you can see I have already stacked 1,168 blessing from these two traits so let me down demonstrate fail number one fail number two fail number three fail number four and fail number five and now my blessing is 1,368 and now you see how you can infinitely do this as long as this doesn't hit four out of four
and as long as you don't accidentally succeed with 10% % chance but even if you succeed it's not all bad because you will have three full trades unlocked and upgraded and once you want to transfer that item into a different one it's going to give you an additional of 1,500 blessing so on top of this 1,368 blessing for fully upgraded trades on a purple item you get additional 1,500 blessing and just to show you how much blessing it actually is going to be and when clicking on the car bow you see that I can transfer
288 blessing I keep the plus 9 level and I get 288 blessing on the new weapon another great thing about fail stanking blessing now for example if I wanted 100% have a chance of success of this critical hit chance with a blue item and your gear item already has a tra that you don't want to use you can fail stack blessing with the tra and then once you accumulate 500 blessing you can simply go into critical hit chance or whatever trade you want to do you want to select the trade here and you want to
select use blessing and then you going to have to consume that trade so you can use the fail stank blessing to upgrade your current existing trades not just for the transfer you need to have one good trade and one bad trade and you can fail stack on the bad trade because these bad trades are super cheap and it's going to help you upgrade your more expensive trades for literally nothing next thing that you can do when you have a bad tra on your Bes in slot gear item for example on this belt I have Health
Region that I do not want to use so how do we get rid of this Health Region the most cheap way well if this is your best in slot item you will first want to unlock two of these slots with the traits that you want for me this would be Max heal and skill damage resistance I wouldn't recommend that you do it with tra unlock Stones you will want to go into the auction house under belts accessories and find extract butcher belt so since the max heal is the most expensive one and we only need
two the second best is going to be debuff duration and skill damage resistance so you will want to buy these two extracts and unlock the traits on your belt since this belt isn't my best in slot items I'm not going to buy it and spend it just to show it and once you have bought these items unlock these and this should be debu duration and skill damage resistance and now now if you want to convert the Health Region you will do it with the trade conversion right here and as you can see it's only using
trade conversion Stones 100 of them because to have a guaranteed trade conversion you will need to have a butcher's belt with Max Health which is expensive but the good thing about this RNG conversion is that it only uses 100 conversion stones but you have increased chance of actually getting Max Health since you will have skill damage resistance already unlocked and debuff duration already unlocked which means that you're going to have 33% chance to either unlock Max Health weaken resistance or stun resistance these odds are much better and much higher than the odds that you have
right now it's still RNG and you can still unlock something that you do not need so you might need to repeat this multiple times but it's going to save you 450 maybe even more loosen depending on which gear you are trying to unlock the next tra because mael is the most expensive one on the accessories so if you want to save Lucent this is probably the best way that you can do it because these trade conversion stones are pretty easy to get as you can see I have 600 of them one great way that I
was recently able to obtain a large amount of loc ENT is by recrating the same item going into my cell history you can see that I was crafting until I get great success of clas of conqueror which had a buff duration and another clasp of conqueror we had Max Health which sold for 3,400 and 2,600 I also did that on my alt so I was able to obtain over 10,000 Lucent just by recrating the same items and how does recrating these items work well clasp of the Conqueror was one of the items that had a
low value on the log graph and high value on the great success a great success buff duration is 2K loosen a great success skill damage boost is 6,000 locen and a great success Max Held was selling anywhere from 1,000 to 11,000 locen so somewhere in between those two is going to be the most reasonable price and how do you actually get this gear item that is sellable and usable But first you will want to go into the L graphs and you'll want to try to find clasp of the conquer as you can see clasp is
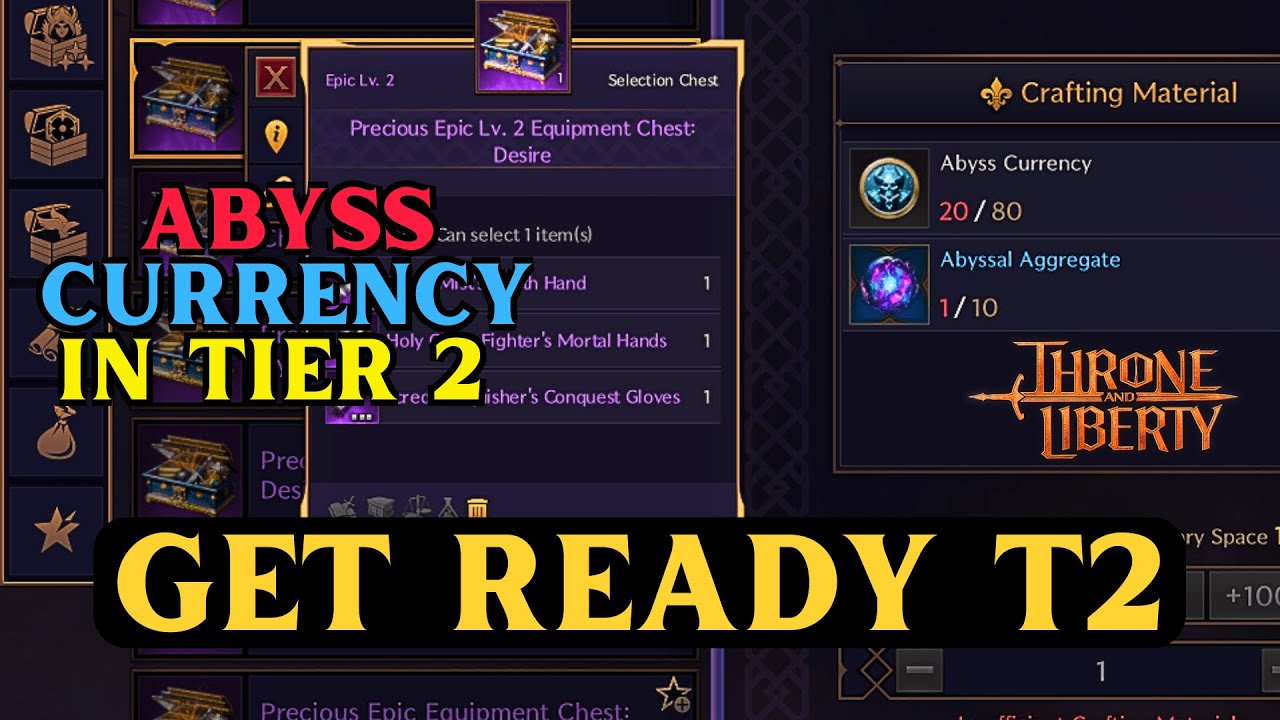
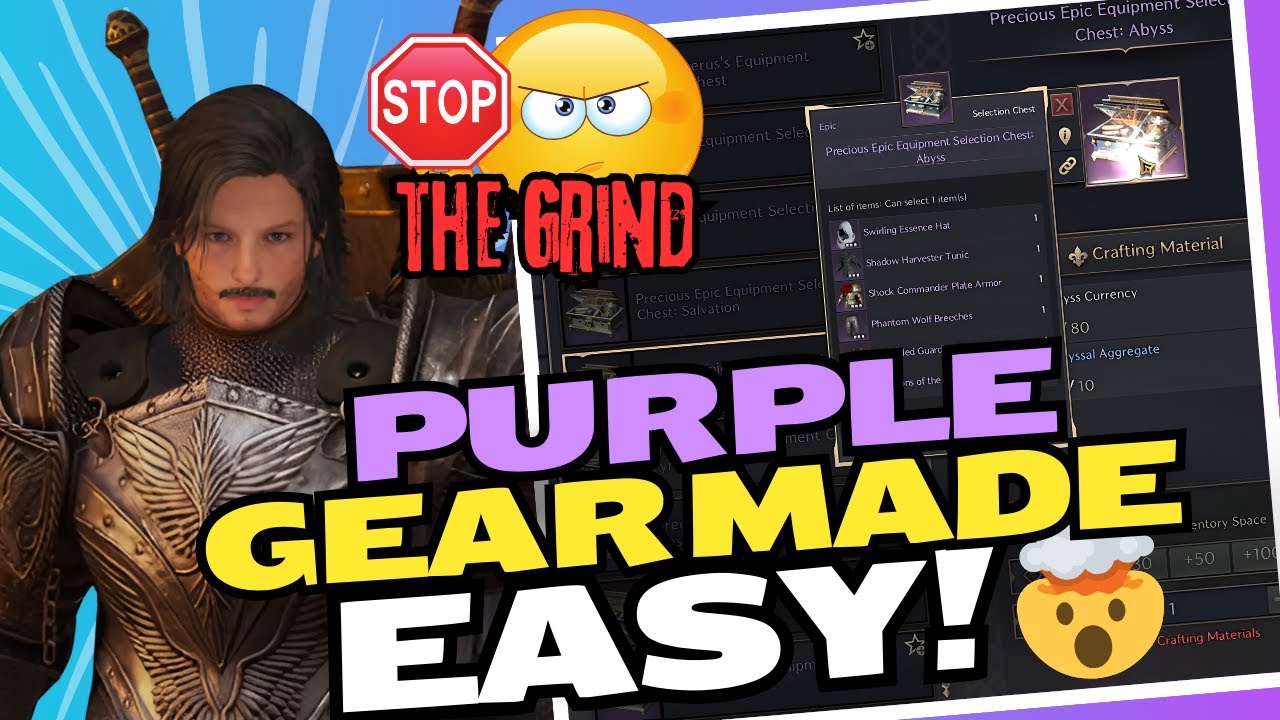
only 540 Lucent as a litograph if you don't want to spend this Lucent and you have Abyss currency you can craft this chest precious equipment chest abyss and inside you can see that you can select clasp of the Conqueror so you can get one clasp for free but if you do not have ays currency to craft this chest feel free to spend the 500 loosen for a lph after that you'll want to go to an accessories crafter I'm going to already assume that you know how to make this precious blank litographs so if you open
the clasp from the chest you will need to craft one of these blank litographs and turn that clasp into a litograph but we are not going to be selling that L graph you're going to be using this L graph to craft it as a gear item and why do you want to craft it as a gear item because it has 20% chance for a great success and when you hit the great success this item becomes tradable on the auction house and you can sell it for five times the price of the log graph that you
paid as you saw the log graph for clasp of the Conqueror is 500 well the great success skill damage boost is 6,000 Lucent so you can see how much more Lucent you can actually make by doing this the only problem with this is that you are limited with the enchanted ink since weekly you can only obtain 50 Enchanted ink from the Contra coin Merchant which means that you're only going to be able to do this twice a week so your chances aren't that great but if you do this every single week eventually you're going to
hit one great success that you can sell for over 1,000 loosen depending on the trade now of course this involves a lot of gambling and a lot of spending loosen but eventually you're going to hit the great success chance because 20% is pretty high and it happened to me two times on my main and three times on my alt just from four crafts the next thing the lot of people don't know is at this SRE crafter there's this thing called precious purification Stone as you can see it can be crafted with precious Rubik's or emirat
or stalon ore and maridor but it also requires this Abyssal aggregate that is tradeable and sellable on the auction house but this is a really good item for PVP players this is basically a trinket that lets you remove CC on use this does not get consumed as you can see it has a cool cool down of 2 minutes and it removes all types of CCS except petrification weaken and collision eventually by doing open world dungeons these drop there you're going to be able to reach this 60 pretty easily and pretty fast as long as you're
farming it daily but if you're a hardcore PP player you want to spend loosen buy these and craft it as soon as possible because this is going to help you insane in PvP the most recent patch has also enabled blue litographs which means that you can craft rare blank litographs for armors weapons and accessories this does not use blue ink it uses the same Enchanted purple ink just in lower amounts and it uses blue materials to craft it now why is this important it is important because you can make Lucent selling these blue items as
you can see some of these blue lithographs are worth a little bit of loose but not that crazy amount but I wouldn't use this for making Lucent you can but I would use it for obtaining tra unlock stones from the litograph collection book since you can now actually obtain blue litographs and you can easily upcraft that the same blue gear I would personally use it to try to get this resistance collections done because you can get 25 25 25 25 you can get 100 tra un loock Stones by putting these inside the log graph and
all of these are easily obtainable by just going into the litographs finding it and as you can see for this heroic Garbo resistance you would need to put these four blue chest inside and now that you can buy these blue log graphs and craft these weapons Soul miror carpet for example if you go in the auction house and you search for a litograph you can see that for 155 Lucent you can craft this item and put it inside normally I wouldn't put a value on tra unlock Stones because it is pretty hard to get you
can craft it right here and to the litograph collection book is the only way you can actually properly get it you can also do this if you want to unlock these items gear items that you want to use and that you need to use another thing that a lot of people neglect is cooking as you can see see I'm level 17 and I was able to reach level 17 in 3 days now how was I able to do this well I'm going to show you the fastest way that you can level up your cooking so
pretty much you'll want to craft everything that is available and everything that you can craft until you reach a level until healthy milk unlocks as you can see one healthy milk gives 230 experience you need normal milk which can be bought at the sandre merchant and you need Raw R and how can you obtain a large amount of Rotan by going into the battle pass Zena star shop and if you completed your battle pass and you have some of these star points you'll want to buy out this whole shop spending everything here is going to
get you 500 rtin I would also recommend that you do the same with salt because you're going to be want to use salt as well for cooking so you can get 500 rtin 500 salt once you have that you will want to go to the sandre merchant and you will want to spend Sal want to obtain milk just to demonstrate I'm going to buy 10 milk and now we go back to the cooking oven and you can cook healthy milk which is going to give you 230 experience but do not cook it yet it is
important before cooking anything that you pop this food pickled fruit candy that gives you cooking Mastery bonus 15% so this is going to give you extra 15% experience so you want to activate it and then whenever you are cooking whatever you're trying to cook you get 15% more experience you will want to use and craft milk all the time until you reach level 17 at level 17 you will unlock Scorpion tail fritters as you can see one gives 2,938 experience salt you have already spent your star coin shops and you obtain a large amount of
them vegetable oil can be purchased for soland at the sandre merchant uncommon fish oil can be obtained by dissolving fish so you will have to do a little bit of fishing and you will have to dissolve uncommon and rare fishes so green and blue fishes can give you uncommon fish oil when dissolving and Scorpion tail can be farmed in abandoned Stone Mason town but only during nighttime then you would come back here you would pop the 15% cooking Mastery experience increase and then you will simply want to cook as many of them as possible this
food is also good because it gives you movement speed and attack speed so you can also use this food and you have a great success chance of critting which means that you can sell it also for loosen if you are a player that cares about being rank one in Gate of Infinity on the boss and obtaining the 600,000 solent as a reward the easy thing that you can do is very simple you can see that for example dagger dagger only has two players if you scroll down a little bit more you will see that Longbow
Longbow also has only one player and some of these don't even have anyone crossbow crossbow crossbow wand sword and shield crossbow and why is that and this is because these weapon combinations are not that popular and nobody plays them but what you can do is simply equip for example if you are playing Longbow dagger you can equip Longbow long and all you need to do is just kill the boss because the competition is very low it only works on these seasonal rewards it doesn't work on these as well this is only first clear on whichever
weapon you do it normally when you fly you cannot use any of the abilities as you are morphed into a bird normally the way you can simply do it is just by selecting a Target and if you just jump off a cliff and you press Shadow Escape you're going to dash from the air but let's say you are flying you're baiting your opponent in PP by just flying he knows that you cannot use your abilities what you simply want to do is release your forward and tap shift two times this is going to release you
from flying and it's going to allow you to use the abilities this is very useful in PvP if you're trying to attack an enemy from a higher ground simply flying baiting it and then simply just Shadow dashing on him without him even knowing that you are coming another cool way that you can prevent yourself from taking damage from falling if you don't to morph into a bird and it actually drops you faster to the ground is by simply blocking it or using your defensive skills so simply you jump off and as soon as you hit
you block and as you can see I took no damage because I guess I pared the landing on the ground let me demonstrate it again simply block and you take no damage normally I would took normally I would take half HP damage there but this is actually faster way to land from a higher ground than actually doing morphing this and then Landing like this and then you still have animation of transferring from a flying bird into a human and it puts you in a disadvantage if you in PvP there's an enemies here you simply want
to do it like this block and you are instantly ready to fight and for the end I left few tips for the open world dungeon sanctum of desire in case you didn't know already sanctum of Desire only opens when it's raining outside when it stops raining the door Clos when you go inside you will notice that the top floor has four different altars earthquake alar spawns geomancers wave alar spawns hydromancer storm alter spawns arom mancers and Flame alter spawn spancer these altars are the best way to farm these mobs because the density of them are
insane in their specific altar they also spawn trackers and guard Guardians so you can combine these quests and do them together but there's one problem normally when it rains you can easily access these altars as you can see this is covered with water and when it's raining this is flooded with the water so you can swim across it and reach the altar as soon as the rain stops this is going to drain out and it's going to be very hard to access the altar but what if I tell you there is a way to access
each of the four altars without needing their rain not many people know how to access it and how to get in so I'm going to show you the way that I've been doing it and the way that you can easily get your group inside one of the altars and then freely Farm it first the earthquake alter the spawn geomancer you'll want to come into this corner you'll want to jump here and then jump across here walk all the way here and then simply jump and morph into a bird and there you have it you just
access earthquake alter when it's not raining and you can easily just freely Farm all of these mobs and bring your group of six inside to freely Farm without any Interruption next is a wave alter which is also easily accessible you'll want to jump on this corner and then just simply jump on this Edge and as you can see you're inside the wave alter when it's R raining and when it's not flooded and you can freely Farm hydroman storm alar is very easy and very simple to enter you just simply walk over here no need to
do any crazy parkour this is going to be probably the most contested one after the rain stops so I wouldn't recommend you trying to farm arom mancers and for the flame alar I usually just do a little bit of parkouring here jump on these rocks right here then morph and fly onto this little ledge here then you're going to jump here go up these rocks they can be a little bit buggy so give it time jump all the way up here until you reach this walk around it and just simply morph and fly inside the
flame alar and there you have it that's going to be everything for this video hopefully you learn something new let me know in the comments if you want part three as soon as I'm able to figure out 10 new secrets I'm going to make the video and you guys can learn some new secret tips and tricks but for now thank you for watching consider subscribing and watch some of my other videos appearing on your screen







![What Should I Do Next? Top Level 50 Goals & Priorities [Throne and Liberty Global Guide]](https://img.youtube.com/vi/_Ys2iOIifJ0/maxresdefault.jpg)