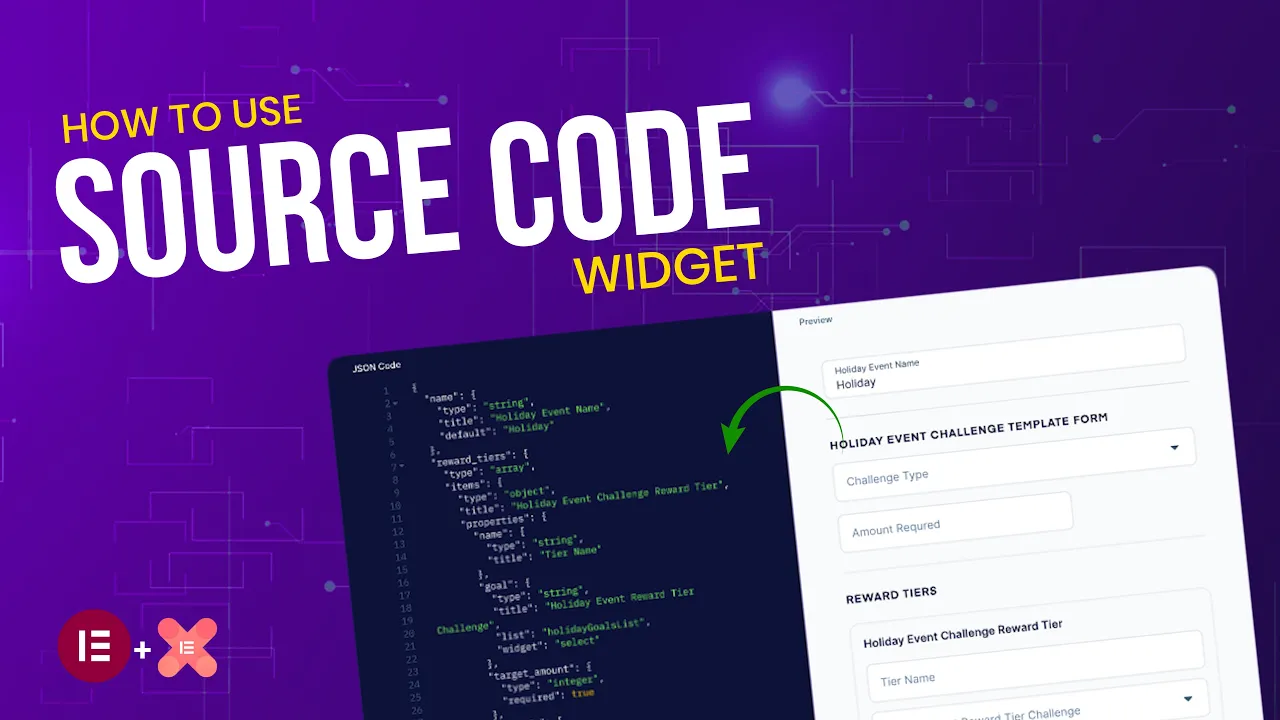
Want to get more credit for your web design work and attract better clients? Well, smart designers don't just show their work, they share the code behind it. And in this video, I will show you how to do that with the Expo Elementor source code widget.
Now, unlike pasting the raw codes as plain text on your website, this widget display your codes with proper formatting, highlights it in different programming languages, and makes it look clean and professional so visitor can easily copy and use it. Now, let me show you how to set it up and make your code snippet sharable in just a few clicks. Okay, so first make sure you have the XPro elementor add-ons free and pro version installed and activated.
Now, open the page in Elementor where you want to add your code snippet. First, make sure you set your container in such a way that one side you have your demo design and on the other side you'll display the code for it just like you can see it on the screen right now. Now I'm going to delete this pre-edit part so I can show you from scratch how this widget works.
Now in elementtor search panel look for expro source code widget and simply drag and drop it inside the container. And there you go. By default it will look something like this.
So let's quickly set it up. First go to the language type option and here you will choose the programming languages for your core snippet. For example the HTML, CSS, JavaScript and many more.
The reason you see so many languages here is that this widget is designed for all kind of users. Whether you're sharing front end code, the styling, or even the backend logics, this widget highlights it properly so your audience can read it easily. Now, check out this theme menu.
This is really cool. It lets you choose the look and the style of your code block. You will find both the light and the dark themes here, so you can match it with your website design.
I personally like this one, so I'm going to select it. Okay. Next, in the source code field, simply paste the code of your design and see how neatly it appears.
It looks professional, easy to read, and really polished. Then, finally, we have the copy button toggle option. Now, if you turn it off, the copy button won't appear on the code block.
But, of course, we will keep it on so your visitors know they can copy the code in just one click. Super simple and super useful. Now you also get the option to change the text of the copy button and even the text that show up after someone clicks it.
For me the default text works just fine. So I will leave it as it is. And that's it for the content tab.
Now let's move on to the style tab to polish our code snippet a little more. Okay. Now inside the style tab, the first option in the general menu lets you adjust the height of your code block.
This is helpful because you can set it exactly according to your design so it fits neatly without looking too big or too small. Then of course you can add a little box shadow around your code block to make it stand out from the background. You can even add a border and adjust it with the radius and padding to make your code block neat and well structured.
These small details bring focus to the code area and make the whole design feel polished instead of plain. Then of course you can style the copy button itself, change its text color, give it some nice background color and make it match your side design. And now for the final touches.
Let me just fine-tune the border margins and then hit publish. And that's it. We are done.
See how quick and simple that was. If you pasted raw code as plain text on your website, it would just look messy and hard to read. But with the Explor add-on source code widget, your snippet look clean, professional, and easy for visitor to use.
So go ahead, try it out and turn your design codes into something that build trust and keep visitors coming back to your site. [Music] Want to get more credit for your web design work and attract better clients? Well, smart designers don't just show their work, they share the code behind it.
And in this video, I will show you how to do that with the Expo Elementor source code widget. Now, unlike pasting the raw codes as plain text on your website, this widget display your codes with proper formatting, highlights it in different programming languages, and makes it look clean and professional so visitor can easily copy and use it. Now, let me show you how to set it up and make your code snippet sharable in just a few clicks.
Okay, so first make sure you have the XPro elementor add-ons free and pro version installed and activated. Now, open the page in Elementor where you want to add your code snippet. First, make sure you set your container in such a way that one side you have your demo design and on the other side you'll display the code for it just like you can see it on the screen right now.
Now I'm going to delete this pre-edit part so I can show you from scratch how this widget works. Now in elementtor search panel look for expro source code widget and simply drag and drop it inside the container. And there you go.
By default it will look something like this. So let's quickly set it up. First go to the language type option and here you will choose the programming languages for your core snippet.
For example the HTML, CSS, JavaScript and many more. The reason you see so many languages here is that this widget is designed for all kind of users. Whether you're sharing front end code, the styling, or even the backend logics, this widget highlights it properly so your audience can read it easily.
Now, check out this theme menu. This is really cool. It lets you choose the look and the style of your code block.
You will find both the light and the dark themes here, so you can match it with your website design. I personally like this one, so I'm going to select it. Okay.
Next, in the source code field, simply paste the code of your design and see how neatly it appears. It looks professional, easy to read, and really polished. Then, finally, we have the copy button toggle option.
Now, if you turn it off, the copy button won't appear on the code block. But, of course, we will keep it on so your visitors know they can copy the code in just one click. Super simple and super useful.
Now you also get the option to change the text of the copy button and even the text that show up after someone clicks it. For me the default text works just fine. So I will leave it as it is.
And that's it for the content tab. Now let's move on to the style tab to polish our code snippet a little more. Okay.
Now inside the style tab, the first option in the general menu lets you adjust the height of your code block. This is helpful because you can set it exactly according to your design so it fits neatly without looking too big or too small. Then of course you can add a little box shadow around your code block to make it stand out from the background.
You can even add a border and adjust it with the radius and padding to make your code block neat and well structured. These small details bring focus to the code area and make the whole design feel polished instead of plain. Then of course you can style the copy button itself, change its text color, give it some nice background color and make it match your side design.
And now for the final touches. Let me just fine-tune the border margins and then hit publish. And that's it.
We are done. See how quick and simple that was. If you pasted raw code as plain text on your website, it would just look messy and hard to read.
But with the Explor add-on source code widget, your snippet look clean, professional, and easy for visitor to use. So go ahead, try it out and turn your design codes into something that build trust and keep visitors coming back to your site.


![🎵🎵 [BGM] Focus music for Study or Work.....](https://i.ytimg.com/vi/PY40Yy0K83Y/mqdefault.jpg)