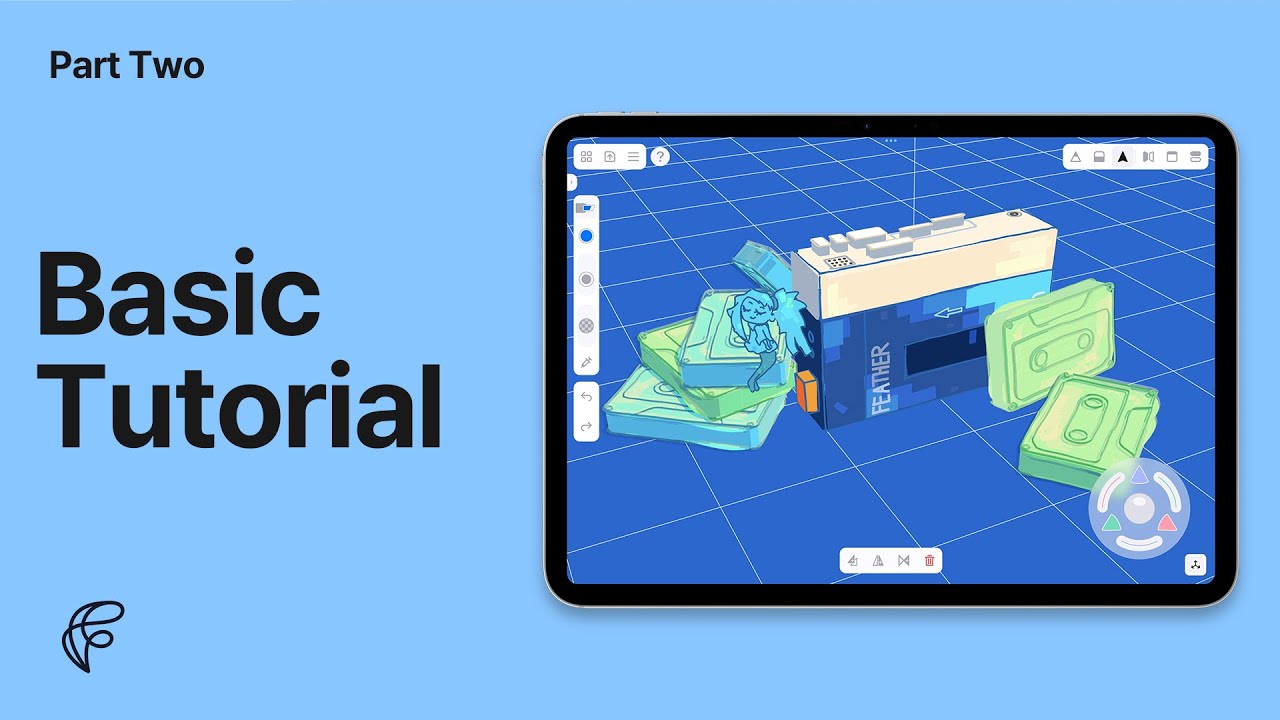
Welcome to the Basic Tutorial of Feather. This video is for any first-time user, whether you're familiar with 3D software or not. At the end of the course,
you will get to know the basic concept of 3D drawing, and will be able to use most of the key features
and useful gestures in this app.
If you're ready,
let's start with learning how to navigate. Open the note called "Dram On" for a short practice. If you don't have the same note, Tap the profile and press
"Restore demo notes" and you'll get same notes including this one.
Feather's navigation is optimized
for three-dimensional drawing in every detail. Once you get used to it,
you'll be able to get to wherever and whenever in a flash. Let's start with the most basic gestures.
Use one finger to rotate the space. Pinch with two fingers to zoom in and out
or move around the screen. This kind of two-dimensional camera movement
is called panning in cinematography.
Also, there are a couple of very useful gestures for quick navigation. First of all,
if you double-tap the screen with one finger, the camera moves to the closest perfect view,
such as the top, side, or front. And if you double tap with 3 fingers,
you can view with an orthographic view.
Last but not least,
by sliding up and down with 3 fingers
in a perspective camera, you can control the depth of the camera. You'll see some icons on the topside.
The top left side is the system menu.
The menu on the right side is the tool menu,
where most of the creative features exist. You can control brush options on the left side
and undo or redo your actions from the history panel. Now let's start to draw something.
In this tutorial,
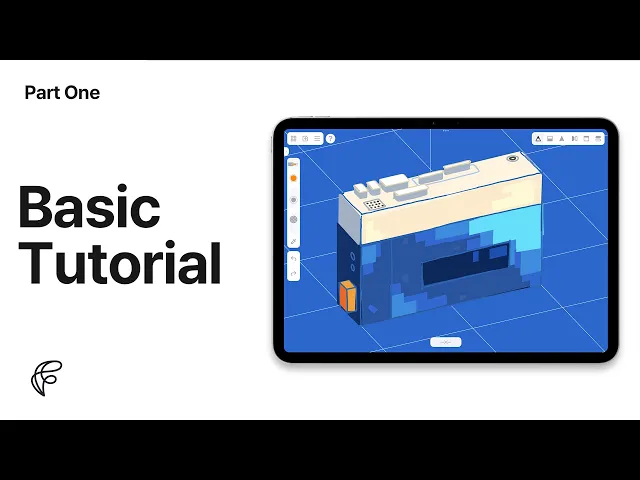
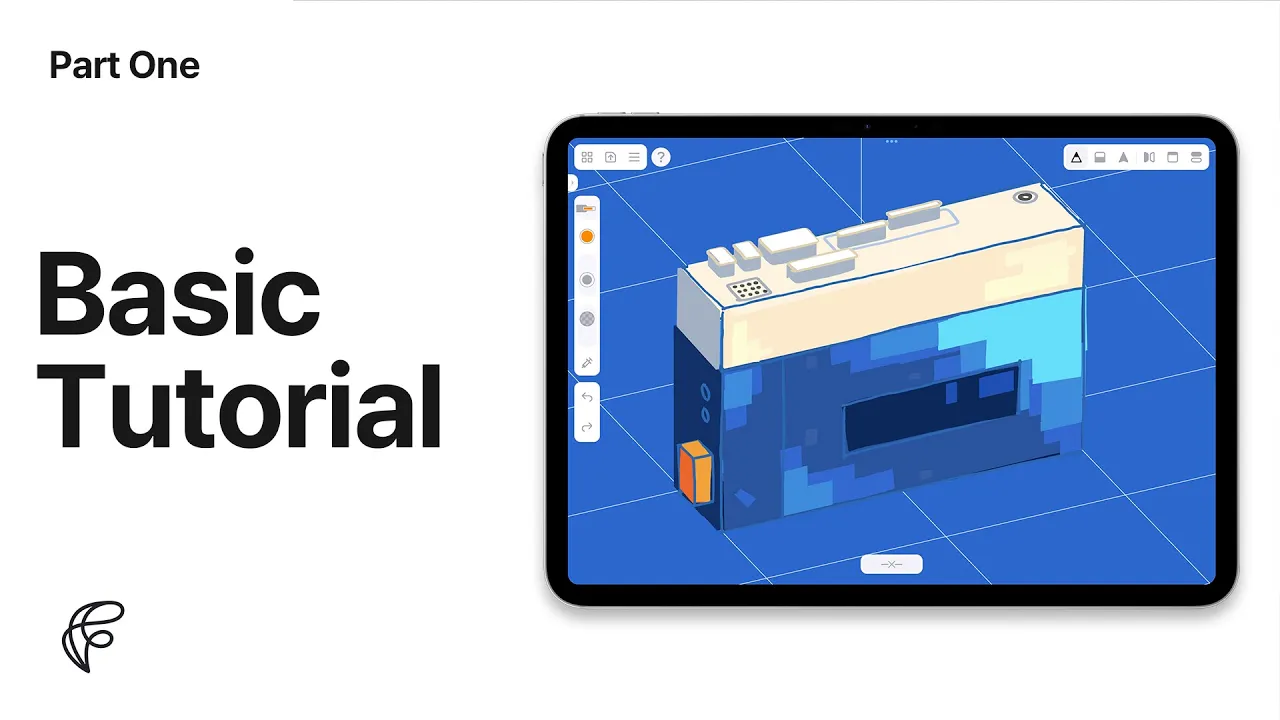
we will create a simple artwork of a
"Cassette player" like this. Let's go back to home. Tap the icon on the top right corner.
First, let's learn the basic concept of drawing in 3D. Add a new note
by pressing the button on the right bottom. Now we're in a new note
with nothing but a grid in the center.
If we think of drawing in the space, we can imagine a few ways to do it. One could be swinging arms in the air
like using a VR device or a 3D pen. Another is drawing on something like paper,
a wall, or any solid object.
What if we combine the two methods? Imagine drawing a line in the air and a sheet of paper appears along it. And then you can draw on it.
This is the basic concept of Feather. Let's try it inside Feather.
If you draw a line and rotate it,
you'll see that a long plane has been created.
If you now draw on it,
curves will be drawn over.
We call this plane the 3D guide. To close the 3D guide or make a new one,
press the button on the bottom center.
It might be unfamiliar at first,
but this is all we need to understand for 3D drawing. Press the curved arrow button several times
to undo and clear the screen. To make it easier to understand, let's turn on the global axis.
Tap the icon on the top right corner, go to the tab on the right side
which is the environment tab, and turn on the global axis by tapping it once. You can see the red, green, and blue lines on the screen. Each of them represents the global XYZ axes,
which we'll learn more about later.
Ok, let the red line head to the bottom right for now. Before drawing,
there's an important tip we should know. While drawing from several angles, orthographic view is much easier to use mostly.
So let's double-tap with 3 fingers for now
and keep going. Have a look at the left side of the screen.
Here, we can change the brush type, color, size, and opacity, or extract them.
By tapping the brush icon once, you can select
the types you want. Let's first try the one right here. Touch anywhere else to go back.
Slide each icon or tap and type in
to change the size or opacity. Let's keep the size about 15 this time and keep the opacity to 100%. Now let's practice a bit
by sketching the cassette player.
Drw a 3D guide along the floor grid
from the side or front view, and go to the top with double tapping. We need to see the grid often from now on,
so the 3D guide may look too opaque. We can change the opacity or even hide it
by sliding the close button on the bottom to either side.
Let's keep it somewhere about 50 to 60% for now. Drw a rectangle about two squares wide
and half a square tall. If you're done, close the 3D guide.
Now let's draw the side of it
by drawing a guide along the long side of the bottom sketch. Go to the front, double-tap again,
and draw a rectangle
about two times as wide as it is tall. Let's do the same on the opposite side.
Close the 3D guide and draw a new one. Just draw exactly like we did before. Close the 3D guide again and draw a new one on top.
Drw two more lines on each side to make it look like a cube. You can double tap with 3 fingers
to check what we drew in a more natural perspective. Let's keep drawing some key lines to make it more like one.
Double tap again with 3 fingers to go back to the orthographic view. Drw a guide along the front face from the side view. We will draw the parting line at the front this time.
If you want to erase the sketch,
tap the erase icon on the tool menu here. By Scrubbing the strokes,
you can erase them in detail. Also, by tapping the eraser icon again, you can switch to another mode of eraser
called vacuum.
With vacuum, you can erase the sketch
stroke-by-stroke. Let's erase everything for practice. and recover by undoing the actions.
We're gonna divide the cube based on this line,
so let's repeat drawing a line in the same position on each side
like this. Now we're going to paint this cube with some colors.
But before that, let's separate our sketch from
what we're going to draw now.
Tap the icon on the top right corner.
The panel here is called the stage, where we can organize our sketch
and control some viewing options. Double-tap the text to change the group's name.
Let's name this group 'sketch'. By tapping this plus icon,
we can add a new group.
Double tap it again and let's name this group 'paint'.
OK, let's paint the front of it first.
Drw a guide from the side view,
but this time just a little bit inside the box.
We're going to use a flat brush this time.
Tap the brush type icon
and select the one that looks like a highlighter.
Change the size to 170mm. Drwing with this type,
the end of the stroke tends to get messy.
To avoid this,
tap the draw icon again. In this mode, by holding for a while
after drawing something close to a straight line, you can control the endpoint of it.
Let's paint using this feature.
Tap on the black circle to change the color of the brush.
Let's try a bright and milky orange first. Now draw a straight line that fills this part with one stroke.
Adjust the brush size if it is too thick or thin.
Paint the rest with a slightly dark blue. This mode works for 3D guides too.
Drw a guide for the left side and continue painting. This is the dark side of the box,
so let's use a darker color. Close the guide, draw the back, and repeat.
The back will be the brightest side,
so use a vibrant sky blue for the bottom, and a brighter milky orange for the top. For the last side,
let's use the eyedropper tool to select the colors. Close the guide, draw a new one for the side, and open the color panel.
Tap the eyedropper icon to extract any color you need. Remember, you can only extract colors from the highlighted group. Finally, paint the top surface.
This completes the basic painting. Since we're done with the coloring,
let's add some buttons next. Tap on the stage icon again,
and add a new group called buttons.
Drw a guide for the top side,
change the color to a cool gray, and shrink the brush size to 5 this time. And don't forget to switch back the drawing mode. Make sure the tip of the pencil icon is filled in black.
The button layout we're drawing now
is a simplified design compared to the original product.
This is the volume controller for the left and right sides, and here is the hole for the input device. This is where the mic goes.
Now is the perfect time to introduce the transform features. Press the icon that looks like an arrow. This is the select tool.
Use your pen to select the current group's strokes. The highlighted strokes can be transformed
using the joystick interface at the bottom right. By holding the center handle,
you can move the selected objects two-dimensionally.
The handles on the left and top change their proportion,
and the right handle is for rotation. Now, go back to the original sketch
and switch to the front view. Lift the sketch a bit so the buttons can have some height.
Something else we can do with selected strokes
is change their properties, such as colors.
Tap on the color panel and adjust their saturation. To deselect them one by one,
tap on the select icon again, or to deselect all at once, switch to another tool.
This time, let's change these parts' color to black
so they look like wholes for the mic. Since we have the sketch of the buttons in the right position,
let's paint them similar to how we did with the body. Open the stage panel, add a new group, and name it "Button Paint.
" We're going to use a different brush type this time. Drw a guide between the box and the button sketch. Now, go to the brush type,
select the one at the bottom,
and change the size to 35.
This is the ribbon brush,
which thickens in the opposite direction to the flat brush. Drw the walls of the buttons
following the path of their sketch. If the color is too dark,
select them and change it to cool gray.
Okay, let's finish the buttons by painting the top side. Drw a guide from the front or side view, and change the color to white. Don't forget to change the brush type to flat brush.
Since the buttons are tiny, let's keep the brush size around 5. Now it looks like a cassette player,
but we need a cherry on top:
an iconic orange button on the side like the real Sony Walkman.
Let's use another feature of the joystick to draw this easily.
First, switch to the sketch group
and draw a guide slightly above the left side. The button right here is called the injector, which functions just like the eyedropper but extracts every property of the stroke you select.
When you touch a stroke with the pen,
you'll see the brush type, color, and size all change accordingly.
Let's extract the strokes we used for the sketch.
And then, draw a button like this and add two circles on top
for the headphone jacks. Switch to select tool and choose the button sketches.
You might have noticed some icons appear when you select a stroke:
duplicate, duplicate symmetrically, and delete. Let's duplicate it this time and shift it to the left. Great.
Now draw the edges of the top side, and duplicate it again. Drg this to the bottom, and we're finished with the sketch. Switch to the Button Paint group
and draw a guide in the middle.
Drw a line in the center of the button and select it. Like we changed the color of what we drew before, you can change everything else too.
Change the brush type to the square one, increase the size until it fills the sketch, and change the color to bright orange.
Return to the side,
shift it to the right,
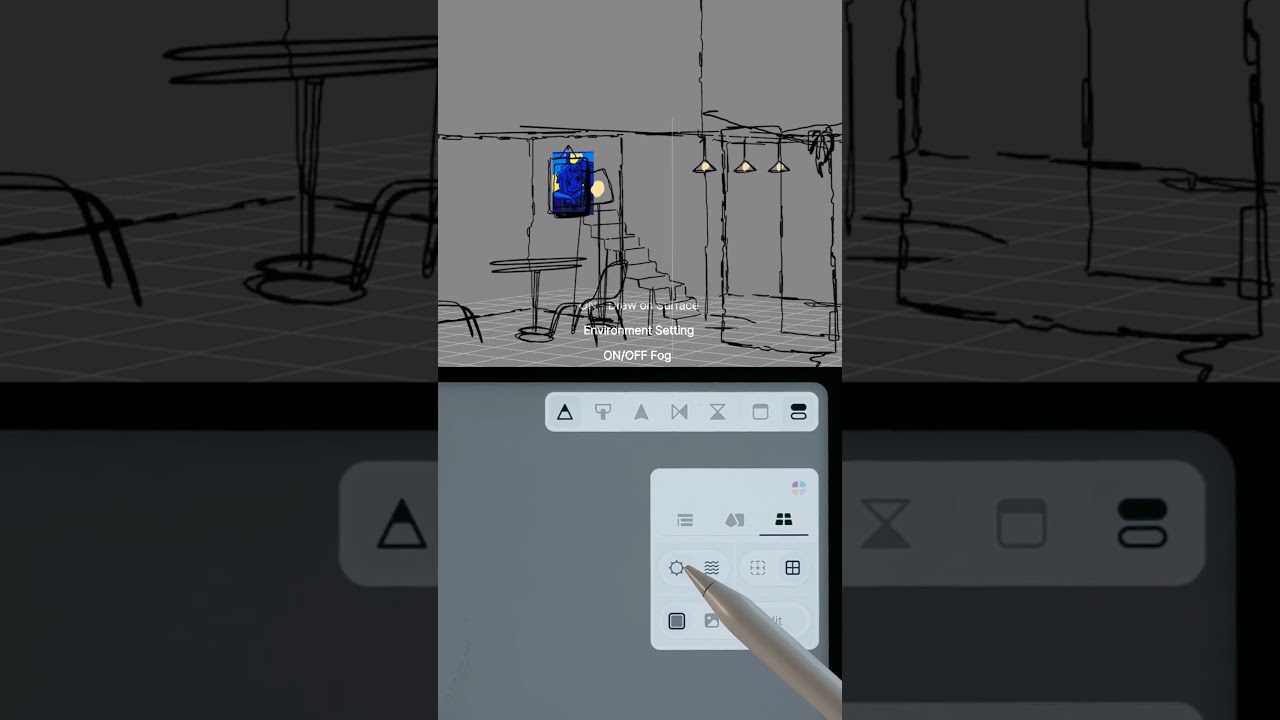
and fill in the rest of the button by duplicating it. Great, we've finished the basic drawing. To change the background color,
go to the environment tab in the stage panel, located here,
and tap on this icon.
Let's change it to a deep blue. Also, turn off the fog by pressing the button here.
This way, we can see the exact colors we used.
With the features we've learned so far, let's paint freely. Add a new group and rename it "Paint 2. " Create a guide for the front side and hide it by sliding.
The guide will be completely transparent but still activated,
so be careful not to get confused. Switch to the Flat brush with a size of 100
and start with the lightest color. Switch the drawing mode if you want to.
Paint with a slightly darker color next. Use the darkest color for the window section. Finally, switch to a very bright yellow and paint the top side.
Next, we'll paint the right side. Clear the guide and draw it again. Use the eyedropper to select and paint with the same colors.
Great. Now, turn on the group tab in the stage panel. By pressing and holding a group, you can select all the curves within that group.
Press it again to deselect. Press and hold the Sketch group to select it, then change its color from black to dark blue. Perfect.
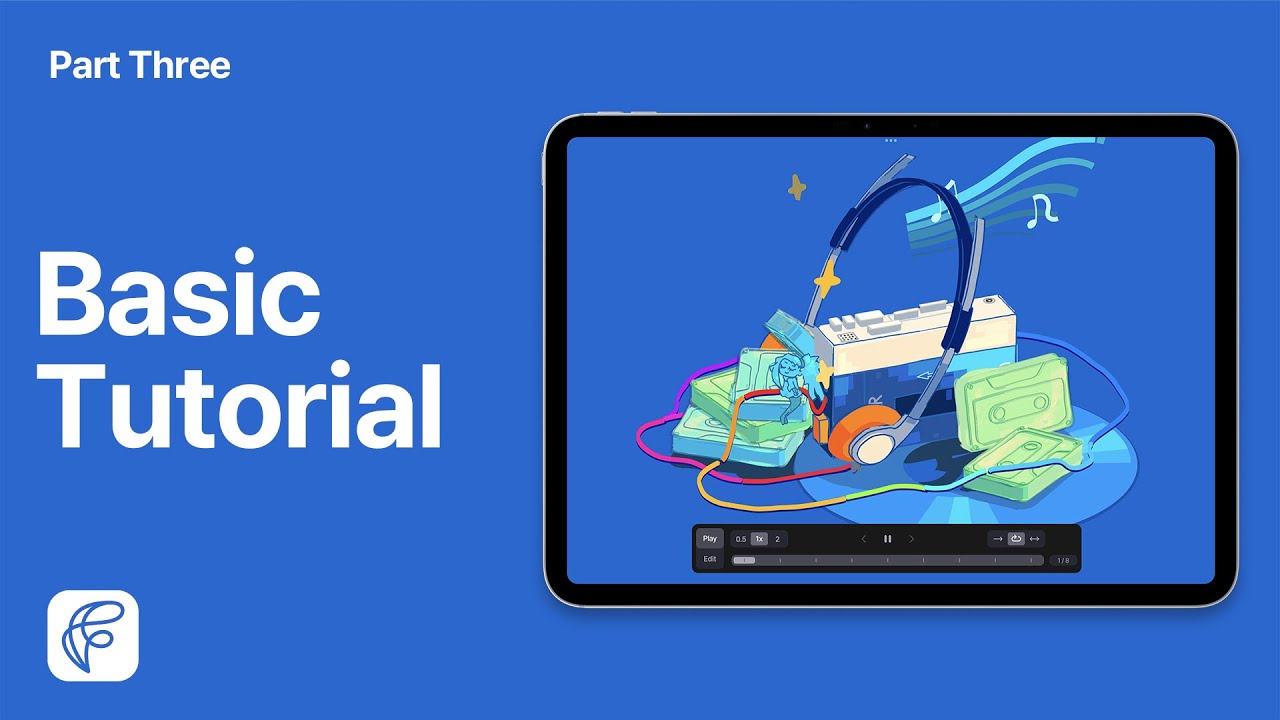
Let’s see what we drew in perspective view. I hope you're satisfied with your work. In the next part,
we'll draw a cassette tape using the clipboard feature, the new 3D Joystick, and the Stable Stroke feature too.
If you have any questions,
leave a comment,
and don't forget to subscribe and like for more updates. Thanks for watching, and see you again!