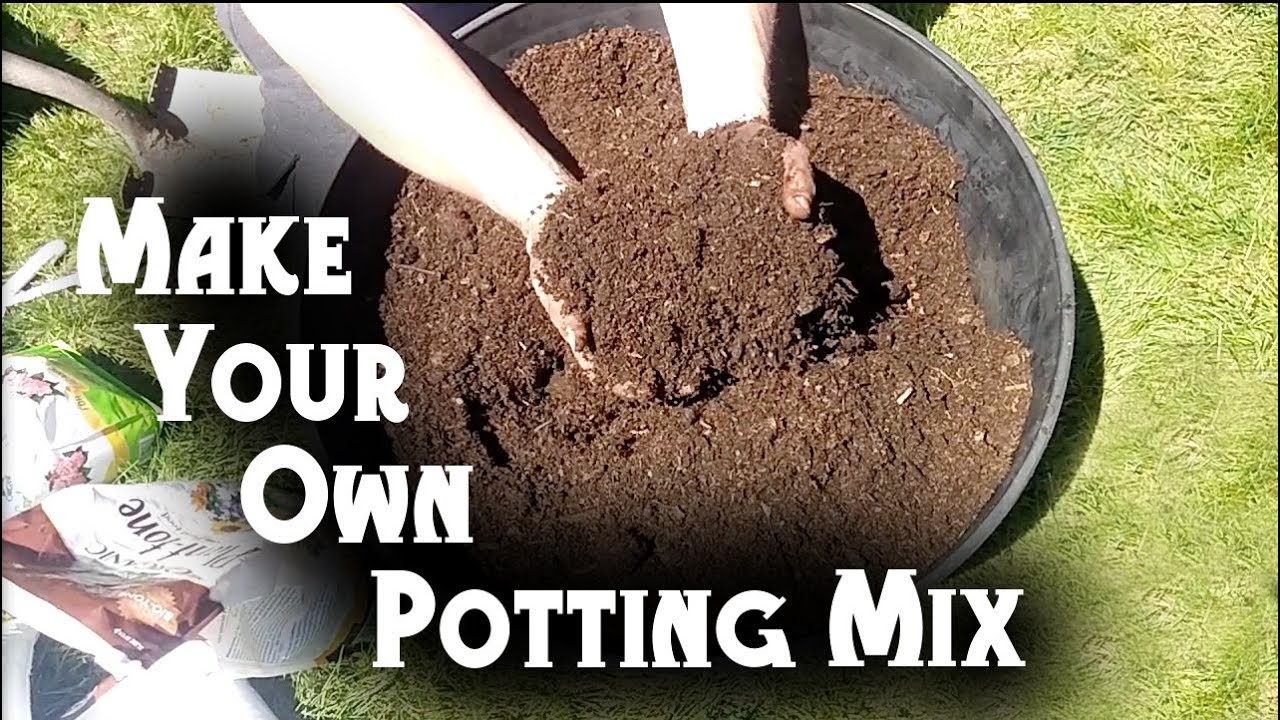
today me and tuck are going to show you how to make your own soil this will take your harvests to the next level let's go let's start by adding our first component coco coir you can use either coco coir or peat moss but I highly suggest using coco coir I like it better for a number of reasons one is that it has a neutral pH while your peat moss has an acidic pH it's way more acidic another thing is your coco coir is both good at retaining moisture and also draining while your peat moss is
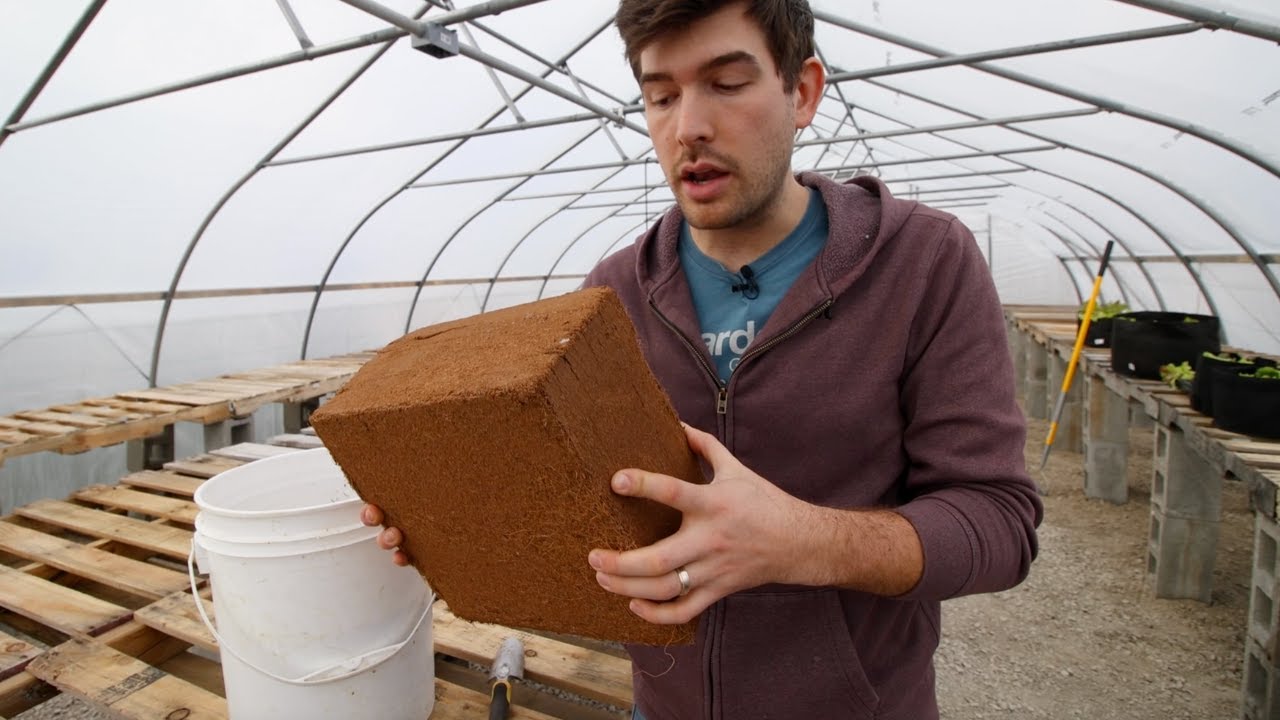
good at retaining moisture but it can hold on to a little too much moisture sometimes your coco coir also when it's super dry is great at taking in the moisture so if it's completely dried out it easily just takes the moisture right in but your peat moss if it gets completely dried out it can go kind of hydrophobic and it's hard to actually get wet again the coco coir I usually get them in blocks you can order online a lot of the stuff I'm going to share with you you can order online and a lot
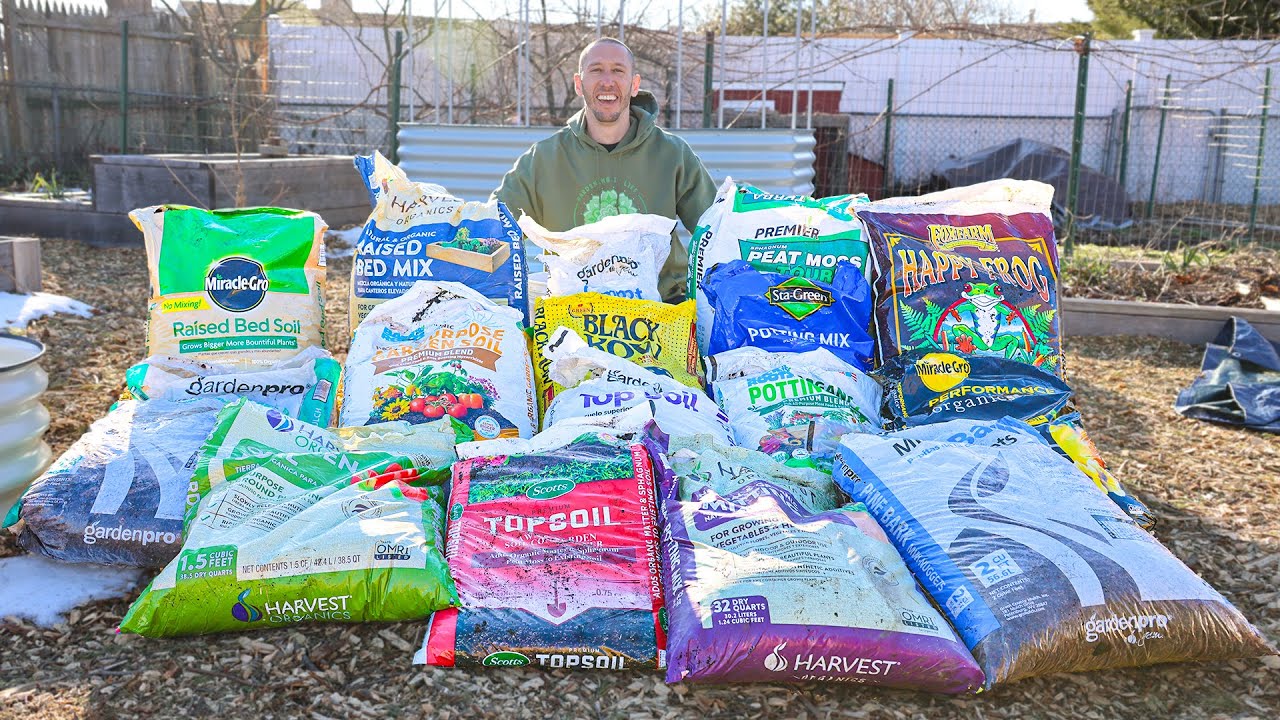
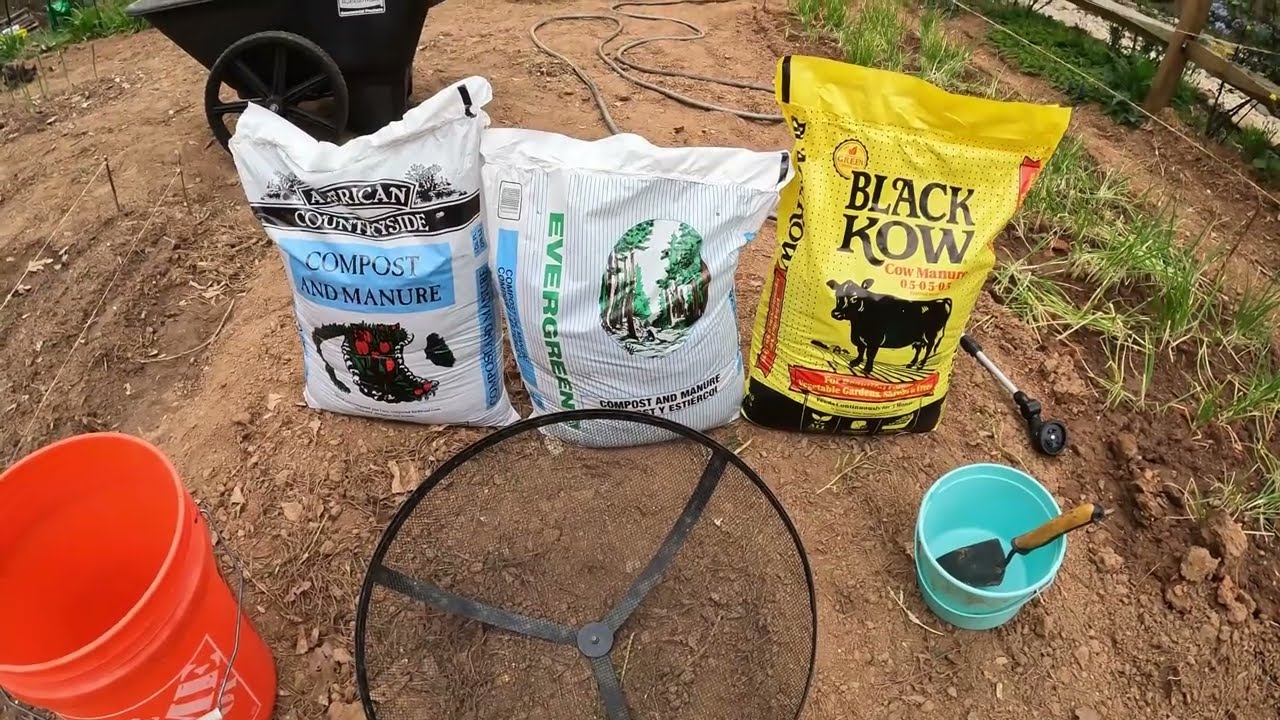
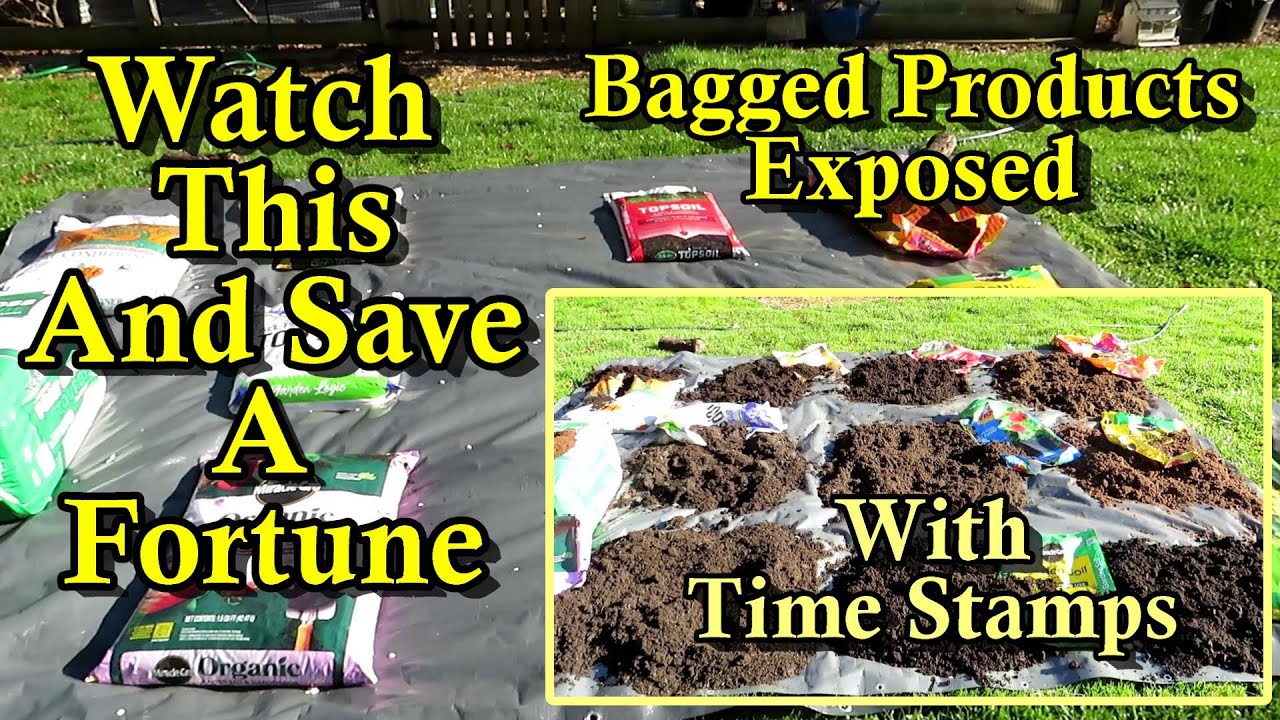
of the stuff I have on my website so let's get our coco coir down and then start getting our soil going next up let's grab some compost so there's a number of different kinds of compost right here we have a mushroom compost this I get delivered in a large quantity I just get it dumped on my driveway so it makes it a lot cheaper if you don't have the ability to do that you could get some bagged compost this is the one at Lowe's black cow that I found to be the best out of the
few that they have a choice of so if you can't get a big quantity delivered which is a lot cheaper you could go with something like the black kow there's also earthworm castings I wouldn't do all earthworm castings though I'm going to add this in a little bit later so mushroom compost is our next component we're going to dump that one in next up let's add in some vermiculite so vermiculite is really good at retaining moisture as opposed to perlite, perlite better for drainage so if we're going to do a more of a potting mix
we would add some perlite if we're going to do more of like a raised bed mix then we would add vermiculite I like adding both of them though let's start out with some vermiculite add some perlite this right here is going to be your basic mix I got this idea from the square foot gardening book this is Mel's mix where it's 1/3 compost 1/3 peat moss and then 1/3 vermiculite I switch up the ratio and things just a little bit this would be your most basic overarching mix but I do things a little different over
the years I've kind of just switched my ingredients around and I found something that worked perfect for both in raised beds and also for in a pot what I like to do is switch the ratios a little bit so I'll do a total of three buckets of of coco coir so that was one this is my second bucket of coco coir and then we'll do one more bucket of coco coir so that's three parts coco coir and then I'll do about two parts compost this is a mushroom compost that I'm using and because it was
used to grow mushrooms it could be a bit depleted so I'm also going to add in some additional amendments or you can just go with an all-purpose fertilizer like my JP secret stuff that's a great option that I mix into the top of my soil when I'm about to plant so we did three parts coco coir two parts of compost this stuff is super dense and then I'm going to add a little bit more vermiculite and perlite I like adding both of them because the compost is dense it holds on to water really well it
retains moisture great the coco coir also retains a lot of moisture so by adding in some perlite that's going to lighten it up and it's going to improve the drainage and it's going to make it more areas for the roots to have oxygen to be able to breathe and kind of easily move through the soil while the vermiculite is going to help with water retention it's going to like lighten up the mix a little bit too and it just combine getting both of them kind of gives me the best of both worlds so I add
a little bit more vermiculite add a little bit more perlite when it comes down to it it's basically half a bucket of perlite half a bucket of vermiculite to equal one full bucket so I switch the ratio I do a lot less of the vermiculite and the perlite but it seems to make a fantastic mix for me let's start getting this all mixed up and then we'll go into more detail about some additional additives as we move along we've got Tuck watching out for us if you love seeing the little boss in the videos he's
always working hard spam some hearts down low he's trying to stay warm in his little sweater here me and Tuck also wanted to mention to check out some of the merch and some of our fantastic gardening products like a lot of the stuff I'm using in this video and raised beds and stuff check it out at TeamGrow.us let's get mixing this is the soil that I've used for years years in my raised beds and it's grown some amazing food for me and you'll notice I like using the 5 gallon buckets because this helps me with
the ratios it kind of helps me get an idea of how much of each I'm adding so it's almost like you know cooking you have like your measuring containers my measuring containers are the 5 gallon buckets and I love using the tarp because I can just fold it over like this makes the mixing process a lot easier what I find to work the best though is actually getting in here getting my hands dirty start really just bringing it all together and I'll add in some amendments and stuff but if you wanted this could this would
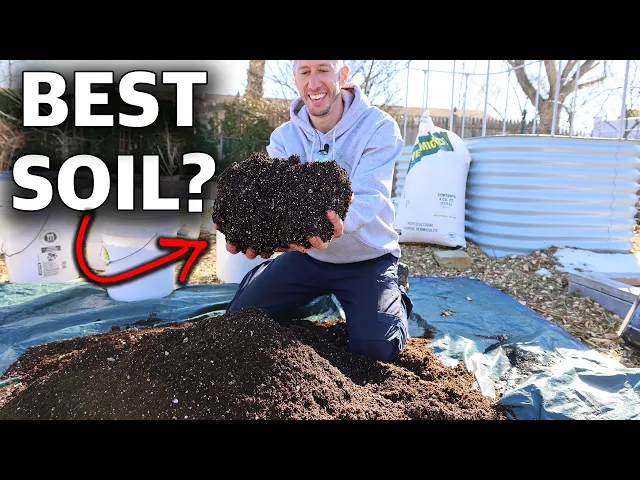
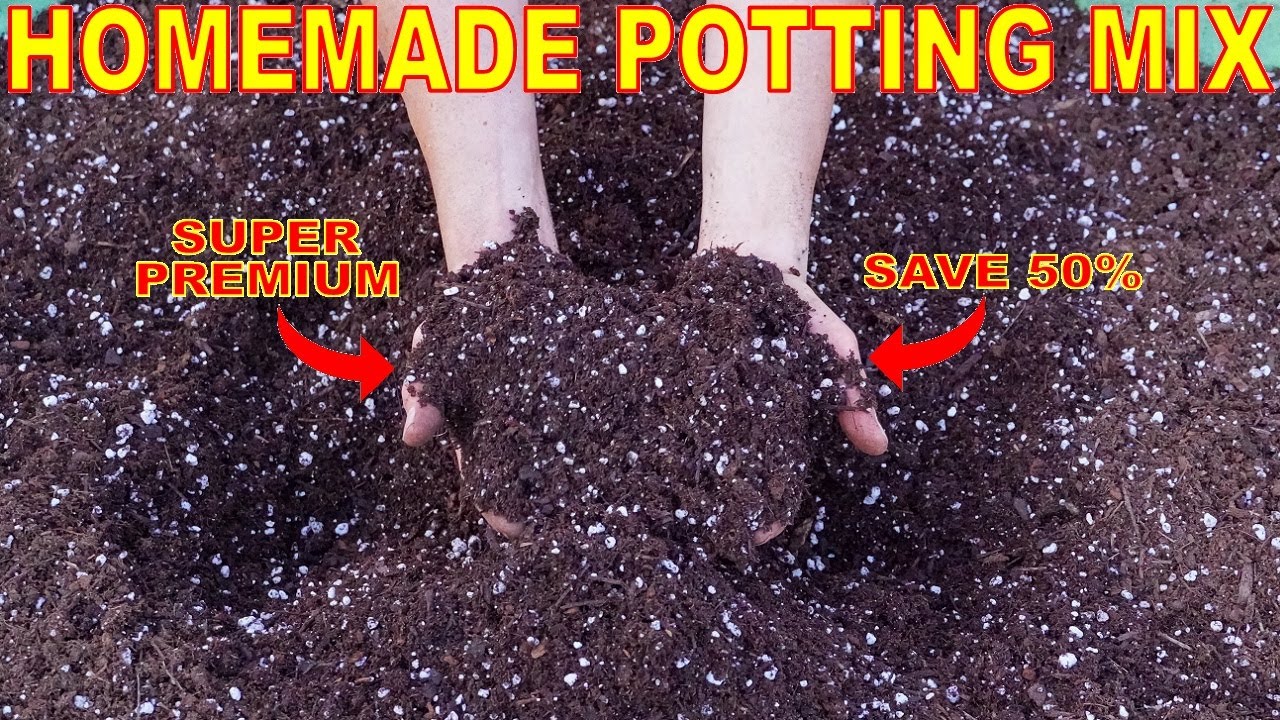
be just a fantastic mix just as I'm showing you like this but because I use mushroom compost there's just not that much nutrition in here so we're definitely going to have to add some nutrition as you can see that's a real nice mix we've got compost in there we've got the coco coir we've got the Vermiculite for water retention we've got the perlite for drainage and better aeration that right there is a beautiful mix just like that works perfect for your raised beds but also for growing in containers and pots let me show you how
I would use a fertilizer if I didn't add any additional amendments and just want it to plant out in the mix in this basic form how I have it now here's a raised bed right here with the same exact mix that I just showed you without additional additives so if I was going to plant something like a lettuce right here what I would do is I would find my square foot I would take some of my fertilizer and then I would just sprinkle some fertilizer on the top I like to wait add to the fertilizer
till I'm planting around that time instead of adding it when I'm first mixing it I like to mix the fertilizer into the top few inches this way as it rains and stuff it will uh you know and it gets watered it will go down deeper into the soil I don't want to mix the fertilizer all the way at the bottom so we'll just add a little F fertilizer like that mix it in make my hole I'll pop my lettuce out you can see the roots look really nice then I'll take some Michael risal fungi and
just inoculate it and then we'll just drop it in like that and then water it in so this is the process that I've used for years and I've had fantastic results with it this year I want to try to take things to the next level so we're going to add some additional amendments into the original soil that I just showed you the first additional Amendment we're going to add is worm castings so we're just going to take a bunch of these worm castings and just add them to this mix this is really going to help
if you want to raise your own worms too you can get some of your own worm castings but if you don't want to do that you can just get these worm castings add them in like this Tuck's watching out for me right boy good boy tuck that looks pretty good like that next let's add in some kelp meal so we going to add some of this I'm not going to go too crazy Tuck's not in the way of the wind so he won't get anything on them next we'll add in some seaweed extract this is
going to be really potent so we don't want to add too much of this oops and just follow the instructions on the bag for how much you should be adding next we'll add some biochar this is so incredibly light so at this point we're at more of like a advanced formula to making my soil mix I'm not going to add in any azomite because the fertilizer I use my JP's secret stuff that has azomite in it so let's get all this mixed up and again these things that I just showed you that's the end these
are just to help improve the soil even more but if you're using an all-purpose fertilizer that basic mix that I showed you will work fine and I have had amazing results using this both in my raised beds and in my pots and if you want for your potting mix you could add a little bit more perlite if you want to just to make it just drain a little better but this mix that I've used is this is the only mix I'm ever going to probably use again because it works so fantastic there it is your
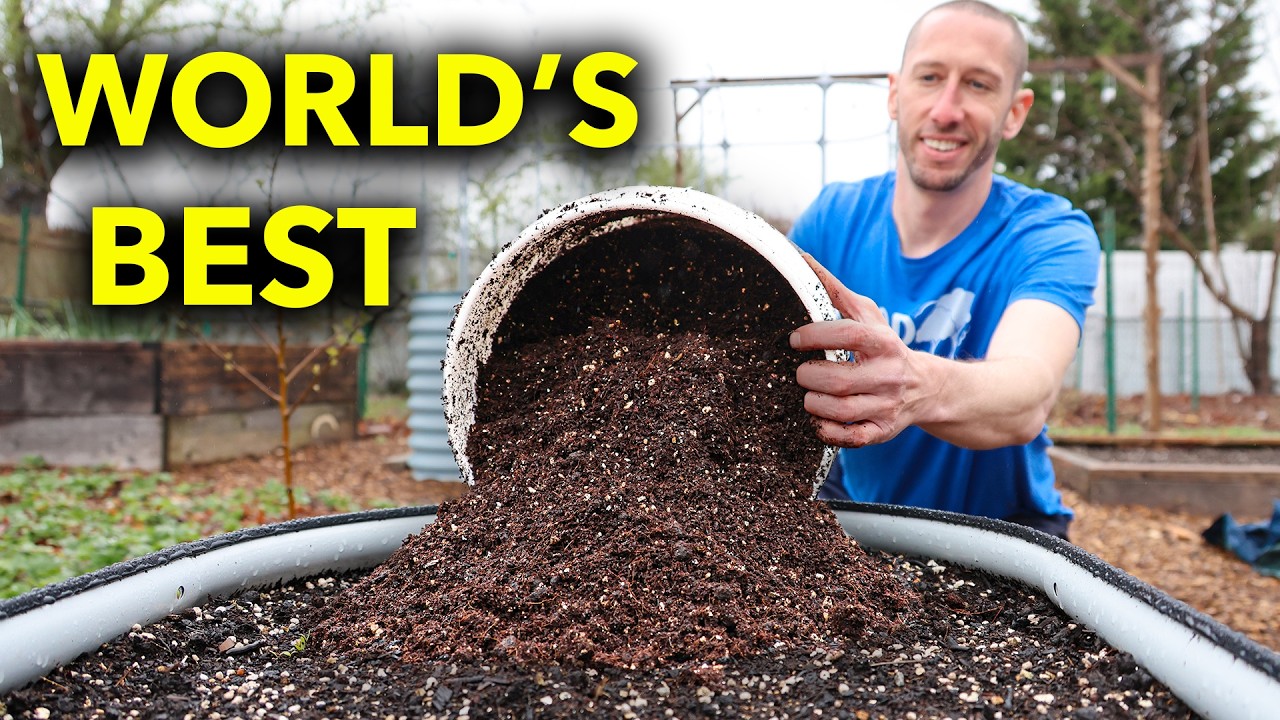
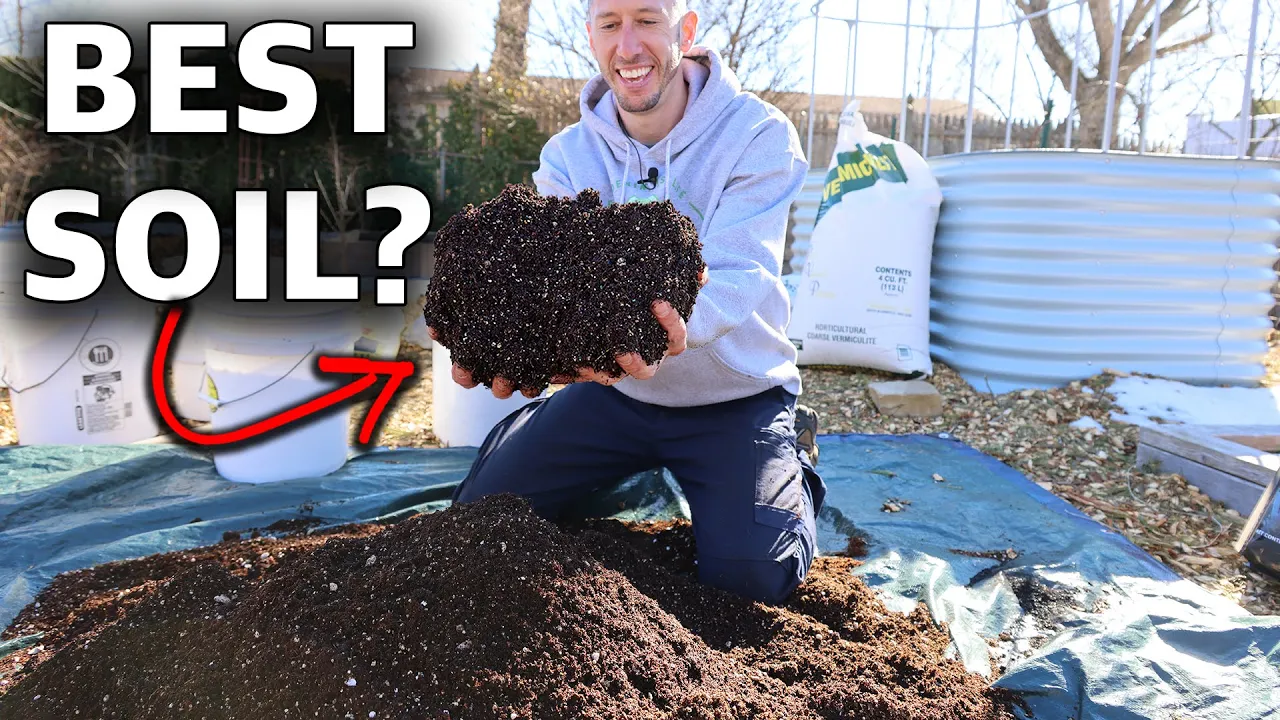
finished advanced soil this stuff is way better than anything you can buy at the store it's going to be cheaper if you can get the stuff in bulk and uh believe me try out this mix you'll be amazed at how fantastic Everything grows and if you haven't grow used coco coir before you got to try growing with it it is so much better than peat moss in my opinion it's also more environmentally friendly look at the texture look at the soil structure this is exactly what our plants want to grow in it's light so the
roots can move through it but it can retain it can retain moisture really well it'll drain well we added some nutrition and uh your PLS will be so happy that you planted them in this amazing stuff that's today's video Growers thanks for watching we hope you enjoyed it we hope you got something out of it me and Tuck had a blast out here he's still keeping watch of us as we're working looking cute like he always does right boy so this could be a little bit of a investment initially but I really suggest you try
to make your own soil and you go with my my ratios and my ingredients I think it's the best well it's worked the best for me so originally I started with you the Mel's mix that's the most basic overarching General mix of the 1/3 ofpeat moss or coco coir 1/3 vermiculite 1/3 compost I just found that that was too much Vermiculite for me so I adjusted it and this is the mix that works best for me my ratio is more of like a 3,2,1 so it's three parts coco coir two parts compost and one part
a blend of perlite and vermiculite you can see how gorgeous the soil comes out I mean look at it the texture everything and it's going to be relatively I mean it's not going to be cheap to get started it'll be cheaper than buying your own bagged soil but making good soil the first time will make a massive difference in your garden and once you get your soil going like this it's only just a little bit of upkeep as the years progress this is soil that I built a few years ago only thing we need to
do is just maybe add a little bit of compost in here as the years go on and then add some fertilizer but we don't have to keep remaking the same soil every year so it's a little bit of an investment up front but it's definitely worth it in the end so me and Tuck had a blast out here we hope you guys got some value out of the video and we hope that you enjoyed it we wanted to send a thank you to one of our new channel members Mandismash thanks for being a part of
Team Grow thanks for having your hand in everything we're doing out here if you enjoyed this video share with your friends and don't forget to check out TeamGrow.us to grab some of the best quality gardening products tuck and James we'll be back at you again real soon we out