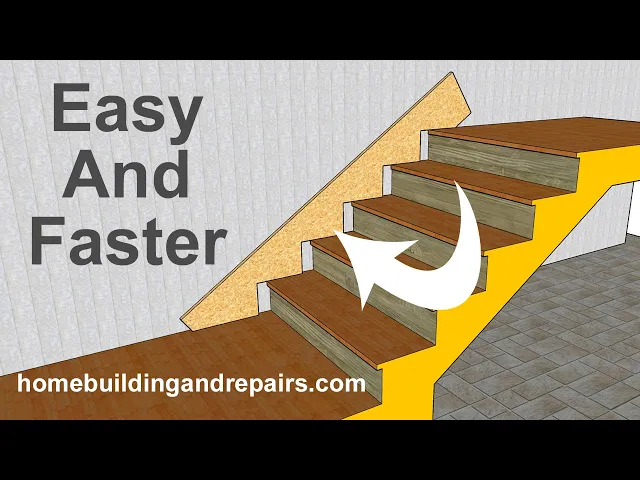
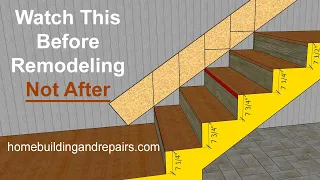
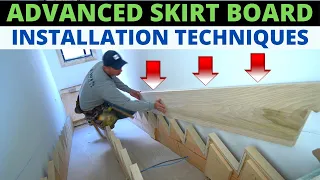
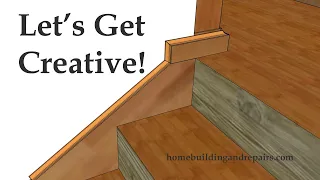
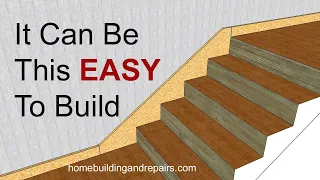
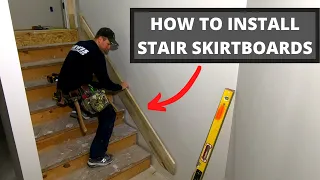
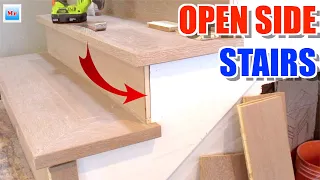
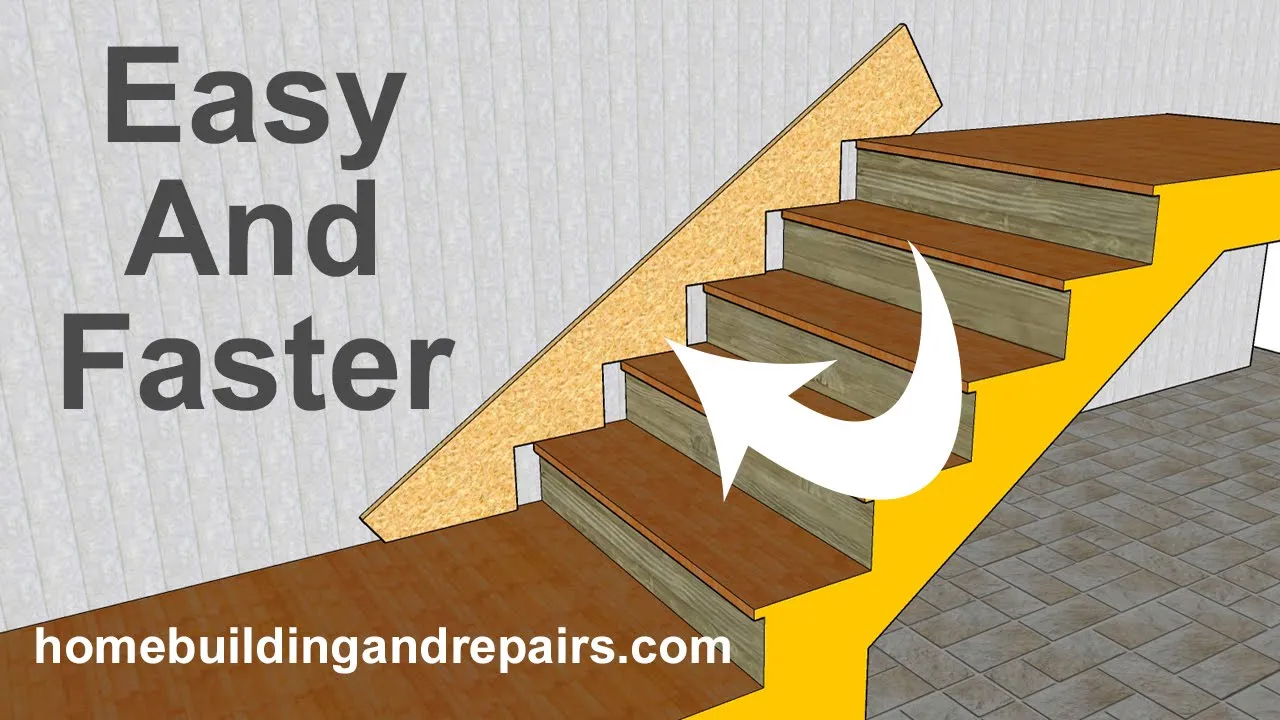
in this video I will be providing you with information on how you can install a skirtboard on a Stairway that has a nosing on the steps so that would be an overhang and in our example here it's going to be a 1 in overhang and the thickness of the tread is going to also be 1 in for making it as easy as possible on me so just remember those numbers 1 in tall 1 in out and then let's go ahead and grab our skirt board and of course your skirtboard might not look like this and
of course you can use a variety of different materials for skirtboard now this is the second video in this series I'm not going to go over all the details about laying out the marks I would suggest watching that video and I will put a link to that video in either the description area or the comment area and of course you can always just set a straight edge like the framing square on top of the steps and mark them and keep in mind that our stairway here is perfectly drawn there are no mistakes all of the
steps and riser Heights are exactly the same however yours might not be that way so you're going to have to pay attention to that when laying out your steps because it's not going to do you a lot of good to draw a line from this step here if it's tilted a little bit if you're going to be dropping the skirt board down and using this line here for this step here however it might work just fine if you're going to be sliding this skirt board forward and using this line here for this step here and
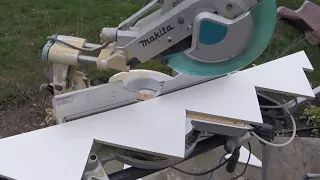
this isn't always going to be easy to lay out a piece of skirt board that is going to be extremely accurate however I will be providing details for how you can cover up all of your mistakes in future videos then we're going to add our nosing to the lines that we've drawn on our skirtboard and I would strongly suggest measuring each one of the nosings just in case okay some of the measurements are off a little bit so you should end up with something that looks like this then you can go ahead and cut it
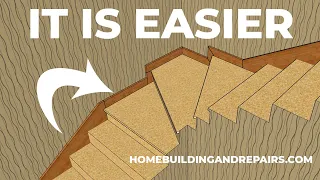
and I would strongly suggest be as careful as you can when cutting all of these marks then you can go ahead and slide it into place and if everything was cut correctly it should look something like this however if it doesn't you can always start making adjustments and doing a a little more trimming to modify the skirtboard however if you don't like that idea or if you have rounded stair nosings then we can go ahead and cut a section of the stair tread and you can see here where I have marked it the width of
the skirtboard and then cut it out so this is probably the easiest way you're going to come across because you won't have to cut this right here which is not going going to be easy especially if the front of the Treads are not square and might be curved or cut at a bevel then simply slide it in place and if it looks as good as the one that I've done here then you have done a fantastic job at shaping a piece of skirtboard to go around some steps with a nosing