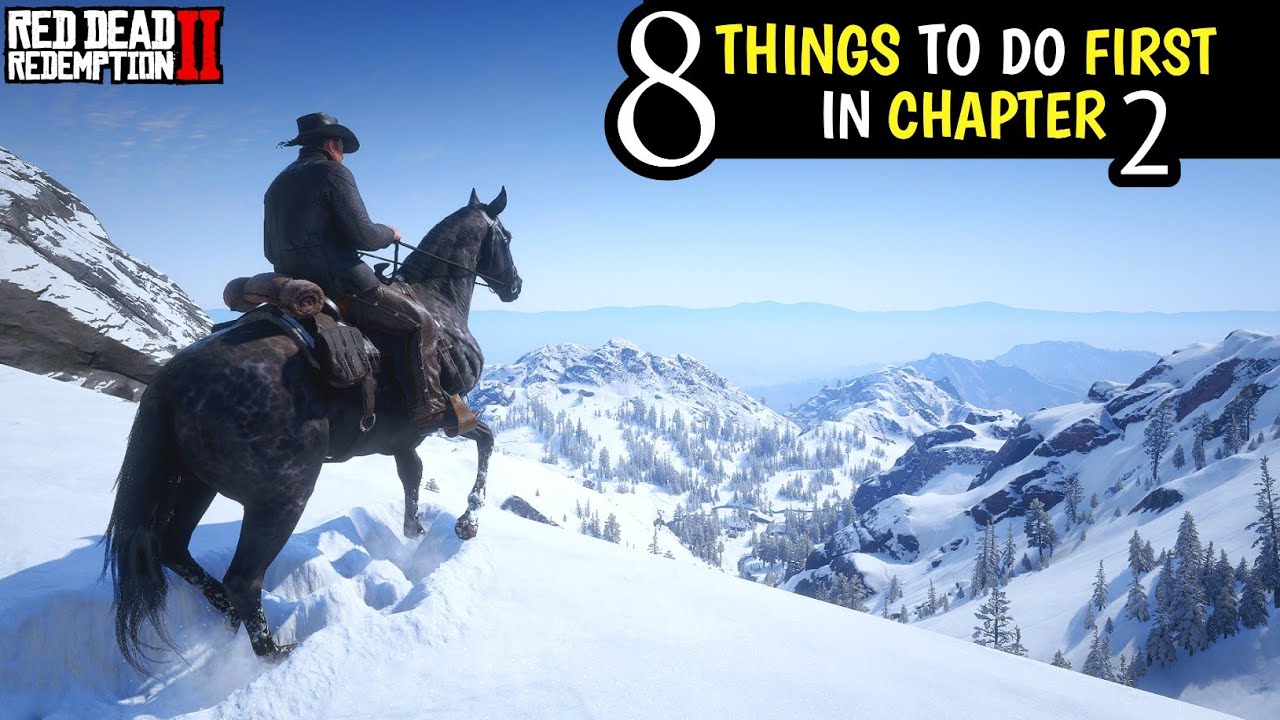
Red Dead 2 is an incredible game, with so much content and possibilities that you can play it countless times and always discover something new. Currently, I'm playing it live on the channel again, but this time delving into the darker side of the story, with bad honor. And on this journey, I realized that, even before doing missions in Chapter 2, there are a series of things that I always do in a new game, almost as if it were a ritual.
These are strategies that make life easier in the game, such as securing essential resources, exploring hidden shortcuts and acquiring some advantages that can completely change the gameplay dynamics. These tips work for both those who have never played Red Dead 2 and veterans who want to try a different way of playing. In this video, I'll show you the X Things You Should Do First in Chapter 2, to prepare the groundwork and make the most of the game!
But first I wanted to let you know that Frigga Games, AEG's partner store, has a series of promotions on Playstation and Xbox games! These discounts include Red Dead 2, GTA 5, The Witcher 3 Complete Edition, and even the new EA Sports FC 25! Which is currently costing R$350 on the Playstation Store, but at Frigga you can get yours for just R$98.
90! Remembering that all games are delivered on the same day, if purchased before 9 pm! And this also applies to weekends and holidays!
So without further ado, let’s get to the video! As soon as I start a new game, my first objective is to start the journey of collecting Money! Fortunately, this is not a big deal, as there is a well-practiced method that allows us to pocket 3,500 dollars right in Chapter 2.
We do this by collecting a series of gold bars spread across the map, with the first and most well-known being in city of Limpany, there in the old police station. The second is at this point on the map, near Wallace Station. When you get there you will find a derailed train, so to access the gold just follow this path in the video, doing these stunts.
But unlike Limpany, this location has 2 gold bars. Also don't forget to explore the other carriages, as they are full of jewels that can also be sold. The third location is at this point on the map, a few meters from the derailed train.
Once there you need to find the entrance through a kind of cave, where we will have this macabre place with some statues. This location is the most rewarding of all and involves solving a puzzle, where we have to press some buttons in the correct order. I'll leave a guide in the description for you to follow.
By pressing the buttons correctly, the game will reward us with simply 3 gold bars! So, adding up all that we have already collected, you will simply have 5 gold bars in your inventory. But that's not enough.
. . That's why I'm going to teach you how to get 2 more gold bars to finish 7!
It involves a treasure, but rest assured that it is very easy to make. The first step is to visit this place, close to Flatneck station. There we will meet Maximo, a treasure hunter.
We can buy the treasure map for 5 dollars - or incorporate the Taxad and take ownership of the property. With the map in hand, we will embark on an odyssey where we will visit three different locations across the map, with the last one rewarding us with 2 gold bars! This process takes around 10 to 20 minutes, but is very easy to do.
In the description I will leave a link to an old video, where I teach the complete step-by-step guide to getting this treasure. With the 7 bars in hand, just visit the Rhodes smuggler and sell the bars, which will total 3,500 dollars! And there will also be an additional one with other looted items along the way, such as jewelry from the derailed train.
Now that we have become a man of means and risen out of poverty, the second thing I do on a new save is visit the camp and open the gang log. There we can make a series of improvements to the camp structure, but what interests us is improving Dutch's tent. By doing this, we will have the option to purchase a map for Arthur's tent.
This map allows fast travel in the game, which can be done both from the camp and from anywhere in free roam, just set up a camp in nature. The only problem is that the game only allows us to fast travel to places we have already visited previously, which is why the list is so short at the beginning. But I will teach you a method to release all locations very quickly.
To do this, just visit any train station or carriage, as with them we can visit any city in the game from the beginning. Then just travel everywhere, with the game adding them to Arthur's camp. .
. allowing us to quickly travel anywhere for free! Only those who have played Red Dead 2 know how this tip speeds up gameplay.
. . especially considering that a journey in the game can be quite long depending on the location.
This process is pleasant and easy to do on the first playthrough, but it can become a little repetitive the times we play again. Especially if we don't already have a good horse. Try taking a long trip with a bad horse to see yourself, it's a nightmare as the horse is often slow and has little breath.
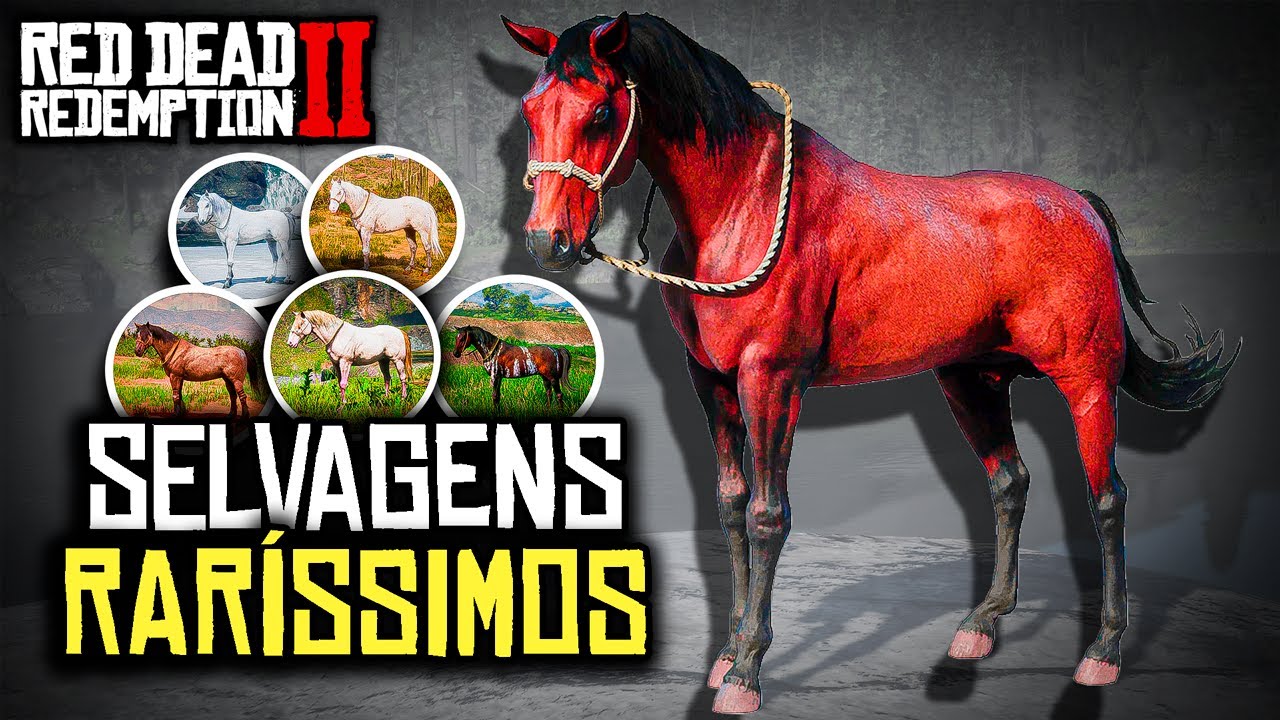
But in the next topic I will teach you how to solve this problem. Opening Chapter 2, we start with a Tennessee Walker, a horse we picked up from Sadie's Ranch stable. He's a pretty decent horse, but there are some better options in Chapter 2.
The first and best-loved of all is the Lake Isabella Purebred Arabian. No matter how many times I repeat the story. .
. I never break the tradition of traveling to the mountains to catch him. It is located at this point on the map and is somewhat complicated to tame.
But after that, he becomes an excellent mount, being an extremely fast and resistant horse, ideal for good trips. But what the animal has for speed, it has for cowardice, Jesus Christ! He is terrible in this regard, so discard him quickly if you are going on a hunting season, especially if you are going after predators.
This brings us to my second horse recommendation, the Missouri Fox Trotter of the Silver Dapper Pinto variant. He is my favorite breed in the entire game, as he takes the best of what the Purebred Arabian has to offer with the added bonus of having A LOT of courage! But as we know, this variant does not spawn in the wild and can only be acquired in the stables from Chapter 6 onwards.
But the secret here is in Albert Mason's missions, more specifically the third. In it we helped the man photograph the horse near Emerald Ranch. It's possible to make a very interesting glitch to bug the game and get this horse right in Chapter 2, spitting in Rockstar's face.
. . who didn't plan for Arthur to be able to have this horse.
I taught this method in detail in this video, where I teach you how to get the best horses in the entire game! In fact, this video has a very interesting tip that can be done right in Chapter 2. It basically consists of going to Saint Denis during the early hours of the morning, where we can participate in a random event that spawns a purebred Arabian of the black variant.
This variant is the best of the entire breed, being far superior to the white one. Because unlike the variant we caught in Lake Isabella, this horse is not wild and has better status. To find out how to get this and more horses, just click on the description link after watching this video Now that we've secured a lot of money and a good horse, it's time to finally get some good weapons.
After all, gunfights make up a large part of the game. Of course we get good weapons during the course of the story, but there are a number of excellent weapons that can be acquired right from the start. Whenever I start a new save, I like to take a kind of trip around the map, passing through some locations that guarantee me good weapons.
And best of all, for free! But before I show you these places, did you know that you can save a lot on purchases you make online? I recently bought this Galaxy S23 from Magazine Luiza.
I paid R$3,277, but received R$68. 82 back. This was possible through Cuponomia, a browser extension that offers you cashback and brings together the best coupons for you to save in different stores.
It's very simple: just activate cashback on the store page and you'll receive a percentage of the amount spent back , in addition to the best coupons for you to save even more! One of these stores is NUVEM, which even has a special promotion on PC games, with a collection of games for less than R$20! Including classics like Batman Arkham Knight and Far Cry 3!
Another tip is to recommend Cuponomia to your friends: because each one who registers through your link and makes a purchase over R$50. 00 – will grant you a bonus of R$5. 00!
You can now withdraw the amounts free of charge to your bank account, as soon as you accumulate R$20 in your balance. I've already earned more than R$900 in cashback on Cuponomia. .
. And now it's time for you to start saving! Just sign up using the link at the top of the description – and you’ll start by getting a R$5 gift!
Back to the topic. . .
Our first stop is the Illegal Operation at Valentine's Doctor. This location is a great opportunity to win a Schofield revolver, as well as some money that can be looted, including a safe that can be broken into the wall. The second location is at the Rhodes gunsmith, where we also have some sort of illegal operation.
At the end of the narrative, we can loot several items from the property's basement, including a Repeater Lancaster. It is one of the best rifles in the game and costs around 135 dollars to purchase, but here you can get it for free. Near the Braithwaite mansion we have the Catfish Jacksons family, at this point on the map.
This event allows us to acquire a beautiful double-barreled shotgun, excellent for confrontations in closed environments. After dealing with the plot narrative, you can go to the chimney and get the weapon. Despite being very dirty, it is practically new after a treatment.
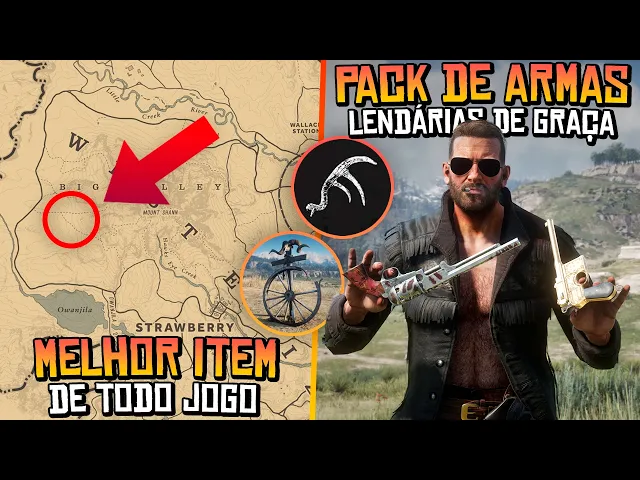
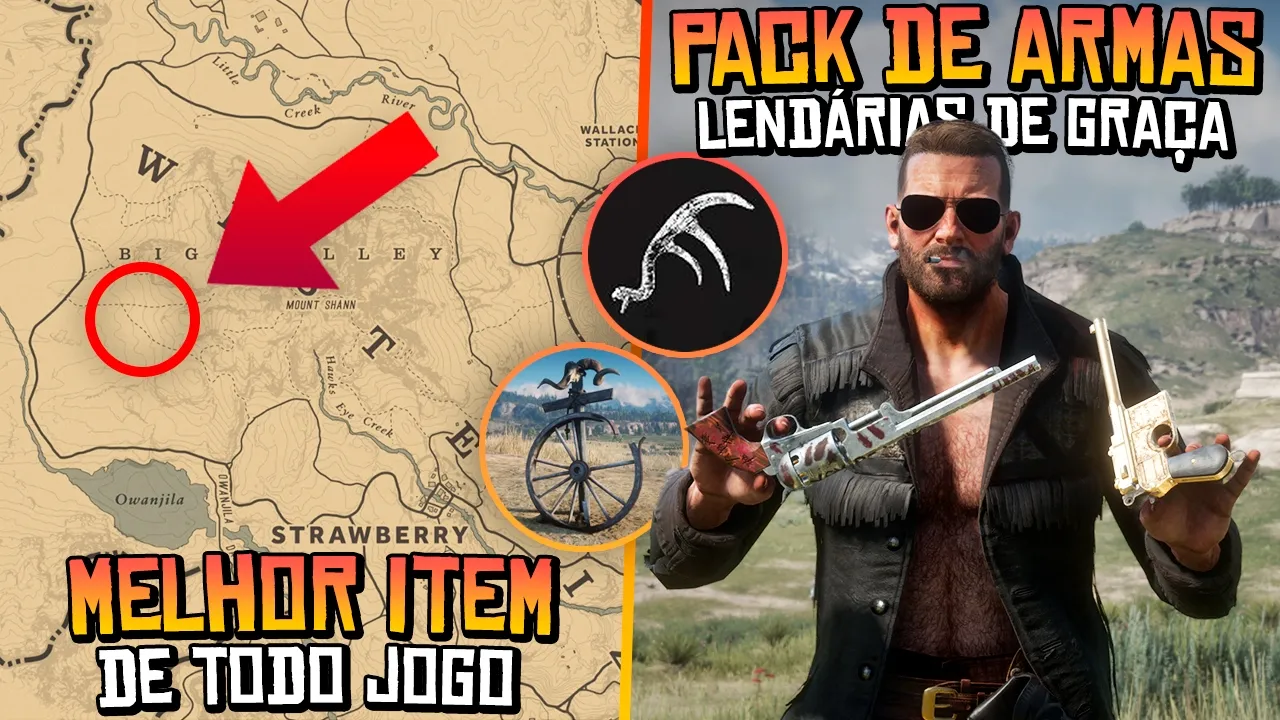
We can find another shotgun a few kilometers from this location, on a small ranch located in Big Valley, at this point on the map. Once there, just enter the cabin and go to the basement, where we will find this beautiful Repeating Shotgun, which costs an extortionate 225 dollars at the gunsmith and is only available in Chapter 4. So it is certainly an indispensable weapon.
Now that we have a good supply of long weapons, we have to get some good revolvers. The right place for this is in Valentine's second saloon, where we met the writer Theodore Levin. In your mission we have the objective of confronting some legendary gunslingers, of whom they reward us with some very good weapons.
Getting their location is quite easy, just inspect the photographs the man gave us. The first is Billy Midnight, who can be found at Rhodes train station. After completing the mission, you win Billy's revolver, which is a Mauser pistol unique to the game.
The second gunman is Emmet Granger, who can be found on his small farm near Valentine. After completing the mission, you receive a unique Cattleman revolver. The third gunman is Flaco Hernandez, who can be found near Colter.
After completing the mission, you receive a unique Cattleman revolver. The fourth and final gunwoman is Black Belle, but she is not important here, considering that she is the only mission that does not reward us with a weapon. If you collect all the weapons I just showed you, you'll have a good variety of fire in your arsenal right from the start, including unique revolvers, a pistol, shotguns and even a rifle.
The next item I pick up is the double holster, so Arthur can shoot two handguns simultaneously. Many think that we need to free Micah from jail to get it, but that's not true, as it's possible to get it much sooner. The method consists of hunting two deer, which can be of any condition, and selling them to the nearest trapper.
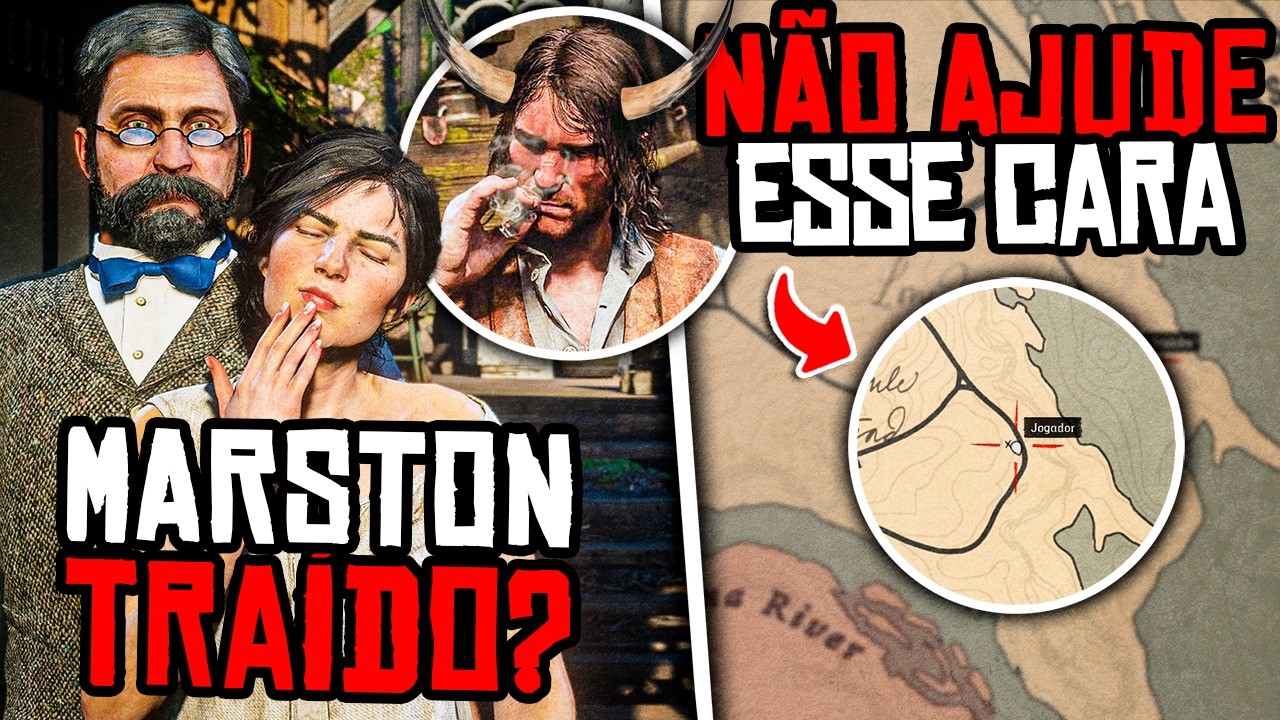
After that, go to the crafting menu, reinforced equipment and Master Hunter. There we will be able to create the much-desired holster and leave Micah to rot in jail for a while longer, which, let's face it, is the right thing to do. And to close with a flourish, I couldn't help but mention a very common random event in the game, which consists of helping a man who was bitten by a snake.
They happen several times, both in Valentine as Rhodes. In Chapter 2 you can pass through this region, as here there is a chance that you will come across one of these situations. When you see the man, just help him with some medicine or a nice blowjob, the choice is up to you.
With the man rescued, just wait a few days in the game, as you can find this same guy again, but this time in Valentine's armory. And in return for your blowjob, he offers you any item in the store for free! And this includes all of the storekeeper's weapons, no matter the value!
So there's an opportunity to bill a new weapon. Remembering that this event occurs several times in the game, so it spreads solidarity sucking in exchange for weapons. Now that we have money, a good horse and a nice arsenal of weapons.
. . It's time to prepare for one of the most frequent situations in the game: hunting.
Because if we kill animals in any way, using the wrong weapon or hitting the wrong place, the skin is damaged and we lose a good opportunity to earn money. Hunting incorrectly can even harm us in missions, considering that missions like Hunting Requests, for example, require perfect skins. That's why one of the first things I do in Chapter 2 is visit this region of the map, close to Strawberry.
This is the location of the Legendary Deer, from which we can extract one of the most important items in the game: The Deer Horn Amulet! It increases our chances of receiving perfect animal parts. So it may happen that you kill an animal with only 2 stars, but get close and discover that it actually has 3.
So this amulet is certainly an essential item for Chapter 2. Another essential item is the Anti-Plague Gun. This is literally the first weapon I buy at the Gunsmith, no matter how many times I replay this game, but this will always be the first weapon I buy.
It is essential for slaughtering small animals , considering that you will destroy the carcass if you kill them with a normal weapon. Of course, the bow's small arrow also does this job, but the positive side of the Carbine is the fact that it is much faster – and you don't need to make each arrow. .
. Just go to the Gunsmith and buy a bunch of ammunition. Moving on to the last topic, I have to talk about something else that I always do in a new savegame.
Which is to improve my purse and my horse's cell. But let's go by parts. .
. The best bag in the game is the Legend of the West. To get it we have to take a series of animal carcasses to Pearson, which you can consult by going to his table.
You will have to create 6 scholarships to access Legend of the West. But trust me, embark on the process because it is so worth it. The journey includes completing some simple tasks at the camp, such as improving some equipment and donating some items.
We also need to hunt some animals, making sure they have perfect skins. In this situation, your best bet will be the Deer Horn Amulet, so don't forget to secure this beauty, along with the Anti-Plague Carbine. Once unlocked, the Legend of the West bag increases your item limit to 99 items.
So you have a practically infinite inventory. Moving on to the cell, the best in the game in terms of status levels is the Panther Trail. It has great status levels, guaranteeing you that you will have the best equipment for your horse.
The good thing is that it is super easy to obtain, considering that we can craft it right away, without needing to make every single cell in the game, like the bag. Just make sure you have a perfect panther skin, and no, it doesn't have to be the Legendary Panther. I see a lot of people making this mistake.
. . You can visit any of these Spawn locations that appear in the video, make a perfect kill with a rifle shot to the head and fly it.
Now just go to the nearest Armadillheiro and enjoy your cell! Just don't forget to combine this cell with good equipment, which you can unlock through Challenges or simply by purchasing from the stables. And to close the video with a flourish, I will alert you to something very important, which, although it cannot be done in full in Chapter 2, requires the player to start early in the story.
I'm talking about the Achievement “Garoto de Recados”, which consists of fulfilling 5 requests from camp members. You've probably already come across one of them, with a member asking you for an item, like Dutch's pipe, for example. These requests start in Chapter 2 and go until Chapter 4, and therein lies the problem.
. . Because if you prorate and don't do them by then, you will lose the achievement and will need to start a new save to get it!
I made this mistake on my first save and to this day I still haven't achieved this achievement, so take note of this tip as it is essential for anyone on the journey to platinum the game. And if you want more powerful tips like this, I recommend my Ultimate Guide for Beginners to Red Dead 2 video! It is a true encyclopedia for new and old players, showing essential tips for getting off to a good start and explaining many mechanics that even veteran players are unaware of!
The card will appear on the screen for you to click in a few seconds, but first. . .
A big thank you to the members of the AEG Channel, who are these wonderful people who are appearing on the screen, who support my work monthly and receive various benefits ! One of them is choosing the subject of the videos! In fact, the topic of this video was chosen by members in a poll!
Another benefit is the monthly draw for AEG Mugs. . .
With the next one being on live next Saturday, January 18th! So run and become a member as there is still time to participate. Now the video is appearing on the screen!
On the left, the definitive guide to getting started in Red Dead 2! On the right, a video about 10 mistakes that Rockstar made in the game that you didn't notice! We'll meet again in a few seconds, so a big hug and see you later.
Goodbye!