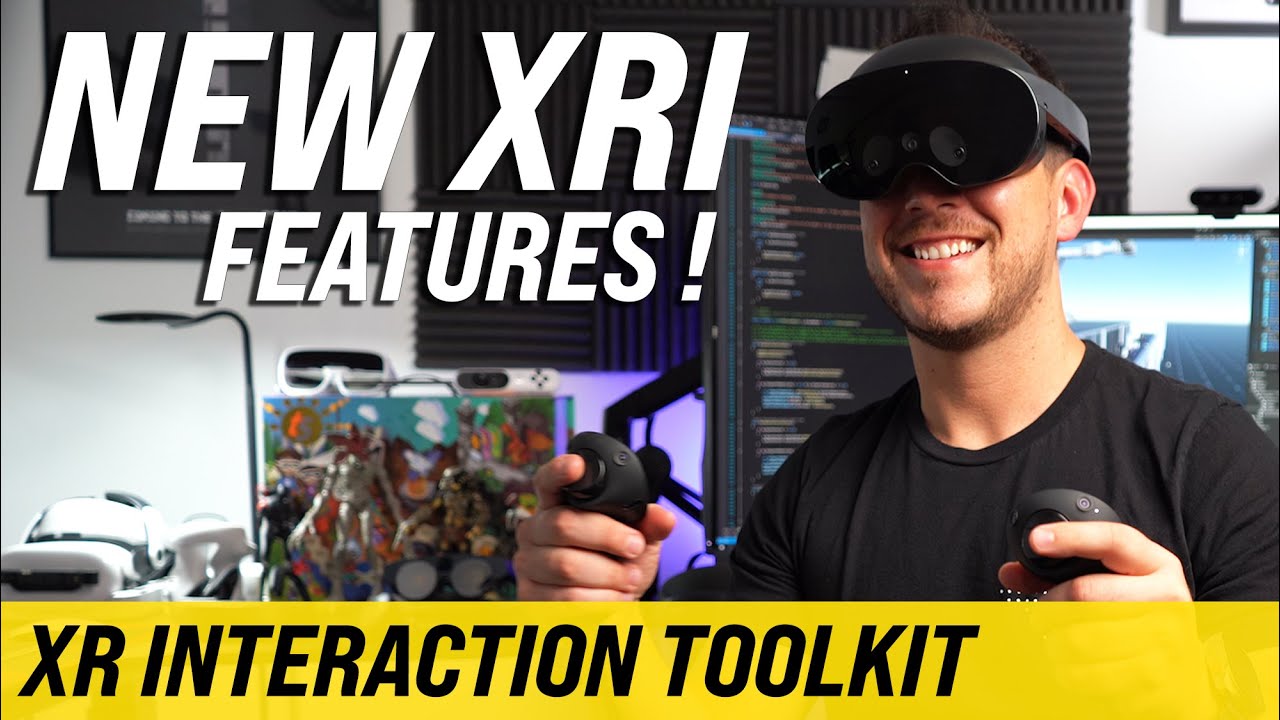
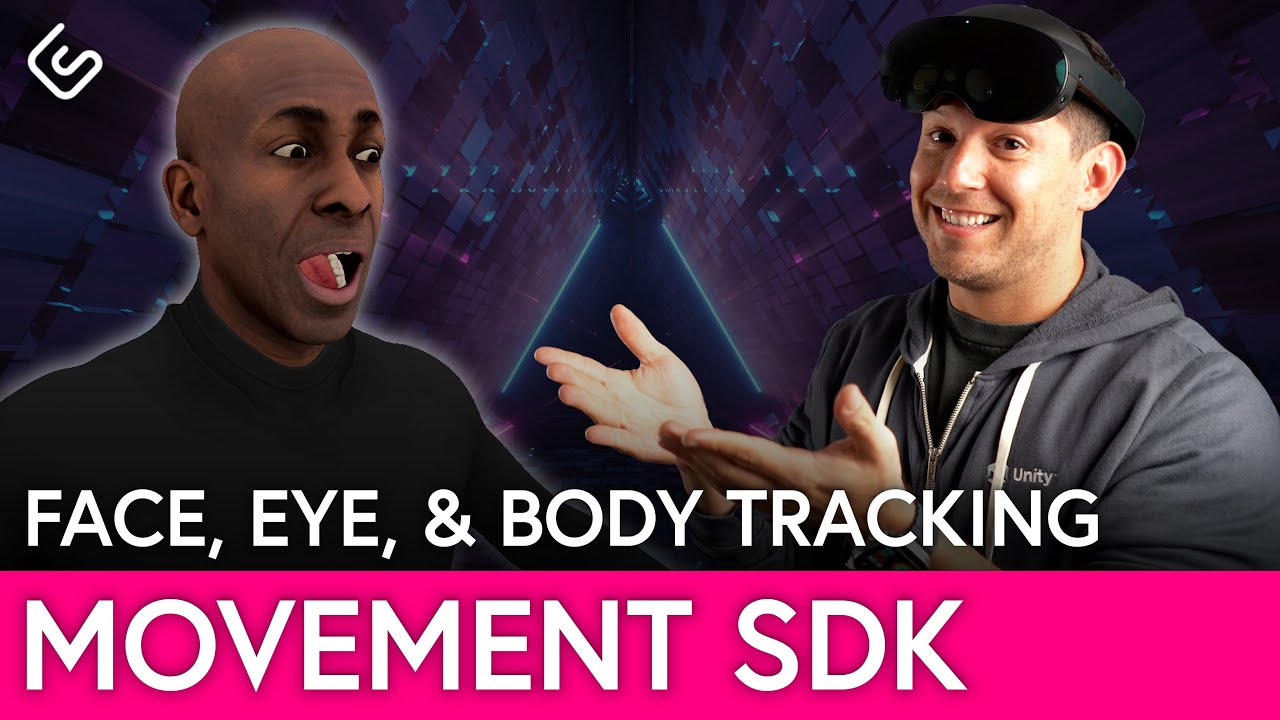
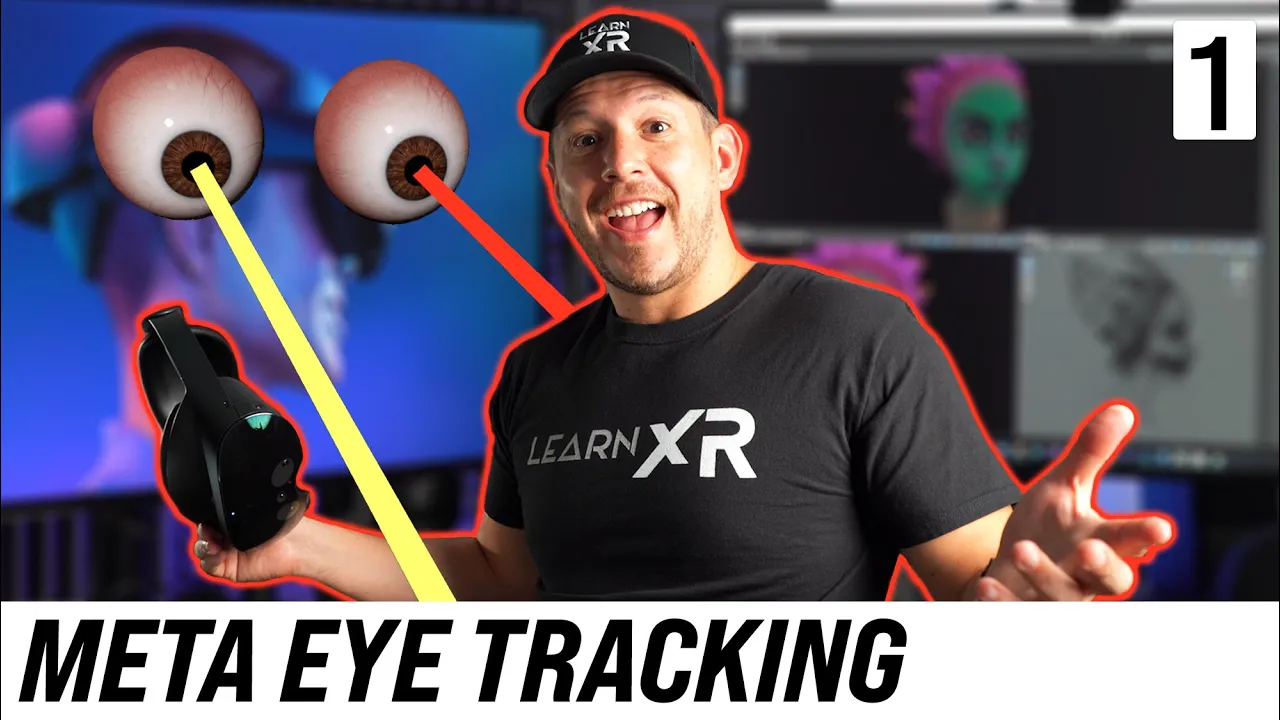
in today's video I'm really excited to show you how to implement a tracking by using the metaquest pro and also the movement SDK I'm also going to show you a new component called the OVR eye gaze that is going to give you additional information such as rotation and position of your eyes I'm also really excited to walk you through how to implement your own Ray which is going to be generated from the center of your eye up to a distance that we designate through a script that we're going to be creating so I also want to invite you to join me in petrol where I'm going to be putting the blender files that you saw in this video in addition to the complete project that we're gonna have by the end of this video so let's jump into my computer and start working on it first thing that we're going to do is we're going to go ahead and extract these eyes from a model that I've been playing with as I learned blender so I'm going to go ahead and disable here the face I'm also going to go into my modifier here and make sure that I don't have any mirrors and if I go into my eyes here you can see that now we can click on it you're gonna see that I have it set to 90. I'm actually going to set it to be about 180 and the reason for that is because of how that's going to be exporting into Unity I'm also going to go ahead and clear all the transforms make sure that and then I also think it might Pivot Point to be right in the geometry basically in the middle so I'm going to go ahead and go into origin and then origin to geometry and you can kind of see there's a little dot right there and that is going to be the dot for the Pivot Point once you have that we can go ahead and Export these I'm going to go ahead and Export it to FPS and all the settings in here are already set to go so we should be able to just go ahead and Export it once we export it we can go back into Unity models and then I'm going to go ahead and just drag and drop the exported model right into my models folder now I can go ahead and drag and drop this in here and you're going to see that now we have the icing here and it's gonna be doesn't look right quite yet it and it might look okay but we need to change some of the positioning so but before we do that we need to also add a camera rig so I'm going to go ahead and search for full synthetic it's going to be the one that I need go ahead and drag it and draw a padding here I'm also going to go ahead and change the color here or the of the center camera so let's go ahead and expand this go into here all the way down solid color here and I'm going to go ahead and set it to Black and we can go back into a Sky Box now this guy right here I'm going to go ahead and rename it it's going to be I interactor so let's go ahead and rename that and then if you notice this is already offset so I'm going to go ahead and change everything here to zero including the X rotation so if you look at the X rotation now it's pointing to the canvas and that's the way that we wanted to point the eyes are going to be pointing forward so just make sure that you have that and then I'm also going to go ahead and change this to be 0. 15 or 15.
15 and if we go ahead and go all the way up for some reason this expanded completely we don't need this all expanded we go ahead and explain that and collapse it okay so now that we have that we can actually extend here and we'll need these two and I'm going to go ahead and place it here but before we do that let's go ahead and drag the eye interactor and we're going to go ahead and add it and yeah it's going to be an original prefab and now we can just go ahead and drag it as one of the items in the the tracking space okay so now that we have that we can go ahead and add a new component it's going to be OVR eye gaze and it's going to be for the left eye in this case confidence value I'm going to set it all the way to zero this is how much we trust the SDK to capture our eyes and anything other than zero it's going to be basically information that we're getting from our eyes we're going to be tracking the position rotation and this is going to be headspace is going to be for your skeleton World space going to be in the world space and then tracking space is going to be you know anything that we're doing here in the tracking space and then what I'll do here I'll create a new game object and it's going to be for the reference frame basically it's going to be right here in the middle of buffer ice so that's how the moving SDK did it so I'm going to go ahead and follow that and then we can also offset this to be about one let's go ahead and do that and if we go back in here now we should have everything I can just go ahead and do override apply and let's go ahead and go into scripts and we're going to be creating a brand new c-sharp script let's go ahead and create it's going to be eye tracking right basically it's going to be a line render and also it's going to have using the physics Ray to basically determine what we're colliding with all right so the first thing that I'm going to require here is going to be a component and this component is going to be of type type of and I'm going to do a type of line render just make sure that you do that and I think I just need one more parenthesis in here and then the next thing that I'll need though is I'm going to be putting a raid extensor we're going to need Ray distance and it's going to be set it to 1. 0 I'm also going to have float it's going to be the ray width and then I think I did that to be 0. 01 so we can just go ahead and do that I'm also going to be needing an actual layer mask because we need to determine what layers are going to be including on the actual raycast so I'm just going to do layers to include and then we can just do that I also need to do this once a serializable so because I want people to be able to update him through the inspector so should be okay and then I'm also going to need another serializable fill I like the machine learning here on Visual Studio 2022 trying to determine what I am actually typing so that's pretty cool and then on the colors it's going to be gray color the full stay the reason why I did this is because the default stay I want it to be you know if we're not selecting anything with our eyes it's going to be currently set to to Yellow otherwise we're going to be setting it see if this completes the color no it didn't that's okay gray color and then this one we can just call it hover stay and just know that we might have other states later on for today I'm just gonna do this this but I might have a selected stay where we're doing a pinch to actually select it as we're looking at items for now we'll just keep it simple but we're going to be extending this okay so now what I'm gonna do is I need a couple of things to reference the line render that I'm creating so it's going to be here the line render I'm also going to be tracking all the things that I am selecting so I'm just gonna do it's gonna be a list of I interactable which we're we're having created yet but we'll create so we'll come back to this and then it's going to be I interactables and I'll just create a new list and the reason for for me to do this is because I had issues with actually selecting two items at once so if you have a line render that is colliding through and basically try selecting two objects then I needed to keep track of the objects that were selected which ones were not selected so I ended up doing at least to do that I'll show I'll show you how that works we can also remove this and then it's going to be land render and then we'll need to get the component because remember this is the one that was added already to this update and then I need to set up the ray so when I'm talking about Rey though this means that I'm setting up a ray basically just for visualization this Ray is not the one doing the Collision I'm going to be using the physics a ray cache to be able to do the Collision so just know that there are going to be two different things so this one is going to be set up Ray and then I'll just do voice it's going to be private so on the setup array I'm going to say line render this one is going to be use World space gonna be set to false because we we don't want to use World space in this case I'm also going to have different two different points on here so the point count I'm gonna set it to two line render and then I'm going to be summing the right distance so we can just say rate distance and then we just need one more parenthesis in here so this should be everything that we need to basically set up array from the position of the beginning position the Pivot Point position of our eyes now the next thing that we'll need to do is going to be the fix updates we can just go ahead and do that I don't like including the private or public I think it's given and then for this one I'm just gonna get the raycast raycast hit so it's going to be we're going to set it to no I think it's good have it just to set it to to something and we can just say it looks like he doesn't like it so we can okay all right we can just set it to that and then we're going to say raycast Direction equal and it's going to be these transform right here that we have and then transform the direction is going to be we're going to be getting the forward Direction and then what I'm going to do is I'm going to multiply that by the ray distance so this is going to give us an accurate representation of okay if we're looking forward and then we're adding a big stance what are we colliding with anything so right now this is just going to give us a vector then what we're going to do on the next line is going to actually do the the actual check to see if we are colliding so we're going to do array cast to do that so we'll just do array cast and then I'm going to start the raycast from the position and then the direction that I just basically created it's going to go on the second parameter and then this is going to be the the Mac the max distance and in my case because I don't really care about performance I think we can just do infinity and I don't know that this really affects performance maybe it does but in my case I think I think that's okay we can just do Infinity for or demonstration obviously if you're gonna do and put this in production just make sure that you review everything and and don't just trust me on it because you know you need to use a profiler make sure things are working correctly okay and then the next thing that I need to do though is I need to do a new method which is going to be on select and it's gonna determine I know that one this one and this is going to determine if I have something already selected if I do it's going to unselect that we'll implement it here in just a minute and then I'll do a star color here because we are selecting so I'm going to say gray color hover state so it's going to be a little bit different we can copy and then just do and color and then we can just say and this one is going to get the I interactable which we still don't have that script but I'm going to still curl these and then we can go back and then review the whole thing so the component that I want to get is going to be an eye interactable the reason for that is because this has is going to have a basically a hover stay it's going to keep track of itself whether it is you know being hover or not and then also a color whether it's selected or not it's going to be all defined within this component for now we'll just pretend that it exists and then I'll just say I interactable this one is gonna we're gonna be adding a new component so actually we need to grab the list and this is going to be a list of I interactables you need to keep track of those and there's probably a better way to handle these this is the way that I ended up doing it so we can just say in this case we are hovering and so we're gonna we want to set this to be equal to true and this one right here it's gonna get you know like I said the component we're going to be adding that to the list and then I can just say else then we're going to say line render and then in this case a star color it's going to be it's going to be the default state right because we know it longer have that item selected and then I can just do the same thing I did here we can just copy and paste that so I think it should be all good except we need to do another component here just just in case we have some other things that are selected I'm just going to say okay on select and then also pass in a property which is going to be set to true so let's go ahead and implement this select so that it makes more sense of why am I doing that and then we'll just go ahead and delete the update for now and we can say boy on select and it's going to be taking a property called clear and I'm going to set it to false and this is so that we can clear the list that we're creating so that we don't have a memory leak so what I'm going to do is I'm going to say okay for each different components so I'm going to say VAR interactable in interactables and make sure that we have interactables okay and then we can just go ahead and do that for some reason it's not finding this because we made it okay so we call it I interactable so we'll just go ahead and call that as well and then here what I'll do is I'll go ahead and clear the the actual hover state to false just in case we have I like how this gives me entirely sensing here of what things I could do and then I can just say clear here and then I gotta get used to intellisense because I think it got way better on on this new version of the official Studio okay so that looks good and I think everything else looks good in here so this is what it's doing is basically just in case we have anything selected we're gonna go and loop through all of them and no selective but hover selected it's gonna be in the next video basically we're going to set it to false and then if we set it to clear which is going to be the casing here if we're now basically colliding with any items as we're doing a raycast we're going to be clearing our list and and then also if we are hovering anything then you know if we have a raycast that hits it we're going to be basically clearing it out and then we're going to be setting the appropriate color for the raycast that has been collided and also adding this iron to our list so that should be good I think I have everything in here correctly we can just go ahead and remove then the next one that I want to implement is going to be the I interactable so let's go ahead and go back here and implement it and yes we're going to get an error because we haven't implemented it yet and I'm going to go ahead and double click it require component here and let's see if I can do okay so we'll just do type off and then on the type of we're going to be needing a collider because we're going to be doing a physics right cast so I want to make sure that the component that we are going to be adding this on has that component and then I'm also going to be requiring that it has a rigid body so we can just do that and we can just get rid of this then what I'm going to do though is I'm going to add a public property and this is going to be your hover stay right that we we were accessing from the other script and then we can just do again and a set and then by default is going to be set to false then the next thing that I'll do here is I'm just gonna do serializable and then we'll just do a private and this is going to be a Unity event because in the case that you are interacting with this object I want to be able to apply an action so this is allow me to to you know extend the functionality of this components so we can just say on object uh object and we can say hover I think it's it's a good name and now we can do serializable fill and then this is going to be the different materials that we're going to be changing on this component when I select it so we can just say on our active material and we can just copy and paste this and then we can just say on Hover inactive enacted material and I think that looks good and then I just need a couple different private properties no properties fields that were going to be needing for you know in order for us to be able to change the material so we can just say that we need the mesh render I think that looks good and then on Star it's going to be very basic it's basically it's going to be a one-liner and this one what I'll do here is I'll just say you know OnStar go ahead and set the mesh render component it's going to be okay component mesh render and then what we'll do here is on the update meta we can keep track of whether something is being you know hover or not so I'm going to add here a check for the is hover so if it is hover what we can say is we can grab our mesh render set our material and then associate it with the the the proper material which in this case is going to be that and then what I also want to do though remember this method in here this action we want to make sure that it is defined if it's not defined we don't want it to you know to blow up so let's go ahead and do a question mark just to check for any nulls and then we can just invoke it but I'm passing the game object because I want to make sure that I know which object is the one that I am basically doing a collision with the raycast so what I'll do here is I'll just go ahead and pass this object which is going to be just game object and then on the yells we can do basically what we just did here except it's going to be different materials so it's going to be inactive material so inactive and I think everything else in here should be good we can just clean it up so now if we go into the actual eye interactor I'm gonna go ahead and hit F in here just make sure it focus on the eyes and those eyes do look creepy some of you told me that but that's that's that's okay I think that keeps that keeps the attention on you okay so once we add these line render it's going to be gigantic right and that's okay we're gonna fix that that width I'm gonna set it to zero point zero one and now you can kind of see that there's gonna be a ray and this is again this is going to be for visualization then the material though we're going to be using the default I think it's called default line if I remember correctly the reason for that is because I'm going to be using this material the colors to basically change this material and because of this material it's going to allow that it's going to basically change to the colors that we designated and then I think everything else in here I think we set this to to false it's okay and then everything else in here should be okay so if we look at the positions we should have everything set correctly and if you want to leave it at one I think you can leave it at one here for for visualization you can also set it to zero that code is going to go ahead and reset everything and then again raise this rate distance I think we can do something like five or or six let's go ahead and set it to the layers to include I want to include everything I don't really care which objects we're going to be doing a raycast again so I think everything else looks okay so now we can do is go ahead and click on override and then hit apply and what I'm gonna do though is I want to do one for the left and one for the right so we can just say is going to be left I and then we can just copy and paste this guy and then we'll just change just a small property here and this one is going to be right I interactor and we can just drag it and drop it and I think everything else looks fine except we need to change this to be in the right eye and I think everything looks good in my opinions let's go ahead and set up one of the interactables that we're going to be dealing with so we can go ahead and do and just do a cube I don't think it needs to be anything fancy and then we can just set it to maybe 0.
1. 1 and 0.