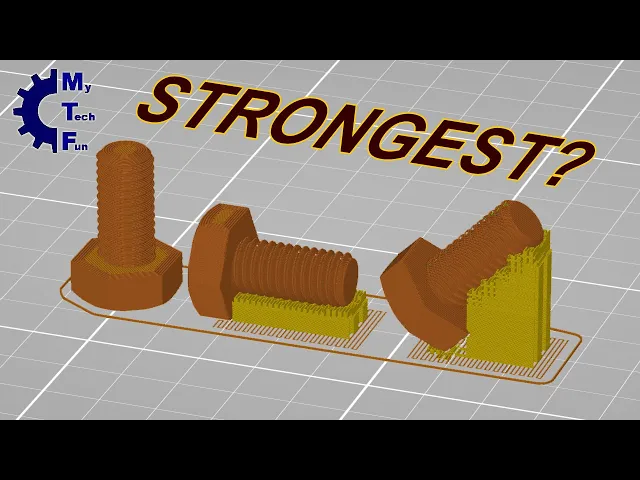
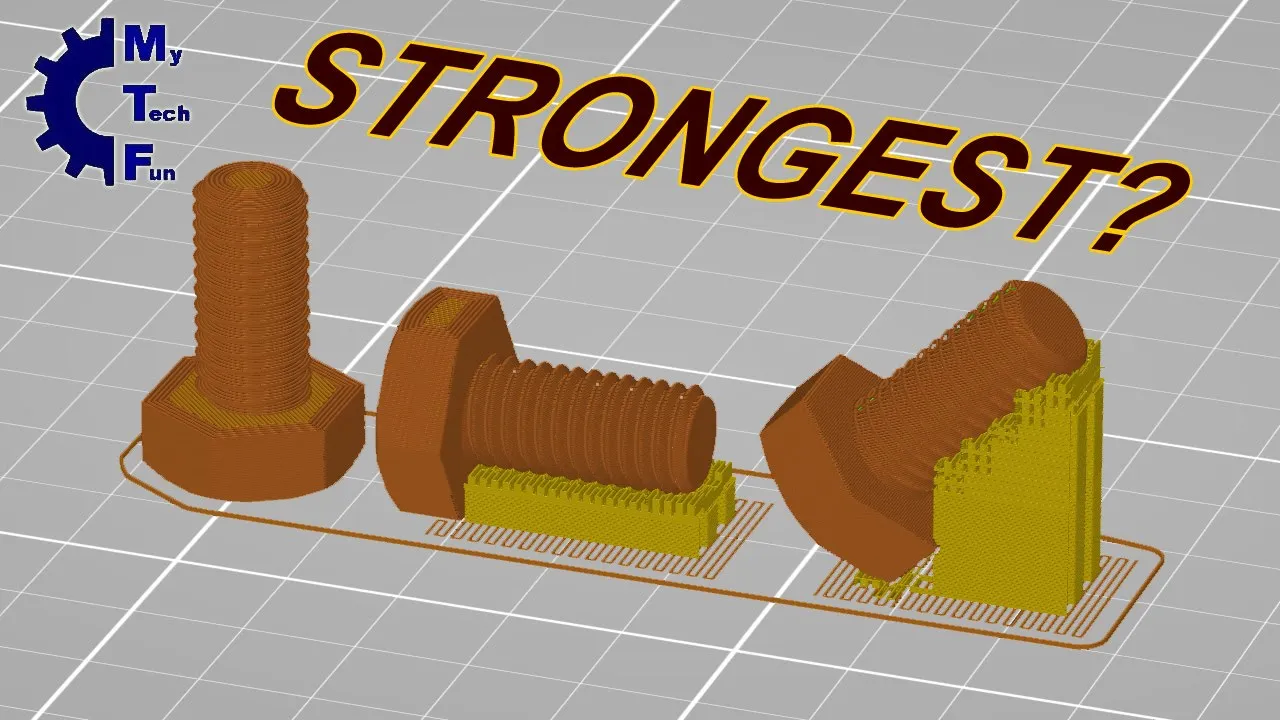
[Music] thank you hello welcome to my workshop I'm Igor and in near future I will test three printed bolts and nuts from N3 to M12 but first I have to clear a very important question and that is to find out is the vertical position best for 3D predict reads or maybe horizontal or position under the angle without stronger Bolt of course if you need a standard board it's much better to use a metallic version but with 3D printing you have this three part of your object and I'm using it very often but I always try
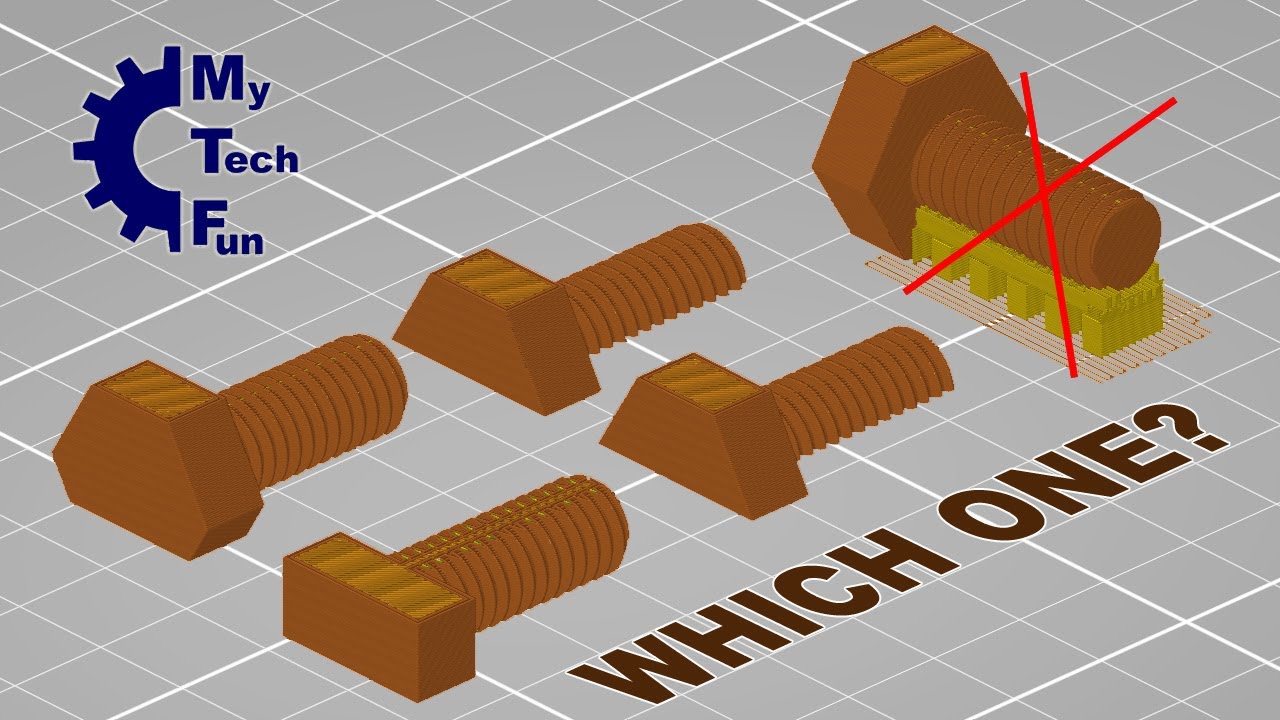
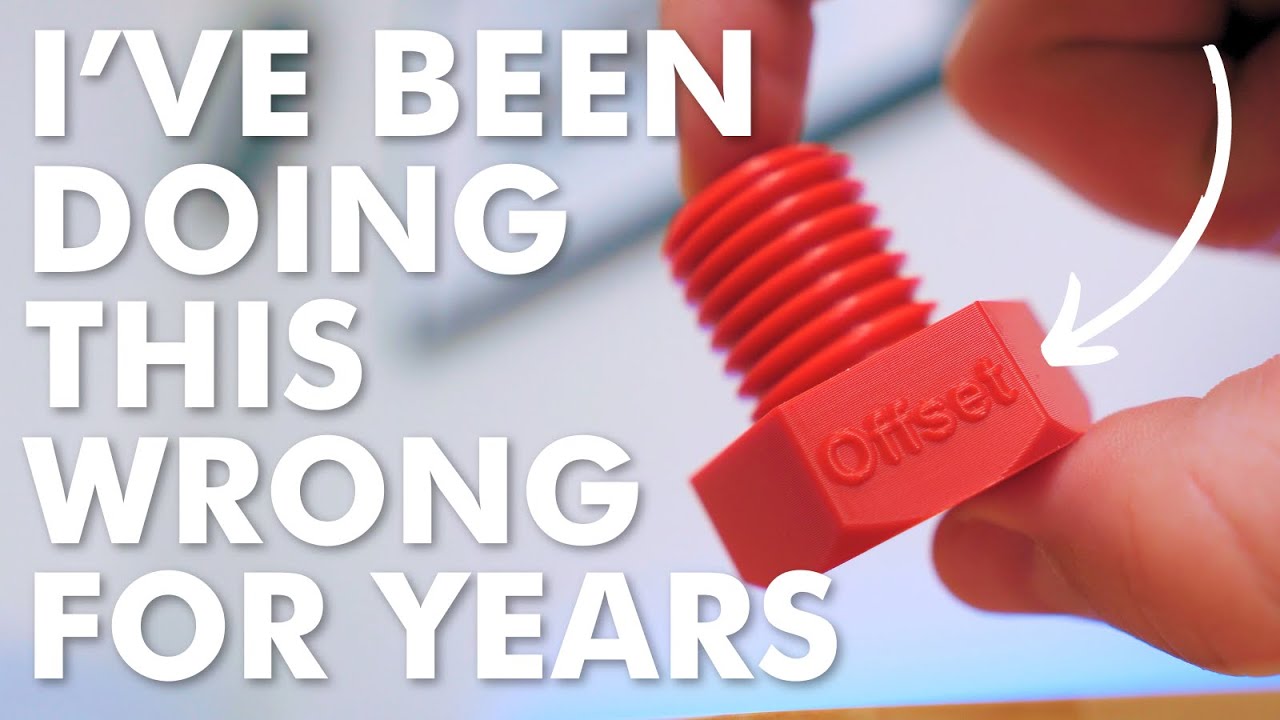
to this may create a design where I will print the treat in a vertical position everybody in the internet is advising this because with this we can avoid using of the support but again I have that feeling only so far because I'm recording this before before all my tests that with this we have that weakness of the layer attention I would like to see if I Need A Little Bit Stronger treat what is the optimal printing position let's see what type of the loads I have to test first if I place a nut on one
side and screw in the ball from the other when I'm tightening the bolt I have to apply a torque so this is the first type of the test measuring the torque and then Titanic of the bolt we will result inside the pulling stress my next experiment will be the measuring the pulling force or or maybe the mess and the third type of the load I want to measure is the shear stress that's not too common with the metallic bolts and screw nuts because if we tight it's very strongly there is very bit friction between them
and if I apply a Shear Force the friction will hold it strongly in one place but plastic we cannot tight so strongly so in this case the objects will move a little bit and it will apply a shear stress to the bolt if you are cutting a paper with the skeezers you are using a shear stress so in my third test I I will measure the stress test where will this bolt or not break I really hope that the there will not be differences between the board in the vertical position and for example in horizontal
position because I really enjoy 3D printing trades without using a support So for me that's very important if the difference is not big then that's the primary position for my printings when I'm printing uh treats inner outer version okay let's break some plastic if future 360 select the cylinder and then from create when you choose the trade you select the modeled version and that is it I have the trade ready for 3D printing if you need a standard element from insert menu choose the port with the for example the hexagonal head on the left side
you have different filters let's see I want metric M10 uh this is the material quality fully treated 20 millimeter long and then I have the shorter list here choose the product number and then click on product details and then on bottom of this page click the 3D step and click save and the object will be inserted in Fusion 360. you can move it rotate it and there is it ready for 2D printing this is the print reviewing Prussia slicer but here you can see the parameters but I will calculate separately for one ball the printing
time and the material and same I will do with the this objects but here I need this custom support too because I didn't have enough grip between object and the printing plate so I know you can see a lot of supports I need here and this is print preview foreign because I raise the temperature as much as possible to get the strongest layer attention and the strongest port for testing [Music] foreign [Music] these three are printed in vertical position and they are almost ready to use slide from the 3D printer and these three are printed
in horizontal position here we have to remove those supports and some additional cleaning of the tree at least with the not but better is the die threading tool and these three are printed in 45 degree angle well here we have to remove the supports and also with the players removing those custom supports you have to clean it a little bit because it has to go inside its wrench well it's in okay so this printed in vertical position are almost ready to use except I didn't left here any uh clearance usually I add on this size
0.1 millimeter of clearance because I want to have same size because I want to go over each with this M10 die tool but usually these in vertical position are almost ready to use even now with the nuts so let's clear these bolts to get same dimensions I will use the M10 dial and then I will have the same dimensions of each and then I can do the test [Music] foreign [Music] ING with the M10 die tool theoretically they have the same Dimension and now let's see what will they do on the stress test [Music] thank
you [Music] [Music] foreign foreign [Music] [Music] thank you additional 30 kilograms [Music] sorry I need smaller boards [Music] this one is printed [Music] [Music] foreign faces [Music] the horizontal position [Music] foreign [Music] [Music] foreign [Music] foreign [Music] [Music] waiting for him [Music] okay I think something happened [Music] foreign [Music] [Music] this is broken [Music] my teachers always told me to calculate twice and measure once but they were right this time so for example for M10 I found on simplified 3D that ultimate strength where the pla will break is 65 megapascals 65 megapbox pascality 65 Newton
per square millimeter and if I calculate with the diameter of 8 millimeter which is approximately M10 without the trade so the area is a square multiply P divided by 4 and from this I can calculate the force and if I uh divide the force with the G I can get the maximal rate theoretically so 333 kilograms so no wonder it it doesn't break on my test because I had maximals 140 kilograms okay let's see the m6 same calculation but of course with different area and I can calculate that it is 119 kilograms so theoretically this
should break on my test I printed m6 and I will do the test only to compare vertical and horizontal position in this pull test so let's see this [Music] [Music] [Music] foreign [Music] [Music] twice I measure once all results from the test are summarized in this Excel table and it's obvious that both printed in horizontal position is much stronger than printed in vertical position but let's don't forget that in this case we need uh supports for this printing it will be a hard decision which one to use in the future the conclusion so what we
learned from this video first of all I'm overweight I haven't checked my BMI index on 10 kilogram.org website it's horrible but beside that it looks like the 3D printed bolts in horizontal position are much stronger than those in vertical position which I'm not happy about it but because with horizontal position as you saw we need some supports so which one to use well if you are using the balls or these trees just to hold two pieces together without big load then you can use it in in printed in vertical position but if you are expecting
a little bit bigger load then it is much better to print them in horizontal position how big load we're waiting for my video where I will test from M3 to M12 balls and that will be approximately information for us how strong they are but a small disclaimer before you run out and change the bolts on your car tires don't forget that this is plastic Bachelor the pla it is very it cannot handle high temperatures and of course the wearing of the plastic is much faster and also with this equipment I could measure only the ultimate
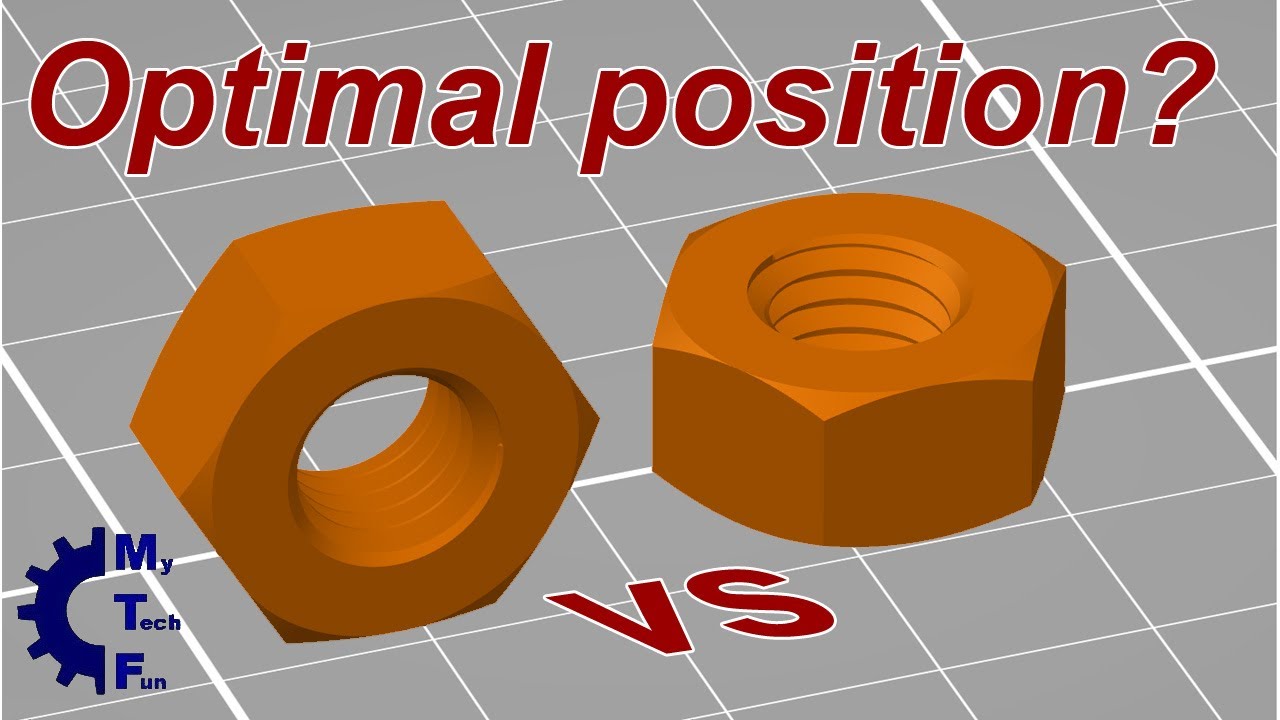
string or the friction point but it will be much better if I could measure the yield point because that's the elasticity level on the yield point if I remove the load the theoretically the test probe should get its original size and also my next video will be similar to this one where I am testing the optimal position for tilde printing screw nuts I believe that the result will be a little bit different there but follow me to that video too and we will see thank you for watching and happy printing