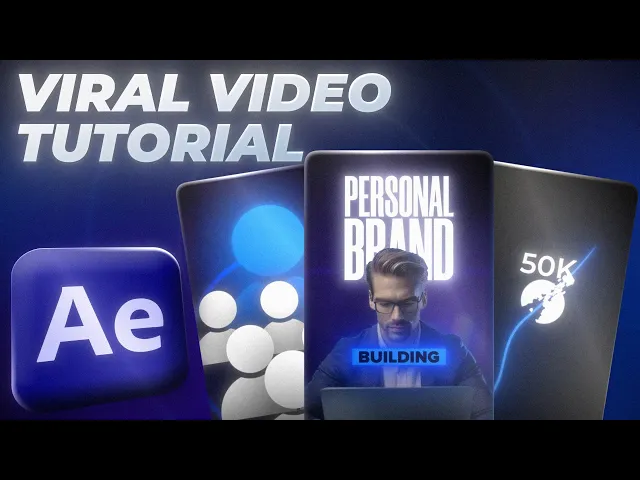
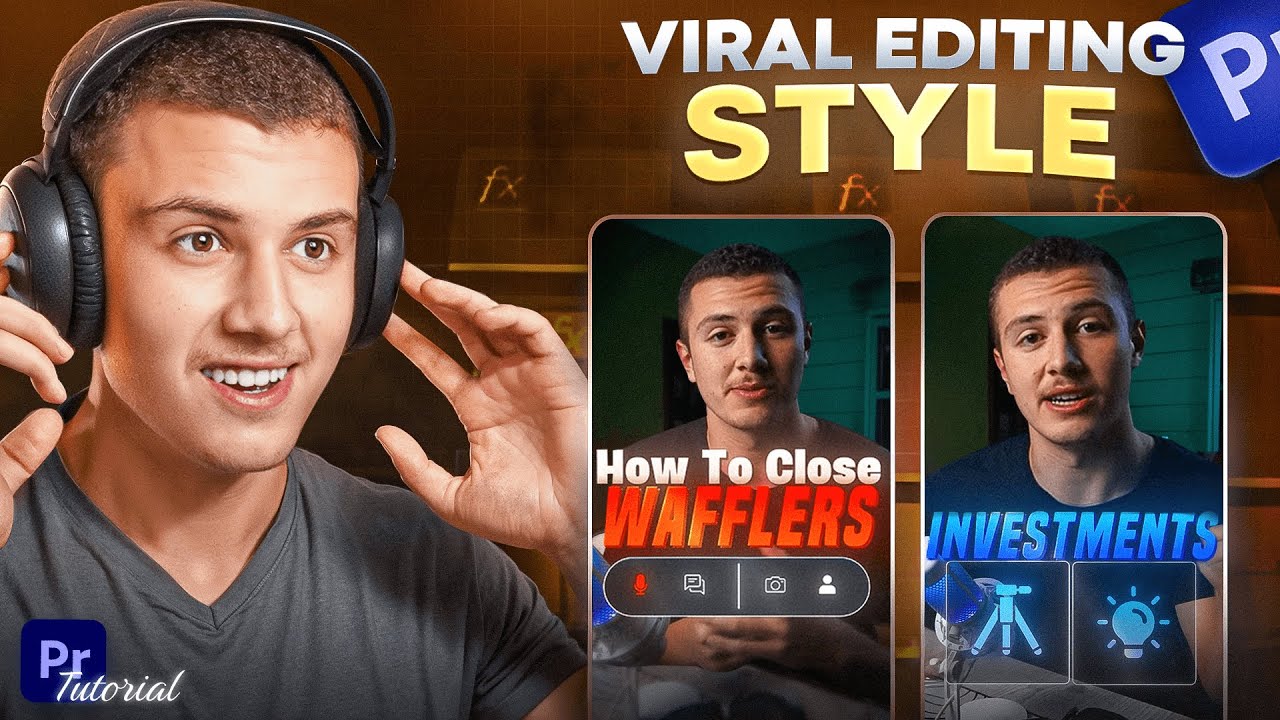
short phone contact is evolving fast and high energy engaging videos are almost everywhere in this video we'll take a play podcast recording and transform it into a dynamic attention grabing video with using op but first let's check out the final result building a personal brand or having your company on the Internet is phenomenal let's say you have a regular business you should have a social presence if you have a business you have a website but you have no SEO why don't you people are going to look for answers on the internet you have to be the first one to show up and that's why I think building any sort of Awareness on the Internet is a zero sum game where you have nothing to lose and everything to gain so first of all we're going to open a new composition then I'm importing the podcast video I will drop the link down below so you can also use it so let's create a new solid and add a gradient rump effect then change the second color to Blue next I'm going to use the rectangle tool and mask the entire solid that's going to be our first animation background so I'm just going to mask it the entire solid layer at a KF frame at the start and slide it to right res our first image and import to the timeline then I'm going to add position and skill K frames around here after that I will go back to the first frame and place it down here and finally select EAS is and make it smoother on graph editor then I added the skill K frame and set a day date now the next thing we need to create a f style and add a glow effect for the entire scene let's just scroll to the effect panels and add a deep glob effect and set the reduce around 40 and exposure 0. 2 then we're going to add alric color and set the Highlight minus 150 and contrast is around 130 and finally I adding huge saturation effect and set the M lightness around 32 so it's not time to our text and I'm going to create a new text layer and write the main title I will use morite extra bolt which you can also find blow after resizing and changing the color let's place it behind the man then I added that position ke frame and place it up here and select both K frame and make it easy so let's go back to fake panels and add deep CL effect set the radius to 120 and exposure 0. 1 now I'm going to create a new text layer type the word and change the font as rox1 then change the color to Black Center The Anchor Point and place it around here as from the background I went over the rectangle shape layer and changed the color as dark balloon then I create a simple rectangle and placed behind the text I finished off with nice deep glow with an exposure 0.
1 great we're going to PR on the text and background layer so we can make the M opening then go to the frame where we want to start and selected rectangle mask and we'll mess the entire PR comp and make sure our mask corner is same position with the background mask while your PR comp is selected press M and add the K frame then go to one frame back and change the mask position then press F and set the feder around 50 we're going to create a new adjustment layer and add a deep glove effect with a radius 430 and exposure 0. 1 then add the Lum color effect and set the minia to minus one lastly add the noise effect and and set it to 16 with this being done we just finished our first scene now we can move on to next one first I'm going to select the ellipse tool and create a white shap then move it outside the scene and set the Anor point to the top right corner then I'm going to go to the end of the first scene and set the scate from 57 to around 350 select the K frames right click and choose easys then I'm going to go to the graphity T and adjust the KF frame speed next I'm going to the grade J R effect and I'm going to change the first color to white and second to gray then add the K frame to Bland with original and set it to 100 then go to the end of the transition and set it to zero these changes will make the white solute look more like a gradient now we can add the text right click and create a new text layer and change the font to R regular then let's change the color to something like dark blue don't forget to align it to center of the scene then duplicate the first line and write the second text which is on the interet after rearranging the both layers let's duplicate one more time and write our tur line then change the font to europ NOA extra bolt and make the color black and finally change the phone size to 95 now select the all layers and remove unnecessary parts now starting with the first line we will mask each word using the rectangle tool then we syn each word with the voice over so that when the voiceover says the relevant World it will appear at the same time for the skated up all the text layers I'm going to create the new object and connect all text layers to it and add a scale key frame when the first Le appears then change the scale to 108 by the end of the scene and we're almost done with this section we're just going to add a one final moment let's go back when the third line appears and select the pen tool then I'm going to close the field and open the stroke and set it to eight next I will zoom in and drop a simple line but with a slight curve and I'm going to drop an edge effect and change the edge type to Rusty and set the Border settings to one then will'll open the shape layer settings go to content shape one and stroke one and open that and select Triad and I'm going to a 1K frame to hand that at the start of the third line set it to zero that completes our surgery let's add an adjustment layer add the posters A Time and set it to 12 select the background shape layer add the position key frame and move the shape L to up and with that in the graph editor this will gives a natural transition effect so it's now time to get into our door animation before we start I would like to thank these two channels for the inspiration check out their videos they are the best now let's di it let's open a new solid which is going to our background another great gen effect change the first color to Blue and second one is black then set the ramp shape to radial ramp and move the blue color to center now we're going to create a new shape layer activate the 3D on layer and then set the camera settings to advance 3D because we're going to use geometric shapes then open two wheel and select the top wheel great so I will rotate 90° and change the Extrusion depth to 100 then I changed the color to Blue and duplicate it decrease it size and replace on one opes then I increase the Extrusion dep and make it taller and I duplicate it two more times and place it to other edes Next Step we're going to add this TR objects so we'll go to sketch map and download the objects since we have activated the advanced radi option we can now directly import these three objects and place them on all the circles and then I duplicated three small cylinders and raised their position so we can f them to space then I selected all the sets and connect them to our M circle with parent link so we can rotate them then I K frame the rotation start from the handshake to Google logo then I sumed out all the K frames using gra editor then I added in my camera and set the first look from the camera position I also repositioned circles and the 3 objects so it can look way so everything is set up now we can rotate the through the objects I'm going to start with the handshake and giving rotation from the orientation so the object will follow the camera mov and then I'm going to apply the same settings from the other objects they will also always turn to the camera and after making final touches on graph editor that's our final result additionally I'm going to Tex for each circle this will make the scene seem richer and more understandable so the audience will connect with the conversation they are listening to and of course all the text lers are going to face the camera so we can read them for the transition I'm going to zoom in extremely close to the Google icon with the camera so we can go inside the letter O and start our next scene and I create the adjustment layer and added my vignette noise and fishy war effect and this is what we end up with scene 3 now we can move on our next animation now let's create a circle shape layer first nor F effect on the stroke and I will choose BL as the color next I'm going to import my P character and duplicate six times and arrange them all to fit inside the circle and added popup transition to all characters and open it frame by frame next I open a new 3D camera to give Depo Field Effect to the characters I'm also opening the second wave to better adjust the space in between them and now I can set the distance between the characters we don't need to set all the characters just separate them line by line then I duplicate one of the characters change the color to dark blue and move it to back and enlarge it and next let's add drop shadow and deep blow effect to our main character I will also add drop shadow effect to all the other characters and for the zoom in effect I created an if camera and I had a position key frame to make it move slowly from the beginning to the end of the scene that's a lot of animating but we're not that so I'm going to the position K frame to our main blue character so that it appears gradually but we can make it even better first at the first ke frame we'll add a mask and invert it then once the character fully appears we'll open the mask and that's it jop down and I create an adjustment layer and a fishy warb effect then I add a workk frame at the start of the scene and set it to minus 40 next I added two more K frames right before and after the main key frame and set them to zero transition nicely done then I add the Deep CL the adjustment layer made the exposure 0. 1 and I also added the metri color and set the V at minus one and finally I added the noise effect and make the amount 16 so before moving on the next scene let's create a new object and connect all the characters to it then I'm going to add a position C frame to new object and move it down and open the graph editor and make it smaller and this is what we end up with the SC it's now time to get into our next and final [Music] animation first off I'm going to add a new rectangle enable the field set the color to Black and disable the stroke let's duplicate our rectangle disable the field and enable the stroke set it to five that way our graph background is ready now I'm going to grab a pen to and draw a white graph line then I'm going to go to the shape layer settings navigate the stroke and click the plus button next to dash after that I set the value to 25 so our graph is almost done now it's time to add the text I'm going to create a new text layer and write rate then duplicate layer and change it to time I also duplicate one more time and change it as a awareness rate that's going to be our title Next Step let's create three small circle shape layer and place them on our graph then we're going to add text for each layer and place stem right above the circles and change it as 1K 5K and finally 10K all right there we go now this part is crucial so please watch carefully I'm going to precompose the first shape layer and cut it where we want to start the shter effect next I'm going to add the shter effects and change the view to render it and then go to the shape choose glass and set the reputations to 200 then I'm going to create a new white solid and height layer now let's zooming into the scene grab the pan tool and mask the solid on the shape here then go back to Shad settings and set the Shad threshold to 1% also select the white solid as gradient layer and change the source to effect and mask then let's go to the force two settings and place the point around here for Force One let's Place point a little above finally grab the origin point and place it middle of the shape layer now I'm going to extend The Prost layer and move it all the way to the right so it's at the beginning then I'm going to set the dep radi use strength and gravity settings you can pause the video here and apply this changes to once we apply the settings add a grent ramp change the first color to Blue and the second color to gray then place the white color Point around here and blue color point is here now let's add the K frame for the blue color at the start of the promost layer then around 10 frames later change it to White and then move these frames add one more key frame and change the color to white again now as you can see when the CR starts it's going to look more realistic now with this time I'm going to duplicate two more times and change the render settings of the first layer to pieces and for the other two set them as layer and I'm going to carefully mask each layer so we can add position and rotation to make it look more [Music] realistic now we have three separate parts and before adding the K frames I'm going to replace the anchor points to the center of the layers with this pain done select both layers except the priest layer at the position and rotation KR to start and around 1 second later change the position rotation for both and around one second later change the positional rotation for both the top half and bottom half that's it now all you have to do is repeat that on the other circles so we can watch this part again and apply the effects for the other ones all right so now we are done with our circles now we'll make our curve line first off I'm going to grab a pen tool and enable the stroke and make it blue now let's throw a curve line but make sure that when it h the ball the impact starts from the point where the cracks actually appears so if it is natural then let's add a trim pad into our shape layer and set the first K frame to zero and at the end of the scene set it back to 100 this part is very crucial because we're going to use the timer mapping that means we'll adjust the speed of the line's mov so that just before the shap L crack the line is in the right position after that we're going to put a compos the shape layer and add deep clob effect and set the exposure settings to 0.