Welcome to the ACC Wave Lab. Here we're going to start with -- what we've got is a piece of bungee cord - that's the white string. It's stretched across the table.
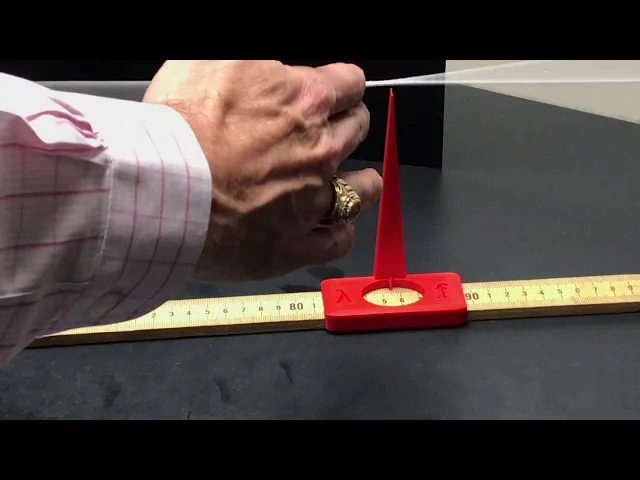
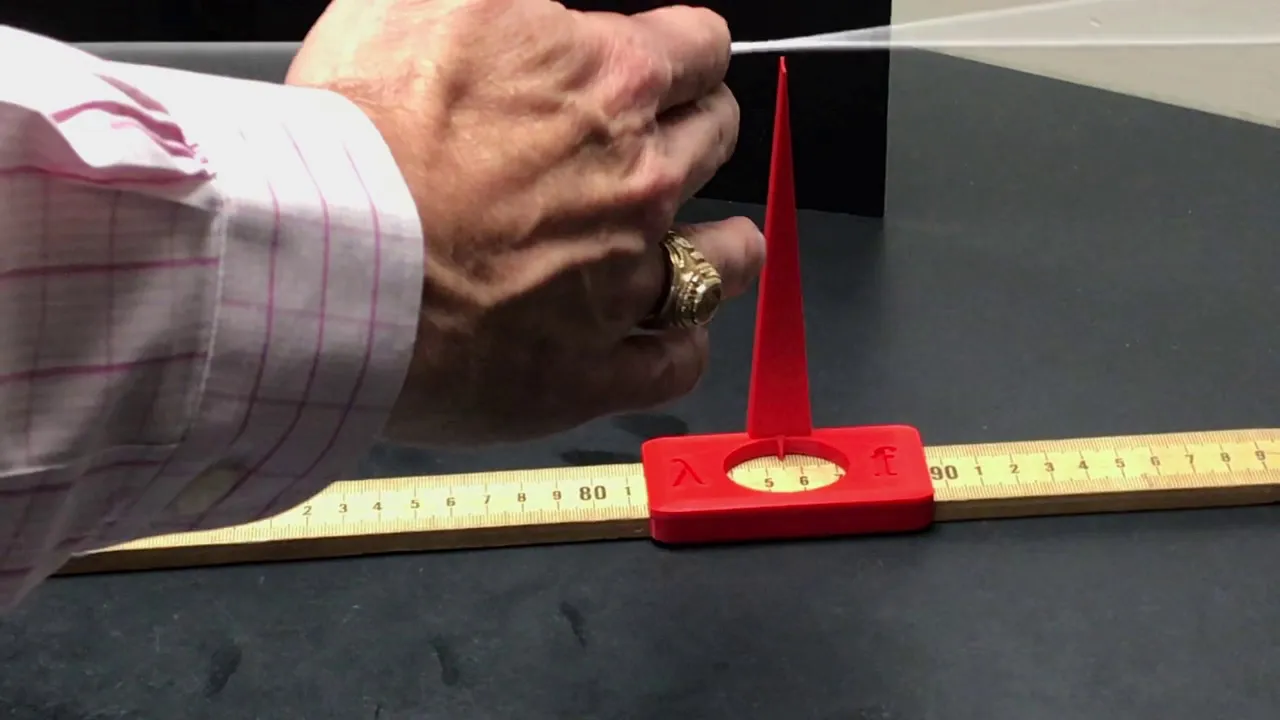
And down on this end we have a mechanical vibrator, and it actually can oscillate so many cycles per second to vibrate - energize the wave. We have a function generator, which we can dial in the frequency of the oscillator, the mechanical vibrator, and we can -- this will be a known value. And then over here we have a meter stick with two little devices we 3D printed for this lab that we can measure distances on the string.
And over on this end, we have our forces, which -- hanging off that pulley on the other side, currently we're starting out with 200 grams pulling weight. Now, the neat thing about this lab, we need to know mu (μ), and mu (μ) is the linear density of the string. Like a guitar string, the big heavy strings are more massive per unit length than the little, light strings.
So what we've done is something kind of neat. We -- the little red dots, if you can see, we're measuring these - red dot here and there. We weighed out a large amount of the string and we calculated out how much 1 gram length would be.
So if we cut this string right there between the red dots that's going to represent 1 gram. And we can use that to figure out mu (μ) per meter, and so you're going to write that number down. And when the string was perfectly relaxed, I measured a distance of 25.
6 centimeters for those red dots. That was: 1 gram was 25. 6 centimeters.
Now I've put some -- 200 grams on here. Now what I'm going to do for you in this lab is give you positions. You're going to have to take the difference in those positions to find out a length.
I'm going to give you a left dimension on the meter stick, a right dimension - there's not really a good spot in the lab, but if you put a little hash mark bar across in your lab, or have a piece of paper on the side, I'm going to give you each one of these measurements and you can calculate the distance. So for this one, I've got -- for mu (μ) for this setup, I've got this measurement of 30 centimeters position on the meter stick, and over here we have. .
. what is it? .
. . whoops.
. . 57.
5 So it's stretched out a little bit but that's still a gram, and you can use that to calculate mu (μ), those two distances. We've got 30 on the left and 57. 5 on the right.
Now, I've already set up for our first wave. I'm going to turn on the function generator. I'm going to put some power to it.
. . and we're going to see the wave forming.
There we go. There's our first wave. This is 200 grams hanging mass.
You can calculate the tension. We have antinodes on this particular setup. We have 1, 2, 3, 4 - I'm going to measure between two of them.
And our frequency generator is 20. 9 Hertz. So I'm going to come in, I'm going to measure.
. . I'm going to put this one on 30 - this anti-node - and over here on that anti-node.
So for the left side, I've got 30 on the meter stick - that's a position. On the right side we have 85. 5.
You want to write those down, take the difference - that's the distance between nodes in your lab. Wavelength is twice that; so from here to here is one wavelength. You're going to calculate the velocity of the wave and what the frequency should be experimentally, and a percent difference between it and the function generator.
Okay, we're going to stay with the same mass for the second set. We're going to go to a different frequency. Okay, there's our new wave, and the first thing let's do, let's get mu (μ), which is the same as the last mu (μ) because we have the same force on the hanger.
So you can use mu (μ) from your last calculation, because we have not changed the hanging mass, but we - now we have 1, 2, 3, 4, 5 nodes, and we want to measure between any two. So I'm going to come in here again and I'm just setting this at 30 because it's easy math. This on the left, you want to write down there was 30, and on the right we've got.
. . 71.
So the difference between those is this half wavelength distance. So you want to record that. Left is 30, right is 71 centimeters -positions.
Okay, now what we're going to do is we're going to put the unit on standby. I'm going to change out our 200 mass grams and I'm going to go to a 300 gram. .
. and what that does is it stretches the string and you have to recalculate a mu(μ), but that's plenty easy. We're going to take over here between the two red dots we know is one gram.
I'm going to stick with starting with my 30 over here. So we got left of 30, and the right is 62. That repre -- that distance, the difference represents one gram.
We can calculate how many grams per meter linear mass density is. So now that we've done that, let's turn back our function -- turn on our function generator with our new mass. Remember this one is 300 grams hanging mass now.
We're going to find -- trying to find four anti-nodes, or nodes, sorry. Alright let's do it. .
. It looks like that's a pretty good one right there. So we've got 1, 2, 3, 4 anti-nodes.
"n" number 4. We're going to measure the distance between any two. So I'm going to put this one on 30 - is our position for that anti node - make sure that's right on there.
. . and the other anti-node is going to be 84.
4. So we got 84. 4 and 30.
The difference between those is one anti-node or a half wavelength apart. Remember, 300 grams on the hanger and we've got a a frequency of 27. 2 Hertz on the function generator.
We're going to use -- go to our final one here, and I've picked one with six nodes. So we've got 1, 2, 3, 4, 5, 6 "n," or anti-nodes. We want to measure -- again, this is the same hanging mass so we don't have to recalculate mu (μ); that would be our same mu (μ) for the 300 grams.
So I'm going to come over here and I'm going to pick this anti-node, and since it's good, I'm going to put this one on 20 and this one is gonna be. . .
what, 50. . .
53. 2. So left is 20, right is 53.
2. The difference is the distance for a half wavelength. Our frequency is 45.
6 Hertz. And again, our hanging mass is 300 grams. So for each of these you want to calculate first the wavelength, the velocity, and then the frequency predicted.
And then you're going to compare these - your experimental, what we've measured here, to this value. And that's really. .
. kind of completes our wave lab.