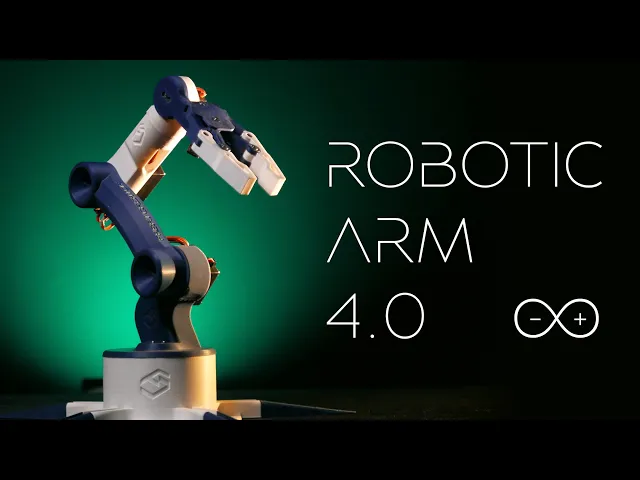
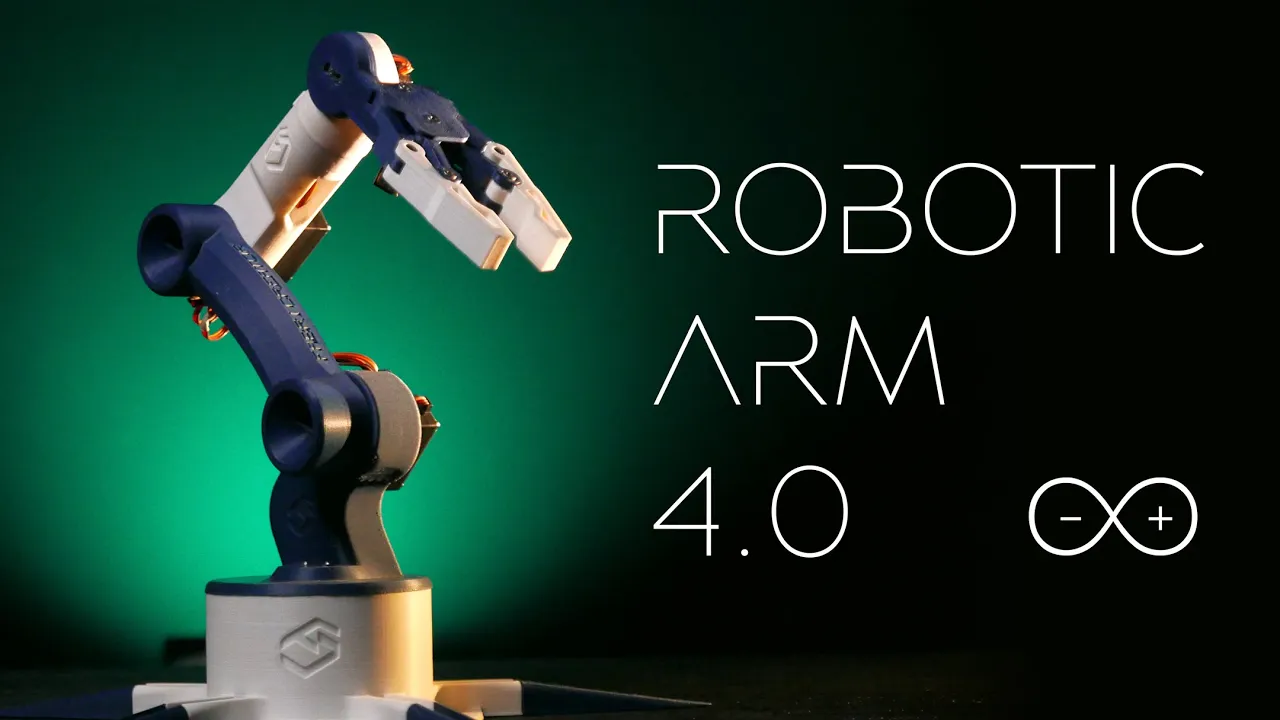
[Music] hello in this video I'm going to show you step by step how you can make this awesome 3D printed robotic arm that works with an Arduino and Servo Motors something very special about this arm is that we can control it through an interface that offers us several options we can save positions and replay them continuously additionally we can export the programmed positions and later import them I hope you enjoy it so let's get started I started by designing the 3D model for this arm here you can see a simulation of how the robotic arm
moves before bringing it to reality in the video description I'll include a link where you can download the pieces in Step format if you want to make modifications to the design in the description there's also a link to download the STL files so you can print the pieces directly let's begin with the Assembly of the arm first I took a DC jack socket with a screw and soldered some wires with connectors onto it I'm going to insert this into the base as in the video and then secure it with its nut for this project we'll
be using an Arduino Uno I connected it to my laptop and uploaded the code I had previously written which you can also find in the description this code allows you to control several Servo Motors connected to an Arduino board through serial communication sending commands that specifically say which Servo to move and to what angle we're going to attach the Arduino to the base cover using some small screws we place it under the base like this then I connected the wires from the Jack socket to the 5vt and gnd pins of the Arduino and secured the
base with two 12 mm M3 screws I'm going to connect some wires to an mg995 Servo and then connect it to the Arduino like this next I'll place the servo on the base and secure it with 12 mm M3 screws and washers [Music] I'll attach a Servo to the bass's axis as shown in the video I screw in this adapter that I previously cut to fit this way but we can also use the circular adapter I'm going to screw these plastic adapters onto the ends of this piece which is the forearm I insert it into
the base and secure it with a screw next we're going to use the mg90s servos but the parts are also compatible with sg90 servos I'm going to place a Servo into this white piece which is the arm and thread the cable through the internal hole of the piece to this other piece I'm going to screw in this black adapter that I previously cut to have it this way the adapters and screws come together with the servos in the same package we thread the cable of a new Servo through the arm and then screw the servo
to the wrist we're going to place an mg90s Servo at the base of the claw to one of the gears we are going to screw an adapter to then insert it into the servo I'm going to insert an M3 self-locking nut into the lower part of the base and then we'll screw in the other gear making sure it's not too tight after that we'll attach the gear to the server o in the same way we'll Place nuts on the pieces to later screw them together for the entire claw mechanism I'm using 16 mm M3 screws
you can follow the video to assemble it correctly now I'm going to attach the cover using two 12 mm screws as you can see the claw mechanism works properly we're going to place an adapter on the base of the claw and secure it with its respective screws I'm going to thread the claw cable through the arm conduit this way we'll insert the claw into the wrist and screw it in place it's important to note that before assembly all servos must be set to their neutral position which is 90° I'm going to organize all the cables
coming out of the arm insert an mg995 Servo and secure it with a 12 mm M3 screws and washers next we'll thread all the cables through the forearm conduit using pliers to pull them out through the lower part as shown in the video we'll connect the forearm to the arm secure them and organize the cables that will run down to the base these are some cables I prepared beforehand to make connecting the servos to the Arduino easier you can see the pins for power the pins for the digital ports and on the other end the
pins where we'll connect each Servo motor for this project I'm following this diagram you can also power the servo Motors externally if you encounter any complications with this circuit we'll continue connecting all the servos to the cables which also serve as extensions I'm going to thread the cables through the hole in the base axis we'll organize the cables in the compartment place the cover and secure it with a 12 mm counter sunk M3 screw we'll connect the servo cables to the power and digital pins of the Arduino ensuring the connections match the diagram we insert
the axis into the base and screw it in this way the robotic arm is almost ready I'm going to insert the five legs into the base for stability to power the entire arm I'm going to use this 5V 3 amp adapter and as you can see it has a DC jack connector we connect the adapter to the robotic arm and to the power outlet immediately we can see the arm move to its default position in the description of this video you'll find the link to download the application in my case I downloaded the windows version
but it's also available for Linux then I extracted the file to my desktop opened the folder and finally launched the the application I'm going to connect the Arduino to my laptop this way we can start using our robotic arm the interface to control the arm was created using processing in the description I'll also include the code in case you want to make modifications or see how it works this graphical interface lets you manually control the robotic arm using the sliders in the center [Music] in the upper corner you can select the port where the Arduino
is connected you can also access other functions like saving movements replaying them and stopping them additionally there's a small slider that allows us to control the speed when replaying movements continuously on the right there are more buttons that let us export saved positions and later import them by simply selecting the saved file finally there's a reset button that erases all saved positions allowing us to start fresh and now it's time to unleash the full potential of our new robotic arm [Music] I hope you found this video useful or interesting don't forget to like And subscribe
if you enjoy the content I share on this channel it really helps me reach more people let me know in the comments what you think of this robotic arm and if you have any suggestions questions or contributions to the project until next time let's keep pushing the boundaries of what we create see you in the next video goodbye [Applause] [Music]