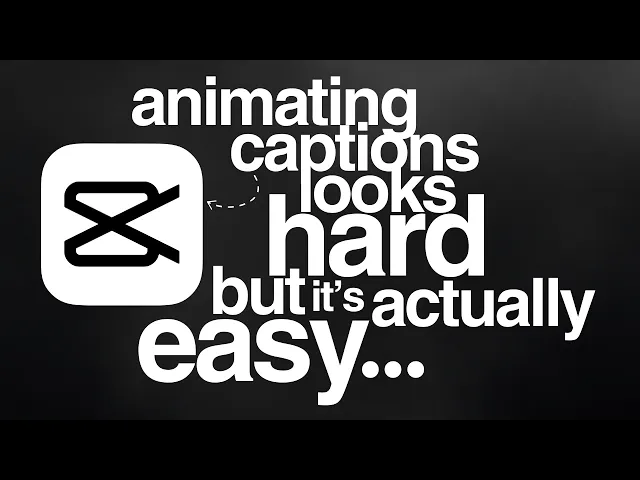
[Music] This is the minimal, stylish caption style you've been seeing everywhere. It's also the caption style that got me over 130% retention rate on a YouTube short. I believe this is art and I'm going to be showing you how to create it in Caput.
Obviously, it all starts with the font. Different fonts communicate different emotions and there's a reason that professional documents aren't written in comic sands. That's because your font speaks before your actual message does.
If your font is too hard to read, well, people will just simply stop trying. The reality is that simplicity isn't boring. It's effective.
For this style, choose something clean, something minimal, something sexy. Some suggestions for different fonts. And in this case, I used Interbold, but there's Monserat, Poppins, Ariel, Helvetica, and a font called Hando.
All of these look very similar, but will get you that desired professional, very clean look. Now that you've got your font, let's jump into Capka and get animating. The first thing I do with my video on my timeline is I click on my video, go to text, and generate auto captions.
We're not actually going to be using the auto captions as captions, but they help make it easy to remember what's being said. Now, it's time to design our first word. Go to add text, and let's create a default text layer.
From here, I can go ahead and select my font. I'm going to select enter bold and let's type in our first word which is the I'm then going to select the uppercase option which is going to turn our word into uppercase and decrease the character to minus one. This is going to bring our letters closer together.
I can then scroll down until I find shadow. Enable that and turn your blur up a little bit. I'm going to set my distance at 10 and my angle at minus 70.
I bring the opacity down to 25. This creates a really beautiful subtle shadow behind our word. I'm going to place my layer at the very beginning of the timeline where I say the word and plan out where I want that word to disappear.
Most beautiful thing about cap. I can hear that I say the most beautiful thing about captions and I want it to end after I say thing about c. I'm going to move my playhead to that point and drag my text layer to end over there.
Now go to the beginning of your timeline. Scroll down a bit and create a transform key frame and a blend key frame. I'm then going to hold down shift and click the forward arrow and click the forward arrow twice more times without holding shift.
This is going to move us approximately 12 frames ahead on our timeline. At this point, I'm going to go ahead and create another transform key frame and create a blend key frame. Then let's use this arrow key to jump to our first key frame and drag our opacity down to zero and set our Y to minus 100.
You'll see that all we simply did is we have this fade in and then our word slides up. If you're enjoying this and you want to learn so much more about Caput in a fasttracked way, I've created a full Cap Cut course that pretty much teaches you everything. It's called Caput Lab.
It's the first link in the description. I'll see you there. Let's make these animations look more professional by right-clicking and saying show variable speed animation.
Because we didn't change anything on the scale, you'll see that this is a straight line. We do know that we changed our Y. So, I can select those two key frames, go to my presets curve, and select quad ease.
Then, I'm going to drag this little dot closer to the first one. All this does is our word slides up faster and then slows down as it reaches its last point. Let's go ahead and do the same for blend.
The last thing I'm going to do is stay selected on that word and go to animation. Scroll down a little bit until you find blur. And I'm going to leave the duration at 0.
5 seconds. I'm then going to go to out and add a blur on the out animation. Let's watch that.
The most beautiful thing about cap. The most beautiful I think our word is sliding up a little bit too fast. So I'm going to go to this key frame and drag it forward.
Just like that. The most beautiful just by moving our key frame up by three frames. We've created a much smoother slide.
I'm going to go back into our key frame animator and reselect quad ease. This is going to reset our curve. And I can go ahead and drag that line closer to the first one.
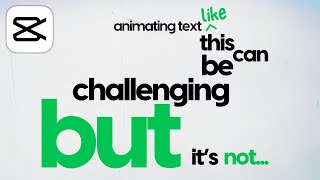
Again, >> you'll see that we have a super smooth slide up animation now. And just like that, you've done 90% of the work to get this caption style animations. Now, it's about layering your text and finding those secret elements that add some dynamism.
What I'm going to do is hold down alt and drag a few more layers on top of each other. Because I know I want to say the most beautiful thing in our first line, I'm going to drag three additional layers. So, now we have four layers.
We can then stagger those words just by dragging those text layers according to where I say them. Once those words are staggered, let's go ahead and change that text to the actual correct word. I know that my second word is most, my third word is beautiful, and my fourth word is thing.
Once you have the correct word, go ahead and compound each of those layers, leaving the first layer that we made the same. We can then go ahead and reposition and scale those words based on how you like. Now, if you want to specifically stylize one of the words to stand out from the others, there's an easy way to do it.
In this case, beautiful. I want to stand out. So, I'm going to go ahead and select beautiful's layer, double click that, and find our word.
We can then go ahead and change the color. I think this orange yellow looks perfect. And then change the font as well.
Lastly, don't be afraid to play with the scale of your compound clip to manipulate the size of that text. Different size words obviously going to stand out more than others. That means you can emphasize certain words that you say just by having them bigger.
For special words like beautiful, maybe add some glow, change the color of the word, and change the font. This is really going to help it stand out. And remember, the most beautiful thing about captions is not that they're only incredible for accessibility purposes, but that they can be your expression of art.
And good art attracts good people.