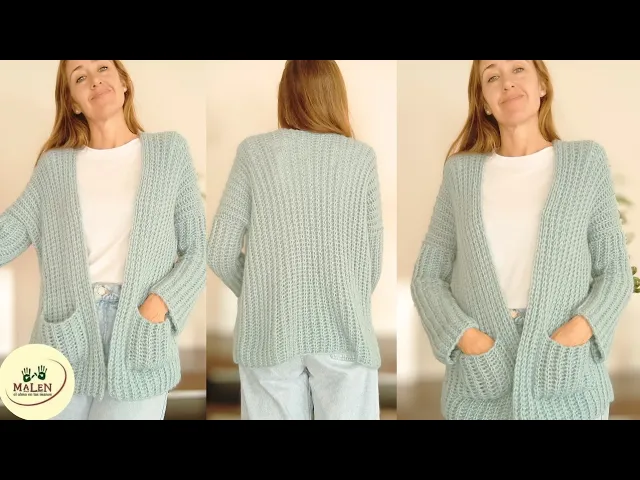
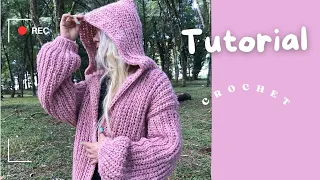
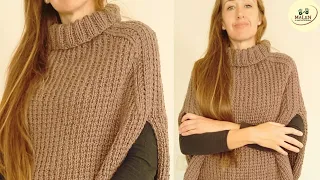
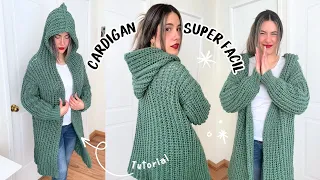
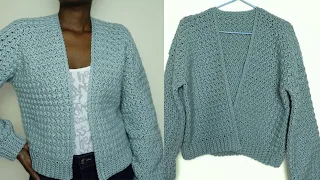
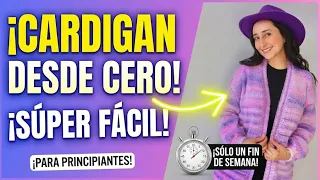
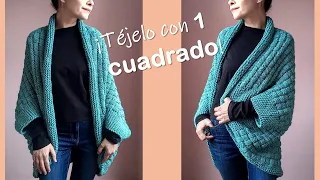
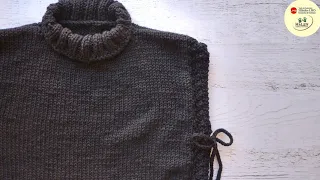
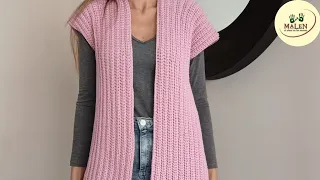
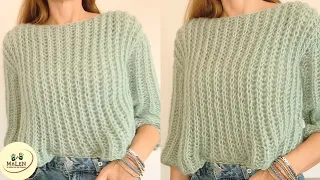
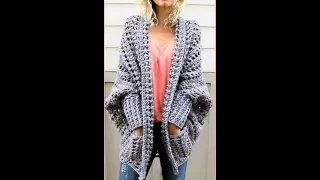
How are you? I'm Vicky, welcome to a new video, this time a super easy jacket for all sizes explained step by step and the body you will see that we knit it in one piece all together, then we make the sleeves and pockets easily, quickly and very very practical our physical store is in Mar del Plata and we ship to the entire country every day For this project I am going to use 450 grams of synthetic angorite and 10 millimeter crochet you can place your order by WhatsApp, This is how we send you, we have some beautiful colors, the number of chains that you must place is the total length counting the back and the front, this is the measurement that you have to place of chains if you want it to reach you, for example at this height, you have to continue making more chains until you reach it depending on the yarn you use and the number of needles will vary, the number of chains must then be the total length including the back and the front, so in my case I am going to use Needle 10 millimeters, a yarn approximately 2 millimeters thick and 130 chains once you have the number of chains that you are going to use I repeat in my case it is 130 chains with a 10 millimeter needle but well each case will be a different amount it does not matter if it is an even or odd number it is the same we are going to make a climbing chain that does not count as a stitch that does not count as a loop stitch on the needle and we are going to pick We bring the thread with that same thread that we brought we are going to pass through the middle of the two loops that are on the needle and we close that is the point that we are going to repeat all the time loop on the pico needle I bring the thread and that same thread is the one that closes we go again loop on the pico needle I bring a little thread and with that same one I am going to close it is comfortable for me to stretch this one that is there in the middle so that the needle passes better loop pico and I close all the same stitches when we reach the end of the row we are always going to go up with a chain that does not count as a stitch we turn the fabric and we always knit the same loop on the needle and for the back thread we only take the back thread of the stitch not both just the back thread and we repeat the same loop on the needle all the time back thread this little back thread I bring the thread and I close all the rows with the same back thread and the stitch we always go up with a single chain that does not count as a base stitch and now I am going to show you get to the end of the row a tip to make it look prettier I reached the last stitch don't forget to like the video so youtube recommends all the tutorials and you don't miss anything the like is marked there so that it continues to recommend all the tutorials and now in the last stitch we are going to take the two ears not only the back strand but both can do it by taking the needle in this way with the hook down we grab both and there if we close the stitch as we have been doing until now that It gives a better finish on the edges, we go up with a little chain, we turn the fabric and we continue knitting normally. We knit the number of rows that we need according to the width of our body.
I'm knitting it like this in this direction and I'm going to place it on my body in this way. I see if the width is okay or if I want to continue knitting more rows. We have to get to the middle and notice that the more you knit, the more it will fall on the shoulder.
Here I have about 28 centimeters for my measurement, so it's fine. Now I am going to start making the rows for the back of the neck once you have achieved the necessary width for the front, which in my case is more or less 28 centimeters as I just showed you, well there, when you have the width then we are going to start making the part that goes behind the neck, the width in the back and then continue with the other front then we are going to knit only half of the stitches I have 130 stitches so I am going to knit 65 knit half of the stitches that they have when they reach the Half of the knitting, which in my case is 65 stitches, the last one is going to be taken with both ears so it is firmer, not only the back ear but both of them. Now what we are going to do is continue knitting for approximately 10 centimeters, only these stitches are half, So right here where I am I go up with a little chain, I turn the fabric and I continue knitting only half of the stitches, this one that I have here for approximately 10 centimeters well here I knit a few rows the quantity is not important because what matters are the centimeters which are 9 or 10 centimeters depending on the yarn that you use it will be the number of rows that you have to knit but calculate between 8 and 10 centimeters that is fine and now what we have to do is little chains in the air to recover all these that we did not knit, which in my case are 65, so I am going to make 65 little chains in the air to recover and continue knitting the other front one so I knit the little chains in the air There.
Try not to make them tight because otherwise this front one will be shorter because the initial chains are tight so you loosen 1 2 3 4 5 6 7 8 9 10 like this the 65 or the What do you have to do to match the other front row? There I already have all the chains I need so I'm going to continue knitting normally as we did until now the whole piece so I go up with a chain and I'm going to start knitting the next row I arrange it so you can see which direction it goes It's all crooked there I continue knitting this row so I've already made the up chain now looped on the needle in the first one I'm not going to pick I'm going to pick in the second like when we started knitting zero I continue with the same stitch One for each base chain and now I will have again the same 130 that I had when I started here I knit the last of the stitches of the chains that I added but the ideal is to take the two ears in the first one I will also take the two ears to ensure that it is very firm and then I continue knitting by back strand As always there now we continue the same number of rows that they knit for this front so this part will be placed we knit for the back of the neck it goes there at the back of the neck and this continues knitting We continue knitting the same number of rows that we have in this other front one I show you the finished part of the body it is very very very simple now we have to sew leaving a little space for the armhole you can sew everything you need here generally I leave 18 centimeters it depends on the width of each person's arm so I leave it loose And to make the sleeves we are going to take the measurement from where the vest falls yes Do not take the measurement from the shoulder because you will end up with a very long sleeve. You have to take the measurement from where the part that you already knit ends up to the wrist.
This little piece is only okay. So now what we are going to do is sew the sides. More or less as I said, you have to leave about 15 or 16 centimeters for the arm to pass through, but hey, they do it to the size of each of the bodies.
No problem, it is not a rigid measurement . same on the other side And on the other side in this way There is an invisible seam we pass inside the row Like this It looks very very pretty like this without anything else in the style of a vest the truth is that a model like this without sleeves is very common it barely falls it looks like a short sleeve but it is the same effect as the one on the front that falls and you can add the pockets here Or as we are going to do in this case the sleeve is a rectangle the amount of chains is the length that is woven across for the sleeves so they are going to place the amount of chains of the length that you need, in my case there were 45 chains and it measures more or less 44 centimeters. But as I tell you, I repeat, it depends on the length of your arm, according to the yarn you are using, so they are measured from the part where the sleeve ends, let's say the fall of the shoulder to the wrist, and that is going to be the number of chains that they are going to place and how wide they are going to make the turns.
To wrap your arm, in my case it is 30 centimeters because it is already a finite part. of the arm starts from here more or less my sleeve is not from the top So it is narrower Now we are going to sew like this across first and then we are going to join it to the body The seam is the same as the one we did just on the body we are going to take from one side The little dot like this on the inside and on the other side also a little dot a little dot on each side like this we sew everything along the length of the sleeve it is incredible how beautiful it is This seam is not visible at all, it is not noticeable, it is very good. They go inside the stitch and on the other side this is the part of the initial chain so they also take a stitch like this from the back in this case it is inside the spike and on the other side it is the initial chain so they take a stitch like this but it is perfect.
I invite you to subscribe to the channel, there are a lot of easy and complete tutorials so that you can make all kinds of garments so subscribe so you don't miss anything and now we are going to join the sleeve to the body to join the sleeve to the body what we are going to do is place the seam that we just made downwards anyway it is so neat that it is not even noticeable but we leave it in the part that is least visible and the upper part we are going to fix it with the help of a marker look how nice these come as a gift with the combo when you buy the yarn we send you a marker whenever there are sometimes they run out but well you ask for it and we send it there the marker fixes the part of the shoulder so that it does not move and now we start sewing from the bottom and we do the first stitch to fix then we are going to make a little stitch on this side With a row from the body part The whole round well to add the pockets what I am going to do is lift stitches make a little chain on this tenon that we have here on the side we are going to make the other pocket which is what I am missing so that we can do it together in the fourth tenon so that it remains at the same height as the other one in the fourth tenon I began to lift the stitches on this one that I have here I picked up 15 stitches, there I show you how I did it 15 stitches to knit the pocket and then sew it I'm going to prick with the needle inside this spike and I'm going to bring a stitch, a slipped knot I hook it and pass it through Now I go up with a chain in the air and I start to make chains here inside, inside this spike I put the needle in the bag and bring thread, there I make a chain Let's go to the next one, come, I'm following this herringbone line, I put the needle in, I take it out and I bring a little thread, I pass it inside like this, I repeat until I have 15 chains, maybe you can't see well because it's the same color, the idea is that it shouldn't be noticeable, but come, I put the needle in, I take it out through the next stitch, and there I bring the little thread and I pass it inside the one I have on the needle, so there are 15 in total, once I have the 15 little chains, I'm going to start knitting over them, so I go up with a chain, I turn the fabric, I have the whole jacket here, I turn it and I'm going to knit the stitch that we knit the entire garment, which is looped on the peak needle in the ear at the back of the stitch, they are these little chains that we just made and I knit like this sliding, make sure to always take the little ear at the back just as we have been doing throughout the jacket, we repeat the same thing only in these new little chains that we have just raised for the pocket that I am Knitting on the little chains that we just made, I knit the 15 little chains, I go up with a chain in the air and I turn the fabric again so I will continue knitting to achieve the full width of the pocket I continue with the same stitch knitting now I will show you how wide when you have already knitted the pocket of the width that you want, in my case there are 8 of these little spikes, they are more or less 16 centimeters 17 but hey, they make it the width and height that you like, here we go. Let's sew we are going to try to match the spikes with those of the garment so here goes a 1, 2, 3, 4, 5, 6, 7, I have to sew this one here above this eighth we are going to sew just as we joined the sides of the garment by sewing the right side and passing through a stitch on the garment and a stitch on the pocket. Here you see, I take the spike now I take a stitch from here and a stitch from the pocket a stitch from the garment and one from the pocket, so I put everything together and it is finished sewing, very easy to make, to adapt to any size, I hope you liked it, if you want you can leave me a comment here below the video, I invite you to subscribe and also follow us on Instagram as we share ideas every day, kisses!