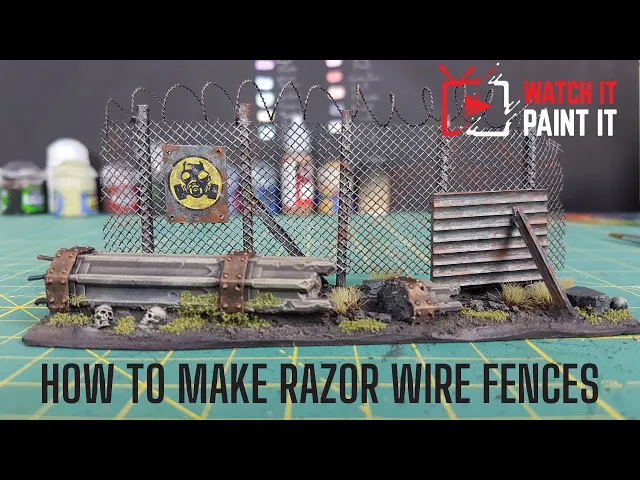
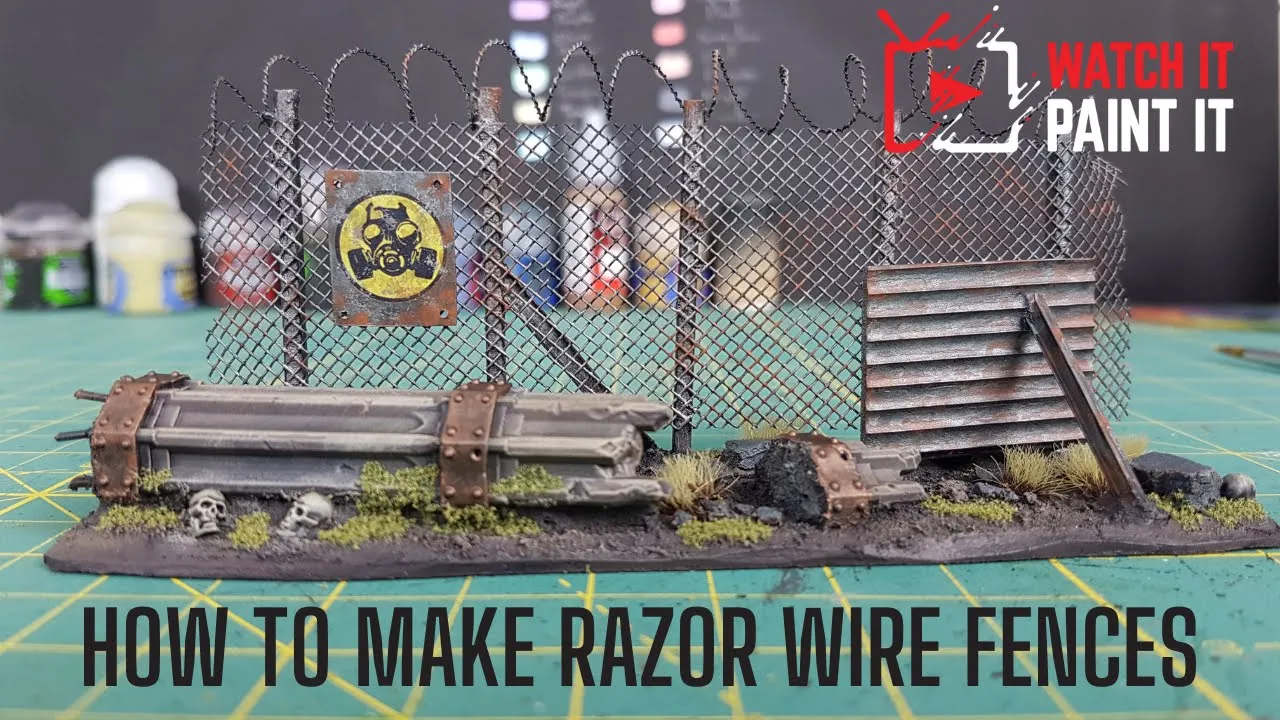
[Music] hey everyone mike here from watch it paint it and in this video i'll be creating some post-apocalyptic scatter terrain i want this to be on a firm surface so as you can see i'm beveling the edge of a piece of three millimeter mdf now this stuff will warp if it gets wet and i'd rather not take the chance that washes and texture paste are going to cause this warping so to prevent that after i've shaped the mdf the way i want i'm priming it with a spray-on primer and then sealing that with a varnish
before i do anything else with it a big feature for this piece of terrain is going to be a chain link fence when making these my preferred method is to use regular window screen though you could probably get away with using something like drywall tape not everyone has screen just lying around so i recommend waiting until your neighbors aren't home and just pop out one of their screen windows my fence is going to be an inch and a half tall and 5 inches long and i've turned the screen 45 degrees before cutting so that i
get a diamond pattern like you would see on most chain link fences now for the fence posts i'm using toothpicks big fancy kind and some good old super glue i'm spacing these out evenly and i'm only putting a very thin layer of glue on the toothpicks you don't need much and then i'm going to weigh this down on top of my wet pallet lid don't leave this to dry on your cutting mat or any surface that you care about [Music] i thought it would look cool to have some kind of hazard sign on the fence
so i turned to the mountain of decals that i have lying around and found one that i thought would look cool these particular ones came from green stuff world but if you want to make a sign you don't need these simple warning stripes on the sign will look pretty cool in my opinion i'm cutting the sign itself from a piece of 0.25 millimeter plastic card and just to make it look more interesting i drilled holes into each of the four corners [Music] and once again i'm using super glue to attach this i'm going to spread
this out good and evenly and then i'm going to set it aside for 20 minutes or so next i'm cutting the toothpicks so my fence posts are a good height for this scale now i need to attach these to the base and i prefer to use green stuff for this you can use millipots or other two-part epoxies but green stuff starts off fairly rigid so you can jam things into it and they won't move around too much while it's hardening i don't want this fence to be too straight it's post apocalypse things are going to
be crooked and beat up [Music] once the posts are attached i'm going to flatten out the edges of the green stuff just so it doesn't look like a big lump of clay at the bottom of each one [Music] all right next i'm going to add some scrap metal around the fence and for this i'll be using some corrugated foam and some plastic i-beams you can get the foam from most craft stores and the i-beams came from green stuff world i'm cutting a small rectangle of this corrugated foam and this is going to be a sheet
of scrap metal stuck up against the side of the fence if you don't have eye beams you can use more toothpicks for this next part i'm sticking these in random spots around the fence the green stuff is still workable so i'm using that to anchor these down in some places [Music] next up is razor wire army painter makes this stuff in plastic and steel i believe i like using the steel stuff because it's easy to shape just wrap it around a pencil to make a coil and then stretch it out i've stretched this coil across
the tops of the fence posts and it's just sitting there at the moment to attach it i'm adding small dabs of super glue at its contact points next i want to add some debris this part is up to you it depends on what aesthetic you're going for i had some bits left over from the sector imperialis set from games workshop but you could use some rocks or other debris or even 3d print something that you could make into rubble or scrap i'm using a piece of unused pillar as you can see here but it's hollow
at the bottom so i covered that with plastic card and then trimmed off the excess i want this to look like it's sunken into the ground a bit so to do that i'm filing down one side of it that side looks like crap anyhow because that's the side i had to cut and had to break it off the wall it was attached to after filing that down i'm drilling holes at the corners and gluing in some cut pieces of paper clips this looks like the kind of building that would have used reinforced concrete so the
paper clips will represent bits of rebar sticking out of the bottom or at least that's my intention [Music] next i'm using some earth texture paste you can use any that you want again it depends on the aesthetic that you're going for i like vallejo earth and i'm putting this on the bottom of any pillar bits and then i'm going to spread some around on the base itself i'm making sure that i cover up the edges of this green stuff as i go and then i'm just spreading some more around trying to keep things random before
i go too much further with the texture paste i'm gluing down some of the bits of debris like the broken pillars and some rocks that way once they're down i can build up the paste around them this paste also acts as a glue so i'm going to use it to anchor down some skulls as well [Music] your texture paste is probably pretty uniform looking so it can't hurt to sprinkle some sand and tiny pebbles onto it as you go all right this is almost ready to be painted the last thing i want to do is
to add a few cuts and tears in the fence i'm just using a pair of scissors to cut small sections from the fence to make it look a little more beat up now that this is done i'm spraying the whole thing with a black primer but any neutral color will do the first color i'm using is gunmetal this is going over the entire fence i'm using a big flat brush and guess what i am not thinning my paint at all i'm just dipping my brush in the paint making a few swipes on the palette so
i don't have a big gob of paint on the end and then i'm lightly brushing it across the fence next i'm using some watered down dark brown half paint half water again i'm using a big flat brush and i'm quickly just covering the entire ground pillars and skulls with a brown paint one of the fun parts about painting terrain is that it's quick and messy next i'm switching to a dark wash i'm mixing 5050 black contrast paint and contrast medium if you don't have this just go with null oil you'll get a very similar effect
this is just going to tone the color down a bit more than a normal wash [Music] next i'm using some steel legion drab or any lighter brown will do and i'm dry brushing it all over the ground debris and skulls don't worry about getting this on the fence it's mud so it'll be caked around the bottom of the fence anyhow here's how everything is looking so far i'm going to finish off the ground and debris with two more dry brush colors first i'm using carrick stone and this is going over everything just like with a
steel legion drab but this time i'm going to be going a bit lighter finally i'm going to switch to screaming skull and this is only going on the skulls and only on the very top of the skulls and on their facial features next up is the rocks all of the big rocks that i added are getting a couple layers of dark reaper this is a bluish gray and it's going to set the rocks apart a bit from the other debris once these are fully painted i'm dry brushing them with more of the carrick stone next
i'm painting the metal bands on the pillars i've been experimenting with mixing metal colors with similarly colored contrast paints and i have to say it works pretty well one quick layer and you're done now i went ahead and attached the decal to the sign i won't bore you with how i did it ben and i both talk about that in some of our other videos which i'll link at the end of this one if you're interested at this point i'm covering the metal bands and the sign with a dark wash brown black or blue doesn't
matter all those work fine for this [Music] for the next part i'll be painting mostly with a piece of sponge i have a piece of spongy black foam this one is from a foam paintbrush and i'm dipping it in the gunmetal paint next i'm dabbing off the excess so i just have small specks appearing when i use it then i'm using this all over the sign in random places to make it look like the paint is chipping away and the metal corrosion isn't completely uniform right now the sign clearly looks like it's just a sticker
and i'm trying to change that now for the rust the rust for post apocalypse is a must you only need two colors for decent looking rust i'm starting with mournfang brown and this is mixed three parts water to one part paint you want it good and watery so it settles where rain and condensation would settle you can see here i'm dabbing it on the bottom part of the corrugated metal and then i'm dabbing it randomly around the edges of the sign for the fence and the fence posts i'm grabbing another piece of sponge and doing
the same thing i did with a gunmetal dunking in the paint dab off the excess onto some paper towel and then i'm putting random patches of paint onto the chain links and fence posts the second and final rust color is going to be three parts troll slayer orange and one part mournfang brown this is going on sparingly onto spots that already have the first rust color i'm just adding patches of a deeper rust now after all of the rust is done i'm spraying this with a matte varnish the painting is done as a final touch
i'm adding some dead and dry grass one is burnt turf from cato railroads and the other one is wasteland tufts from army painter i'm putting the tufts on with a bit of super glue i never trust the self-adhering tufts to stay on and the burnt turf is going on with a mix of pva glue and water at this point i'd like to say a huge thank you to all of our patrons for supporting both ben and i on watch it painted you have no idea how much we appreciate it and there you have it a
razor wire fence for your games in a post-apocalyptic world great for games like zombicide fallout and warhammer i hope you all liked this video and thanks for watching [Music] you