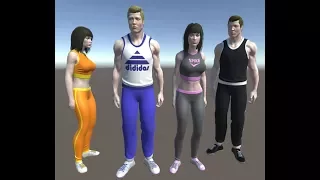
[Music] [Music] hello and welcome to Yuma 301 all about race creation so over the next few episodes we will be converting this model into an uma and that will allow us to close it ourselves put our own modification on our own DNA and do what we like now this is a massive subject and there are lots of ways to tackle it what I've decided to do is basically run through a practical example step by step how to do it and then afterwards maybe go through some of the details but I think if we dive in
and actually learn by doing we'll get results a lot quicker and hopefully you'll enjoy it so um where do we get our models from the eternal question let you have the talent of the skill or you've watched one of these lovely training videos perhaps you've modeled your own character or if you have a huge amount of money maybe you've bought iclone and you can create these wonderful realistic looking characters maybe if you've not got quite so much money um perhaps you've looked at Daz 3d it's free yes until you actually want to use them in
again but again wonderful models really good fun so you can pick things up and as you can also use the rather wonderful blender plug-in from manual pasty Oni with their strange licensing restrictions but these are still really really nice models that we could convert but where we're going to start and there's a number of reasons I'm doing this is we're going to use Adobe's fuze model creation system okay the reason for this is it's a relatively low poly rate compared to some of the high-end solutions it's still higher polygon standard umas and we can still
do an awful lot with it but also it creates some really useful things so when we make a character using fuse we'll get a nice clean bone structure and we will get some morphs which we are going to use as well so this is what we're going to do it's completely free if you download it you need a an Adobe account to do so but if you download that you can crack on making characters it's really fun and easy as well so I suggest you do that have a play with it and then come back
to this video so here we are in Adobe fuse and I'm gonna create my first generic character so let's pick mail fit a and select his head the matching torso legs and arms okay so we've got our mesh created next thing I want to do is neutralize him so you'll see that there are some hair textures which are added by default to our character so I won't rid of those so if I head over to the texture panel click on the mesh and down here we've got facial hair and I would just couldn't switch all
of these to non lovely looks nice and scary now but again that means we have full control we can add whatever hair we want later on we can also change the texture resolution so here you can see it's a 1024 by 1024 I'm gonna up that to 2048 and it will recalculate just because I like to be able to reduce that myself and it's in boomer rather than having to cope with a low resolution and wishing that I had a better one either way we can fill around and get textures from other sources which I
assure you later on ok and the one thing that we can't do in the Adobe version Oh fuse is we can't remove wonder where they have a modesty board so we kind of stuck with us but again like I said I'm going to show you later on how we can get new textures for our fuse characters so this guy's ready to go now all we need to do is to upload into the mix more site and get him Auto rigged for us so if we head up here and say sent to mix them all we'll
give him a name and we'll call this fuse you know bears save that and wait for the upload and once it's finished in mix malware I should open automatically and begin rigging our character and before you know it look at that there's our character fully rigged and ready to go and what it will also do you could fiddle around with some settings here but I had to leave these alone he will also create some facial blend shapes so this is one of the reason that wanted to use diffuse character we have skeletal stuff in there
but we also have some blend ships which we can use as well so I'm going to hit finish and obviously I've been doing this before so I'm saying replace the last character I used and I'm gonna hit download in here and we can change the format to FBX for unity am I recommend doing this it just crunches everything into a single file so all of the textures will all be stored in there as well makes life a lot easier I'm gonna hit download that guy should appear on our hard drive shortly so here we are
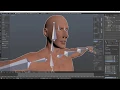
in blender let's load up our model and see what we've got so file import FBX and I saved mine on my desktop here is let's not mess around with any of the settings for now if we just import him as he is we'll see what we get so there's our character you could see the mesh is there there are also some bones which you should build as he poking out of the mesh brilliant this looks good so let's let's have a look at him with his materials on so if we switch over to material mod
again we can't see anything because we have no lights so let's quickly fix that I'm going to add a lamp point hump and let's pull it forward and up that way now you'll see straight away there's obviously something wrong with the material all it is is it hasn't refreshed when it's been imported and to fix that very very easy let's just have some room in this hierarchy I'm going to open up the armature one of the message such as the body and I've got to hit the material inspector as soon as I do that it
will refresh and you should see the eyes now have that material on one thing I didn't want eyelashes here we can see the mesh has actually come over even though we turned the texture off so I'm just going to select it right click and delete them so we're down to our basic character now okay this is good so I'm just going to add a couple more lights the reason being I don't like when I turn around seeing blackness so let's select this one shift D to duplicate and I drop one down here and let's just
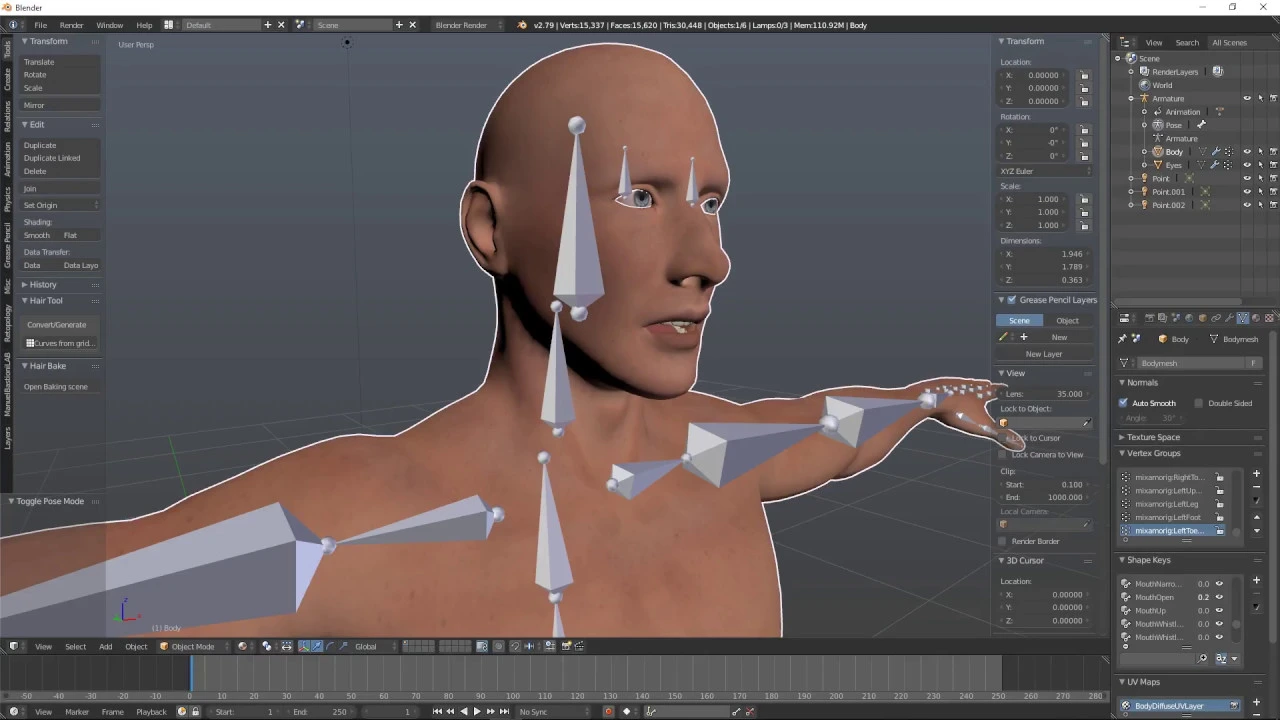
ease up intensity off just so we get some shadow that looks good I'm gonna duplicate one more time and put this light around the back and again let's just pull that intensity back up and maybe lift that one up as well okay so what we should see now is a character with some reasonable shadows but that we can still actually see our mesh that looks great right now I'm happy with that so what have we got well let's have a look at the born structure first if we select the armature and hit the armature inspector
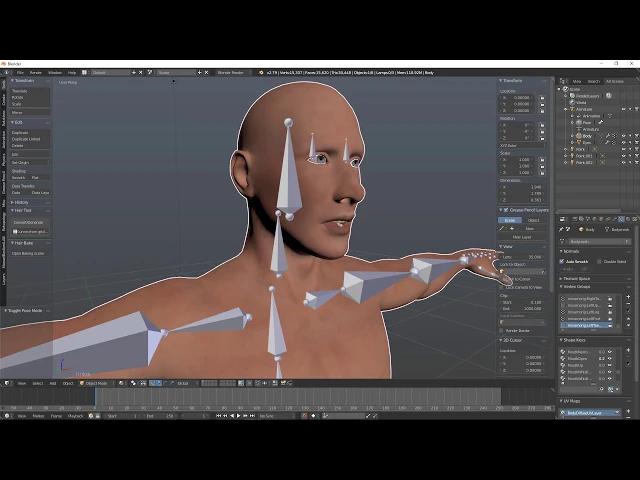
let's just switch x-ray on and you should be able to see our bone structure that's been created by the mixable website that looks fabulous these strange bones at the top here these ones are the eye pawns now they're in this orientation they look a little bit odd but they're lined up so that when we rotate them in Zed our eyes when we were left to right so this orientation is important what I don't particularly like is the fact they're sticking right out at the top of the head so all I'm going to do is go
into edit mode select ah I'm in edit mode for the body or child for that make sure I select the armature and head into edit mode now I can pick the bonds and fiddle with them so these two bones here I'm going to very quickly go to Bourne edit mode and change this tail value the white 170 okay and you can see all it does is shrink that tail position down it just makes them a little bit neater you know a model which I'm happy with that's good what I'm also going to do while I'm
in edit mode here I'm going to select these extension bonds for this top bone I'm going to delete we're not going to use them at all let's do the same over here well magic camera movements there sorry let's do the same over here by shift selecting all of these end bones sticking out the fingers and deleting those do the same on the other side and shift select all of these and hit delete and finally the tooth sticking out at the end of the feet but shifts like those if I actually zoom in to my people
that do it there we are delete lovely so I've now tidied up my rig and this is where I want is a starting point a couple of things you may notice so there was obviously those eye bones sticking out at the top of the head we've also got a bit of a disconnect here between the top spine bone the neck and the head again this is what we want if we connected these bones up for example this neck bone if we actually put the tail here it will would move the axis of that bone so
if we rotated it that's going to pause mold if we selected that bone and rotated around this head it would rotate at an angle whereas at the moment it's lined up with the world said which to be honest is probably more like what we want if we're going to use eye care or something like that with our character so don't worry these look a little bit odd the orientations are set up correctly so well so we got here what you may notice is we don't have any facial bones other than the eyes so we can't
open his mouth using bones we can't fiddle with any of these facial features using bones that's quite different from animal character however one thing that came from miksa mole was let's have a look at the body mesh and eggs I mean the mesh properties you can see we have our vertex groups which are all of our mappings to the born weights but we also have the shape keys these are our morphs so shape pieces is what blender calls blend shapes so let's have a little look we've got no scrunching if I quickly pull that you
can see we get this movement in fact there's I think there's around 50 of them in here which is absolutely great so they're a bit randomly distributed so I'm very quickly going to press this plus button and say sort them alphabetically and I want to look for let me have a Lovejoy there we have mouth open so I can actually control the characters face using these blend shapes that we've got now these are really nice so we can have a look at using these in uma as well so that's our fuse character we're ready to
go we've simplified it and in the next session we will start converting into an uma I'll see you then and once again I'd like to say a big thank you to my patrons for making this possible if you would like to support me feel free to click that link at the end of the video thank you very much and I'll see you next time