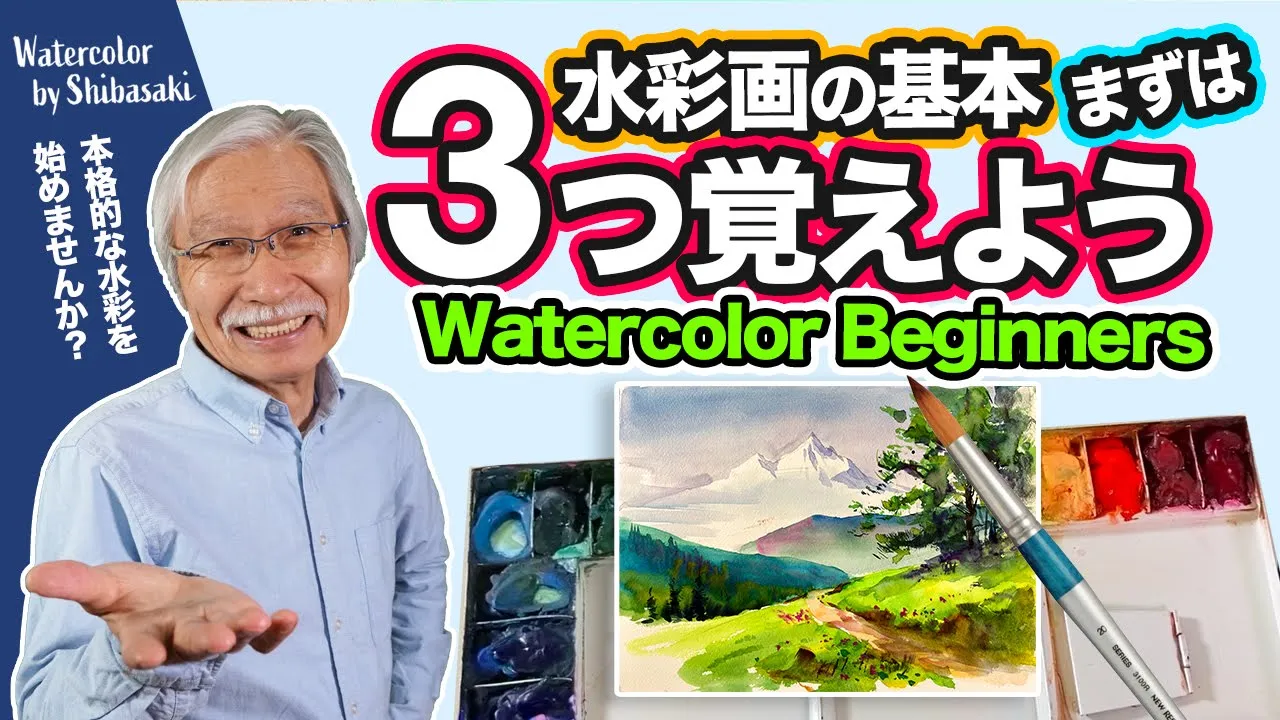
Hello. Shibasaki here. How’s everyone doing?
I’m doing great and painting every day. Today I’m going to show you three essential techniques you need to know for fascinating watercolor paintings. If you’re currently learning or practicing watercolor painting… or if you’re interested in learning watercolor painting…, this video will be absolutely useful.
That is because… this is my personal observation…, but many people have not quite mastered these basic techniques. So if you’ve fully acquired them, you’ll apply them for smooth painting… and that will surprise your friends as well. If you’ve heard thus far, you must be curious about these techniques.
Let’s learn these three techniques then. Let’s get started then. Make sure you have plenty of water.
Then use a large palette if possible. It’s ideal if the palette has large trays for mixing paint. Then, it's a thick brush.
I always use round brush #20. Let’s start if you have them ready at hand. The flat-wash technique first.
I’m using this large tray… …for Prussian Blue today. Bring lots of water to the tray first. Make sure you don’t add water directly to the paint.
Once water is in place, then start dissolving paint in it. The key is to prepare plenty of thick paint. Scrape the paint off your brush with the divider of the tray.
This is how you prepare paint. It looks ready. Let’s use it now.
This episode of basic techniques is very important. Let’s take time and do it together. I’ve dampened the brush with the paint.
See how much paint the brush carries? But this is not a good example. You shouldn’t start painting immediately.
You need to just place the paint… on the paper first. Then start spreading the paint slowly. Spreading is a better description than painting.
I’ve placed the paper at an angle today… against a stand. So the paint is spreading by itself. Give it a try.
Excess paint should be removed like this. That’s the flat-wash technique. Now let me show you gradation.
Bring a large amount of paint over and place it on the paper. Then gently spread the paint, if you remember. Bring more water and add more flat wash below the painted area.
See how the paint in the previous wash moves down to the new wash and blends with the water? I’ve added an even lighter tone of paint underneath. If you place the paper on an angle, then the paint moves downward and bleeds into the section.
Bring thick paint over to the upper part of the section. Lightly brush over the area. Then leave it untouched.
See? The paint flows down and generates a gradation effect. Let’s do it again.
. . this time starting with a light tone of the color with lots of water.
See how the paint flows downwards? Now take a darker tone of color and paint gently from below toward top. The paint is moving down.
Let’s apply an even darker tone in the same way. See? Gradation is being created.
Don’t touch it anymore. Let me remove the excess paint. Now I’ll show you layering.
You need a hairdryer for this technique. Let’s start now. Flat wash first.
This is not what you’re supposed to do. Bring the paint first and then spread it. It’s done.
Dr the paint… …like this. That completed flat wash. Bring plenty of the same color over like this.
And gently spread the paint so that it overlaps the earlier wash. Well? The earlier wash and the new one are overlapped.
Notice that the overlapped area is in a darker tone of the color. You can see the bottom color coming through. This spot here.
This shows the significance of clear watercolor paint. The bottom layer can be seen through another layer. This is the layering technique.
Let’s use a different color for layering. Yellow this time. Bring the color over… Oh, sorry, the paper has moved.
Lightly layer it over the earlier wash. Remember just gently. So now it’s layered.
With yellow layered over blue… the overlapped area now looks green. That’s the layering technique of watercolor paint. Those are the three important techniques I’m introducing.
Let’s paint something with these techniques now. What I’m painting is… a lovely landscape in early summer like now. I’m starting with the sky… right here.
First moisten the paper with plenty of water. Flat-wash the sky with water and leave the mountain untouched. Mix Compose Blue with a little Crimson Lake… to prepare a large amount of this color.
Make sure you make plenty. Let’s start using the color. The paper is already wet, and the paint is moving downwards.
That’s how we did gradation. Notice that I’m not overworking it. I just keep an eye on how the paint is spreading.
Then right here, I’m adding a little more of the same color. See how it’s spreading? But it’s not spreading into the mountains which I didn’t moisten earlier.
Watercolor painting is done with use of the power of water like this. Now prepare a darker color with Prussian Blue and Crimson Lake and use it. See it’s a gradation effect.
This is where you can take advantage of the effect. Don’t touch it any longer. Just gently remove the excess paint.
Let’s dry it now. Take advantage of the power of water : this is what’s important about watercolor painting. Now let’s use clean water for the mountains.
I’m using the same color in the center of the mountains. Like this. This is actually another method of gradation.
The upper part of the mountains is lighter and the lower is darker. Both sides are made interesting. Now mix the same color… …with Yellow Grey.
I’m painting the mountain in the middle. If you take a large amount of paint with the brush, you don’t need to place paint before spreading it. Add some water for gradation.
See the paint is moving downwards? But remember, the paper must be placed at an angle for this effect. This is gradation from darker to lighter tones.
Nice isn’t it? Why don’t I add some Opera Pink now? Notice the changing colors are generating a gradation effect.
The charms of watercolor painting are created by adding color and using the gradation technique when the paint is still wet. Just practice and master these techniques. Now the middle mountain is finished.
Let’s use Cobalt Green now… for the mountain in the front. Flat wash it first. With use of a thick brush and plenty of paint, you can easily paint a large area in one color.
Now add Green #2 and Prussian Blue and apply… for more gradation. The technique is used everywhere. Use gentle strokes for mixing the colors.
But I’m not overworking it. This is how you let the water work for you. Now I’ve added yellow in the front.
The changing colors are gradating. Well? This is the fun of watercolor painting.
Add some trees in the distance before the paint gets dry. So that section is done. Now I’m using the layering technique.
Prepare some light purple color like this… and apply it right here. This is layering. Layer one color after the previous wash dries.
Right here as well. Gently… See? Now you can see the mountain through the new layer of color.
Watercolor painting is fabulous. Make an even darker tone of the color and paint the top of the mountain… to reinforce the raggedness of the mountain. You can add details with such a thick paint brush.
If you’ve only used thin brushes… give it a try with thicker brushes. Now the front area. I’m adding a path here.
But make sure you always use plenty of paint. I’m using the gradation technique for this path as well. Use a darker tone of color for the area closer to the viewer.
Looking good. For here, flat wash in yellow first. Use darker yellow for the front.
I’m sure you’re getting the hang of it by now. Now I’m speeding up the processes. See how the paint spreads by itself and generates effects?
Watercolor paint is so interesting. It’s becoming nice. The farther away the lighter.
This is gradation as well. Good gradation helps you create three-dimensional effects. Dr the paint for now.
The gradation technique has added depth to the painting. After flat wash, gradation, and layering processes are complete, you can start adding details. That’s the most effective procedure of watercolor painting.
Here I’m using the layering technique again. It’s coming along. I’m going to add large trees here.
This is a different technique from the basic ones. Just watch and see how I paint the trees. That’s it.
The trees are taking shape. Adding some little flowers. What do you think?
I’ve painted this landscape with the three basic techniques. That’s good. This is done.
So this is the painting. Flat wash. Gradation.
Layering. These are the three techniques I used for this. If you want to take advantage of the benefits of watercolor paint… these three techniques are essential.
So watch this video and master them. Don’t worry if you can’t master them on the first attempt. Practice makes perfect.
I’ve also explained details of each technique in my previous videos. Watch them if you’re interested. So I’ve introduced three essential watercolor techniques you need to master.
Thank you for watching until the end again. I’ll see you again with a different theme. Bye now!
![[Eng sub] Watercolor Basics for Beginners Let's paint bright red tomatoes!](https://img.youtube.com/vi/eejQKjLEEvU/maxresdefault.jpg)
![[Eng sub] Watercolor for beginners / Master the skills in most viewed "How to paint aTree" - Part3](https://img.youtube.com/vi/HgjuIXnktW0/maxresdefault.jpg)
![[Eng sub] Thought You Nailed It? One Fix Made the Composition Shine!](https://img.youtube.com/vi/UNT1MTcdH1Y/maxresdefault.jpg)
![[Eng sub] Spring is almost here! Easy-to-understand tips on how to draw cherry blossoms well!](https://img.youtube.com/vi/ecCtr7MBJZ0/maxresdefault.jpg)
![[Eng sub] Let's paint young woman's face! | Watercolor Basics for Beginners](https://img.youtube.com/vi/0CMc5BvEZqc/maxresdefault.jpg)


![[Eng sub] The Magic of Still Life: How Red and Green Create Rhythmic Harmony](https://img.youtube.com/vi/tZod_sFKFf4/maxresdefault.jpg)
![[Eng sub] #12 Gradient watercolor vol.1 | Watercolor painting tutorial for beginners](https://img.youtube.com/vi/it9AF2vSgGA/maxresdefault.jpg)
![[Eng sub] Watercolor Basics for Beginners Let's paint Realistic coniferous trees](https://img.youtube.com/vi/zO6J0VizQfg/maxresdefault.jpg)
![[Eng sub] Hydrangea Painting Makeover: How Light and Shadow Change Everything](https://img.youtube.com/vi/t_poWeK6_c8/maxresdefault.jpg)
![【初心者さん向け】実用的な水彩テクニック8つ🎨[Eng Sub] 8 Watercolor technique for Beginner](https://img.youtube.com/vi/MXja2FHKUG8/maxresdefault.jpg)