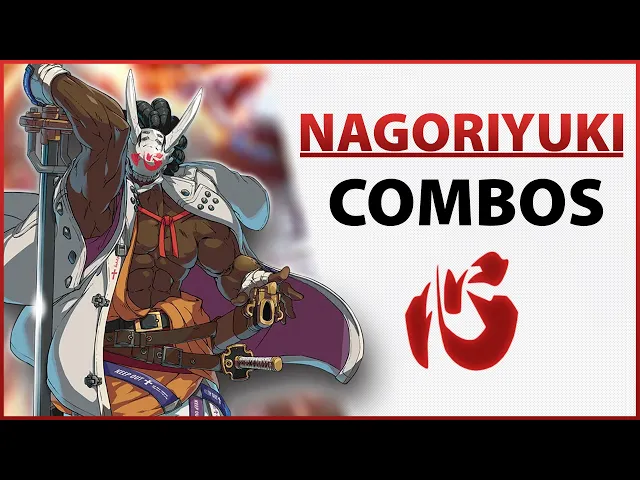
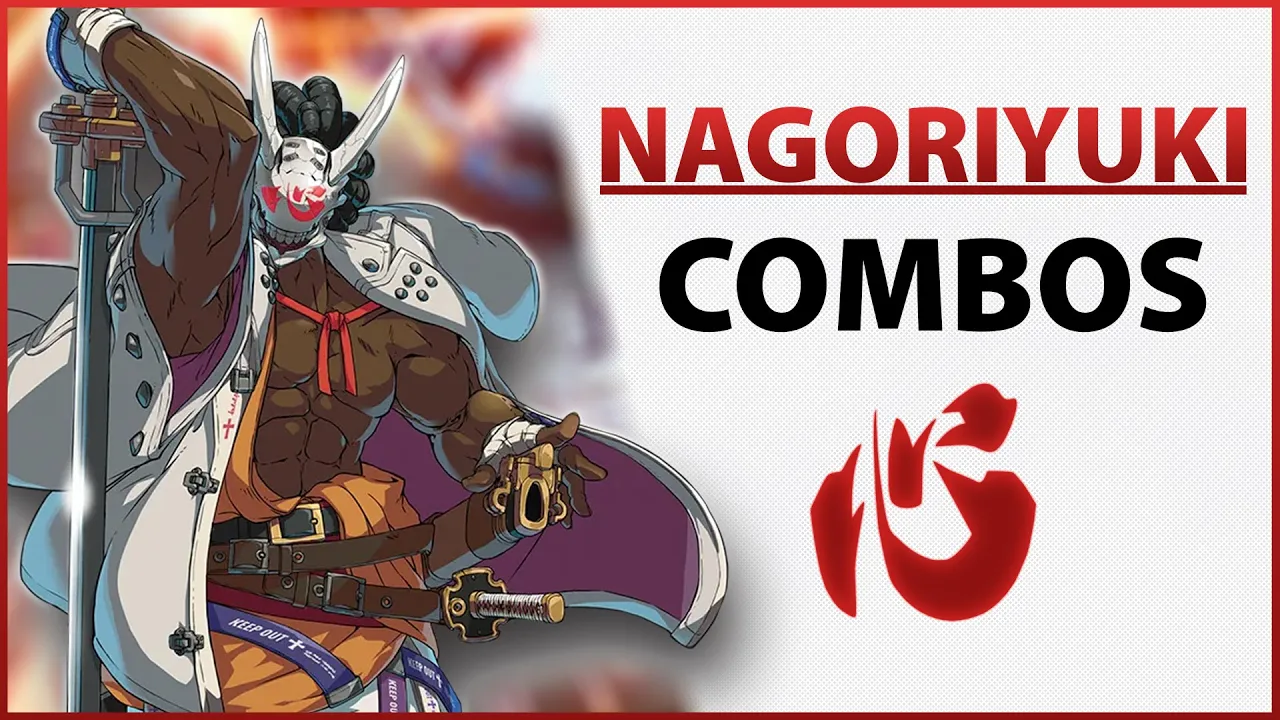
so you picked up nagoriyuki I assume you're here because this has happened to you a lot managing his blood gauge and applying pressure can be hard roll it no further because his the nagoriyuku combo guide for new blurs let's first talk about numpad rotations this is a way of explaining what I'm inputting for the combos in a way that can be understood by anyone using any type of controller imagine your movement keys are surrounded by numbers on a numpad when I press right on my d-pad this is equal to six and when I press down
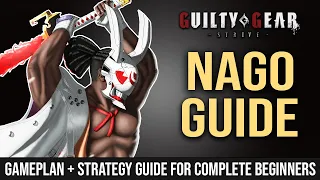
on my d-pad this is equal to two then there's the attacks which are represented by Punch Kick slash and heavy slush these are in place of x a y and B on an Xbox controller for example so this is 5K this is success and this is 214. is a huge Powerhouse of a character who's able to hit for a ton of damage however to compensate for this he has to manage a blood meter and he has very little natural Mobility I'm first going to give a rundown on how the blood gauge works and how you
can stop it from overflowing firstly we have to understand what causes this to increase when using any of nargo's special moves zardo mayuku kamuriyuki shizuru Yuki or fuku this meat is increased by about three quarters of a bar except for fukio which is a lot less every time you hit you reduce the blood Gauge by a small amount each section of this meter increases the amount of damage and ranged narcos attack serve so if your blood meter is high you'll be hitting harder however using too much blood will cause Narco to do something we like
to call popping you want to prevent this as much as you can as soon as you go into blood rage your health drops rapidly to half of your Microsoft you can't use any specials and worst of all there's a second where you can't do anything meaning one hit from a command grab will usually mean the end of the round however if you want to end the blood rage early you can do this by using his uncertitude this means you've got to manage the meter as well as possible so how do we do this well there
are two main ways the first is by doing damage with your blade meaning sometimes best to sit back and try and poke your opponent if your blood is too high to engage your wesuru Yuki also returns a large amount of blood back so try using this to finish off high blood demanding combos the other and most effective is blood sucking Universe this is your command graph and when used it drains your blood down to zero allowing you to go for your long damage in combos as it decreases remember when you get the bite you win
the fight next let's talk about Wreckers if I press s then wait and then press s again I'll perform the same move however if I press S three times in quick succession the move will change each time allow me to perform natural and easy pressure this is called a wrecker and can be used to lock down your opponent and create some great mix-up potential but more on that later for now get used to the timings between each attack as stated before Nago has very little movement not having any forward Dash or any type of air
Dash the only thing you can do is back dash this is where full kill comes in this is nago's greatest movement ability and allows him to move back and forth across the screen rapidly at the cost of increasing his blood gauge meaning you've got to use this move sparingly and efficiently to prevent yourself from going into blood Rouge to perform full cure it's 236k to move forward and two one four K to move backwards holding the K and the direction of the button you want to move in will allow you to keep performing full cure
in that direction you can also change the direction of the full Cure by pressing the opposite direction button while still holding the code this part is important you must learn how to cancel your full cure to stop you from sliding too far away from your opponent this is a normal fuel cure and this is a canceled focule to perform this it's 214k then six for when you're going backwards and two three six k then 4 for when you're going forward get used to this on both sides as it will be important to apply pressure later
on so how do we close the gap between us and our opponent to begin our pressure we do it by chasing our copy Naga can perform Asado Miyuki with a 2-36s sending out a copy of himself as a projectile he can then instantly follow after it using full Cure by simply continuing to hold the six and pressing K because we're performing this fukio after the Zara Miyuki we've already put in the 2-3-6 part of the combo so all we need to do is continue to hold the six and press K instead of having to input
another two three six we can then follow this up with either a close s to start our pressure or a blood sucking Universe using 63236p to get the command grab and drain our blood so the whole input goes 2 3 6s hold the six then press K and 2 or next to them then six three two three six P for the command grab or a close s to start your pressure practice both of these as they are one of your most important tools the final bit of guidance before we get into the actual combos is
how to convert your Komodo Yuki into your full combo Nago can use 214h to perform kamodo Yuki or better known as Beyblade but where do we go from here when it's blocked well the best part of this move is that it leaves you close enough to convert the end of it into a grab you can either choose to normally grab or better yet use your command grab to get the blood drain and really apply some damage another good thing about this combo is you can use your red Roman cancel to pop your opponent in the
air after the grabs start your high damage combo we'll be using this a lot for mix-up options so it's best to learn it now start off with 214h then when close enough use either your normal grab or your command grab using 63236p as the grab hits red Roman cancel by pressing any three attack buttons which will start your combo perfect with the fundamentals out of the way let's start with your main Combos and precious rings the way I like to split these up is into two sections the pressure stage and the follow-up stage the pressure
stage is where you use combos and mix ups to try and correct your opponent's defense once you've successfully done this the follow-up stage is the combo you use to bring your opponent to the wall and inflict the main proportion of your damage this follow-up combo will slightly change depending on where you are on the screen and the last move you used but will generally follow the same pattern don't worry I'll explain this in very detail let's start with the follow-up combo as this is the foundation of our game plan and what we are ultimately trying
to achieve this is corner to corner and can be performed anywhere on the screen and uses just under two parts of blood and here's what it looks like [Music] to perform this it's closest success success 214h 63236h 236k 5K close s 6s 6s 6K 632146s this is a great comma that does a lot of damage and can be used from anywhere on the screen we use sophisticate at the end to get just close enough to perform the wasauri Yuki instead of using another full kill which uses more blood this is the most extreme expensive version
of the combo as it's corner to corner so we can actually cut down on the amount of blood we use if the variables are lower an example of this is if we were mid-screen and we confirm the first two hits of our wrecker there's no need to use a Beyblade because the opponent is already cracked open and susceptible so how do we capitalize office efficiently instead of using Beyblade we can go straight into our shizodoyuki to lift them up then Focus your forward and use three hits of our record to stick it onto the wall
it's vital whilst playing nargo to look for opportunities like this to save blood so we don't pop this whole combo goes 6s 6s 63236h 236k close s 6s 6s 6s half circle forward s for sorayuki now let's talk about the pressure stage you know we can crack our opponent's defense when playing Nago it's important to remember this how do I make my opponent afraid to press a button we want to take this mentality and apply it to our pressure stage using Mix-Ups and baits to achieve our follow-up combo we can use a combination of aggressive
and defensive strings to accomplish this the aggressive strings allow you to apply a lot of pressure whilst the defensive strings allow you to bait in your opponent into pressing a button whilst keeping you relatively safe however these can allow gaps in your pressure to let people jump out and start their turn let's start with the aggressive one this is your spin to wind string and it will cost you about a quarter of blood once you confirm the command grow and this is what it looks like perform this it's success success 214h 63236p this is assuming
the whole string before the grab is blocked however if you at least confirm the hit on the Beyblade that's even better we can now continue to use our follow-up combo in its place using shizuruyuki and then bringing them to the wall with a 5k a close s and three hits of your record this whole string goes 6s success 214h 63236h 236k 5K close s 6s 6s 6s half circle forward s for was if this whole string is blocked and you decide to go and grab your opponent they'll eventually start learning this and begin to grab
you at the end of your Beyblade before you have time to recover so this is where your first defensive string comes in this is your Spin to Win Retreat string this works the same way as the first string but after your Beyblade you cancel out of it using your backwards full kill to leave them grasping at the air so you can punish it and go through a full combo remember to cancel your four kills Direction so you don't end up sliding too far and losing the pressure this is a great bait as you're making it
look like the previous aggressive spin to winstring but then retreating at the last second to catch your opponent off guard this will make them second guess their response next time you engage this string uses three quarters of a bar of blood and this is what it looks like to perform this it's success success 214h214k 6s 6s success to start reapplying the pressure this is your sudden grab string this is a useful curveball that keeps your opponent on edge and gives them more variables to think about when trying to block your strings this string doesn't use
any blood and here's what it looks like it's formless it's 6s 6s 63236p this can also be performed with a normal graph however be aware that they can also grab you out of this which is where you can use this final defense of string to counter it this is your sudden Retreat string this can be used in the same sort of way as the first one where you use a full cure to bait your opponent in this uses around a quarter of a bar of blood and this is what it looks like to perform this
it's simply success success 214k 6s success even if they don't try and grab you can still instantly reapply your pressure by following up with your record remember after any type of grab you can read roman cancel by pressing any three attack buttons to go instantly into your follow-up combo and those are the main ways to apply pressure and bet your opponent into making mistakes the most important thing about Nago is using a mixture of these and trying to reinforce habits into your opponent so you can then quickly change the situation and punish them for it
for an example of this let's say I've deliberately used a sudden grab string twice in a row what I'm doing here is telling my opponent that's how I like to apply my pressure then I think about how they're going to counter it maybe a counter grab maybe a jump or even a back dash and then I apply a different string like the southern Retreat to my next engagement to capitalize on their mistake this is a game plan you want at all times whilst playing Narco here's an example of where I use this in a real
game to read my opponent and get a perfect round [Music] thank you buddy [Music] let's break the stone I start my pressure off of a Komodo Yuki to close the gap I then try normal grab to see how my opponent reacts the gripe goes through and I set up my next engagement I then want to see if I can get away with it again so I use two records and a Kamura Yuki and then grab luckily again this goes through so what have I done I've reinforced an Amaze mine I like to grab after I
spin so from the next engagement I'm going to make it look like I'm doing the same thing but this time I'm going to use one of my defensive strings to retreat instead of grab this works as you can see and they try to grab based on the patterns I've reinforced earlier I then punish with three Wreckers I'm conscious of my blood gauge being relatively High what's my opponent's Health isn't low enough to finish the round with wonderful combo so this is why I decided to use the Ruckus here instead of spending more blood the main
noise I like to reapply my pressure by using a jump page again I'm thinking how does she think she can get out of this I think she's going to try and jump out so instead of jump page this time I use jump s to catch her in the air and put her back in the corner I've shown I have an answer for everything she's tried so far so I assume she's going to try something in part of the string I haven't changed yet which was the beginning so this time I decided to throw in a
random sudden Retreat string to try and catch her off guard and luckily she tried to press a button so she was punished her health is low enough to finish so I go for my spin to wind string to do as much damage and start the full combo to sticker to the wall luckily she sticks pretty fast so I use my wasordo Yuki to close around thanks a lot for watching I really hope this guide gives you a starting place to play nargo and helps you win some games now watch from our sponsor myself I sell
the STL files for 3D printed Google props I make on my Etsy store so for the week I'm doing a 20 offsell on everything in the store if you'd like to use as a cosplay prop or even just a collection piece please consider buying one and using Code blank 20 for the discount if you don't have a printer don't worry because you can always use websites like these two which will take the files print them on their own machines and then send them to you thank you very much if you do get one it helps
out a lot also please consider subscribing and following my Twitter if you'd like to see more stuff like this