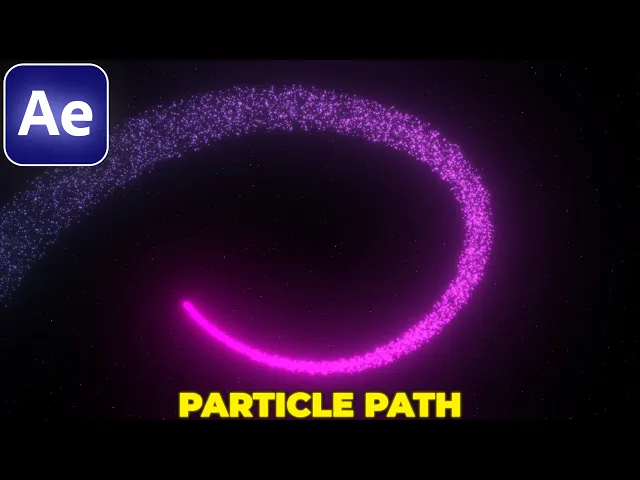
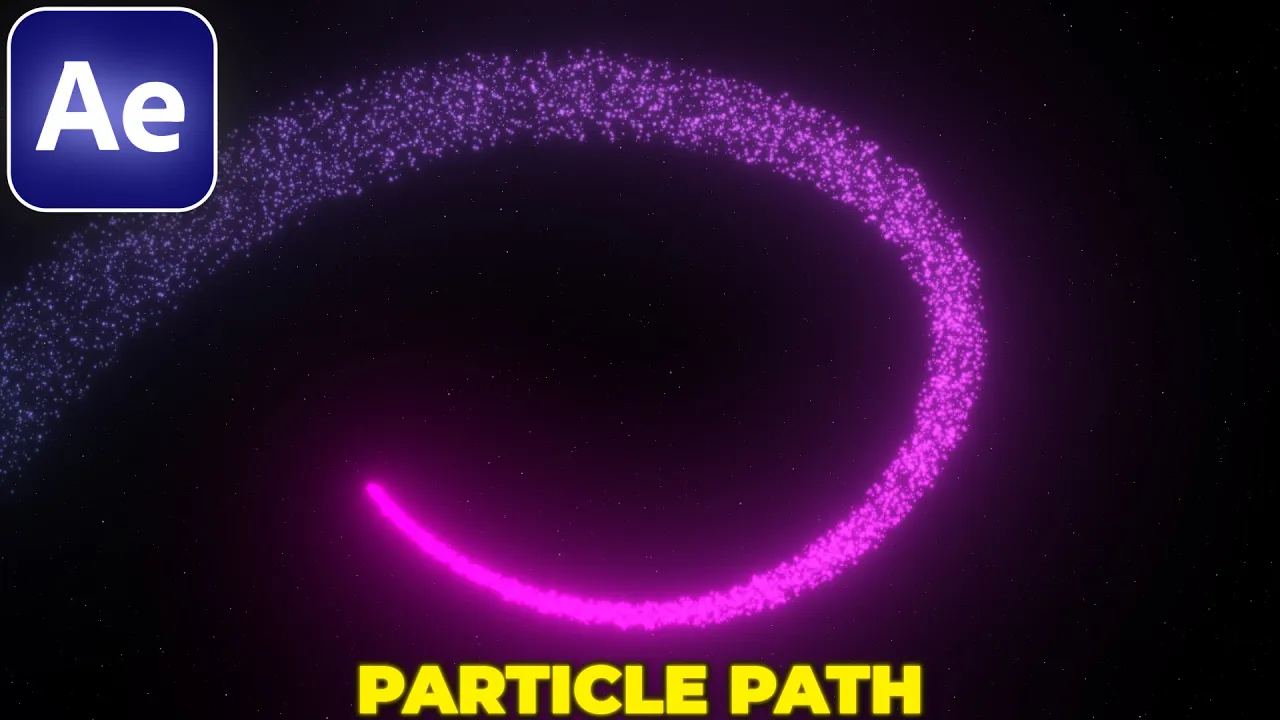
in this tutorial I'll show you how to animate particles along a path begin by creating a composition then go up to layer new solid click okay then open effects and presets and search for particle systems then add this effect to the solid layer then in effect controls let's expand producer physics and particle to see all of the settings then move the time indicator forward to see the particles and now let's adjust the look of the particles you don't have to follow my exact steps I'm just showing you how to create the particles that you saw
in the intro so we set the birth rate to 25 longevity to 3 radius X and Y to 0 animation to twirl velocity 0.05 inherent velocity -5 gravity 0 resistance 1 then particle type faded sphere birth size 0.05 death size 0 size variation 100 Max opacity 100 and for color I'm going for white both for birth and death colors so here we've created the particles now let's create a path that the particles will follow and there are multiple ways you can do that and I'll show you two very different approaches but first let's go up
to layer new null object now select the null then hold control on the keyboard and double click on the Pan behind tool to Center The Anchor Point then open the Align Tab and align the null object horizontally and vertically to put it to the center of the composition now for the first approach we're going to go up to window and enable motion sketch now select the null one and inside of the motion sketch let's click on start capture button now we need to click and hold the left Mouse button and draw a path that we
would like the particles to follow and as we do that our movement is being captured in real time and in the end we will get the position keyframes if we expand null one then go to transform you can see that the position is animated and we have a lot of keyframes now to adjust the speed of the animation we need to click on position to select all the key frames then right click on any of the keyframes select Rove across time now we need to deselect the keyframes and move the very end keyframe either forward
or backward in time and for the second approach instead of freely drawing a path we're going to use the pen tool so first let's select the null one then select the pen tool and create a path that you would like the particles to follow and this will create a mask if we expand masks then go into mask one then select the mask path by clicking on it then press ctrl + C to copy the mask path then move the time indicator to the start of the timeline then under transform we need the position click on
it and press ctrl + V paste the mask path into the position and you can see that also adds keyframes and we don't need to right click and do anything since it's already checked so we just click away and move the End keyframe either forward or backward in time and at that point we can select the mask and delete it since we no longer need it so regardless of which approach you go for once you have the path ready and you have the position keyframes you want to expand the settings to see the position down
here then you expand the settings of the solid go to effects particle system then producer and I'm going to to move this up to give ourselves some space and now we need to click and drag this pick whip that's next to producer's position and drag it onto the position of the null object and let go and that will make the producer of the particles follow the path that we created and you can see everything is working fine and at this point we can add glow to the particles if you have deep glow plugin available feel
free to use it if not then we can always use the regular glow so search for it in effects and presets and add the glow to the solid layer now I'm going to increase the glow radius to 200 then select the glow press ctrl + D to duplicate it and increase the radius of the glow 2 to 600 and now we have glow apply to the particles and if you want to change the color of the particles you can always go back to the particle settings under the particle systems and adjust both birth and death
colors to any other color you want and that's pretty much it for this tutorial thank you guys for watching