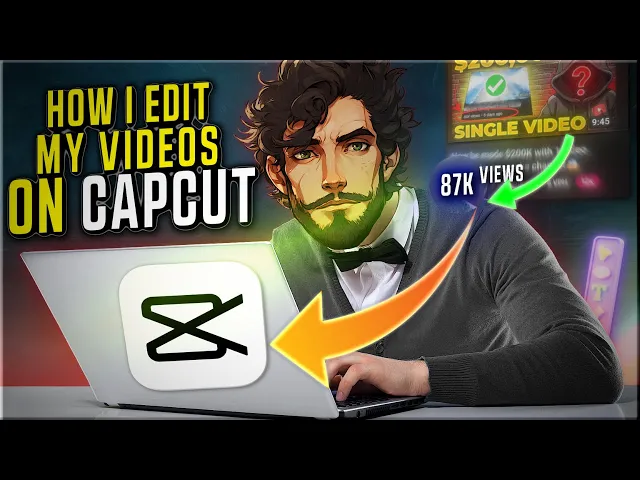
hey everyone so I've been playing around with editing my videos and guess what some of them have totally blown up we're talking 84k views 100K views even 60,000 views on different clips and the cool part I did all that editing magic using just cap cut yep that's right in today's video I'm super excited to walk you through the whole process step by step I want to show you exactly how I edited these videos with cap cut so you can do the same and see your videos go viral too it's all about sharing the love and
tricks right but how are these killer animations like this this and this one possible in cap cut and do you wonder what separates a normal edit from a viral edit what is the importance of color grading invisible cuts and sound designs to make a video viral well modern editing has completely transformed and due to platforms like Tik Tok and shorts the attention span of users has drastically reduced therefore in today's era a new type of editing is very much in Trend which is called retention editing a video editing style that aims to increase viewer attention
by keeping the audience's attention to the end basically this technique is used to grab the viers attention and it's so trending that all YouTubers including myself are using it and we're getting extremely good results retention editing is essentially inspired by reality TV and is made up of two elements first is fast- pacing where things happen so quickly that viewers need to pay full attention to the video for example look at this video by Beluga with 37 million views did you manage to read all the text appearing on the screen properly I bet 90% of viewers
either had to pause the video or go back because this video demanded your full attention with its fast pacing and now we come to the second part of retention editing which is invisible Cuts look everyone adds cuts to their videos but here we are talking about invisible Cuts let me show you something I recreated every single set from squid game in real life and whichever one of these 456 people survives the longest wins 456 Grand the first game we're going to play is red light green light and they have 30 minutes to cross the red
line now can you guess the number of cuts in the first 15 seconds of this video let's count it now I recreated every single set from squid game in real life and whichever one of these 456 people survives the longest wins 456 Grand the first game we're going to play is red light green light and they have 30 minutes across the red line a total of 13 Cuts yes that's true and when you watch it for the first time hardly anyone would have noticed so many Cuts well this is called invisible Cuts where for user
retention you have to play with cuts and this formula is working very well you can see it generated 589 million views on a single video from Mr Beast today in this video I'm going to share with you some very interesting editing techniques and styles that nobody openly talks about these are the secrets to editing viral videos so let's start with one of my own videos watch the first 3 seconds of it you upload a video on YouTube Just Another Edition into the 500 hour now set the speed to 0.25x and watch it again imagine this
you upload a video on YouTube Just Another addition to the did you notice something yes the movement of the Avatar is animated using animations to edit this part I use a background which you can find on canva a free design website there you'll find a plethora of background options including moving backgrounds in the video section truly this place is Heaven for video editors and premium templates and back grounds are available with a water mark but for now we'll proceed with this black grid background like you see in the video and hit download now let's talk
about how I make the avatars and how you can do the same for this I also use canva for example if you need a man who appears to be thinking go to the template section and search for a thinking man and choose one from the many options available that you like once you click it will be added to your slide and now we will remove its background which can be done in canva under the edit photo option then background remover and it's done now if you want to use the Avatar like this you can or
for more personalized avatars you can place your Channel's brand face on it like I do for this I simply place my face over it and now I'm going to download the Avatar remember to choose transparent while downloading otherwise the Avatar will download with a white background now that we have all our assets let's move over to cap cut here I'll explain the basics from here you can upload your media fully design the sound for your video which we'll look into later in this video this part is for adding text to your video and in cap
cut you can also Al generate autoc captions with the help of AI you can use thousands of readymade stickers here and add effects to your video just like one which you might have seen in many of my videos you can add any transitions like this from here and use video filters from here as well the bottom part is your timeline where you can work on multiple layers simultaneously and here is where your video preview will play and you can edit the layers from here so first you'll want to import all the assets you downloaded from
Cana then we simply drag and drop our background in and after that we'll bring in our Avatar now on a second layer we've bought this in and to position it just like in this video we'll use an animation here we'll apply a slide up animation for 0.2 seconds and now we bring our text to the side here and from here you can edit the style font size font stroke color and everything about the text so we'll choose this font and now we need to animate the text in the same way and we're almost done with
the first scene and here it is but wait do you feel like something is missing yes listen to the sound effects in this video imagine this here at both the entry and exit there's also a whoosh sound effect so for that we'll go to the sound section and search for whoo I often use swish wisho deep wisho in my videos because I find them really cool so here you'll use swisho because the scene is being shown quite fast we'll lower its volume so it's not too harsh on the ears and now our first scene is
done moving on to the second scene which is a b-roll b-roll is what we use to visually represent our words like here the phrase upload a video then the next scene shows a boy sitting and uploading a video for this chroma key has been used chroma keying is something I want to introduce you to from the world of YouTube about which you might not be aware it's the world of copyright free materials where you can find everything from be- rolls to sound effects background music and green screen animations just like what has been used in
this video we will type copyright free man watching PC green screen in the YouTube search and download whatever you find suitable I like this one so I will copy the link and download it we also need an uploaded part as was in that video so we will search for it on YouTube using the same steps and download it then we will import these into cap clip and drag them onto the timeline first the uploaded part and then the green screen clip which we will place on the second layer the first layer is for our grid
background now to remove this green screen we will go to cutout and select chroma key then use the Color Picker to select this green color and adjust the string with the green screen removed we will set the uploading part inside it by placing it on Layer Two and you can see it's adjusting now but now the question is how did we achieve the zoom out part in the scene I did it using key frame here we will place key frames at the starting and ending positions and add some sound effects like this now we are
done with it all let's look at it now so you must have realized that editing in this style isn't that easy I put effort into every single video for all of you if you want to understand editing in much greater depth then comment editing primarily to create such edits you need to think about how you can make a scene visually attractive can it be done with the help of be RS or perhaps with animators like this or even with avatars thinking is crucial once you've grasped the essence you can find the technique to execute it
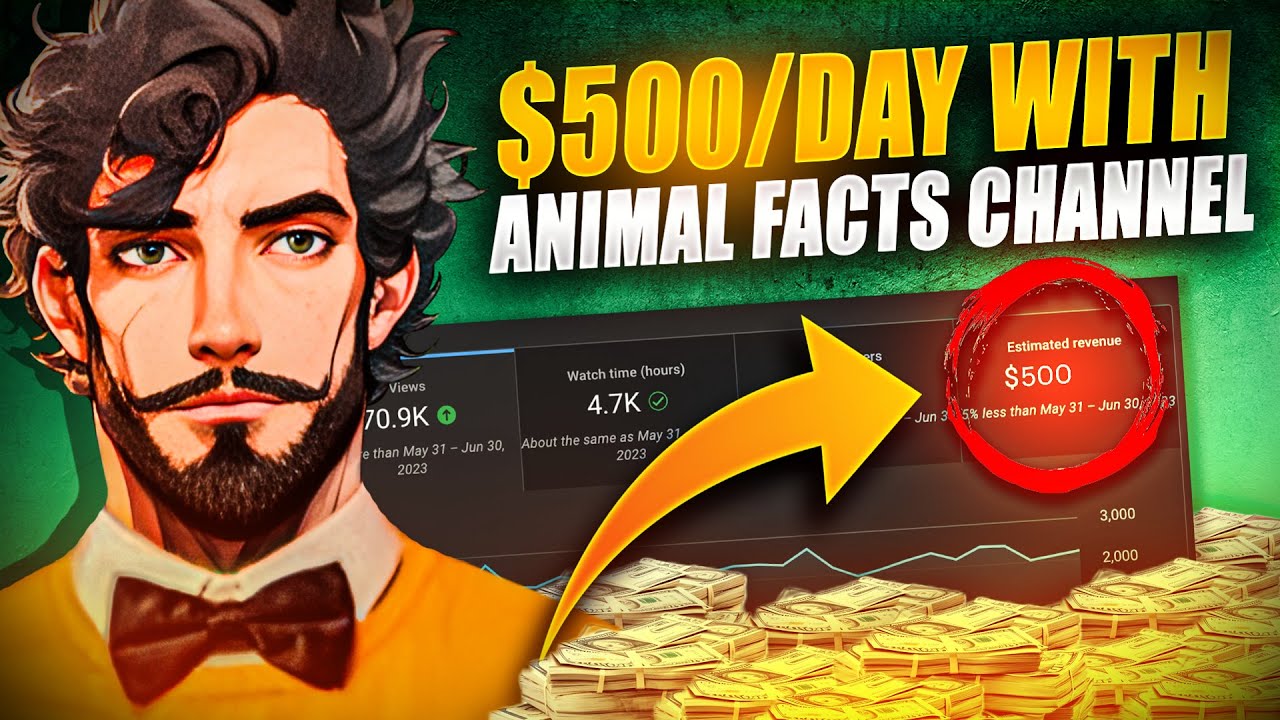
on YouTube provided you have a clear understanding of the basics you can also watch videos at 0.25x speed to analyze how certain effects were achieved speaking of turning Basics into something big I've got a real life example to share with you I recently turned a single video into an $88,000 win with just 14k subscribers yep you heard that right it's not just a story it happened and the best part I've laid out the whole process in a free master class that you can find on my website all you need to do is hit the link
in the description or check the first comment below this video and you're all set to discover how you can possibly do the same with your content it's about connecting the dots between creative editing and understanding the impact it can have on your Channel's success