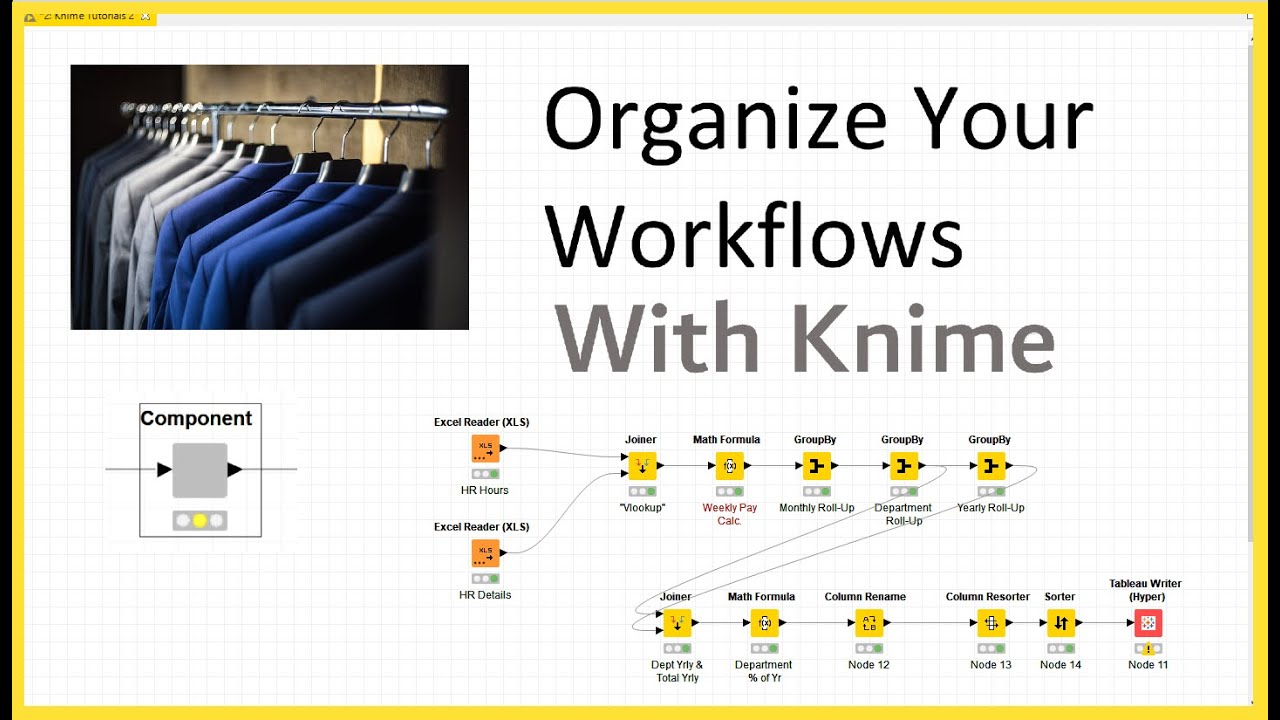
Metanodes collapse multiple nodes into a sub-workflow that appears as a grey box in a workflow. Metanodes allow you to clean up your workflow by structuring it more hierarchically, thereby making it more transparent and understandable. Let’s take a closer look at how they work.
Here you see a workflow for churn prediction. We start by reading in data from two different sources. Then, we pre-process the data.
Next, we train a machine learning model to predict churn in the data. At the last step, we evaluate the model. If we now clean this workflow by collapsing tasks that belong together into metanodes, the workflow looks, for example, like this.
This metanode contains all nodes for data access, this metanode all nodes for data pre-processing, and so on. Much prettier and easier to understand, isn’t it? Let’s have a look at how we can collapse nodes into metanodes.
We select these nodes that read in data by drawing a rectangle over them, or by keeping the “Ctrl” button pressed and selecting the nodes one by one. Next, we right click the selection and select “Create Metanode. .
. ” in the menu. A dialog opens asking us to enter the name of the metanode.
We write “Data Access” here, for example, and click “OK”. Now, as you can see here, the nodes that we selected have been replaced by a grey box - a metanode - in the workflow. To see the individual nodes inside the metanode, we simply double click it.
A separate workflow tab opens in the workflow editor, and we can inspect the sub-workflow there. We can add and remove nodes inside the metanode, reconfigure the nodes, change the layout, and add annotations. Now, we close the tab for the metanode and return back to the workflow.
We right click the metanode and navigate to the “Metanode” item in the menu. If we expand the item, we find the possible actions for a metanode: “Open” shows the sub-workflow inside the metanode in a separate tab. This is exactly the same action we just did by double clicking the metanode.
The next item, “Expand”, returns the individual nodes into the workflow. “Reconfigure” opens a dialog where we can change the name of the metanode, add or remove input and output ports of different types, and also change their order. “Convert to Component” converts the metanode into a component.
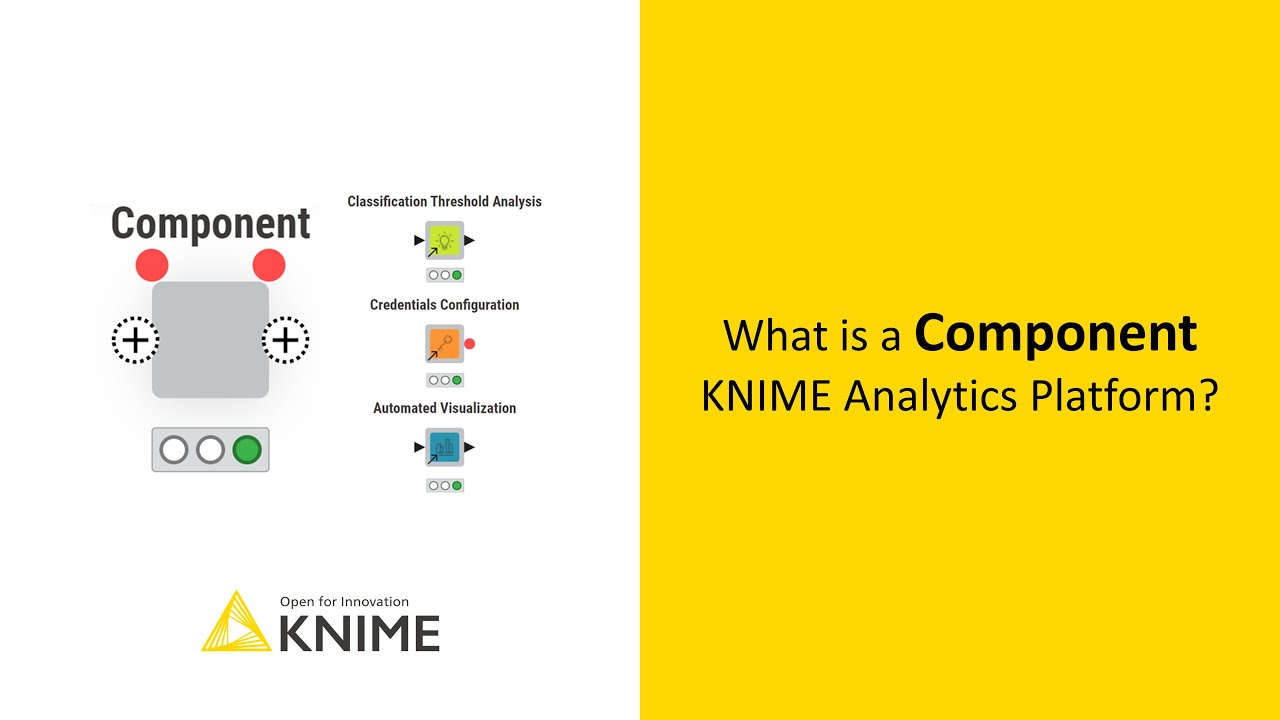
Components are KNIME nodes that collapse individual nodes into isolated functionalities for reusing and sharing. They can have their own configuration dialogs and customizable views, they can be shared with other users via KNIME Hub and KNIME Server, and they also represent web pages in an analytical application that is accessible via KNIME WebPortal. In this video, we have shown how to clean up your workflow and structure it hierarchically by collapsing individual nodes into sub-workflows, or metanodes.
We have shown how to open, expand, and reconfigure a metanode, and how to convert it into a component. The actions introduced here for metanodes work the same way for components.