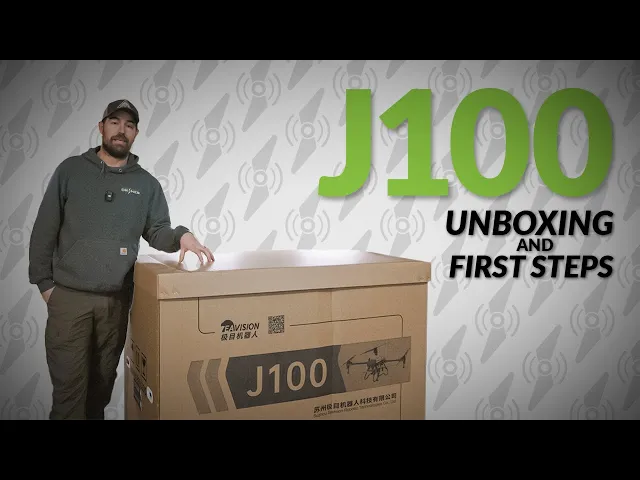
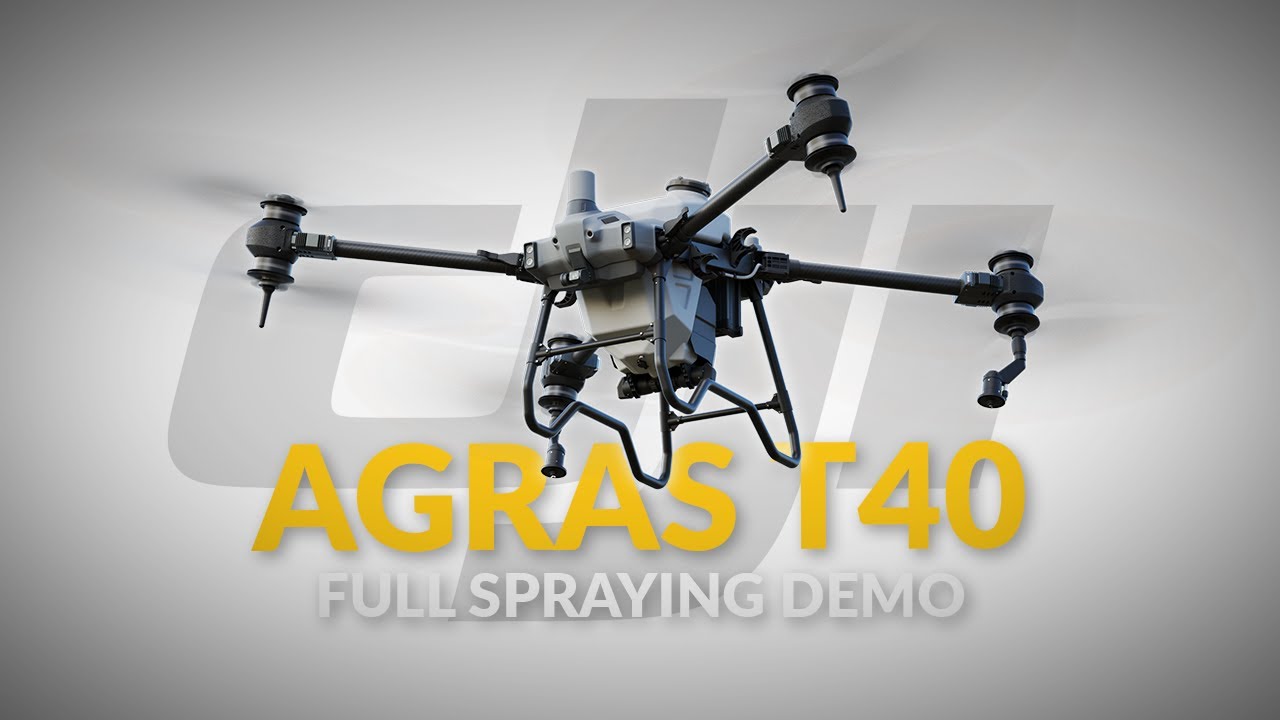
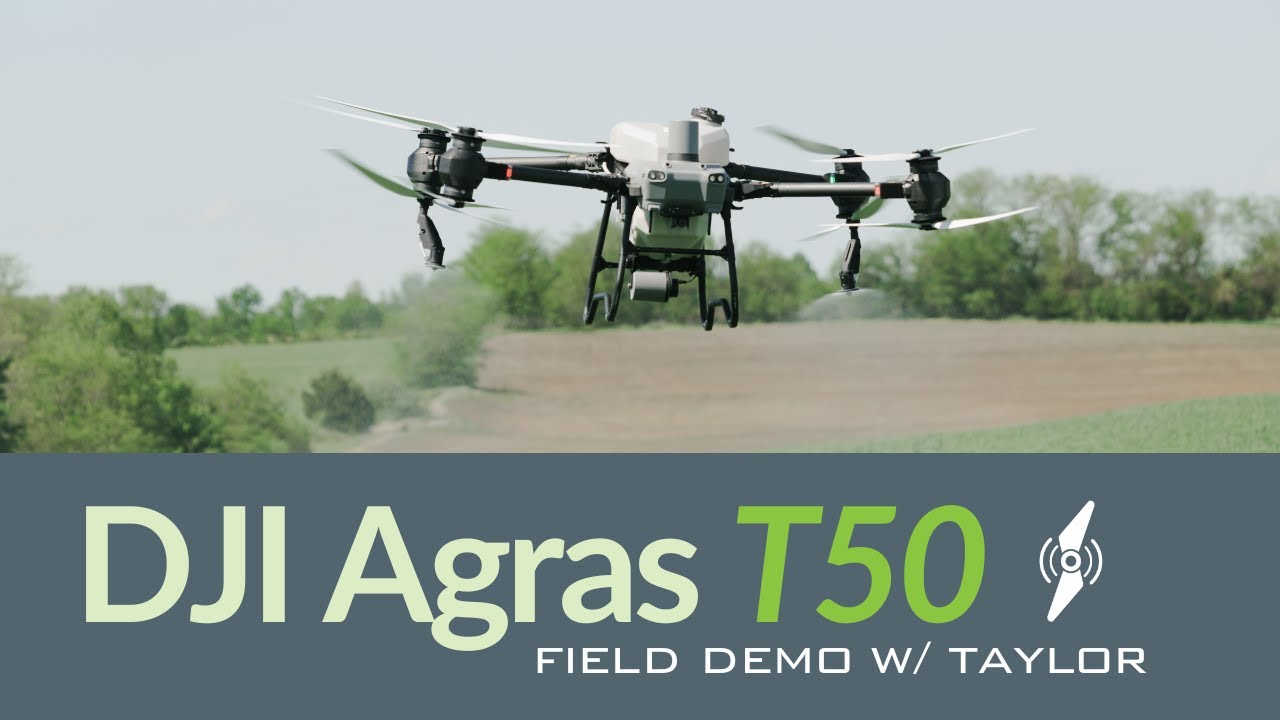
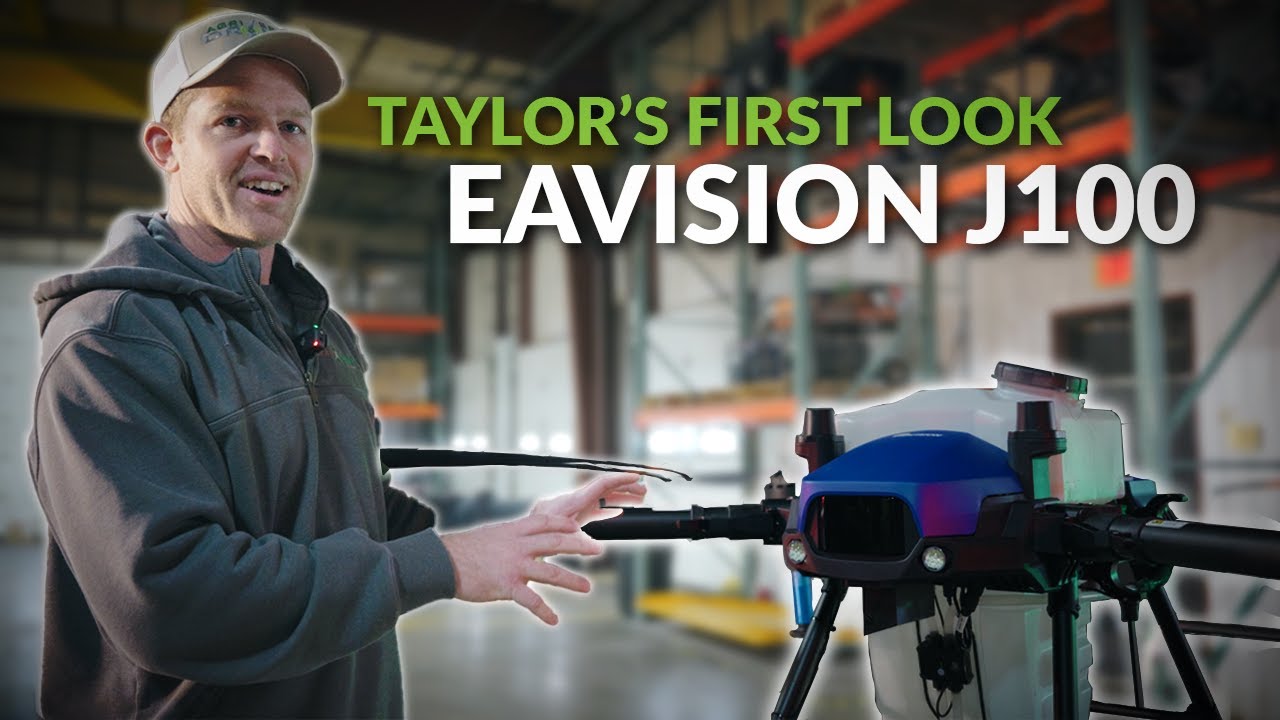
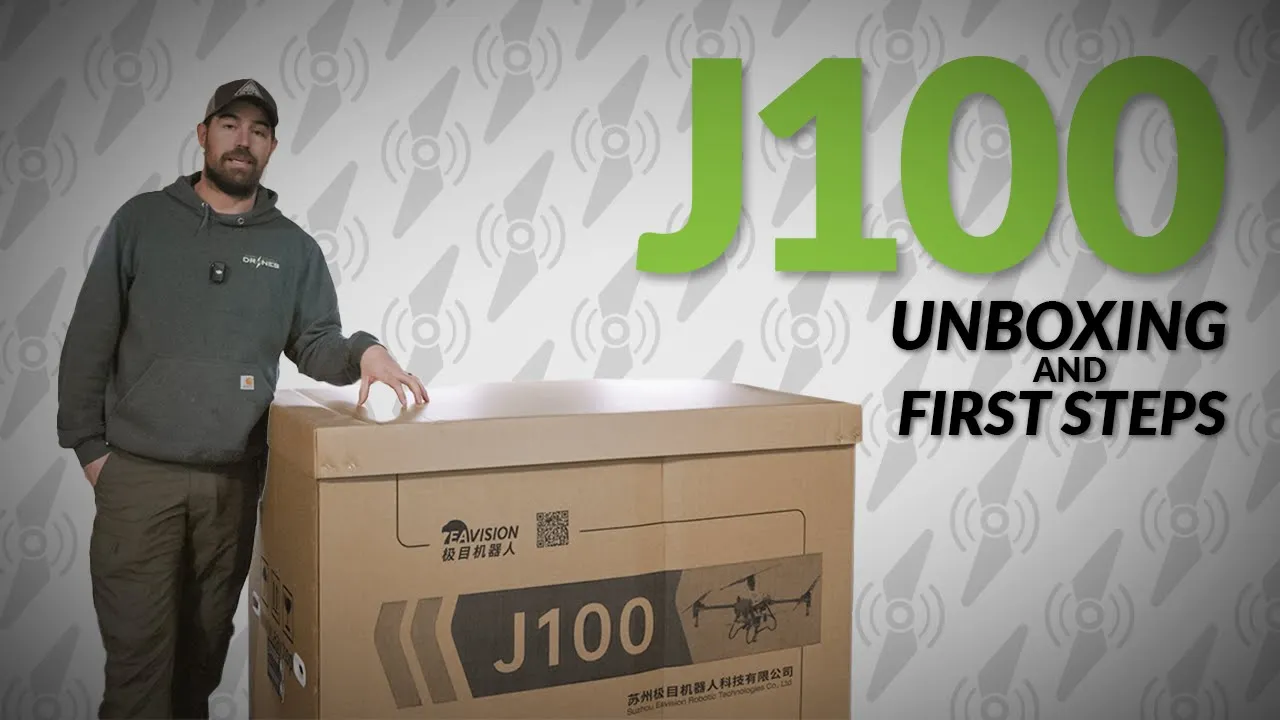
hey guys Alex Bennett here with the agar spray drones uh today we're going to do a unboxing video um along with a removing the Chinese version of the app and installing the US version of the app um then we'll walk through some activations and stuff we're going to cover kind of everything you guys need to do from unboxing to getting your drone activated all your apps installed um firmware updates and stuff like that so let's jump right into it one thing we noticed when we started uh unboxing some j100 is is the packing of these
drones are very very nice um high density foam all the all the way around the Drone um yeah we've been very impressed on the way our parts are showing up the batteries are showing up the drones themselves packing is phenomenal in these so we'll go ahead and probably pop this side off that way you guys can see how it's packed from the side so yeah then again really nice packing so we'll go ahead and start stripping the Drone out okay so inside the box here um you basically we're going to have our drone this is
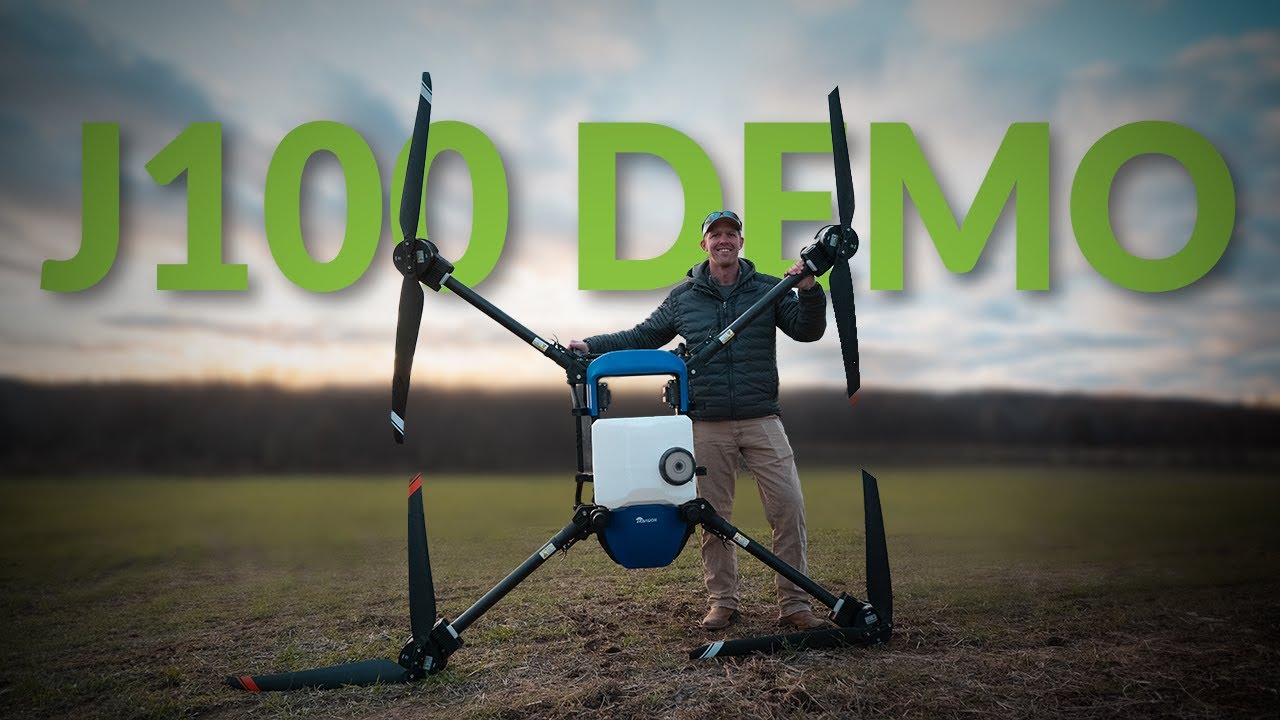
a four nozzle drone here um we will have our remote controller and everything and then below the Drone we have our product certificates our user manuals and everything like that so that's what comes in the Box um all the other accessories batteries and stuff are in separate boxes from there but this is the main box here um we'll go ahead and get it out and then we're we going to open the doors get it outside and we're going to start walking through activations and app updates okay so we got the Drone outside next thing we
want to do is go ahead and take the arm cut uh the arm straps off we're going to take the bubble wrap off the propellers and we're going to unfold the Drone the way to unfold the Drone is the nozzle arms go first and then the next arms go last then it's the reverse to fold it up we going to lock those arms in why Mac unfolds the props I'm going to go ahead and get a battery I'm going to go ahead and put a battery in it now um we are it is a little
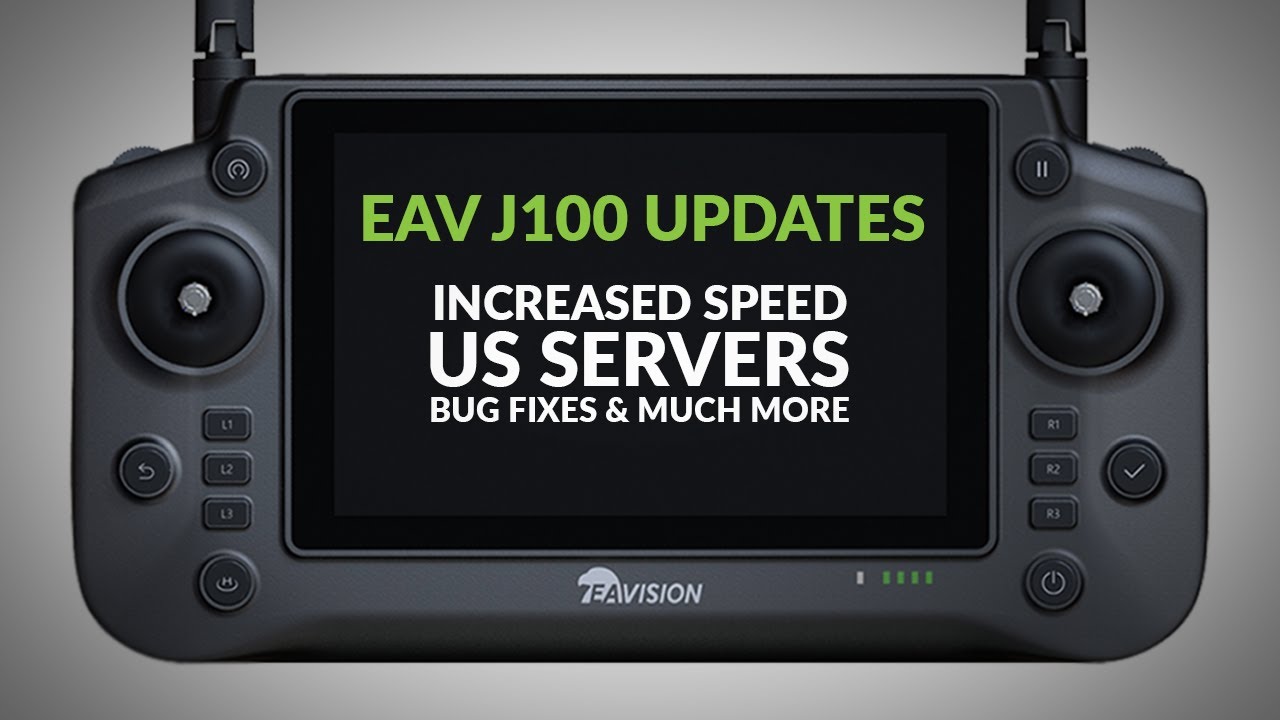
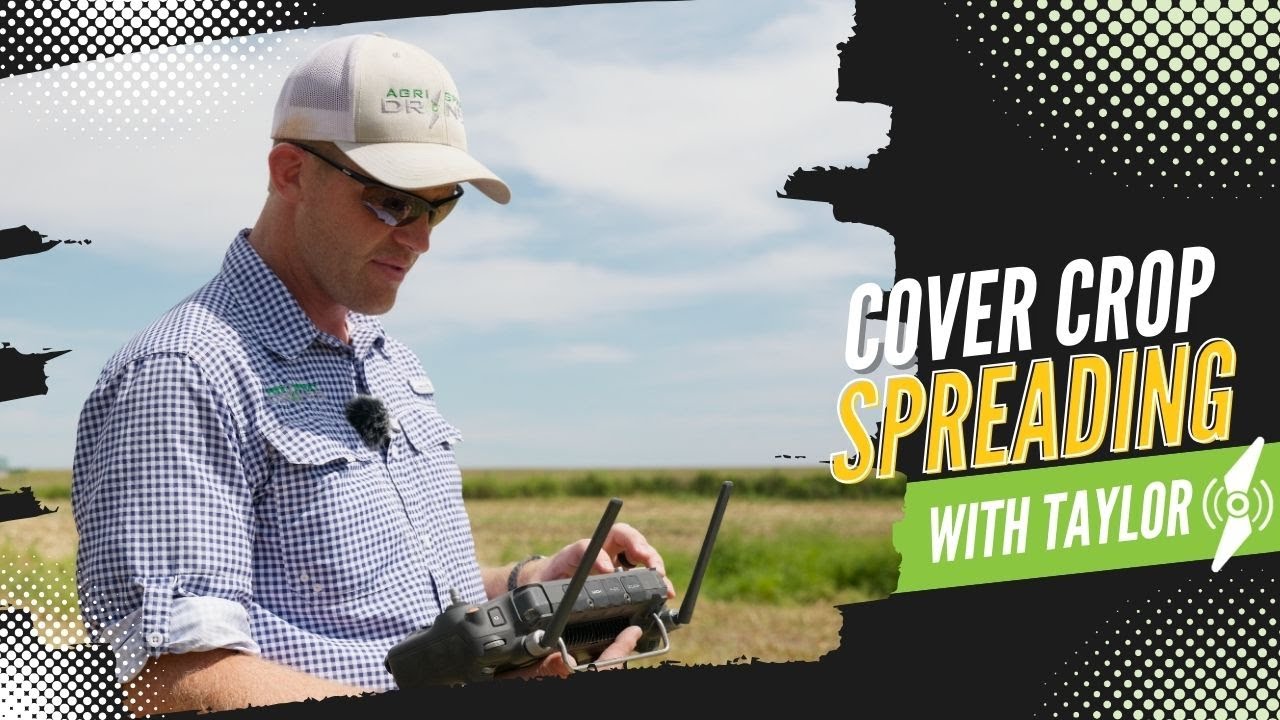
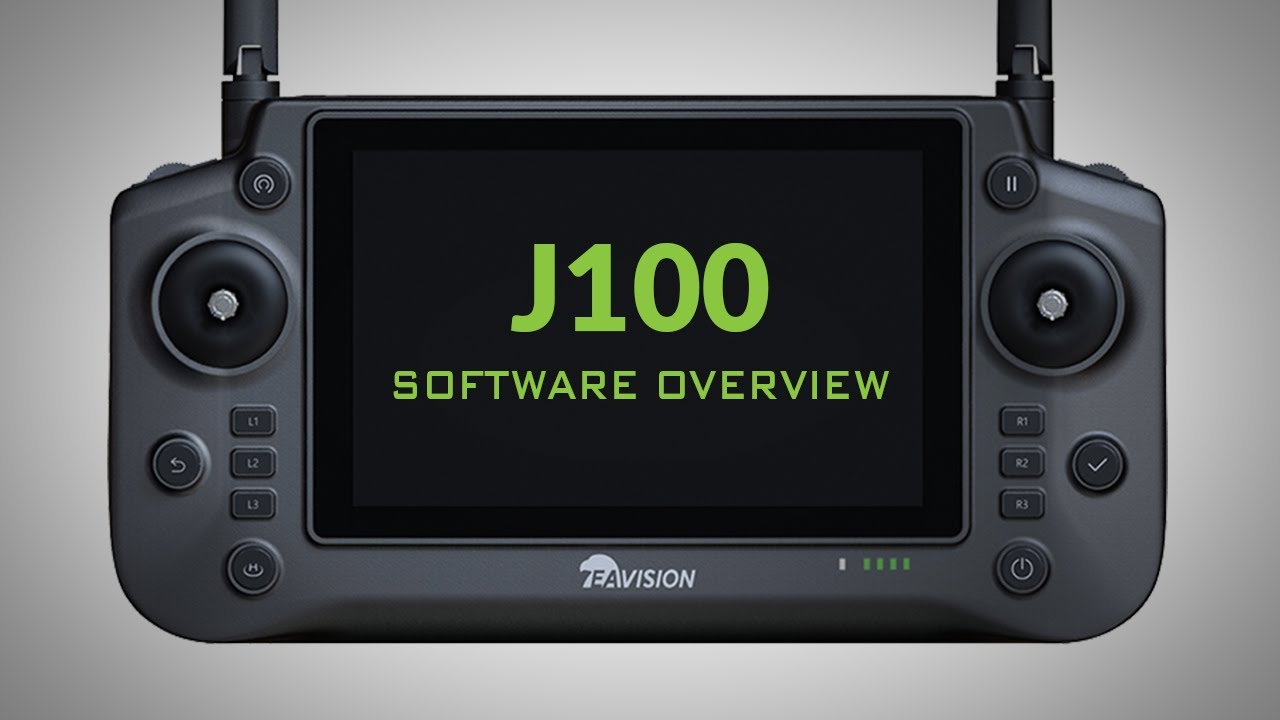
rainy and dly out so just to protect those terminals um we're going to leave it off for now next we're going to go get the controller and everything out I'm going to walk you guys how to uninstall the Chinese app install the American app firmware firmware updates activations and everything from there so let's go okay real quick I want to show you guys what comes in this standard package remote um so like we see kind of like DJI nice foam case we have the remote here um if you guys choose to buy the superlink this
is part of the mounting po for the superlink that comes standard with all the drones um we have our handheld mapping tool here we have charging cables for the handheld and for the remote and then they actually we have an extra set of battery terminals um for the Drone or for your charger they're both Universal so I just got the Drone the remote out of the box um it won't turn on sometimes um lithium batteries and stuff if the battery gets to a load enough State they basically go into like a lockout mode um so
this Remote won't turn on right yet so what we're going to do is I'm going to take it over to the charger that I have plugged into the wall I'm going to go ahead and plug that remote in so now you can see I have some lights load up now now I can go ahead and turn on the remote so you guys can leave it already plugged in just let it charge all the way um or if you want you can go ahead and unplug it and we'll go from there so we have our startup
screen basically right here once this gets turned on we'll go ahead and start screen recording that way we can walk you through the steps going forward from there so when you first power on your drone this is going to be what you're going to see here um this is going to be for in most cases at least for now until our large orders start coming in this is going to be on the Chinese app um the Chinese servers and stuff like that um we do have the us server and apps and everything are already online
so what we're going to do now is we're going to unstall the Chinese app install the American app so what I'm going to do here is I'll click on the screen and we'll hit the square button here and then we're going to force close that app so then from there this takes us to our Android home screen I'm going to go ahead and swipe up there I'm going to find the app I'm going to push and hold it after I do that it's going to pop up app info I'm going to click on that hit
uninstall do I want to wish to uninstall okay so now there is no flight controller app on this screen um we're going to go ahead and install the American app first we want to go through and check the time the time zone and the time is correct on the remote and connect to internet so to do that we're going to go to settings we're going to scroll all the way to the bottom there's a systems here and you can see on the screen right now now it basically says China Standard Time so we're going to
click on that we're going to go down to time zone and right now it's selected time zone automatically and we're going to uncheck that we're going to click on time zone again we're going to set our region we'll type in United States right there and then we are in Central Time Zone so we're going to basically find Chicago time click on that and now we're good so now it says my time is is 2:27 p.m. which is correct I'm going to go ahead and get out of there and then we're going to connect to the
internet okay now that we're connected to the internet we're going to go to um Google and we are going to put in the new address okay now that we have our address in we're going to go ahead and hit go this will actually not take us to any sort of website it's going to basically be an automatic download So what you're going to see now it basically says Chrome needs storage access to download files so we're going to hit continue we're going to hit allow and then now we basically see a download file here where
it shows it what it is um there is a way to tell that this is the American app if if you see after smarttag Pro it says SL ASD um and then 2119 at the end this is the American app so we're going to go ahead and hit download if we go to the top and scroll down we're going to see where this app has downloaded we're going to hit the check mark it Bas then from now we need to set up some set some settings so we're going to go to settings we're going to
allow this from an unknown app and then now we're going to hit install once it installs we're going to go ahead and hit open first thing that's going to pop up is display over other apps so we're going to click on the j100 app we're going to turn that on then we're going to back out then it's going to ask uh to use device location we'll check while using the app record audio while using the app allow device to have access to photos and media we're going to allow that okay so now there's a good
way to tell again you know if it says thank you for choosing us ASD this is the American app so from here we're going to go ahead and log in there's basically a CRM app that everyone will have access to um from that app this is where you'll go ahead and create your own accounts um that way you have an account already made where you can log in the app and then after we log in it's basically going to want us to turn on allow access to all files Lo successfully now it's running the cache
app basically so if I had a already account that I've been flying on another drone this is basically going to pull all the data on my account already and automatically import it to this remote okay after it's done that we're going to select done now this takes us to our home screen so the very first thing we want to do is set our units of measurement and everything so from there we're going to go to settings data count and this is where we change our units of measurement once that's said I'm going to go ahead
and back out okay we're going to turn the drone on get it connected to the remote and then we'll start walking through activations and updates why the Drone starting up we're going to go ahead and wait for the Drone to get connected to the controller um if for some reason the Drone does not connect to the controller there is a knowledge Hub video on how do we link the Drone and the remote together on the controller but for now so we basically know we have connection um it's going to go through its boot up phase
right now as you can see it's starting to load up um it's going to basically said that air said it was failed to connect to rtk we are not connected rtk that's that's why it's saying that so we're going to give it a couple more minutes we're at the stage now that we're basically going to go ahead and activate the Drone so to activate the Drone the Drone does have to be outside um when we hit the activation button it does Geo reference the Drone to make sure it's in the right country of origin so
from there we're going to go to devices and then the very first one is UAV so as we can see at the top here's our UAV name that is the serial number of your drone uh next next one down there is from activation status so we're going to go ahead and hit activate Okay now our drone's activated while we're doing the activation I'd like to just in my mind I'm going to go down to RC real quick I'm going to hit activate there successful activated now we RC is activated so we're going to go back
to UAV now we're going to start looking for firmwares so there's four firmwares in a row that we need to look for to see if they're current or if we need to activate first one here is just firmware version we're going to hit upgrade as you can see on the remote we basically it says current right now um so that means the the Drone already has the latest and current firmware of for the Drone so we're going to go ahead and exit out of that next one down is spray upgrade package we're going to hit
upgrade now it says latest so it says latest and not current so that means this is the newest firmware but we have not upgraded to it so we're going to go ahead and hit upgrade accept fir this upgrade here will take uh five to seven minutes somewhere around in there um basically the firmware request goes to the CPU and then the CPU distributes it to every nozzle at a time so this process does take a little bit um bear with us once this is updated we'll move on to the next one you will hear some
errors in the background of this um it's completely normal it's basically just a CPU and other components of the Drone turning on and off so if it starts saying airs it's okay all right so now our upgrade is completed um it's basically prompted me to restart the Drone um if this was the only upgrade you guys were doing um this would be the time to go ahead and restart the Drone since we know there's going to be other updates um we're going to go ahead and push those before we do a final restart so I'm
going to close that next one down is going to be radar package we're going to select that then again it just says latest and not current so that means we need to upgrade we know there's another firm firmware to push through now so we'll go ahead and close that one back out now we're going to go to motor upgrade package then again it just says latest and not current so that means we need to upgrade from there we're going to go ahead and walk over to the Drone um confirm that the exterior battery is shut
off and then we'll walk through the steps to shut down the internal so basically from now I can confirm that it did shut down my external battery um we're going to go ahead and uh turn off the internal to do that we're going to exit out we're going to hit the normal button here um it's basically wanting me to activate my battery right now since the battery is not on I'm going to say activate not now um when your battery is on it will prompt you to activate every new battery you have it's very simple
activate now it'll take you to the battery tab activate we're going to go top right corner into flight settings and then you can see at the very top we have it says turn off and it's illuminated red if this batter is on this will be grayed out this only illuminates red when the external battery is shut off so I'm going to go ahead and click on that I'm going to confirm backup shutdown now we have a 40 second countdown timer um for the internal battery and the CPU to go ahead and shut down it's very
important when you're doing updates to um updates or if you're trying to do any sort of reset on the Drone um always please remember that this drone does have an internal battery so make sure we get that internal battery shut down to do a full reboot so now our internal batter is shut down um so we're going to go ahead and restart the Drone to reset everything and we'll confirm that our uh firmware updates did take so drone's on we'll return back to our home screen and then now we'll basically wait for the system to
be ready so after the Drone um we confirmed all the firmwar is on the Drone we're going to move down to RC um we're going to do the RC upgrades underneath devices and underneath RC the ROM uh there will not be an upgrade for that so you don't have to worry about it um then we're going to skip down to the bottom one just to show it real quick so this is image transition module if I hit that basically we are on current so I don't have to worry about that the next one is the
actual firmware of the controller we're going to hit upgrade and it says latest um so this is basically going to prompt me to upgrade we're going to shut down the screen recording real quick um and then we'll upgrade it um we're going to let it go through the upgrade process when it is complete it will shut down the Drone um the the RC remote and then turn back on um then we'll come back from there to talk about that a little bit further so yeah as we shut down the screen recorder as you can see
so now we're doing the firmware update on the remote um it's we'll just let it go through its process and then from there we'll be a be able to see the RC actually shut down and turn back on all right guys so basically we just got done with the firmware update on the RC um the remote did shut down once this drone gets booted up or the remote gets booted up we'll go ahead and uh start screen record again to go through the rest of the steps our remote's booted back up we're back to our
login page screen recording is back on we're going to go ahead and log back into our account once we do that that it's going to basically prompt us to do allow access again because we have restarted the whole system okay so now it's telling me to do a couple things here um it basically says there is a new firmware available update now um currently right now the new firmware is going to be a beta firmware so please do not update that um it is a work in progress still once that is is stable and we
know everything works we we'll go ahead and let everyone know to upgrade so for now we're just going to check off of it all right so now it wants us to do a rocker calibration so we're going to hit confirm start calibration we're just going to go all the maximum all the way around this won't basically stop unless we just let go and then we hit next successful calibration successful so we'll go ahead and back out of there there's one last thing we need to do to this drone before we get it in the air
um I'm going to go ahead and get back into normal here and if you see right here in this top right corner where our tank icon is it basically has a question mark in it um this is because we need to do a weight calibration tear on this um I'm going to have mac help me real quick we're going to walk through this process so top right corner in our flight settings underneath spray we have tank weight calibration so I'm going ahead and click on that um I'm going to have mac go ahead and we're
going to raise the tank a few inches off the weight sensors okay so Mac has the base of the tank lifted off the weight sensors we're going to hit reset weight it's going to give us a 5-second countdown timer before we're going to drop that tank back on we reset successfully okay so now I'm going to have ma go ahead and set the tank back down empty of course and we're going to hit start tear Ted so basically we are in a successful tear calibration now if we go to this top here now you can
see our question mark went away we have 0% 0.0 gallon so now we're ready to fly thanks