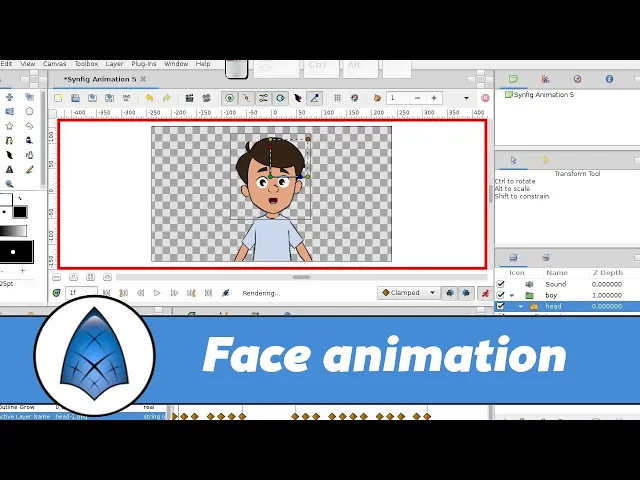
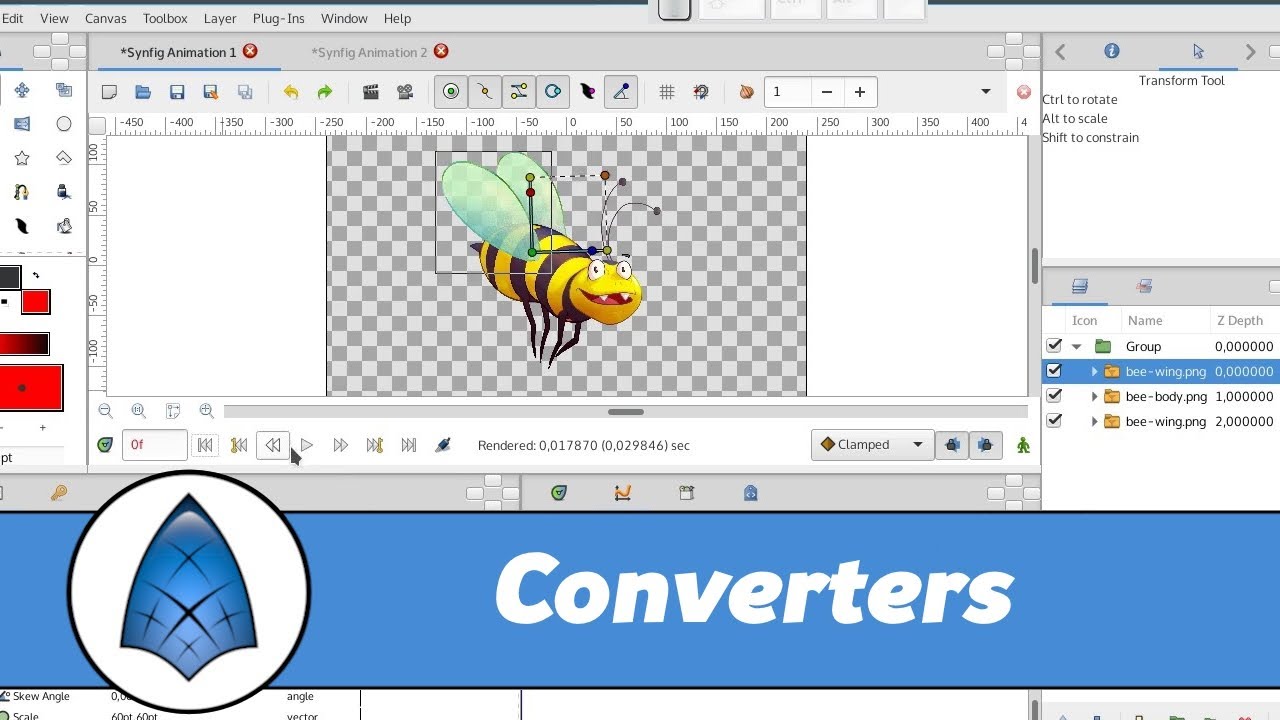
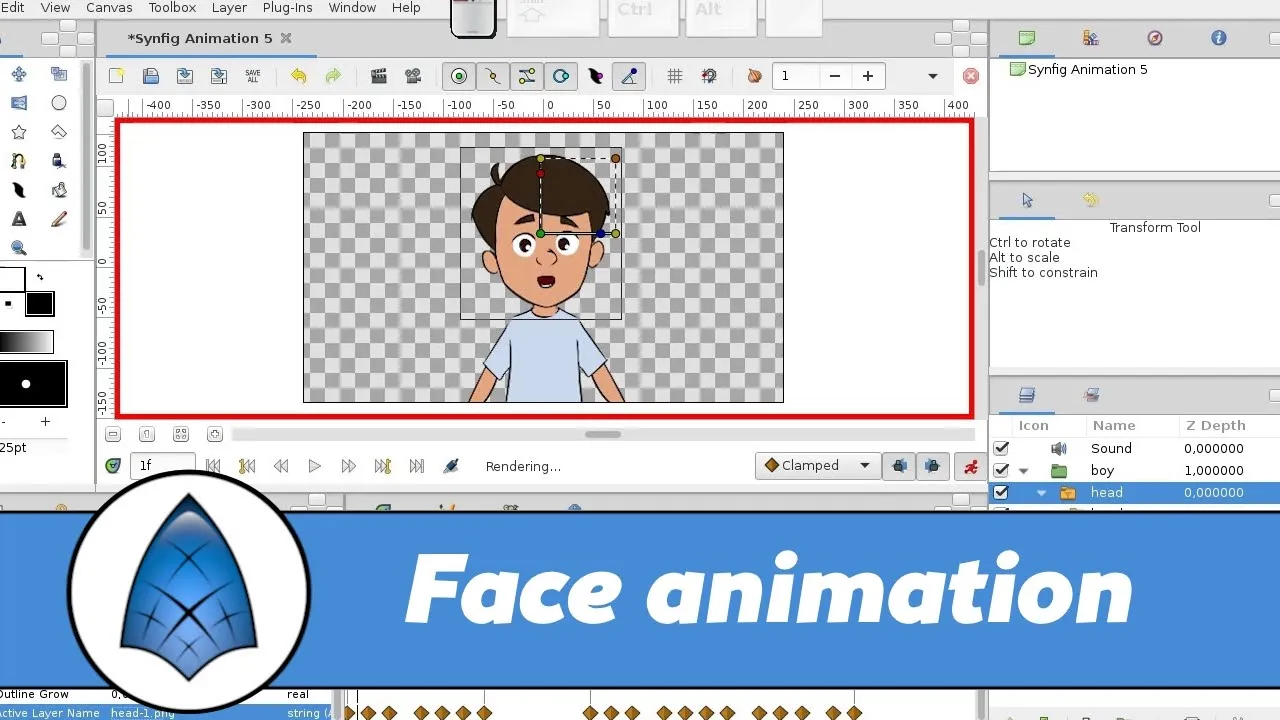
now our character can move it's time to make him talk in the mimic folder I have several head images switching them at a certain frequency creates an illusion of a talking character that's what we're going to do let's create a new file and quickly assemble our character just as we did before now we need to import the head images select the files with numbers from 1 to 5. the sixth file we'll keep for later now let's group those heads together now for this case I'll be using a special switch group instead of the regular one
here switching group behaves just like an ordinary group but it only shows one of its child layers at a time this group has a special parameter called active layer name which defines the name of the layer to display let's change it to make our character close his mouth press enter done if we change this parameter in animation mode the new waypoints will appear and the layers will be switching now let's put head inside of the character group choose cut select this layer and paste notice that the new layers are always inserted right above the currently
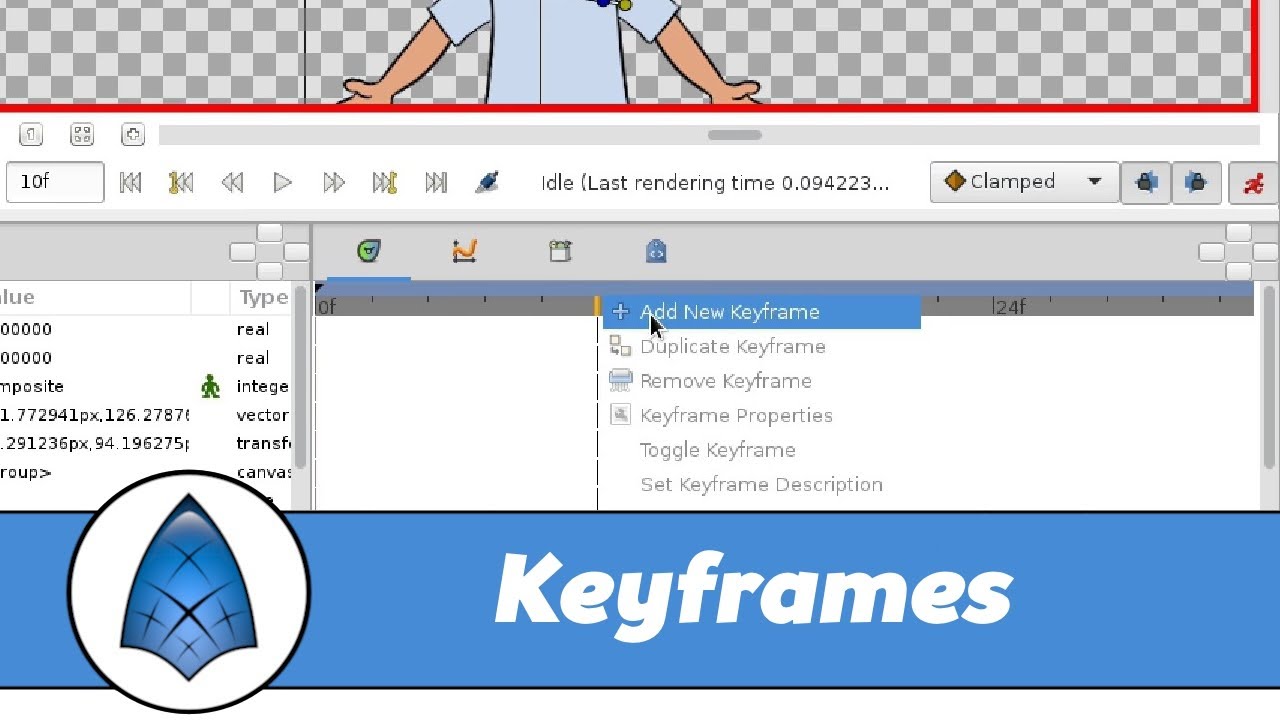
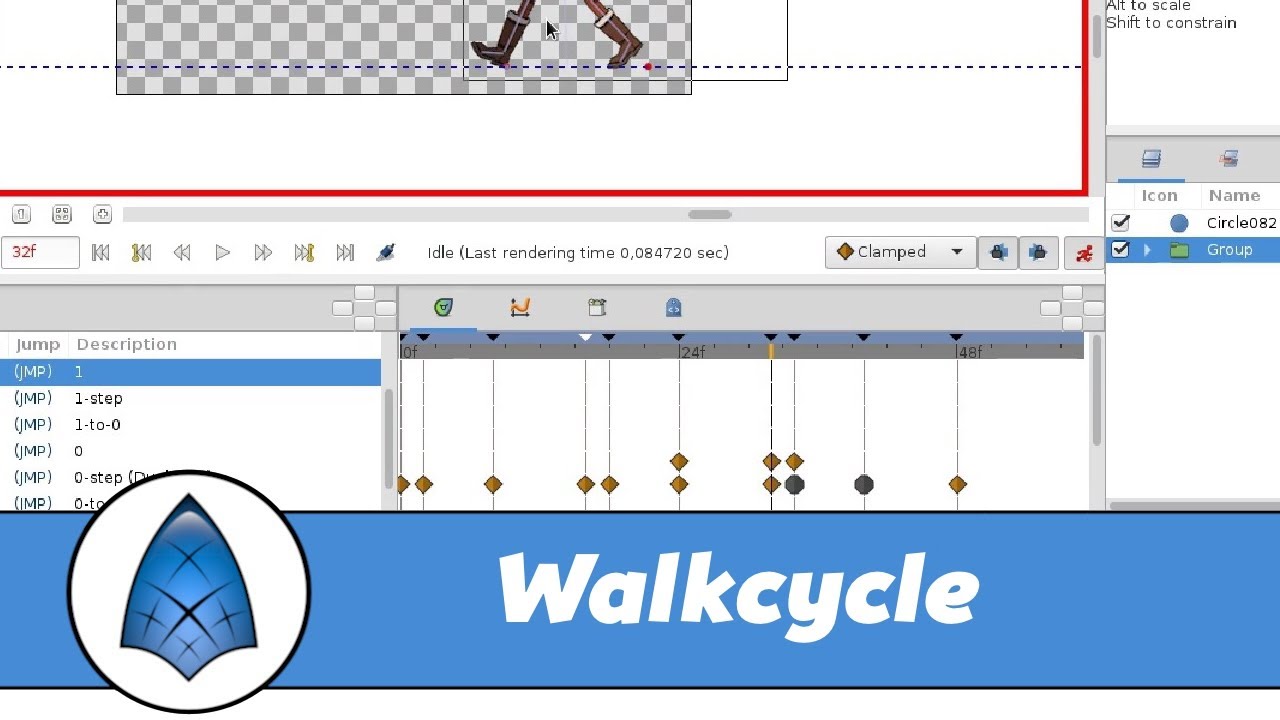
selected one now let's import an audio file with the voice for our character choose file import and in the mimic folder select sound.wave let's listen to the audio track hello there how are you doing so we've got two phrases let's mark the beginning and the end of each phrase with keyframes hello there how are you doing hello there how I hello there how are you doing done now we're going to switch head images and this and that intervals turn the animation mode on go two frames ahead and switch the first layer now further a bit
more and so on right now I'm not going to try to perfectly synchronize the mouth shapes with the voice instead we'll place them randomly that should be enough for now let's check out the result hello there how are you doing okay he is talking now in this example all our head images are of the same size so we don't have any problems with that but suppose we wanted to add an extra head image with different dimensions import head extra file and place it into the switch group it's not visible for now let's switch it on
at some point see the guy's head jerks aside that's because the image doesn't coincide with the others so we have to adjust it it's not that easy because I can't see the other heads at the same time so here we will use an onion skin mode when onion skin is enabled we can see an image from the previous keyframe now it's become easy to align the image just don't forget to switch the animation mode off before you start or else bad things could happen select the head image and adjust done hello there how are you
doing now everything works as expected