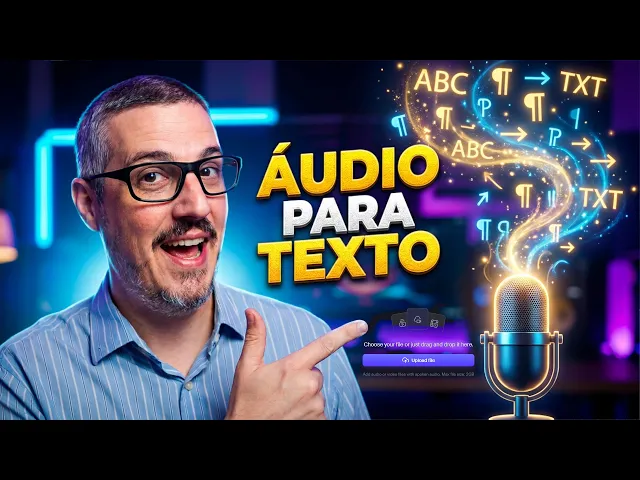
It's great when we find free tools that help us create content, isn't it? If you've been looking for a way to transcribe your audio into text, you've come to the right video. Stay with me until the end, because today you'll learn how to transcribe your audio properly and download it to your computer.
The first thing you need to do is type "Restream" into your browser, a website dedicated to content creators who produce podcasts. But don't worry, I'll leave the link in the description of this video that gives you direct access to the website. First of all, you need to have your audio prepared correctly to facilitate the process here on this website.
I'll open my video editor, DaVinci Resolve, where I'm working on a project where I need to transcribe audio. This is a piece of content I'll post here on my channel, which teaches you how to make an extremely easy timekeeping animation in just two clicks. First, I'll check the quality of my audio.
It's important to maintain control of your animation according to the instructions I left within the programming code. With this in mind, all you need to do now is keep your code synchronized on your timeline at the required size, which matches the timing of your animation. Later, you can apply numerous changes to further customize your text.
In my case, the audio is already treated with noise reduction, equalization, and compression. Finally, I normalized the volume to -14 LUFS, which is currently required by YouTube. The most important thing now is to render only the narration audio, removing the sound effects and tracks.
This is the best way to get your audio to the Restream page, so it can be transcribed as efficiently as possible. Now, just click to render, choose an audio preset, and maintain the highest possible quality. Now, yes, we can return to the Restream page.
Here comes some very important information. Every time you open this page, it will offer the option to transcribe podcast audio or, in this case, video audio. That's not what we're looking for right now, because this option is paid.
You need to scroll down the page, where you'll find a series of options. Notice that, right at the bottom, we'll have the option called "Audio Transcription," which is the option they offer for free. Right next to it, we'll have the option "Video Transcription.
" If you use the "Video Transcription" option, they'll suggest you subscribe to the plan, because that's the site's purpose. This page's main focus is transcribing an entire podcast, which usually lasts between one, two, or three hours. But, since in my case, my video is no longer than six minutes, and I usually use this transcription to generate automatic captions using Gemini, the audio transcription option is sufficient for me.
For this reason, every time you visit this page, be sure to scroll down and select the "Audio Transcription" option. Otherwise, you might get confused and think I'm teaching you a paid procedure, which, in fact, it isn't. I don't know how long they'll keep this service free.
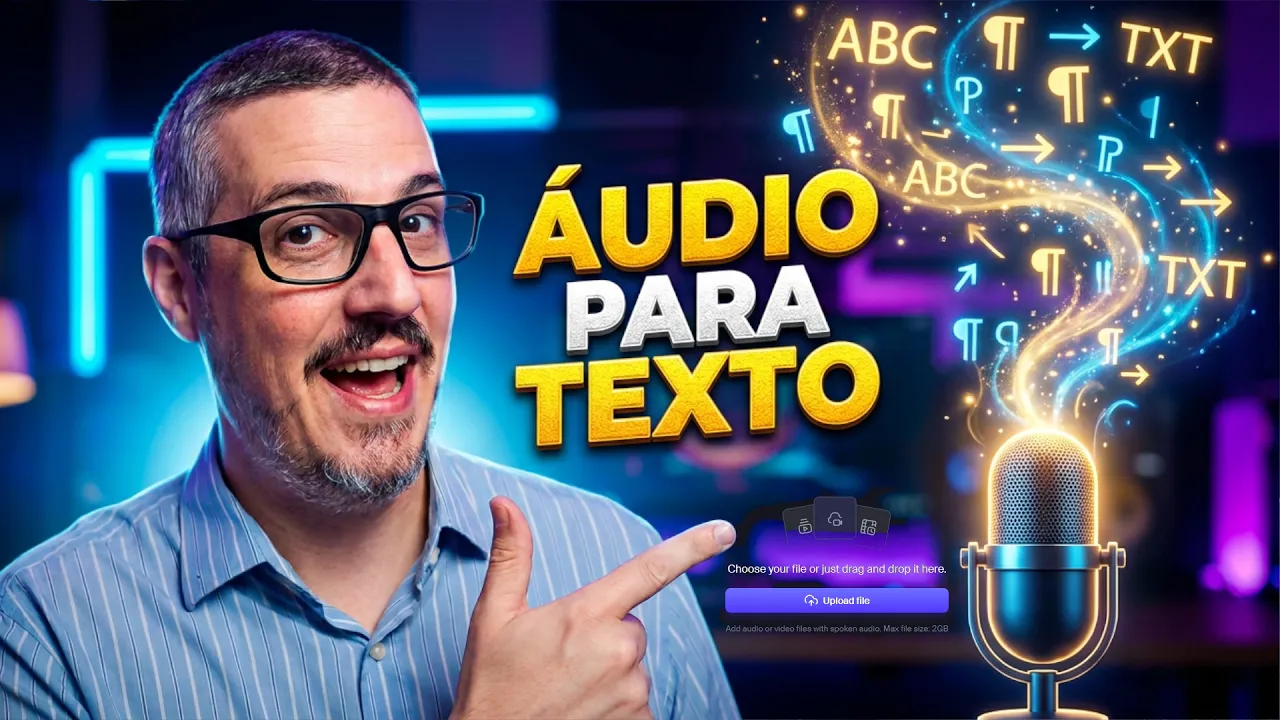
But as long as they don't start charging, there's no reason not to use it. Now, you need to click "Upload File" and browse for the file in the folder where you saved it. Double-click to open it on the page, and that's it.
In just a few seconds, you'll have your audio transcribed. Now, just click "Download" to download the file. The download is complete and is in your "Downloads" folder.
Now, all you need to do is right-click and choose how you'll open this document. In my case, I'll choose LibreOffice. If you are interested in finding out which are the best free applications for you to install on your computer to help with your content production, be sure to watch this video that appears in the card above, where I present seven applications that are indispensable for content creators.
And now that you have the complete transcription of your audio, simply copy the text and then open your favorite artificial intelligence (in my case, Gemini) and paste it. Now, you can ask it to spell check, correct punctuation, and also separate your text into chapters, making it even easier to upload your video to YouTube. So, did you like this tip?
Let me know how you plan to use this tool in the comments. Don't forget to like and share this content to further promote this channel. If you're looking to further enhance your video editing to boost your content on social media, be sure to watch this complete playlist, where I teach several tricks about the best free video editor out there, DaVinci Resolve.
Thank you very much for joining us, and I'll see you in the next tutorial!
![[🔴] Como Dominar a Página de Mídias do DaVinci Resolve!](https://img.youtube.com/vi/3WgPLfHkd5k/mqdefault.jpg)

![[🔴] Aprenda Tudo Sobre a (Página Corte) DaVinci Resolve!](https://img.youtube.com/vi/vL7tu_d1klc/mqdefault.jpg)
![[🔴] Explorando a Blackmagic Design: Criadora do DaVinci Resolve!](https://img.youtube.com/vi/Rrq5q8PL_wA/mqdefault.jpg)
![[🔴] (Áudio Profissional) no DaVinci Resolve Página Fairlight!](https://img.youtube.com/vi/bCN6ySpRwZU/mqdefault.jpg)