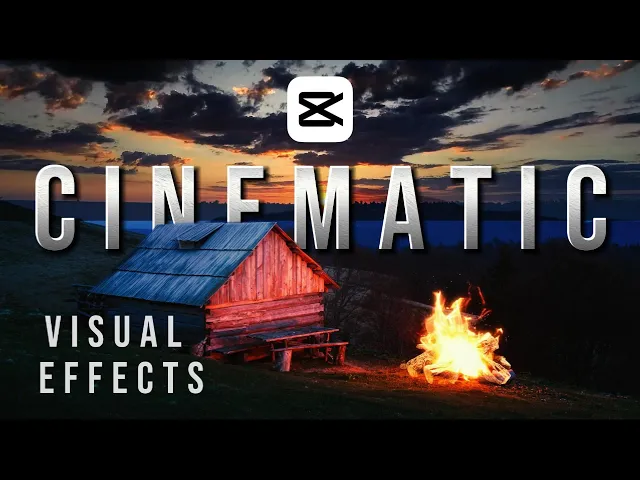
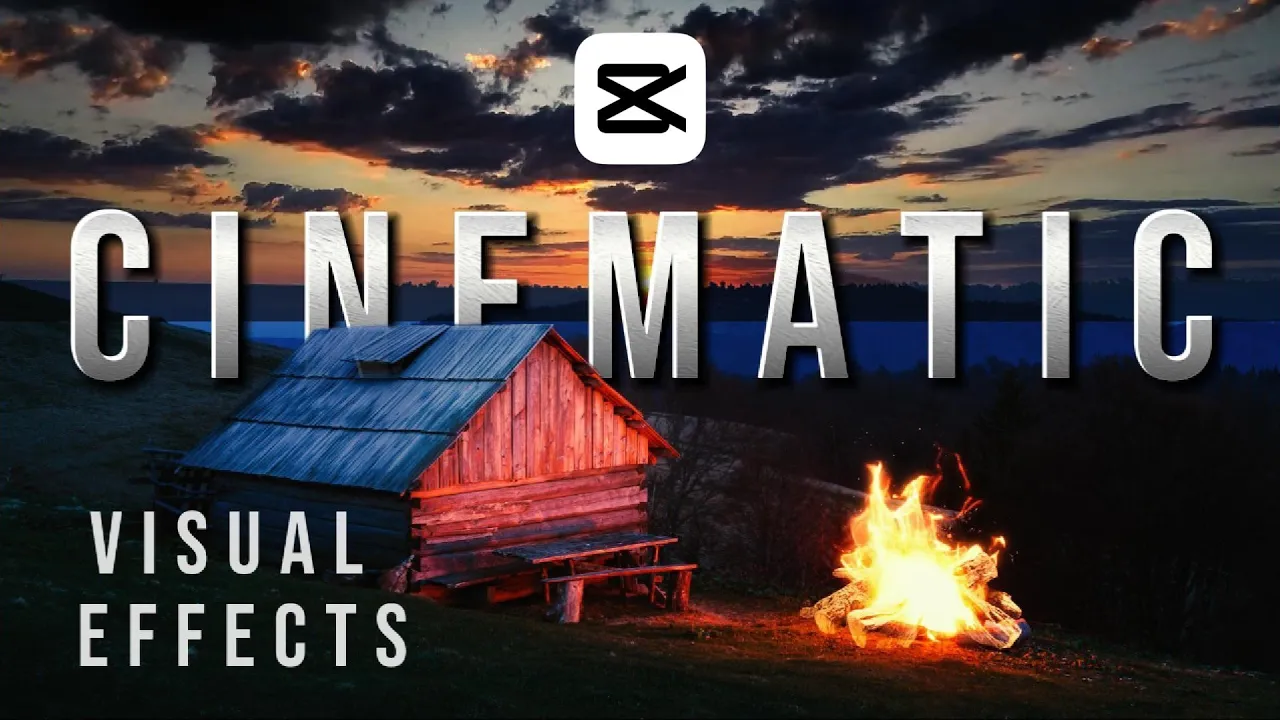
in this lesson I'm going to show you how I turn this still image into a cinematic motion graphic so what you're waiting for let's get started please don't forget to like subscribe and hit the notification Bell open cat Cut and create a new project click on import now select a clip and click on open what we need to achieve is to add Motion Graphics to the shack sky and the bunfire add the clip to the timeline as you can see is a still image and there's no movement we're going to start with the bonfire go
to imedia then click on Library go to search and type bonfire scroll down until we find our desired [Music] clip we're going to select this clip it's a closest match with our clip click to add to timeline drag it above the still image this clip gives you two options chroma key and the black background for now we don't don't need the chroma key and then we're going to use the black background drag the clip to the beginning of the timeline now expand the lower clip scrub the play head and you see that we still have
work to do because we need to do a transparency here go to blend from the drop- down list select screen the screen transparency looks great let's resize the clip grab the corner pin and resize it and place it over the bonfire resize as [Music] needed run the preview we still have to make some adjustments let's make it a little bit bigger to cover the other areas now let's run it yeah looks good now select a lower clip now it's time to add another effect to this [Music] clip make sure the lower clip is selected now
go to adjustment scroll down there are colors here we can play with the colors to make sure we get the optimum dark effect we're going to make it a little bit darker so the bonfire it kind of stands out play with the exposure a little bit to get the right adjustment now saturation is okay now let's do the tint let's run the preview here [Music] let's make it more realistic the bonfire should reflect over the shack here on the face here for that we need to create some type of strope effect uh let's go copy
the clip you can also hold on on alt and click on the clip to duplicate it that's the easiest way to copying a clip move it over and make sure the bunfire is right on top [Music] we need something with the flickering effect let's go to the effect section go to the search and type in strobe the first one looks perfect let's add it to the timeline make sure it is applied to the middle clip now as you can see the entire screen is flickering and we don't want that we want to concentr that into
a specific area so go to mask use a circle mask adjust the mask to cover small area of the shack there where the reflection we need to take effect now if you play it back you can see it still looks fake and you can see the circle there and we need to feather it a little bit increase it actually all the way up and let's play it back yes still is covering more than the face there so we need to make it really small and make sure it doesn't go beyond that area let's play back
it looks okay but we can still make it a little teeny tiny smaller and make sure the feather is all the way up and it looks good let's blend it in select the middle clip click on video tab scroll down to blend and click on screen that blends The Mask into the screen it looks good let's add another effect we're going to add the sky effect go to to import explore your options see which one fits the best with the current clip we're going to add this on to the timeline we need to place it
above the other clips now since this is the upper clip is going to cover the entire screen for that we need to move up the clip to make room for the sky right there above the roof of the shack little bit higher but we're going to use the feather to feather it so kind of Blends in so go to the mask and adjust it now go to the feather and bring it all the way up and it Blends in and when you play it back it looks so real that it's hard to tell this sky
does not belong to the previous clip let's add the adjustment layer to enhance the overall quality click on adjustment click add and let's drag this to cover the timeline now go to the right Pane and we can play with the adjustment here from tint let's bring it up to give it this yellowish look that also enhances the flickering effect let's run the [Music] clip we need more adjustment here go to the exposure and bring it up a little bit let's run the [Music] timeline now we're going to adjust the sky clip to match the other
Clips on the timeline slice it delete expand it to cover the timeline make the other adjustments to the other [Music] clips now go to the filter tab click on it type in the search menu glow and select the glowing tan filter and add it this filter adds a glowing effect and also darkens the screen and gives the overall contrast it also helps the flickering effect which can give it a better perspective and it Smooths out the other effects let's play with the contrast a little bit go to adjustment go to basic and scroll down until
you see contrast let's bring up the contrast to give it a darker look and highlights we can play with the highlights to make sure we have the best quality possible now this is what I call very realistic motion [Music] graphic we can now export the clip click on the export select your file name type in night sky and click on export then click on cancel to exit and here's our final clip thank you for watching and make sure you watch our other cap cut tutorials and other educational videos please don't forget to like subscribe and
hit the notification Bell [Music]