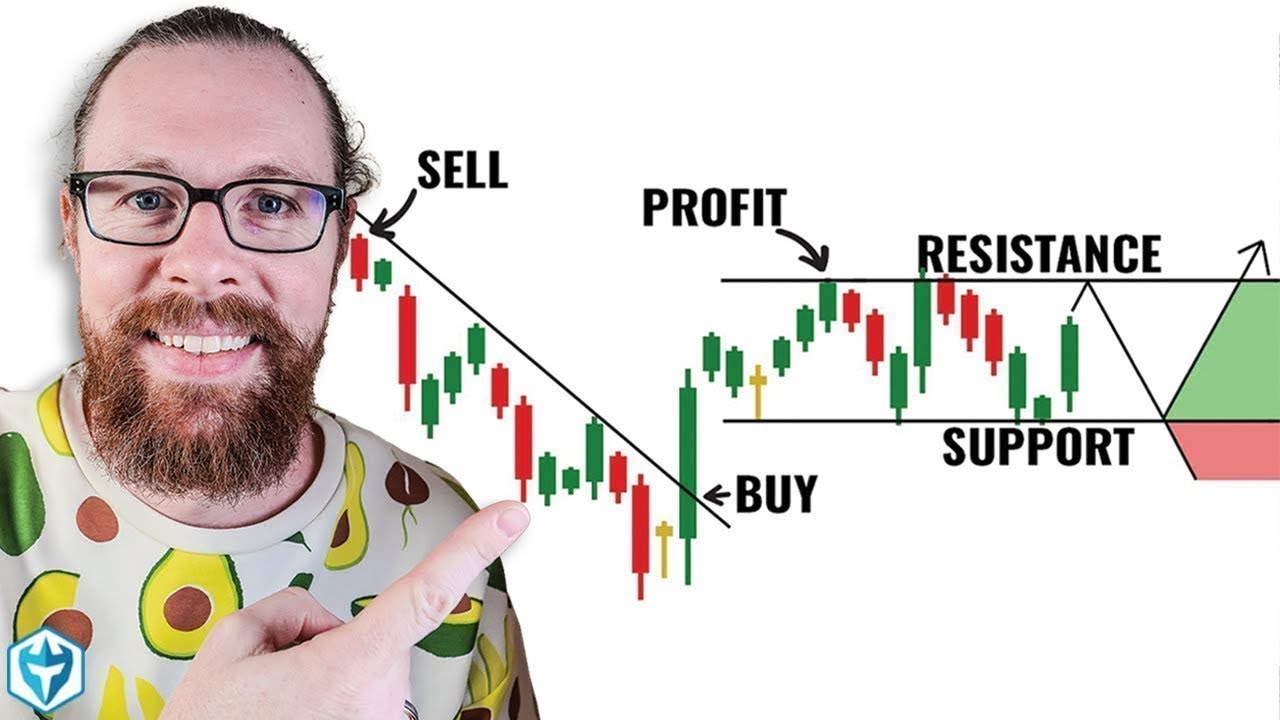
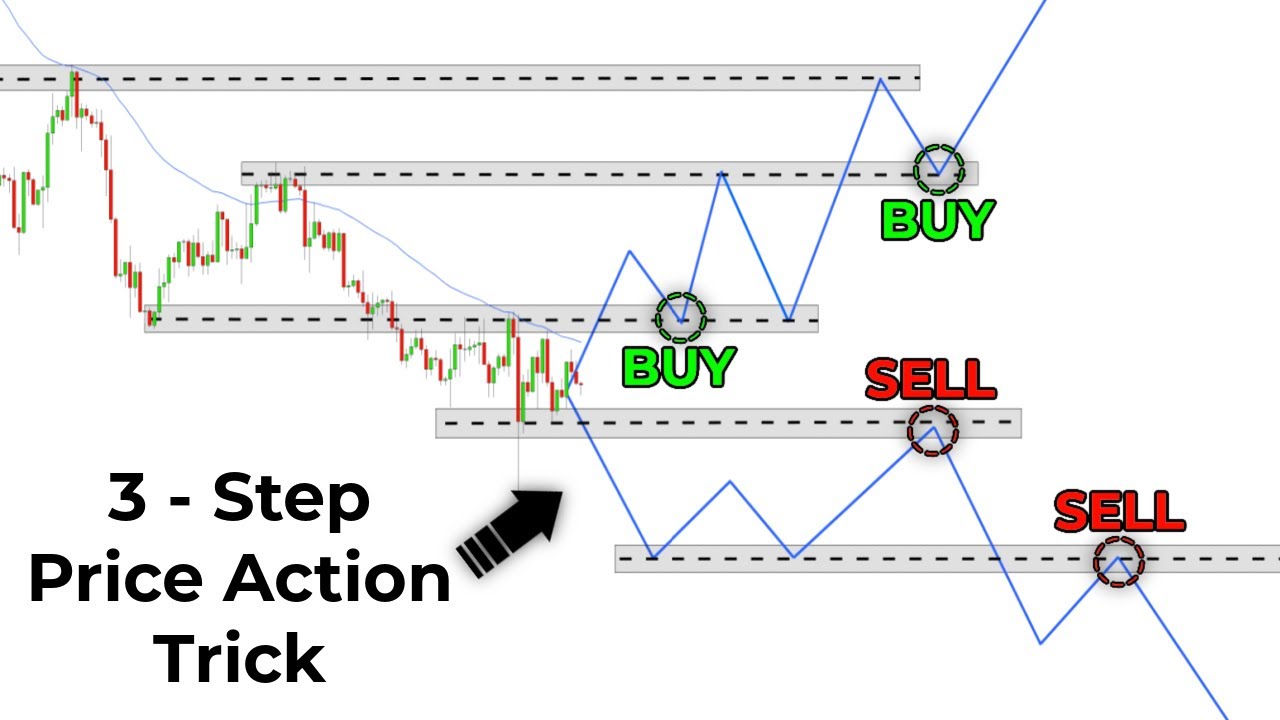
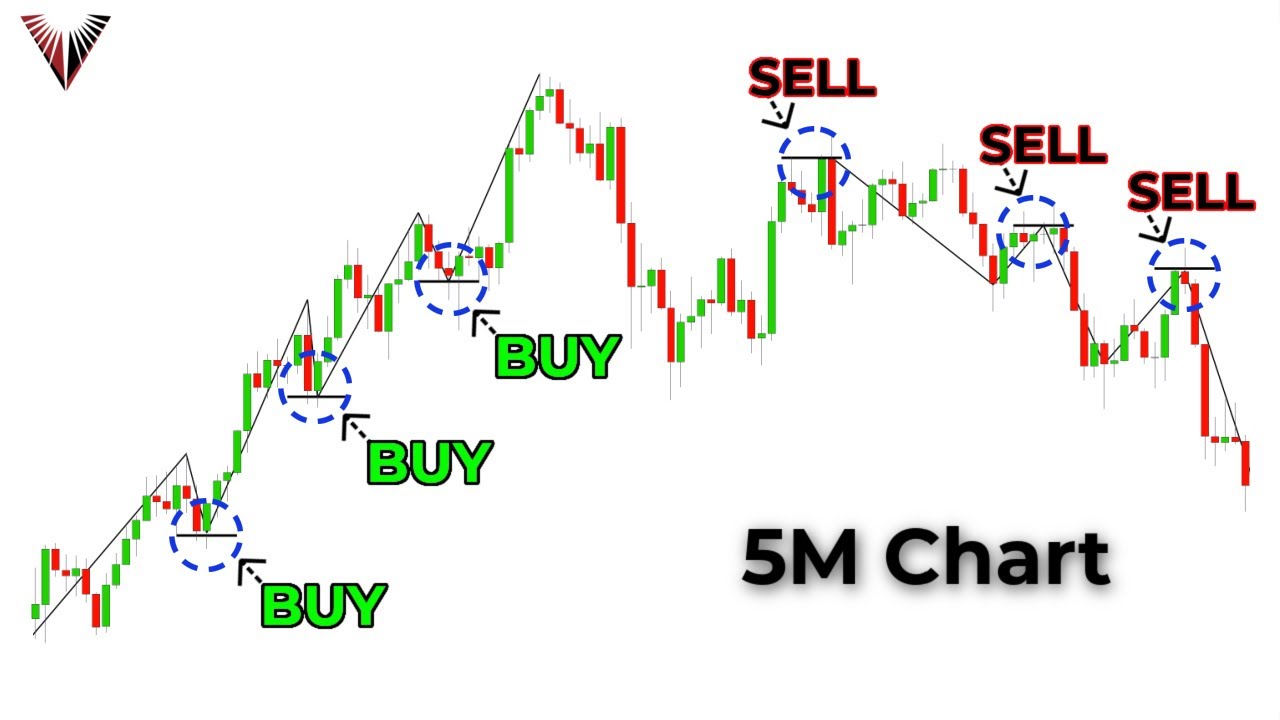
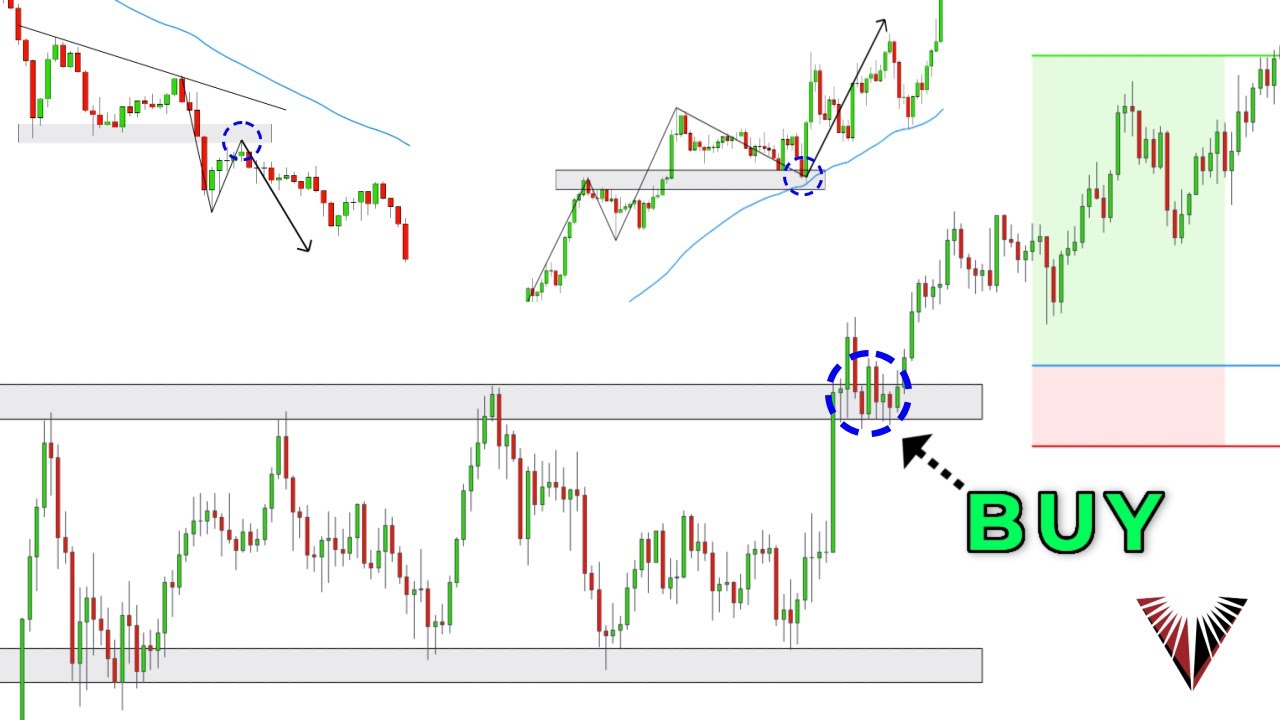
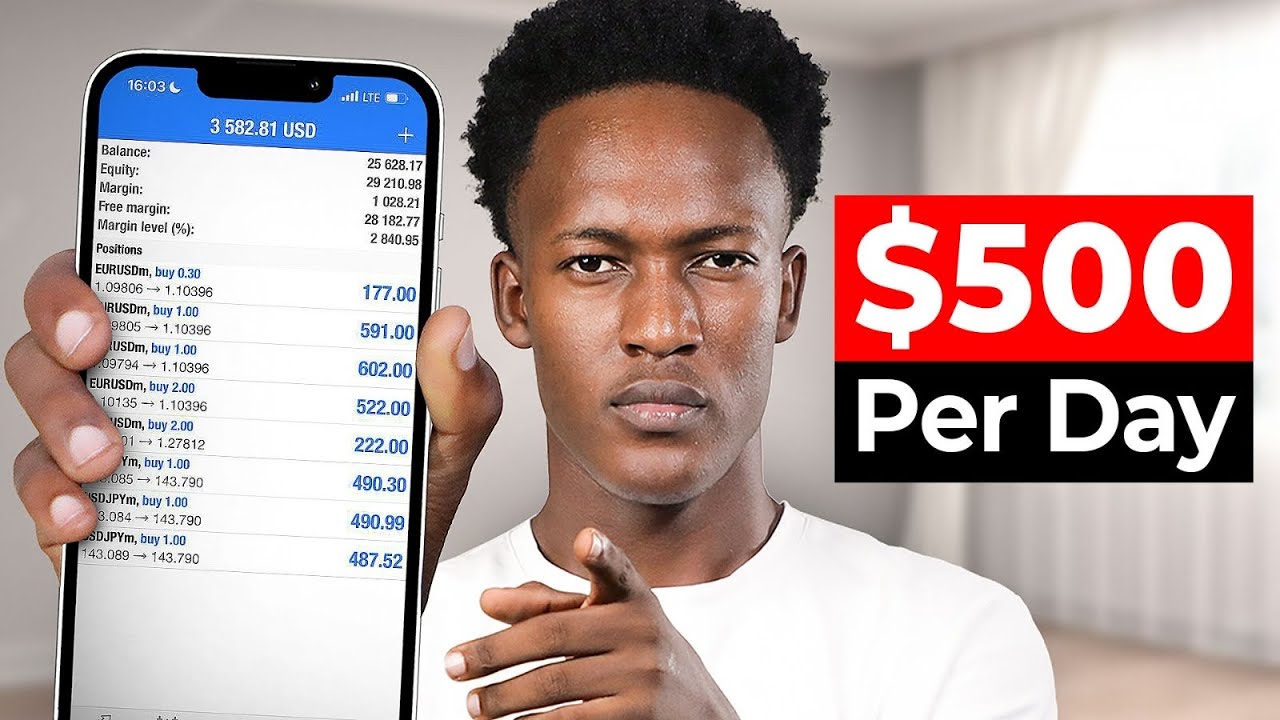
you see here is a $10 account and here is actually a $115,000 account now what if I tell you that we are going to be transforming this $10 accounts through to this $115,000 account within just three hours and all we'll just be using is a simple concept only one single strategy and we're going to be repeating it over and over again starting from this $10 over and over again until we actually hit at $155,000 all we'll be using for this process is just a mobile device no PC nothing just a mobile device and if you can stick with me from beginning to the end of this video without skipping any parts then you should be able to replicate this exact result because we'll be trading everything live here now step by step so that not to waste so much time if you're new to SPC YouTube channel just remember to hit on subscribe button hit on like button and also remember to turn notification Bell so you don't miss any videos that will be dropping out from this place so that not to waste Soo much time let's dive in now boom okay guys now the very simple concept we just be using from beginning to the end of this video Z repeatedly to scale up a capital is just a support and resistance all right now this actually are good and let's just actually just plot out our resistance first of all just plot that out very fast okay so you cannot change this level right it hits his drop down hits his drop down towards a support region just like that very very smooth guys now what can you see around this region a rejection stuff right now you can see that a rejection Candlestick has already been formed that about this spot telling us that well this St actually wants to just start dropping so if we check out our Capital currently uh we actually having a 10 bucks there smooth now what can we do now we can easily just St into this trade first of all let's reduce our Capital to to let's say like 0. 01 0. 01 is okay so let's just talk in that uh let's talk in some trade now check that okay coool let's talk in some trade about this region just talk in some trades talk in some trades and okay let's just add some more let's add some more is actually Okay add some more all right all right so this is what we having now let me actually show you exactly how we actually sto into this patry now how we I can actually see our resistance level at about this sport let me actually just show you that now now if I map out the two major regions first of all for you let's Zoom that out now you can actually see this first one at about this spot okay you can see this first one about this spot and then you can see second one about this spot right good now these are two major levels that's going to push our stuff down but then if we want to track out our our entire resistance level let me just plot that out for you you can actually see this red zone right this Red Zone within this region right but then it didn't just start from this region it had another spot let me just show you that boom you can actually see the entire region right so that if we plot out for our Support also this is exactly what we just be having and boom okay guys so this is what we're having currently guys you can actually see that so what can we do let's zoom up this spat guys let's just zoom up this SP okay so we actually have about 36 bars currently at about the spot now okay guys now if we check out this spot remember this particular Zone a resistance zone so let's take this out for the meantime and then let's actually just map out this SP you can see a normal level of rejection again happening within our resistance Zone you can actually see our resistance Zone at about this spot so what are we doing guys we can easily just St into this speculatory smoothly just like that you can actually see this spot right you you see the RO the resistance zone is dropping to us but let's stop me to this St first uh let's just use 0.
1 and we'll just take maybe just three for trades three for trades just to be safe right because 0. 1 is quite high right for 36 parts so let's actually just wait now and actually see goes but then that would just be a stop loss just in case right so that what we can actually just do now you can actually see a normal resistance level here so that if you drop this stuff down you can actually see an internal level right and if you drop it down again right if you drop it down again you should actually see what they call it now a support level at the sport right so all these levels are actually important including this that I'm actually showing you now now look at it it drops it hit this level it crosses it it's going straight to our support maybe not instantly but definitely true to support later later on right that's if something magic doesn't boom okay guys so this is exactly what we actually having let's actually just St in some more trait into this Stu right since we have more Capital St in some more trait into this spe Stu and actually see St actually goes and boom okay guys let's actually zoom out this now this is actually cool uh right 144 let's zoom off let's just zoom off let's just zoom off SP we don't have to be grey here guys okay 177 okay guys now this is what we're having currently you can actually see a build up occurring within this range so what do we know we know that this particular stuff wants to keep dropping down right true to about this level right so what I waiting for guys let's actually talk in some Trad into this stuff let just talk in some trades talk in some trade accept that accept that is actually okay 0. 3 okay okay okay that's actually very very smooth stocking some more let just see all right all right this is actually what you're having now you can see this particular zone right it pushed up here this particular spot pushed up again his SP so what are we expecting to drop down smly just like that right and this spot happened before look at it it push push up drop down push up drop down and then Dr towards that support level so that's just it guys so what I'm waiting for now we just wait a little and actually see actually goes and boom okay guys let's zoom up this now so this is actually very very smooth let's zoom up okay so we actually have about 921 okay guys so this is exactly what we're having currently you can actually see this spe spot right there's a crazy consolidation around this level pushes up and down pushes up and down creating a support and resistance level once again so what are we expecting breakdown drops down towards that particular level just like that now if we check it out very well we notice that this par St has actually broken already look at it can you see that already so what I waiting for let's actually St into some sells in this St let just use one lot size okay uh and that's what we're actually having boom okay guys so let's actually zoom off the spe Tre now let's look at that okay I think we're good to go guys we can easily just leave this spec trade guys let's just let's actually just zoom up the spec trade just wait for 3K okay good that's 3K let's zoom out okay so that's actually smoth now and boom okay guys so you can actually see our support level again after about this region right so that if we map out you can see our internal level right at about this spot right that's our internal level and if we map out another one right now again uh let me just show you that one you should now see our normal resistance level at about the sport that we been using so what are we expecting now we look at this stuff we see that it's been rejected again and we're having lower lows so what are we expecting drop down to this level after that possible to drop down toward SP level Maybe not immediately but that's also possible Right to with for guys let's actually sto into this TR now okay so just use two lot sizes and okay all right all right so that's what we're having let's go on our one minute time frame and that's what we're having boom okay guys so this is what we're having let's actually zoom up this trade right so we're about 3.
7k uh okay okay let's just leave this trade we don't have to be greaty guys let's just zoom up the tra that's okay 3.