in today's tutorial we're learning three ways to use The Parallax effect in PowerPoint to make your presentations shine we have a beginner level intermediate and advanced let's start with the first one which is the beginner level of parallx and here you can see the 4M background move at different speed so we have a nice image and then as soon as you click you get a cool overlay of the slide and to make this effect we start from a nice image and for that we go to unsplash let's look for a mountain image and if you
want to narrow down the search you can also look for the orientation for example landscape and that will filter out a lot of images that you need let's see if we can find one that we like and first glance I think this one will do quite well for our presentation so we're going to download it and now we go back into PowerPoint and here we're going to drag it on the slide and then we can use a full fill this designer tab you can toggle it on and off in the Home tab and it's quite
convenient if you want to automatically fill the image to the correct size let's crop see if we position it right this looks about good so we have some nice air and then we have the mountains as well now the main part of this first Parx effect is going to happen in the second slide so we're going to create a new slide we're going to delete the content and we will add a rectangle on top of the entire slide let's change the outlines to no outline and then give this a yellow color something that contrasts nicely
with the other image let's add a text box on the screen and then use a quote this could be any quote that you like I'm going to use uh thinking about design is hard but not thinking about it can be disastrous and this is a quote that I kind of like and it's from Ralph Kant so let's also change that name here and do Ralph kapan and now we're going to do some layouts so that the text looks nice centered in the middle for both and the top one we're going to make it a near
next and the sub font let's make it B increase the font size quite large that already looks nice it's kind of a triangle effect that we create here the black is a bit too harsh in my opinion so I'm going to go for a dark tint of gray that way it's it's easier on the eye and then the name of the auor let's do AER next but we're going to make it a light so go for the sub font ultra light version and then also give it the same color position it downwards a little bit
and maybe let's add one extra element just to top it all off go to icons and then here we're going to look for a quote design and let's go for a single quote change the graphics fill to that same gray and then drag it on top of this slide select all objects align align to Center let's group them together and align align to center of the slide that way everything is neatly in the middle you can ungroup again if you want what we now want to do is we want to select everything that we have
created let's close this for now copy it go to the first slide paste it and then hold shift and drag everything downwards until it meets the bottom of the slide we're going to add that little extra and we're going to drag the content down a little bit more because the parallx effect that happens when everything all the objects fly in at different speeds on the slide from the first slide we copy the background image and we're going to paste that on the second slide send it to the back so everything's in the same layer order
and then drag it up slightly not entirely so that everything moves at different speeds important to know for the parallx or the morph effect to work is that the layer orders and the grouped items are in the exact same order if we were to group these items and then we don't do it on the other slide it will not work the morph will not work and now we have to go to transition and apply the morph transition to the second slide and now let's preview of what we have so this is your opening slide and
as soon as you click you will get get the movement of the second slide coming into place and the first slide moving at a different speed moving on to number two this is the more intermediate effect of a parallx in your presentation and this one is a little bit more complex with the image continuing across multiple slides and content flying in on the different slides at different speeds and we're going to create a new slide remove all of the content and let's drag in the image there we go we're going to use the designer tab
to fill it entirely close it for now right click crop or if you're working on a Mac you can use shift C shortcut and let's drag it up so we have only the top of the mountain visible for our starting point now let's add a text box make it quite large and let's give this a title zerat that's the location make it white font we're also going to use aenir next and a bolt sub font font type let's try 150 that's about right center it in the middle and then also position it in the middle
of your slide you can always add some Shadows to the text so go to shape format text option shadows and then add a small drop shadow to create some distance between the lettering and the background image now if you want to add some subtitles in a creative way we could add a small text box here I think it will fit nicely on the slide and let's say for example it's Switzerland and our font we want to make it highly contrasting with the main title so let's go for sign painter make it white and then increase
it until it kind of fills this box on the right side of that mountain top right click format shape and here we're also going to add the Shadows to the text you can play around with a blur size transparency until you are happy with the result I think this looks quite balanced and nice on the slide now we want to duplicate the slide the content we want to select them both so you can either drag across the selection or click on the title hold shift and click on the subtitle to select them both let's scroll
out a little bit and you can do that holding the control key and scrolling backwards and then hold shift to drag them upwards in a straight line I'm going to position them slightly apart from each other to get that illusion that they fly out at different speeds the main image in the background we also want to move so right click crop or use that shortcut and then drag up the mountain just until it meets about the top of the slide oops I've noticed I'm working on the first version of course we have to work on
the second or we have to change the order so this is the second slide now let's create another text box here and let's call this mountains font same story after next make it white go for the Bold increase font size let's try 55 I think we can even go to 75 in this case Center it in middle and we're also going to give it some Shadow drop shadow to make it stand out easier to read maybe go for 88 that will be better and last text box where we have some dummy text to fill up
on the slide and let's fill that in now this becomes hard to read especially with the background and if we want to solve that we can do a few things so let's run right click format picture on the background image go to the image picture tab picture Corrections and here we can reduce the brightness of the picture and you can see that uh it it turns the entire image quite a lot darker so the text becomes more readable and this will also be quite cool if we add the more transition later I'm going to Center
this text maybe remove that last word so we have two nice lines and of course this text these two items we want to move them to the previous slide drag them outside of the screen same thing here give them more spacing and now we have already two slides let's now go for a third one so duplicate this slide again you can right click duplicate or use the shortcut contrl D or shift command D on a Mac on the last slide we want to remove the original title that we don't need anymore the mountains and the
text we shift upwards the image we're also going to crop and shift it down just a little bit more and here we want to add some content to the slide for that I'm going to copy some text so these are two text boxes one with a aenir next in Demi bolt that's going to be the title font size 18 and then some Demi text in light using font size 14 I'm going to position it on the right side here and create a duplicate and drag it to the bottom left let's give this a little bit
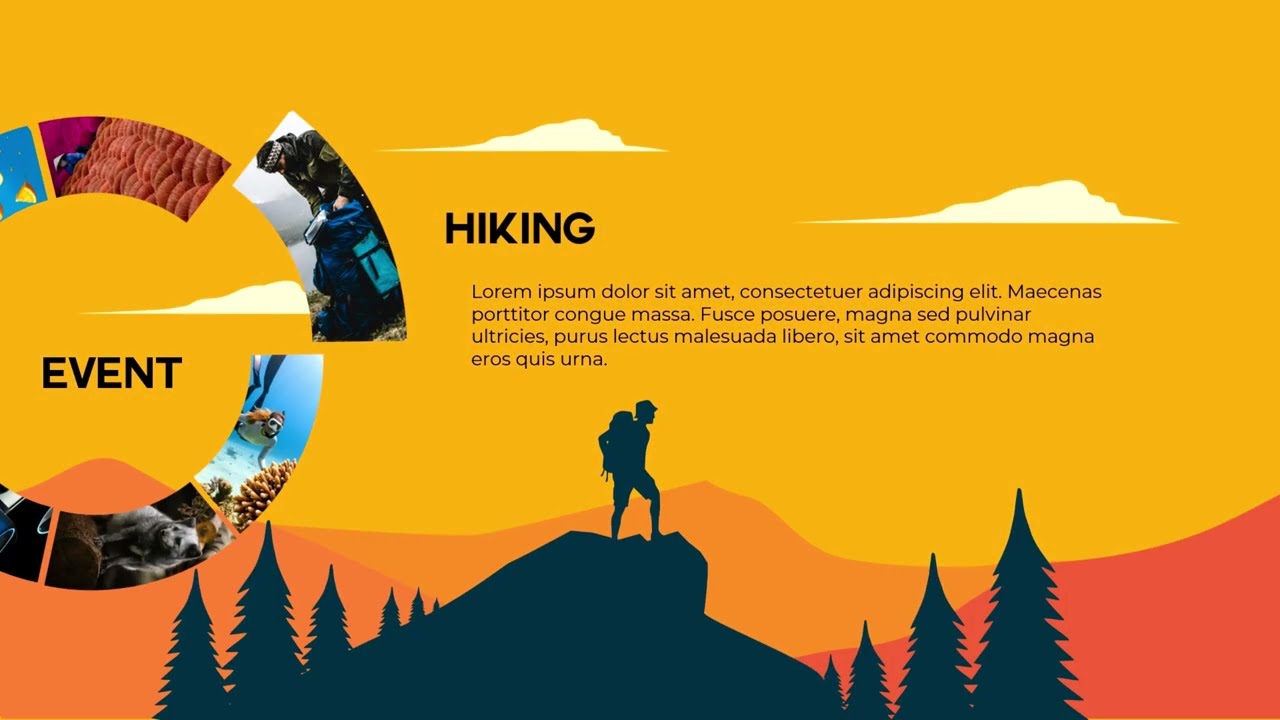
more spacing there we go now to fill up the slide we can add some icons let's go for icons and let's see what we can find in the nature tab this hiking trail seems to be suitable for the image and then maybe some person walking mountaineering that looks quite good change the font or the color to white let increase the size a little bit and we can position them on top of the text boxes that we have created give them about the same spacing and this looks quite cool now as last touch we have to
copy this to the previous slide and then drag it downwards I'm also going to give this some extra spacing so that everything flies in nicely at a different Speed final touch is we have to add the morph transition or apply the morph transition position to the last slides so for that we go to morph and now let's preview what we have so this is a pretty cool opening slide of zerat Switzerland now if we click we can see that the text moves at a different speed and the background image shifts slightly slower and then also
the new content comes in let's click again and we see the same effect we scroll down the page and the content flies in at a different pace and this is a really cool intermediate effect I would say for the parallx in PowerPoint and finally let's look at the most advanced way to use parlex in your presentation this really takes your PowerPoint presentations to a totally different level and in this example we add the extra complexity of layers where content moves from behind and you can even shift to full screen slides and even go back again
to the opening slide with different content so you can navigate in cool ways and for that we're starting yet again in unsplash because we want some high quality images let's go back for mountains but but a landscape in this case and I'm looking for a specific mountain with a dark tint and you'll see why in a minute so we can use this one this is pretty nice but I kind of like this image here which has this clean cut border on the mountain so let's download it large size and jump back into PowerPoint and let's
create a new slide always starting from a blank slide let's close these for now and let's add the image to the page we're going to reuse some of the elements from the previous slide of course you can modify it to your own branding that is perfectly possible this is another Mountain so let's do something generic explore and we could change this into presentation could be your title subtitle that is totally up to you to customize and I'm going to position it right here so that it fills this Gap and gives for a quite nice balance
effect on the slide next we want to add an extra layer to this page and for that we're going to use this shape document shape it has a rounded or a rectangular top and then this curvy bottom let's drag that one from the left side of the slide all the way to the right and we're going to rotate this 180° you can hold shift to rotate in fixed increments if you don't hold shift it will be yeah more difficult to find that exact 180 spot we're going to position this at the bottom of the slide
remove the outline and we want to get that color tone of this darkest part here so we're going to more fill colors grab our color selection tool and select that dark part press okay and this way we have kind of a a hill that we are recreating at the bottom of the slide and you'll see why in a minute if you want a different form you can always go to shape format edit points and then you can add some more points here if you want some extra curves on the page that is all all possible
so this way we kind of recreate a mountain side or a hilly environment for that presentation there we go now we're going to back into Google and we're going to look for a pine Tre silhouette image with a transparent background let's go to the images tab and here we want to get the nice silhouette of a pine tree so you can see there's quite a lot available depending on the project you can find some free ones or you can find some pay wants if you're working for a client I kind of like this one so
I'm going to copy this one and use it in PowerPoint and here we can paste it on the slide that's quite big so let's reduce it a little bit and there we can see that if we create some copies you can hold the control key to create some copies you can spread it around on the Hill that we have created there we go let's put a few here and there you can also reduce these sizes so they don't all look the same size and let's place a few next to one another to get a pretty
realistic effect this one can be larger other ones can be smaller it really depends it's a personal preference here so you can play around with it until you are happy and satisfied with the result I think this is starting to look quite realistic already let's do maybe one or two more there we go that looks quite cool it gives an extra Dynamic layer to that slide which we can start to animate now as the next step we want to add a rectangle below this part and let's make it quite large so it can in the
end cover the entire slide so about this it's better to add a little bit of extra remove the outline and then the shape we're going to give it that same dark shape color and then make sure that it matches we're going to grab these elements group them together right click group if you want and then also add that box at the bottom to that grouped selection so this way we have created a nice dark looking overlay on the image but it still matches the original look and feel of that image that's why we were looking
for that dark bottom or dark type of image now let's move to the next slide so we're going to duplicate this slide title and subtitle alt shift and drag them upwards give them some extra spacing the background image itself we're going to increase the zoom just a little bit it will give a nice Zoom effect on the image and then also position it slightly upward so that there's some movement in the background the silhouette that we have created we're also going to move it and we're going to move it higher than the previous one so
here we can see the tops of the trees they're touching the mountain range and in the previous one they weren't so they're going to all shift at different speeds next we want to add some content and I'm going to copy a few paragraphs from the previous slide position them here I'm going to reduce the text by just a little bit here we go and then drag it to the right as well to create a copy and the icons I think it looked quite nice so I'm going to select the icons as well and then position
them on the slide one in front and the other one in front of the other now we're kind of pushing the Border here so let's pull that in just a little bit doing the same here this is just about the position if you want to notice where you are located on the slide you can always move this to the side and then see that you're not crossing the border or you can increase this part here scroll down and see what the end result looks like let's looks quite clean now let's add a subtitle so I'm
going to copy this as well and paste it here on the side move this just a bit closer there we go looks quite good doesn't feel like they are centered so let's align to Center that's better there yes that looks good now we want to do a little bit of a trick so this title and subtitle we want to move it in between the mount range layer so what we're going to do is we're going to select the content and the silhouette and we're going to bring that to the front this way if we select
the mountain text and subtitle it will disappear from or it will come from behind that silhouette this of course means we have to make sure our layer orders are correct everywhere so let's copy our content that we have here our text boxes crl C and paste it on the first SL crl V and of course we're going to it downwards the mountains now they're in a different position so we're going to select the content and the silhouette and bring that to the front that way we have the mountains and title also in between that layer
and that's what we want to do if you want to arrange the orders you can also use the selection Pane and give it names here um if you're starting to make the entire thing too complex you can give it different names and that way it's easy to check the order but in our case it's still doable let's go for the next slide so we're going to right click duplicate the slide and then see what we don't need on this slide anymore so the title that's all from the two slides go so we don't need that
anymore the mountains that can fly out the content here we can move it to the sides because we want to fly that or we want to make sure that it flies out to the side and then the silhouette we want it to cover the entire page so that everything becomes entirely black here you can adjust the settings so that you know which is the slide you're working on here let's also work on the background image so we can position that upwards just a little bit and then cover cover it with the silhouette now let's add
some new content to the slide so for that let's do a dummy text lurm ipsum dollar make it white AER next and we're going to make it bolt font size let's try 50 Center it in the middle arrange align align to Center to put it in the middle of your slide now let's do some text boxes or some some menu items here the rounded rectangle we're going to make it just that off white no outline and add some text to it so here I'm just adding some text it's plain and simple text boxes so nothing
fancy there and let's copy that one in the center and once more to the right side of the slide and I'm going to paste in some icons that I got from the Icon Library it's the same icon Library as before I just had them still pasted so group them together that way we have three simple shapes to work with and this is our next slide of course we have to make sure that the new content also flies in on the previous slide drag that downwards it's not too complicated you just have to make sure that
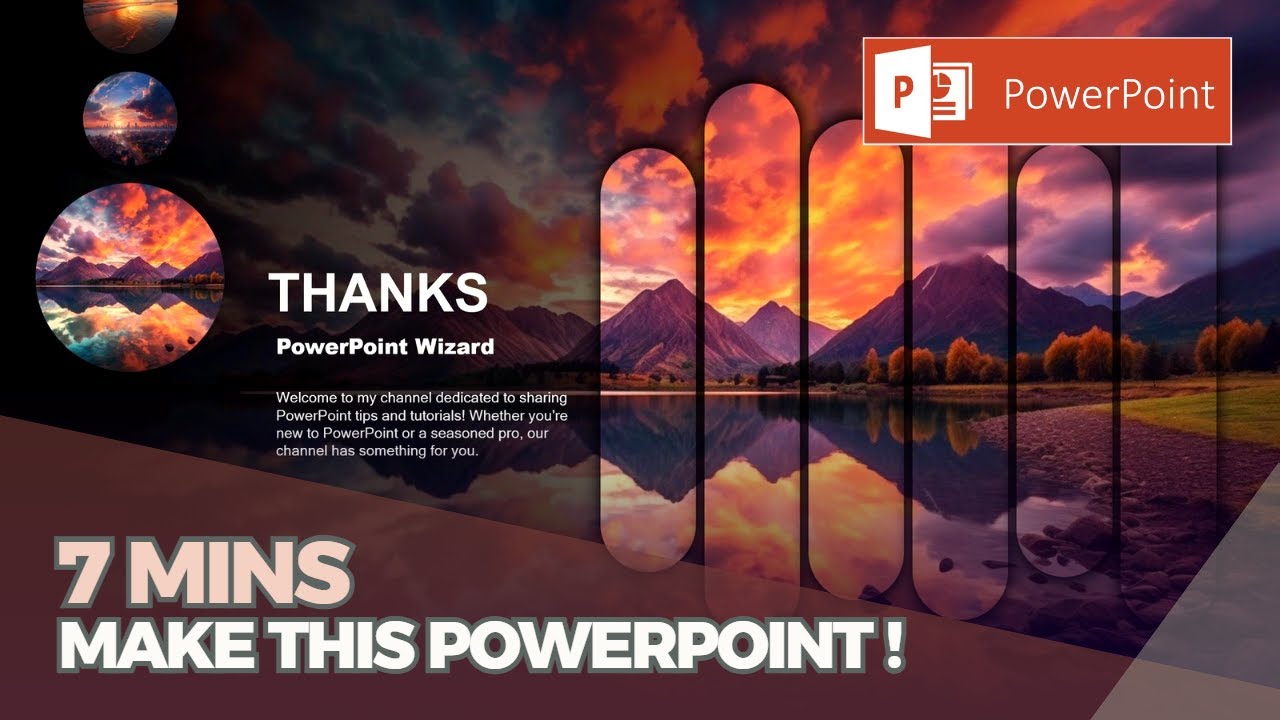
the content is final before you do this and then let's go for the final step which is one more duplicate this content we no longer need because that's from the previous slides mountains we no longer need and this we can drag downwards the silhouette we can also position downwards to the original beginning oh that's about here and then the original image we can also pullet down again so that we have sort of our starter slide let's copy these text boxes and make closing slide so thanks everyone make this just bit larger so that it fills
this Gap nicely there we go of course this is new content so we have to add it to the previous slide that's all the way on top so about here and now we're going to add the morph transition to the three slides transition morph and this gives us quite a nice opening slide and as soon as you click you'll see that the content starts to shift at different Paces on the slide click once more and it will cover the entire slide in a dark theme with some more content on the side click again and then
it will revert back to the original one with your closing message using the morph and parallx effect you can really create stunning presentations the only only thing you have to keep into account is that your content is final otherwise you'll have to change a lot of the text and titles because we copy a lot of the fields so in today's tutorial we have seen the three levels of parallx starting with the beginner level where we have a layer a colored layer moving on top of an image and everything shifting at different speeds secondly we have
the effect more intermediate effect with more content on the slide and one transparent background that shifts throughout the entire presentation already taking it up quite a notch and giving professional presentations moving on to the more advanced way of using parallx in PowerPoint where we work with multiple layers and animations on the slide to give that cool Dynamic effect and you can really go crazy with the parallx depending of course on the presentation that you want to bring thanks L for watching make sure to like And subscribe and if you want to learn more about PowerPoint
please watch the video on the screen right now