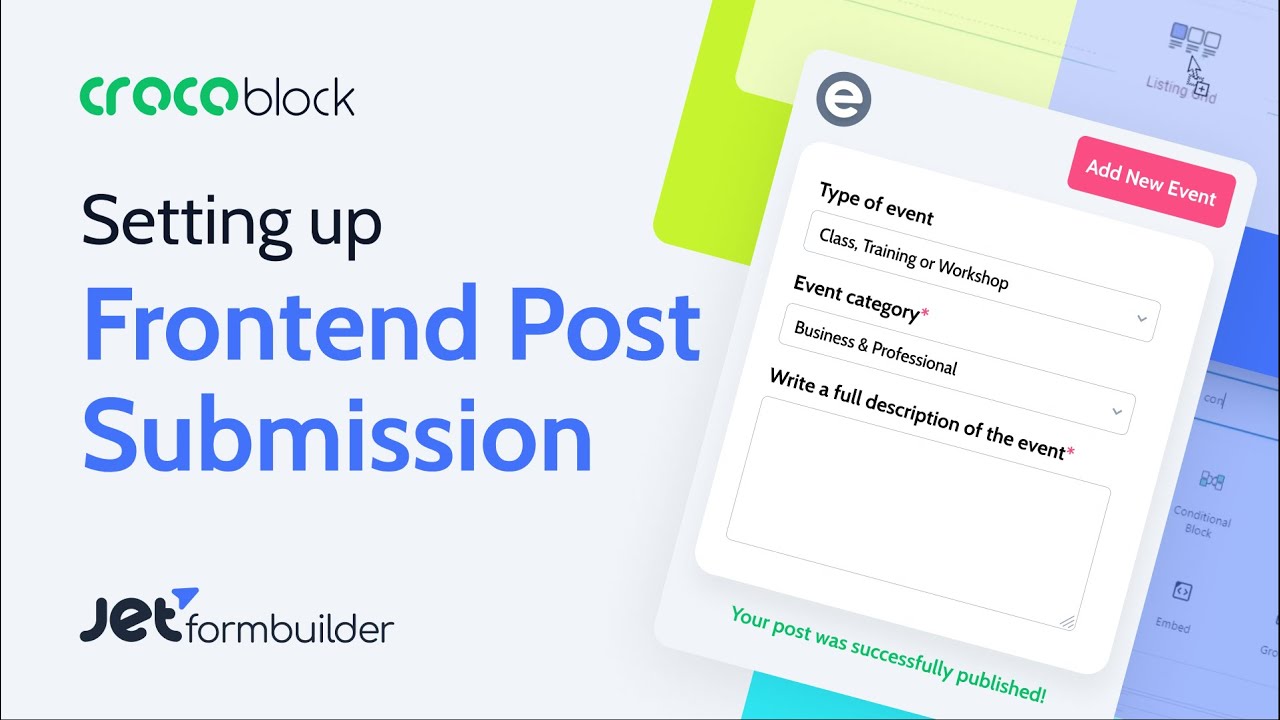
hi everyone this is Kate from Krakow blog have you heard the latest news yep you got it right Krakow blog just recently released jet engine 2.2 update with its new functionalities and cool features and today I'd like to show you how to customize fronted post submission was the help of user profile builder this functionality is implemented by a separate module just like pure code forms calendar etc and it gives you the opportunity to build a dynamic user profile which is user editable has unlimited number of account pages gives extended abilities for users now they can
add and edit their posts within your website and much more so guys shall we get started let's follow two jet engine dashboard and enable to necessary modules forms and profile builder don't forget to click Save button at the moment profile builder works only with configured permalinks so you can either customize the account yourself or import the configuration part from the preset I'll use the second option so I'll have to follow the skins manager click on presets and import the user profile with editable content this part will allow registered users to publish and edit their posts
and please pay attention that the permalinks have to be updated to finalize the process so let's go to premier link settings and re-save permalinks structure simply click on Save Changes button yep it's just that easy by the way guys we decided not to stop right here and edit another preset to widen the possibilities for your customers we configured an editable user settings page for user profile it can be imported in in in an easier way just point and click okay so we successfully activated user profile builder functionality let's check how to create the user account
follow to gel engine profile builder we've got two sections here pages and account page pages section allow us to select the page that will used as the account page for a current user it is set to account by default this page has been automatically added to your dashboard within the preset and we recommend using it to avoid issues with messed up pre customized pages and lost info here you can add a public page for all user lists basically it enables a default page with a general listing of website users and allows to select the page
for it also you can add a public page for a single user and select the basic public page for it as well as select the way permalinks of the users public page will be billed by username by a nickname or by user ID one more thing that you can do is select the way sub page templates will be processed isn't just templates or isn't the page content and of course you get to decide whether you'd like to hide the admin bar for non admin users or not okay I've got it all set and now let's
proceed to the account page section first of all I'd like to mention that this is not the actual account page it is more of a structure of the account it's pretty basic but you can set it up to your tastes and needs here you can select what to do when non authorized users try to access account page going further you can see a block with four sub pages and a possibility to create as many new pages as you want you just need to click on add new sub page button and fire your imagination these ones
have been automatically imported within the preset and are fully editable here we can enter the title of the sub page than the page slug select elemental or list an item template to show on the current page which has also been imported to your dashboard in you can find and edit it in the templates section saved templates there's also a possibility to hide a sub page from the menu if needed for example edit post page is not needed in the account menu panel we will add a dynamic link for this page in the user post item
listing just so you know here's how the default account page looks like on the front hand pretty basic isn't it so I decided to spice it up a little bit there we go now better as you might have guessed it has been created with the help of jet engine forms functionality and what's neat about this feature is that now customers can not only submit the forms but also added them on the front end let me show you how to enable this function let's go to jet engine forms as you can see we already have a
couple of forms imported with profile builder I'll use the new post and edit post forms as an example these two forms are almost 100% the same except for some tiny little changes that are very important though let me show you what I mean so let's edit the new post form it's a car sales submission form here are all the fields of the form itself and yes I had to spend some time to build them all now what's important here is the notification settings blog click on add notification select notification type insert update post post type
the cpt that you'll be using for the user posts in my case it's ads post status published and very carefully set the post properties and meta field names yeah guys it has to be done manually I agree not a very fun thing to do but as they say no pains no gains [Music] and don't forget that fields with both meta have to be mapped using the meta field key that you set up within the custom post type meta field settings I'd advise you to add another notification read direct to page so once the form is
submitted user is redirected to let's say account page automatically now update the form and go back to forms page in the dashboard let's open the Edit post form as you can see it is completely the same as the previous one except for the little checkbox preset form field values this really cool option has been added within the jet engine to point to update you might think preset field values really what can be so cool about it well guys I must say that your customers will absolutely love you for using this feature yes you have to
spend some time for setting it up but the result is totally worth it let me show you what I mean once the preset form field values enabled it opens a variety of different settings so you get to choose the source either from posts user or URL query variables since I've created a form that basically transforms provided information into the user post I need to choose the option post now here in the get post ID from field I need to choose URL query variable you might ask why well that's because the info that will be shown
in the fields of the form has to be pulled from the exact post of the customer not just the most recent or random one so in the next field I need turned to the create variable name post ID please keep in mind that we will have to enter this name in the settings of dynamic link widget in the Elementor page builder later as for the notification settings they should be similar to the ones in the is form but pay attention that you have to map the post ad field select post ad will update post option
now let's update the form and proceed to the next step we've got the form set and we are in the finish line isn't that great now we need to edit the existing user post item listing as you might have guessed it has been imported with the page builder presets as well so let's go to jet engine listings and click on the Edit with elemental button as you can see I've added dynamic link widget here you'll understand why in a bit proceed to the content section select profile page as a source then pick suitable account page
template from the drop-down menu at the label and toggle add query arguments on in the query arguments field enter the following where post ID is the key the same as query variable name we entered in the preset phone field values block guys please pay attention that they have to be the same in order for this link to work properly and current ID is the macker for the current post from the grid that customer might need to add it now we can update the changes and proceed to the front-end so here's the user account page was
the profile menu and a list of posts customer has already created okay imagine that he's got a new car ready for sale let's place an ad yeah I'll save you time with a little magic all I have to do is click on the submit button remember that we set the resurrect options in the dashboard that's why it brought us back to the account page and as you can see here's our new ad and a wonderful added button on the side let's say I'd like to change something in the existing post for example I messed up
the price silly me let's click on edit button yeah it's all preset now there is no need to remove the post and submit it one more time with the correct data I can just change the price and Save Changes isn't that lovely let me know if you like the new format of this tutorial I hope you enjoyed it if you have any questions feel free to add comments below subscribe to our YouTube channel for more useful videos and check out our friendly Facebook community cheers guys