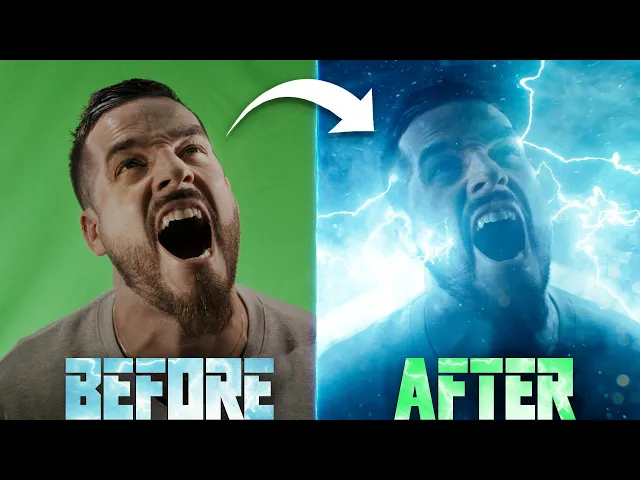
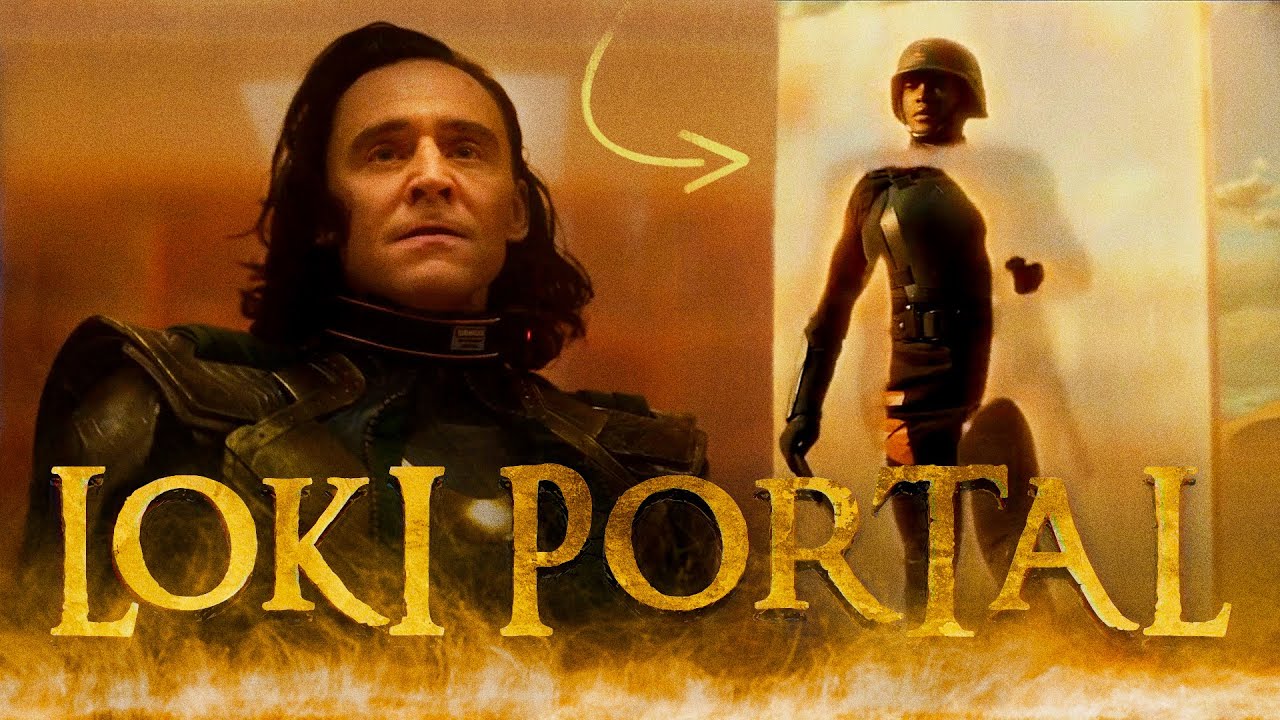
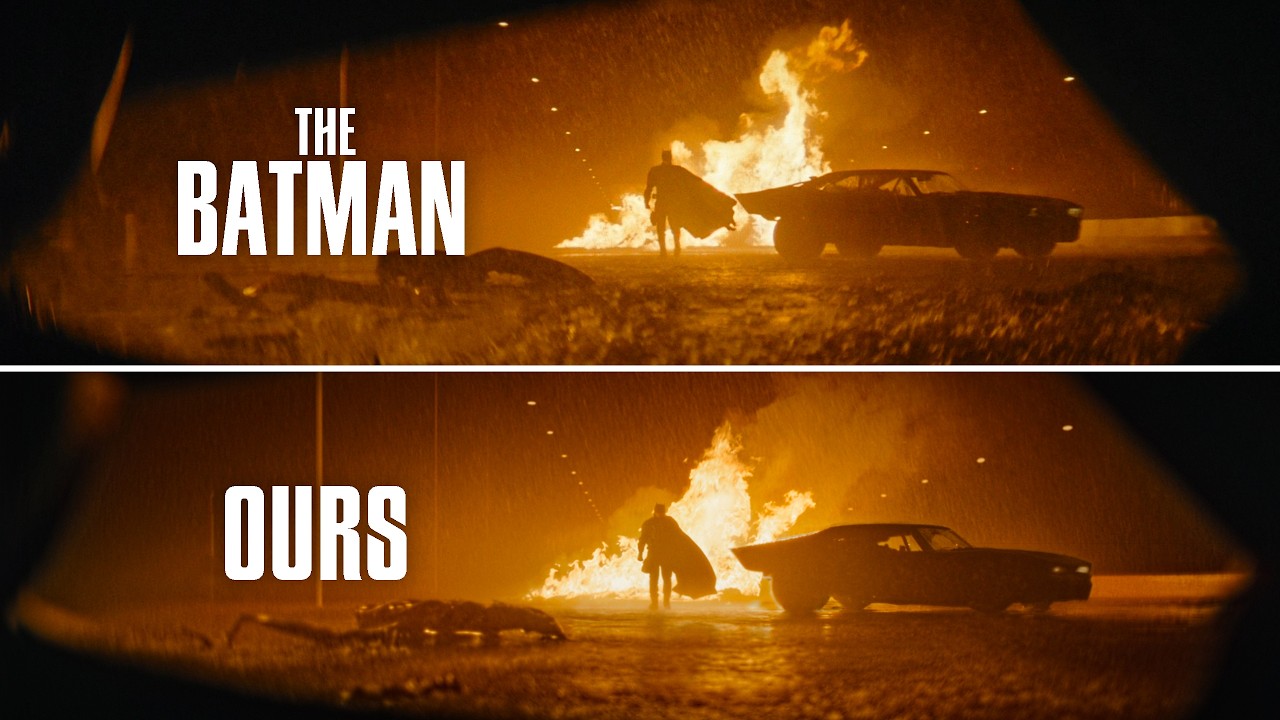
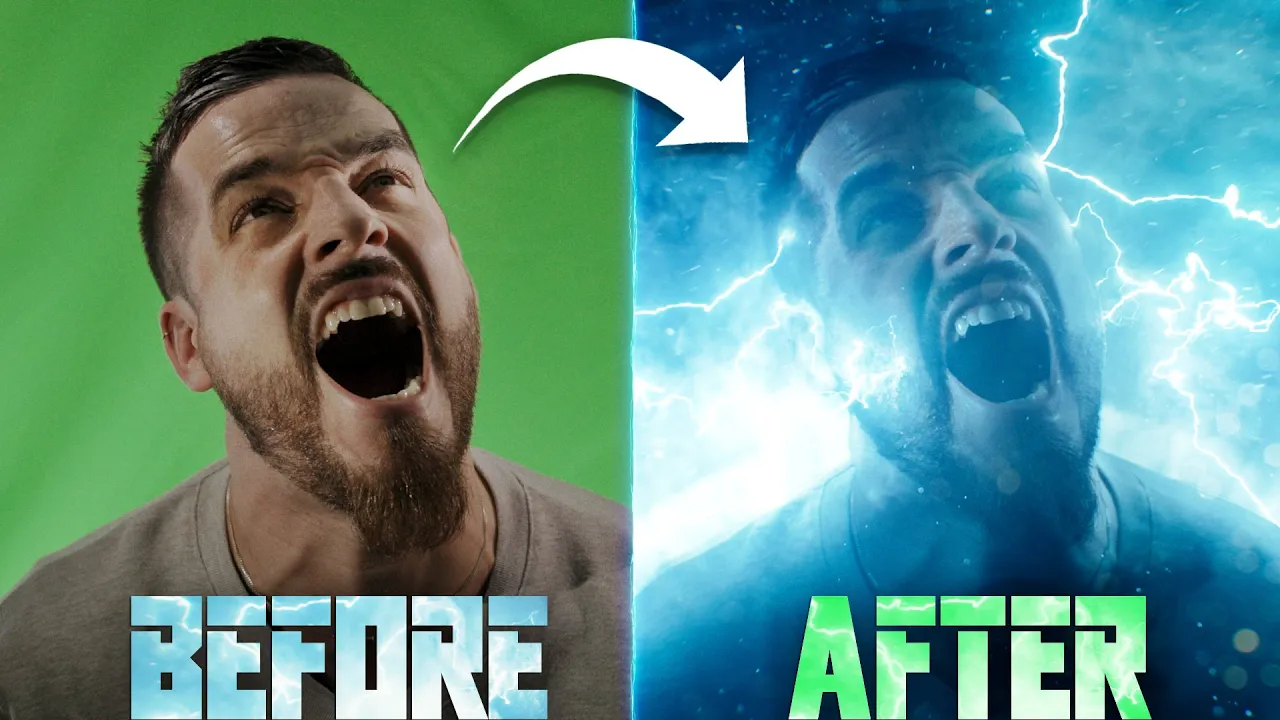
today on film right we're taking this shot and turning it into this because the magic of Cinema hey Josh can you come to the studio you get a light out of the white closet for me real quick [Music] they're just counting yourself what the hell Justin I'm sorry I overheard you talking about the flash effect saw how does that even make any sense it does I made a I made a graphic port and everything flashing back The Flash effect that we're trying out today isn't the super speed effect you might be thinking we wanted to
try our hand at this shot from the trailer it's a compelling shot with a ton of useful techniques and we wanted to do it so we did it we'll do super speed soon though because we want to do that too so we will and that shot from the trailer is a Peak Trailer shot moment often when on the set of a bigger film you'll hear them say things like that one's for the trailer or let's get one for the trailer when you're making a bigger film like this that really is a thought I mean it's
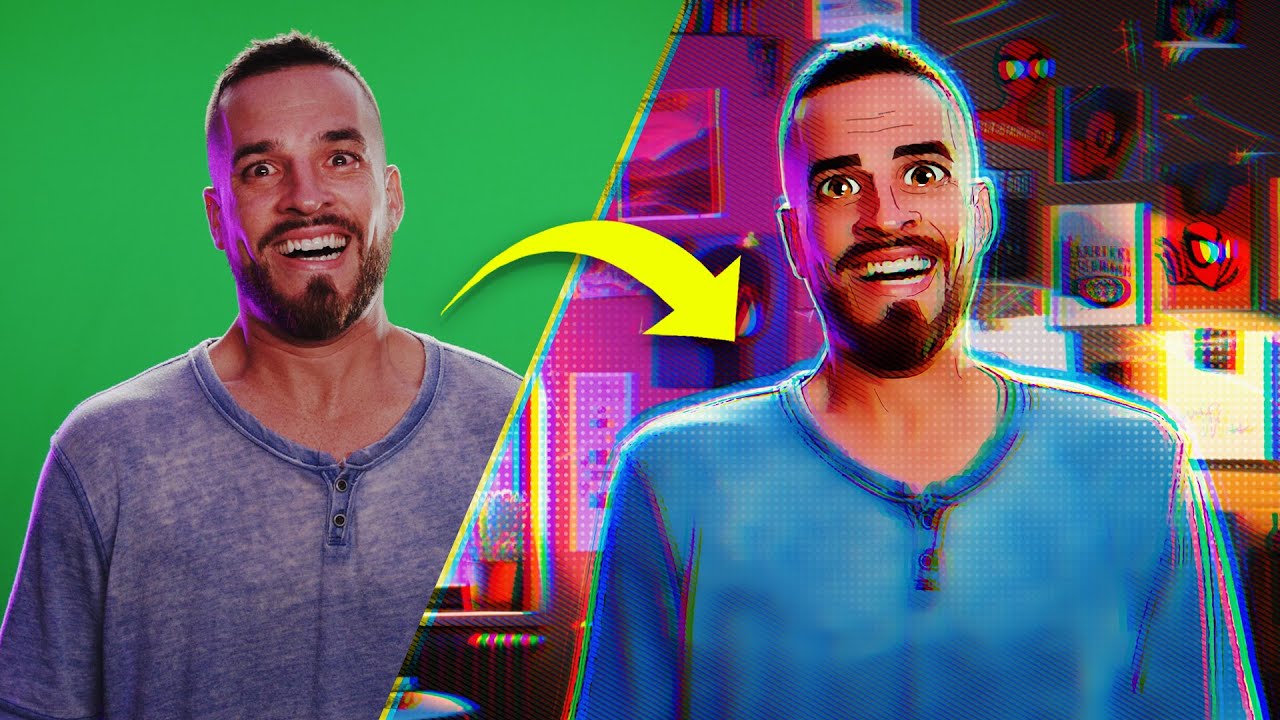
a thought with most movies making sure you get shots that grab the viewer and puts butts in seats for the marketing and also they're just really cool foreign so to recreate this we first shot Justin against a green screen and here we had him act in slow motion while also shooting at a slightly higher speed to get this ultra high speed feel in the end similar to ideas we've shown in the past like this one [Applause] that one was shot in 2011 so you know could go easy with the Judgment okay Thou shalt not judge
our 12 year old effect or thou shall be smoted by [Music] are we getting away to random stuff too much who is we are are we that's what I'm asking you who communication is key um so this shot I realize we're like two minutes in and haven't actually started so sorry about that back on track so Justin is acting out screaming in slow motion and we had the camera shifting to create this motion and use the flashlights on our phones for the light of the electricity including switching one on part way through the shot for
us to sync up with the assets later and yes we have expensive gear that we could have used but the iPhone worked fine so that you light so now we jump into post and drop the footage into a new comp inside of After Effects and then right click track and stabilize track camera we didn't use any markers on our green screen but because Justin and Emily are pretty static throughout the shot we can use a tracked point on them to create a Knoll and Camera we'll use the key light to key out Justin and mask
around him adding a subtle feather and keyframing the mass path at the start and end of the timeline to move with him while the background will be really dark and covered with a bunch of foreground elements we still want to add some subtle information back there so we'll drop in this image that we made in mid-journey and make it a 3D layer push it far back and change the scale position and rotation to line it up how we like and to fill the frame throughout the camera movement now we'll add a tint effect to lower
saturation curves to adjust the color to closer match Justin and then another to really darken it but maintaining the Black Point to match our footage then we'll add a lens blur to knock it out of focus the original shot has this very strong light source behind him so we'll duplicate our background solo it and uncheck the effects for now if we rotate it we can see a section which will work well for the brighter area so we'll realign this and bring It Forward in 3D space a bit closer to Justin we'll mask out this section
then unsolo and re-enable effects changing the brightness and color to be a brighter cooler tone and set the blending mode to screen for the atmosphere we're going to be using the Smoke 4 and 5 assets from our Infinity pack collection for anyone who has our Standalone smoke packs these are also included which Speaking of our packs hi I'm Ryan I'm here to talk about our store Triune digital and boy do we have some deals for your tatas so keep your arms legs and tatas inside the sail vehicle at all times or you'll be sorry wow
pay attention I know you've heard of trying digital of course you have you better know about our store but if not no big deal it is a big deal trying digital is a paradise for filmmakers of all kinds from visual effects assets like the ones you'll see in this episode such as our electric pack dustpack smoke pack and a ton more including a bunch of free assets free oh but we don't stop there we also have color grading Luts for days cinematic horror fantasy film stock 80s 90s and more but we also have sound effects
to spice up your life everything from Monster sounds to gun sound effects we got it all [Music] oh what's that do we have royalty-free music yep we have that too and plenty of it just look at these look at them wow those sure are royalty free aren't they [Music] and if you're looking to cloth your naked tatas be sure to jump over to our apparel as well we have all kinds of spiffy looking stuff and because I'm feeling giving use the coupon code tatas and you'll get 40 off all of our visual effects assets so
head over to triumdigital.com to get you some goodies we're gonna have problem but now we'll double click on one and scroll through to find a starting frame we like and set the end point then drop it into our comp beneath the Justin layer set the blending mode to screen make it a 3D layer and change scale position and rotation how we like this plays a bit fast so we'll change the time to slow it down quite a bit and check the frame blending twice to get a smooth interpolation for some nice slow motion we'll still
play around with placement until we're happy then lower the opacity we'll duplicate and move it to another area changing the starting frame to bury the look we used a few more duplicates masking and Feathering some areas for more detail and using a curves for contrast in the original there is a concentration of smoke around this bright section so we'll use smoke 5 for these areas doing the same process again and then using a couple duplicates above the Justin layer placed on either side of him masked and feathered to only cross over the sides of him
slightly then one last version closest to camera for more Parallax and low opacity giving us the this atmospheric look to say that the rest of the group is Bored would be a gross understatement now in the original shot the actor is almost a silhouette so we'll lower the brightness on Justin using a curves effect to keep his face area a bit brighter though we'll create an adjustment layer above and use a curves effect to brighten and a mask over the face area with a high feather and use the Justin layer as an alpha matte to
keep the effect to just the face for some bright Edge Lighting on his shoulders will duplicate his footage layer and set the blending mode to add change the curves effect to add a lot of brightness and contrast and use a tint effect with a high value we'll mask these areas where we want to keep the light and set the mask to intersect feather it and keyframe The Mask path throughout the shot if needed for the electricity we're going to be using some of the slow motion assets from our electric pack we'll drop one into the
comp and set the blending mode to screen then align it how we like in frame with a point connecting to Justin we'll then do the same with multiple other assets placed around different areas of the frame for the moment when we have that additional face light switch on we're going to have another asset appear starting at that frame you could make these 3D layers but with their constant motion it worked fine in this instance to just keyframe 2D positions with some While others seem to naturally work well with no layer movement needed foreign [Music] we
want a couple of these strands placed behind him but because we will be pre-comping all of the electricity together we'll duplicate Justin and move up with the electricity layers and set the assets we want to be behind him to Alpha matte using his duplicated layer we'll now pre-compose all together as our electricity comp to add some effects if you have any gaps you can fill them using a solid composite effect set to Black change the layer back to screen and we'll first use a tint then a glow and we're going to use red Giant's Optical
glow to get some nice fall off and lastly video co-pilots color Vibrance to make it an electric blue color changing the Vibrance brightness and Gamma to make it pop why are you bringing that in here I'm just testing some testing things what are you doing The Flash effect oh my God oh my God oh what the just died oh it doesn't even make sense read the script wow [Music] is your Apple okay well the original looks like it doesn't have too much light interaction from the electricity onto his actual skin we'll go for a more
visible look by duplicating the shoulders layer and deleting the intersect mask we'll draw new masks for different areas that we want light to appear feather and keyframe these masks then change the curves effect slightly as well as using another to make it inherit some of the blue color we lowered the tint to get some of that skin tone coming back through and we also used another duplicate to focus smaller keyframed ellipse masks for contact points of most of the electric strands the last key element in the original is all these particles moving through the shot
to do this we're going to use our close-up particles dust asset again from the Infinity pack collection as well as our Standalone dust pack and we'll go through a similar process as before by setting endpoints to start at moments we like and dropping them into the con starting with the ones going beneath Justin's layer for the background setting to screen and using a curves effect for contrast then moving on to the foreground ones placed above Justin sometimes masking out different areas or lowering opacity there's a few warm particles in the original so we'll use a
lens blur to knock this layer out of focus and the curves to increase brightness and make a warm color before masking and Feathering we use another duplicate with the mask on the opposite corner too then all of our particles combine look like this to complete this we're going to use an adjustment layer above with a glow the original has a bit of a hazy washed out look which we'll try to match and another adjustment layer using red Giant's chromatic aberration with low settings even though it isn't in the original it can help with that slow
motion look and ties in with some moments from the Justice League we also decided to use a transform effect placed first to get a closer framing like the original just changing scale position and rotation and lastly finished off with a grade to match the final thing we ended up trying was slowing down the electric assets to half speed with frame blending enabled to fit more with the overall slowness of the shot giving us the this but that's it for today if you want to grab any of the assets that we used we have our electric
pack and the Infinity pack and our smoke pack in the Shelf below also make sure to subscribe and hit the Bell button so you're notified when we put up more content until next time don't forget to write shoot edit repeat what's your family God dude nice penises but the episode's done [Music] [Music]