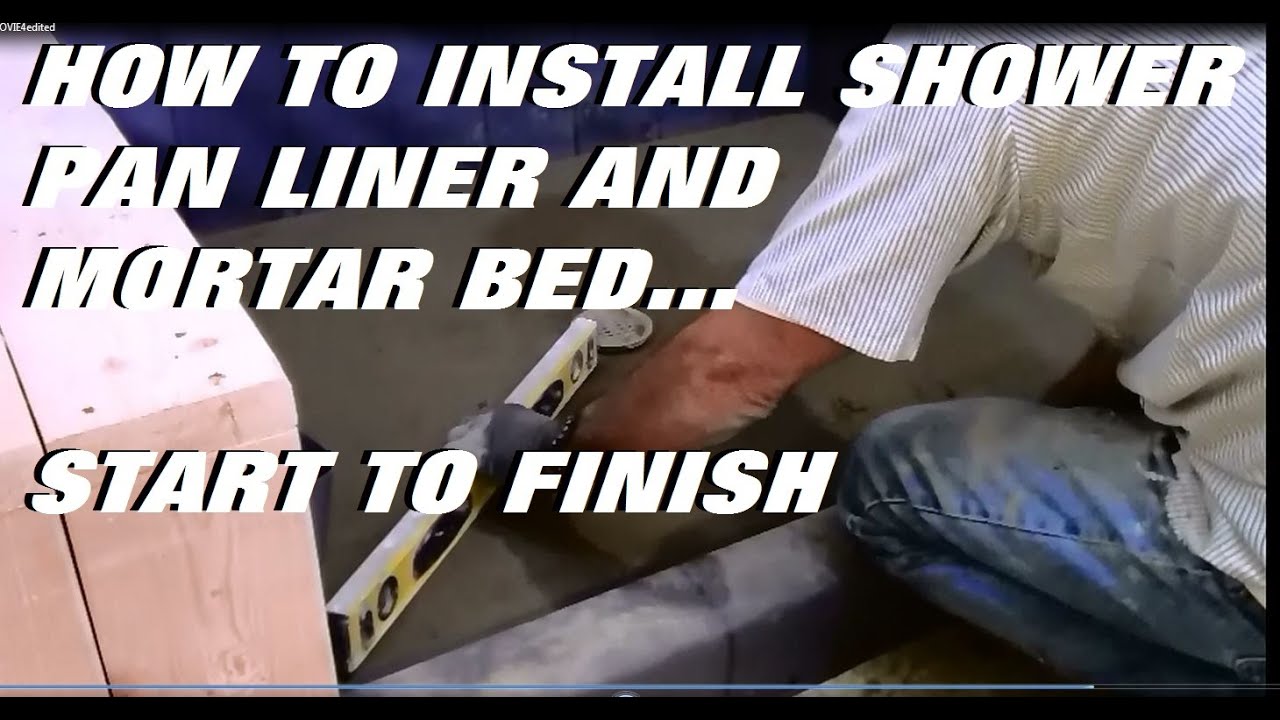
hello everyone and welcome in this video I will try to cover in details how to install ulti shower pen liner before I start I want to thank all of you for subscribing to my channel my goal is to show you guys a proper way to build your shower and remodel your bathroom if you guys have any questions just comment below and I try to answer them as soon as possible hope you enjoy it thank you all right when you measure your shower pen liner you want to install it at least 8 in on each wall
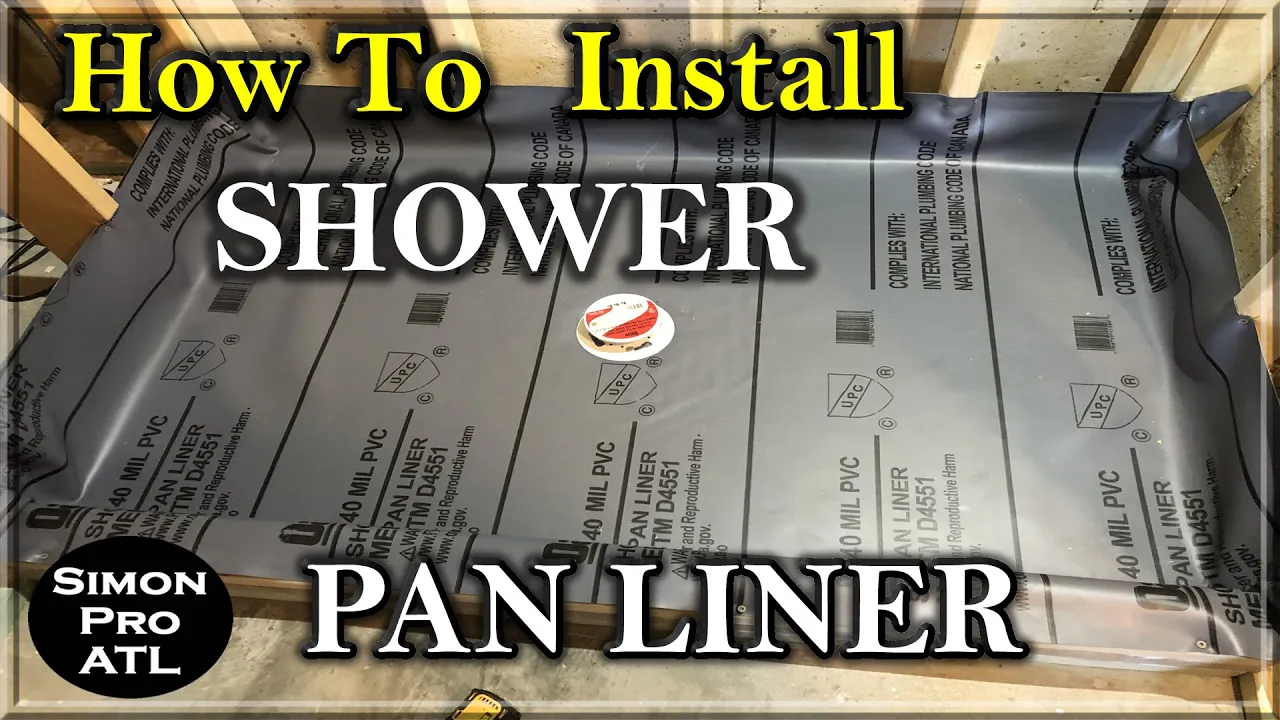
any anything above that is just unnecessary and it will only make your installation a lot harder and keep in mind that your curb is only 4 in high from the inside of the shower so you don't really need to go more than 8 in on the walls once you measure your shower length and width you want to transfer your measurements to the shower pen liner I'll be using ult 40 mil shower pen liner that comes in a four five or 6 ft width you can buy your liner in any tile supply store Home Depot or
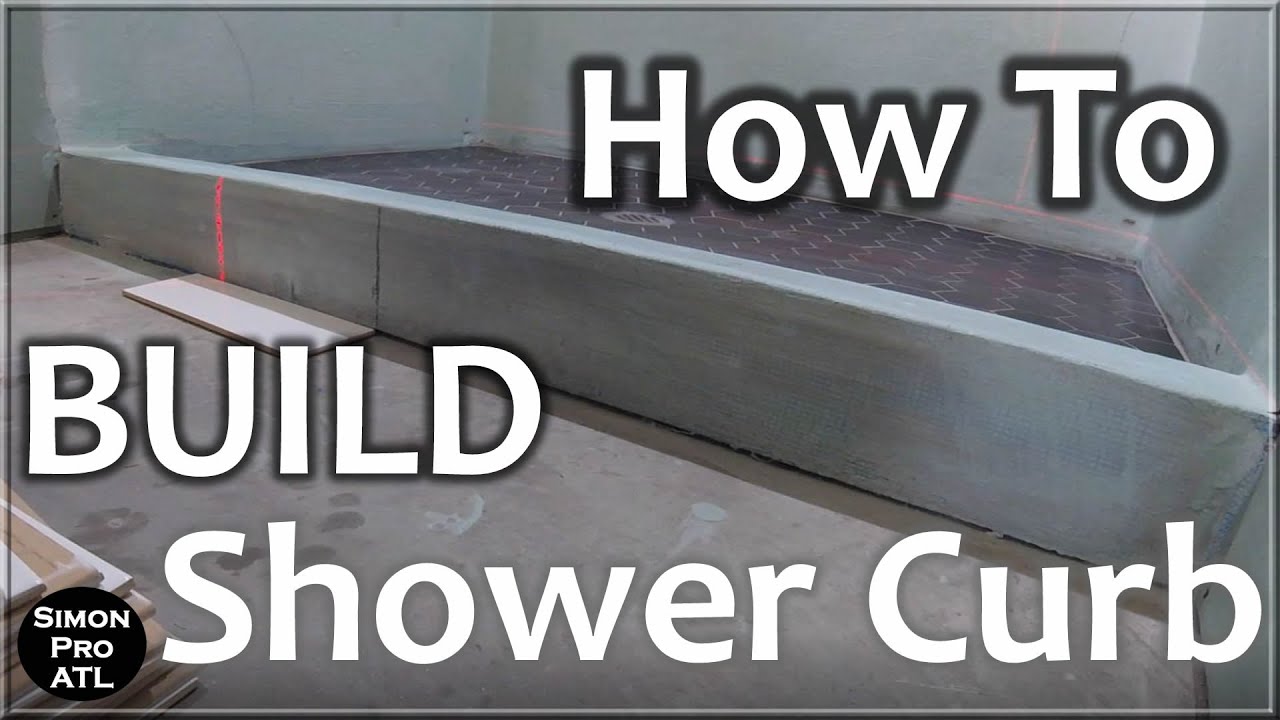
low as a contractor I only buy it in roll because if you buy the pre-cut you don't know what happened to it or how it was handled before you get it before installing the liner I will shave the 2x4 slightly on each side of the curb this will prevent from creating the buom on the bottom of your wall which is very important because you have to have a perfect square between your wall and a curb otherwise you're going to have a problem installing the shower doors once this done I will coat the entire curb with
waterproofing membrane then I'll install the Silicon around the drain this prevent from water leaking out underneath your liner in case your shower drain gets clogged in the future it also prevents water from leaking around the bolts especially that will have to fill it up with water and leave it for 24 hours so CD inspector can approve it it's only required in some CI in Georgia especially when a homeowner is finishing the basement themselves themselves they have to approve every stage of it I usually make a few rings around the drain that are about inch space
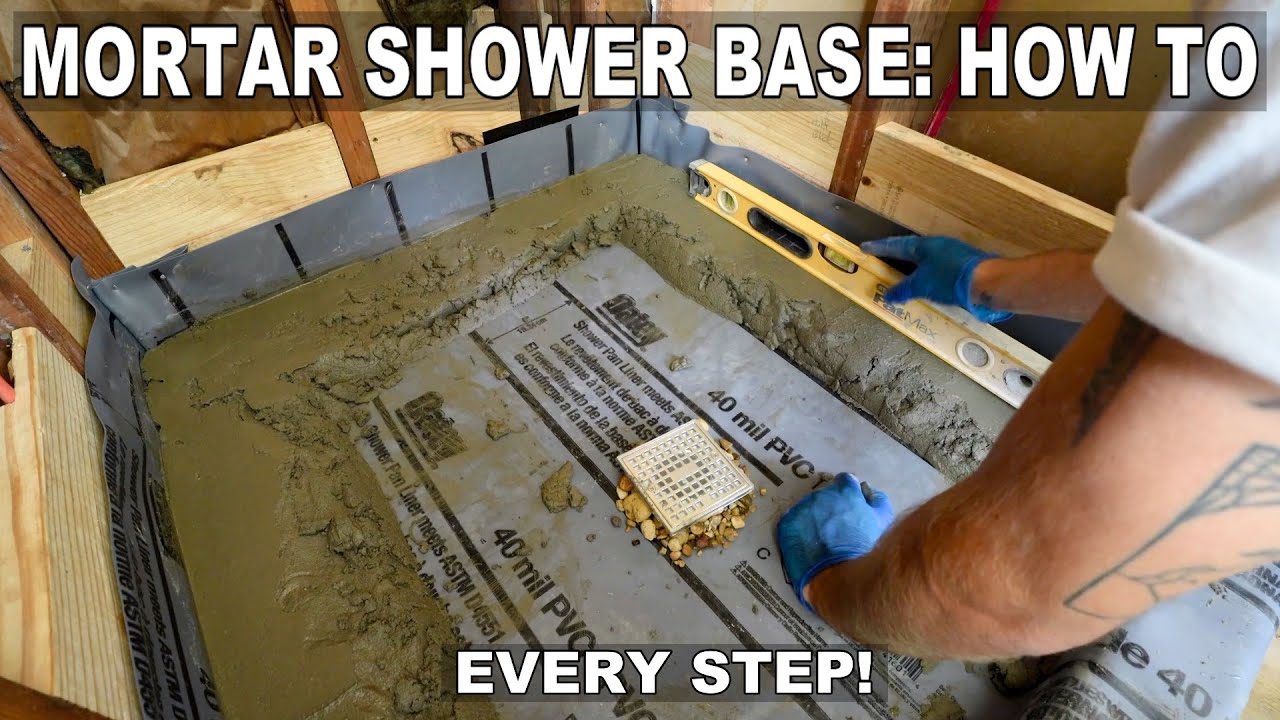
from each other if you don't have the silicone with you or you don't want to use it you can always use a PVC cement and basically glue the drain Flinch with the shower pen liner all if you're not planning to use a fiberglass mesh on top of your shower pan to strengthen it I would recommend using 2x sixes or something wider to fill all the spaces between the 2x4s uh you just want to leave some room in the corners to hide the liner when you fold it as you can see the entire curb is coated
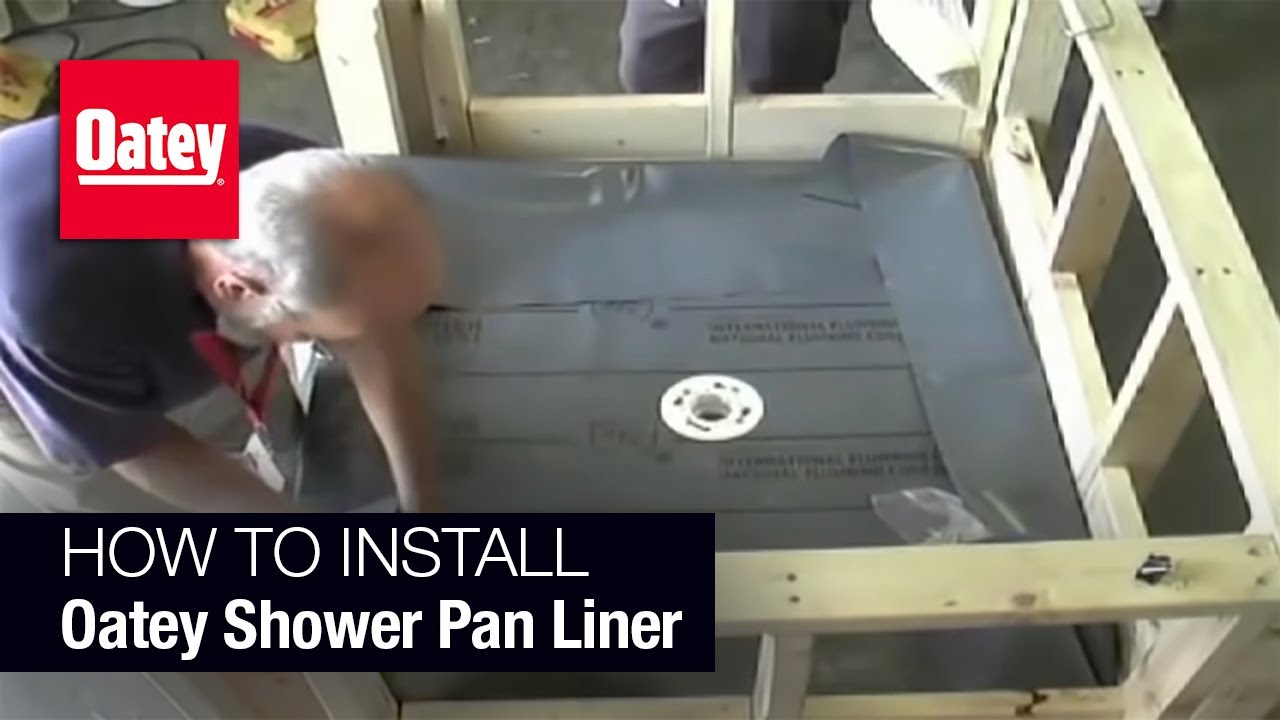
with waterproofing membrane and now we can install the shower pan liner the best way is just fold it in half and just place it on top of the drain that is in perfect center of the shower first you want to start from the edge of the curb and then gently smooth it out out uh to make it easier you can leave your liner in a warm room or outside when it's hot for a few minutes that will make the liner a little bit easier to work with once you spread it out evenly you can put
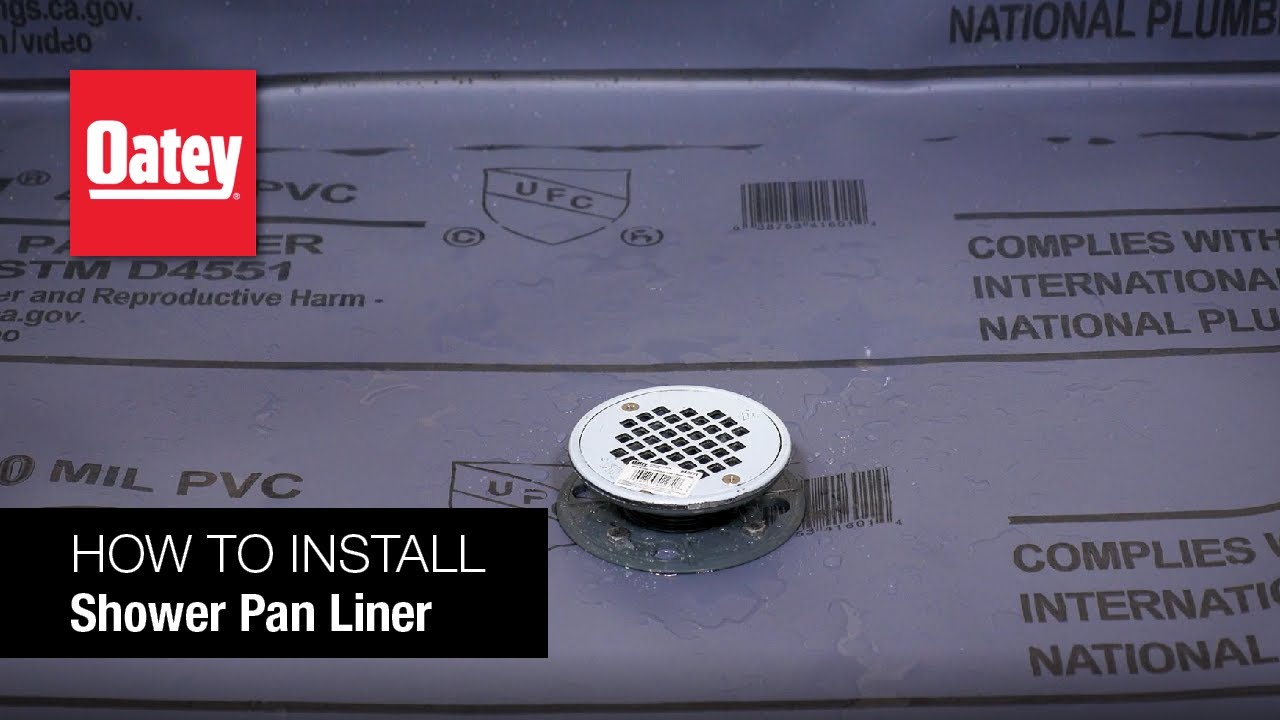
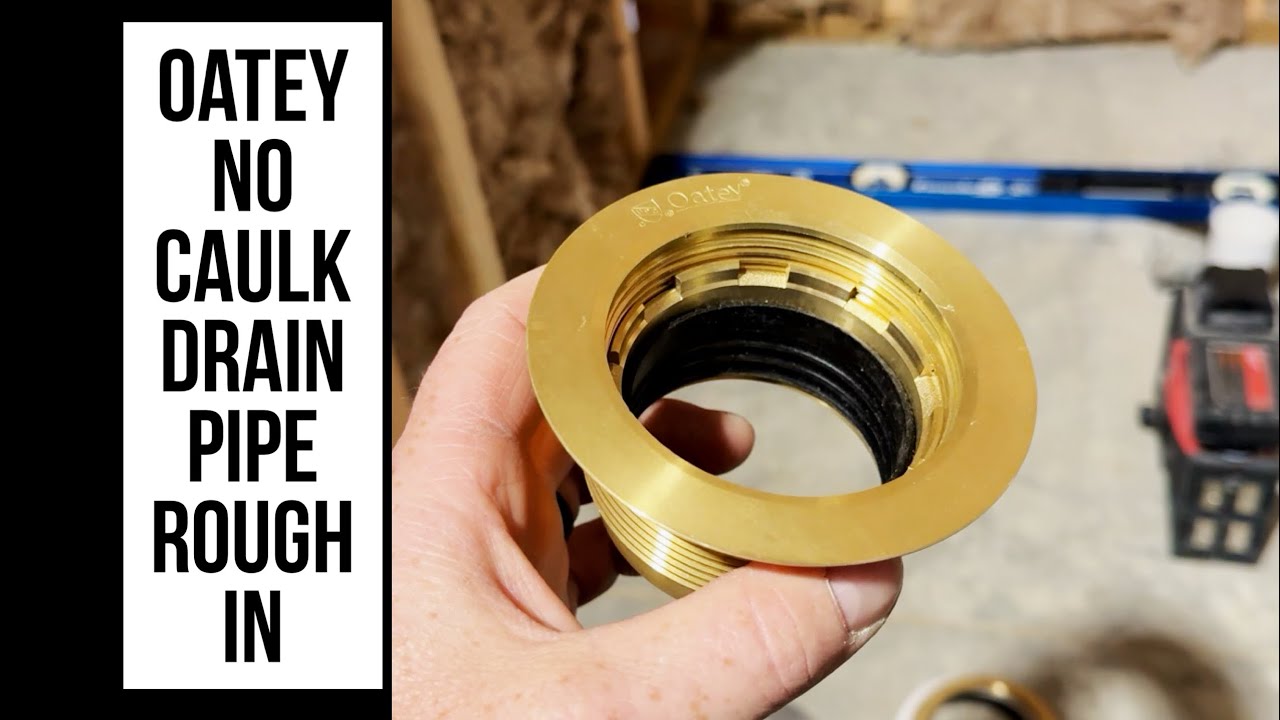
a few screws on the outside edge of the curb uh this will prevent the liner from shifting when you're working with it and don't worry that I just puncture the liner water will never reach it and now I'll show you how to connect the shower pan liner with the drain uh this might be a scary moment for some of you because you have to cat your liner in order to install the drain all right the best way is to place your finger on both sides of the bolt and stretch the lineer a little bit then
make the small cut on top of the bolt and push the bolt through it you're going to repeat the same process in all four bols then you want to cut the cross right in the middle of it and place the second part of the drain over it and then turn it to lock it in place and the very last thing you will need a wrench to tighten the bolts at the end you just want to make sure that your drain is still Level all right now show you how to fold and install the liner on
the curb it's hard to fold a liner without cutting it and it's even harder to record it or explain it in a single video because it varies a lot depends on the where your 2x4s and how they are spaced out on the wall but I'll try to do my best first I will cut the tip of the corner and this will make the liner a little bit more flexible the goal is to follow the liner so you won't create the bumps underneath your cmon boards all right keep in mind that the liner is 40 mil
thick and you fold it and have several layers of it it gets pretty thick so when you're folding it it's better to make the folds inside the wall or below the cmon boards your shower pen is usually inch and a half to 2 inch thick then you have to leave half an inch up to 1 in gap between the shower pen and the cmon boards that will leave you about 2 and 1/2 in from your shower base to a cmon boards to make and hide all the folds the best way to install your liner to
the walls is to screw it on the side of the 2x4s on very top of it you just have to make sure that your liner is tension enough but it but if it's too tight it might create a hollow gap between the bottom of the shower near the wall and as you can see if you trim that wall 2x4 that's lining up with your curb you can easily hide the folds in it uh this is the better way to install it versus cutting a liner and installing the corner dams but as a mentioned area it
depends how your shower is framed in some cases you just have to cut your liner and install the corner DS and once everything is nice and secure then you can move to the other side of your curb I'll place the music so you can watch it from a different angle it's the same process but it might help you to visualize it better [Music] [Music] now I'll show you how to install your liner in the corners where two walls meet all first you want to play with it a little to see which way will be easier
to fold it for you if you have a small gap between the 2x4s you can use a plastic shim to push the liner in it but adjust a little bit of it if you have a room you can push more of it but you have to make sure that you're able to secure it otherwise the water might leak out it always helped to trim the corner to make it more flexible to work with it the best way is to fold that liner on the very bottom of it and secure it to the side of the
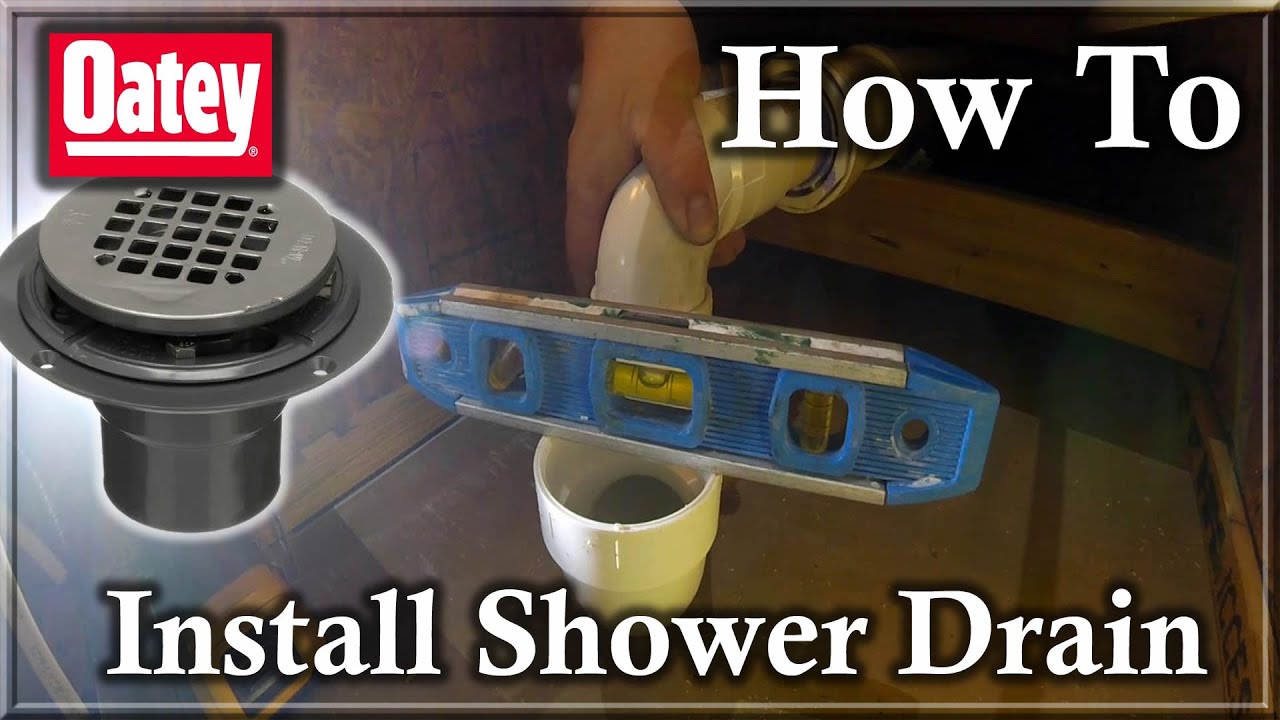
2x4 that way both Corners will only have one layer of it and won creates any bump as I mentioned earlier you only want to use this screws on the very top of that liner and you want to make sure that you don't have too much slack in it basically everything has to be nice and tight all right my shower pin liner just passed the inspection and a 24-hour water test now I'll drain the water and I will show you how to set the drain height now at the end of this video I will show you
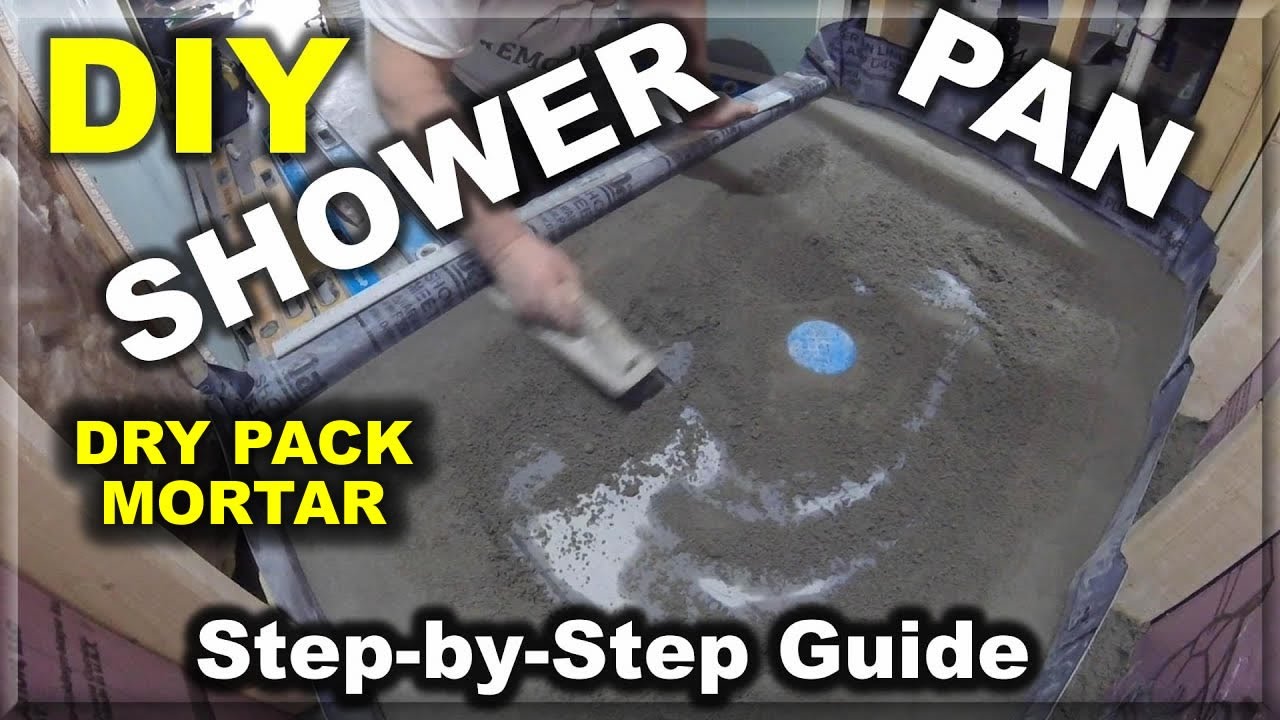
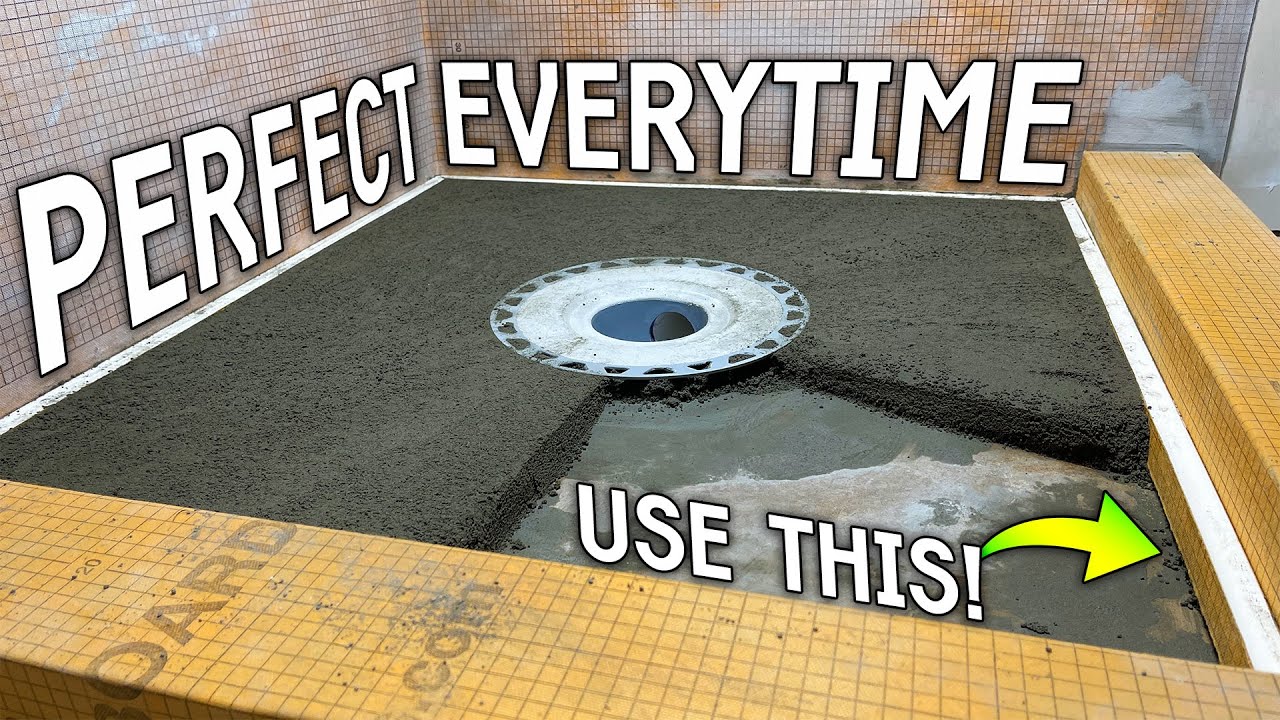
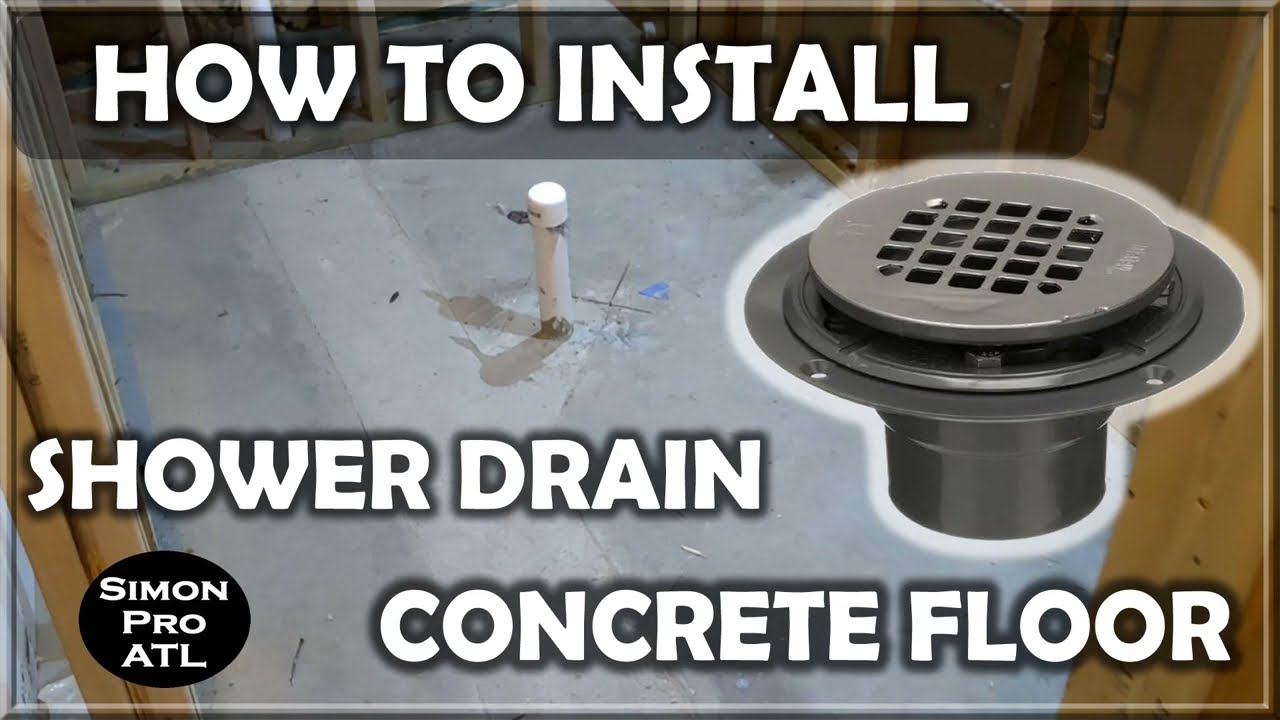
how to set the drain height before building your shower pan first you want to tape the surface of your drain to protect the strainer from scratching it and preventing any mortar falling into it all right the maximum height of your drain is 2 in as that's the maximum thickness of your shower pen including tiles all right so you want to screwing that drain so it sticks out inch and a half from the base of that drain this will give you half an inch room for your tile and mortar the last thing before building your shower
pen is protect the we Po from from clogging is to use a small Pebbles around your drain and you can get it from Walmart any pet store for a few dollars all right guys I hope you enjoyed this video if you learn something new like it subscribe and share it so that way I can grow my channel if you have any questions you can just comment below and I'll try to answer it as soon as possible thank you and bye-bye