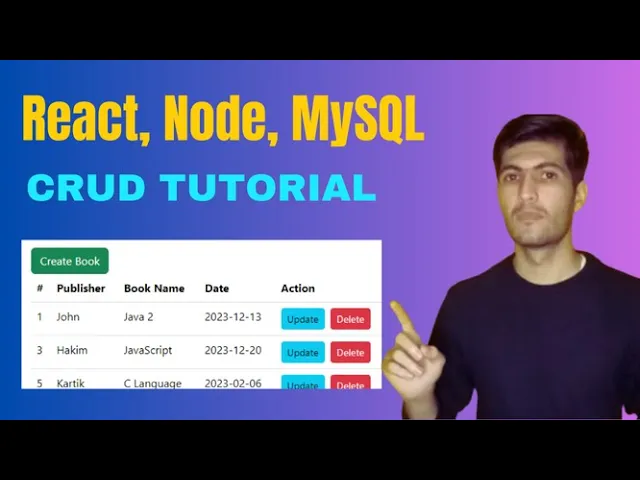
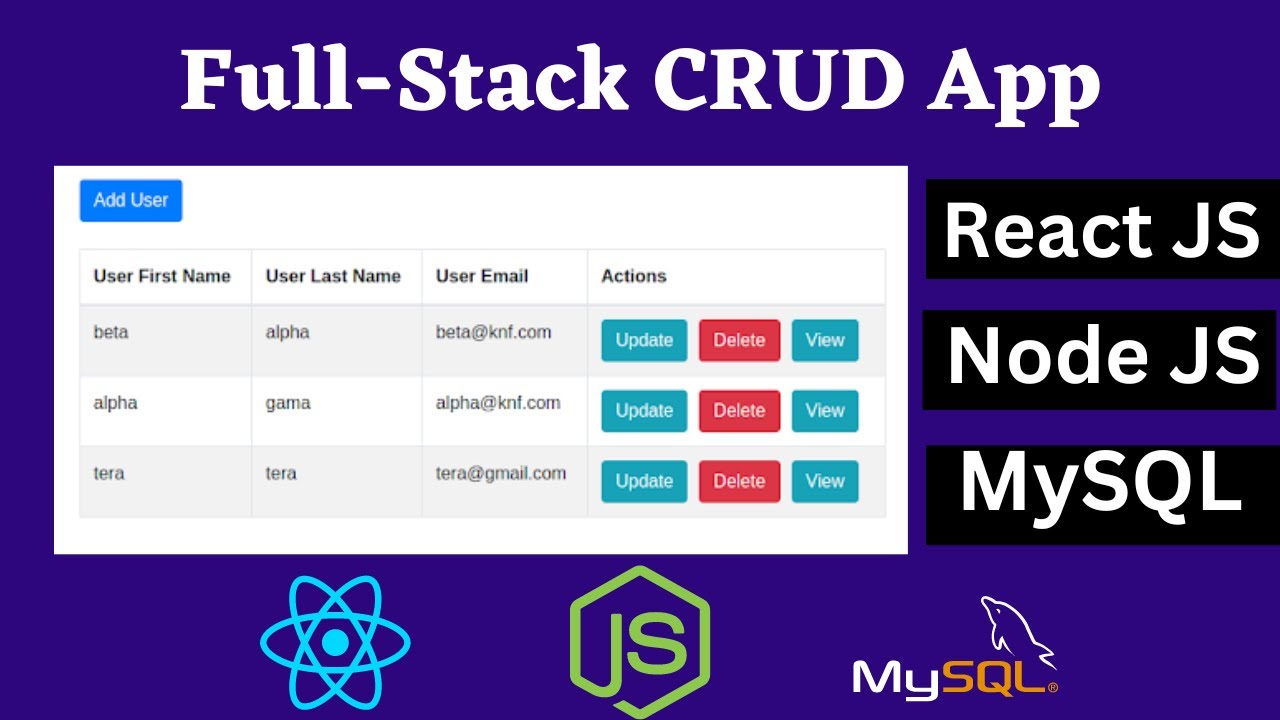
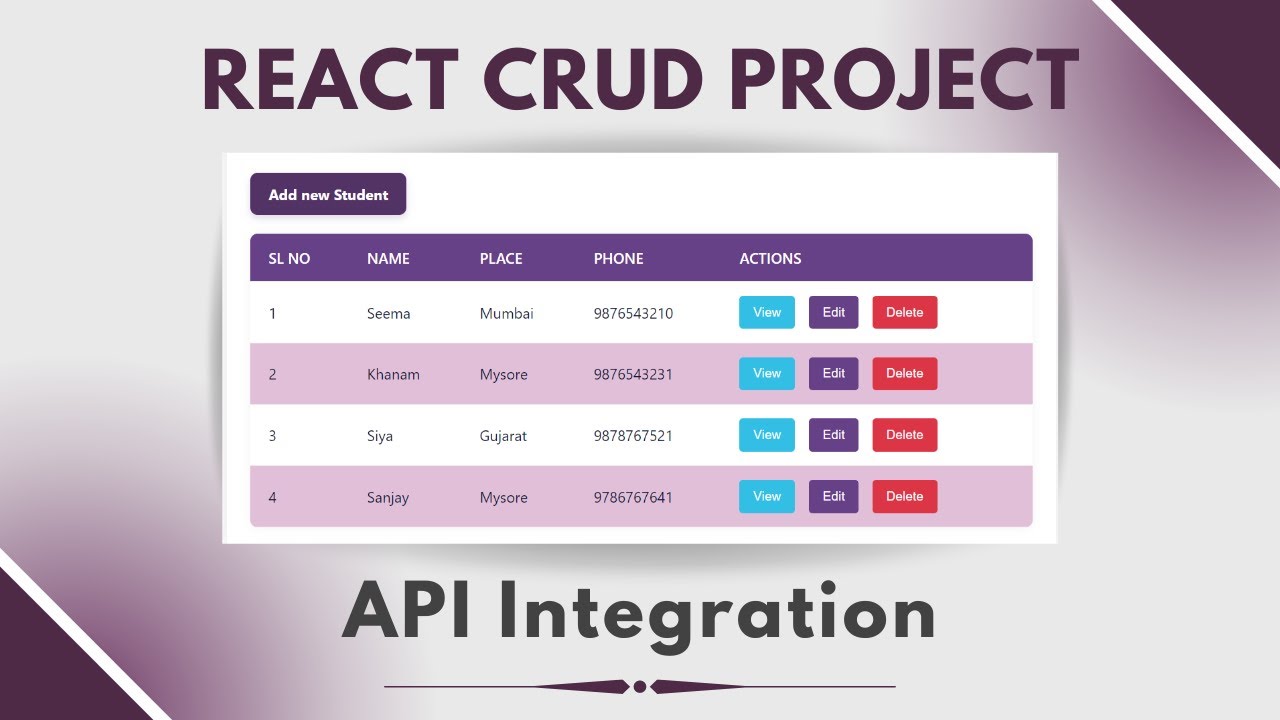
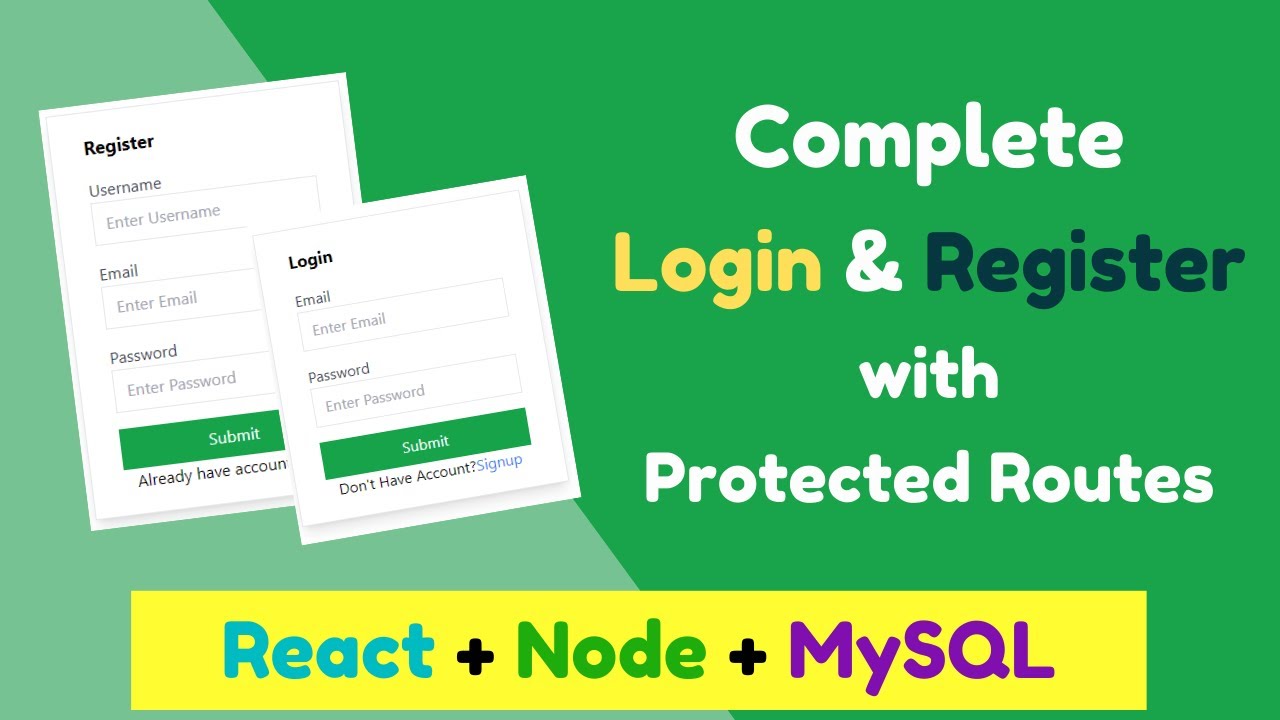
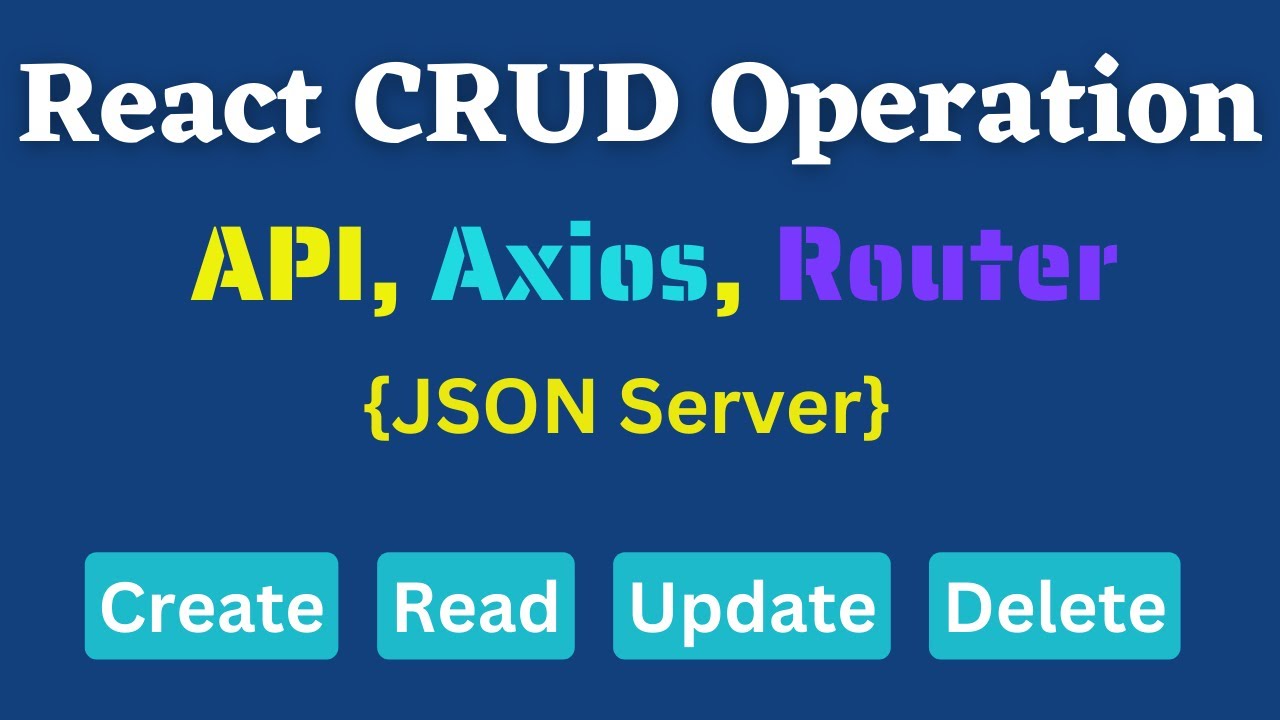
uh hello everyone uh welcome back to code with of YouTube channel this video is all about the TW perform card operation uh using react plus node plus my SQL database so this is the demo that you have right now on the screen okay so that we will perform something like this okay we will create this example in this video so let's get started the demo okay so first of all that you have the user interface we have a button at the top and by pressing that button create a book we will be able to create
a book okay after pressing that we are able to add a book okay let's first of all add the name of the uh book okay like Cena and that is Java okay first edition and we can select the date okay so let's press this icon and we will select a date okay we have selected the date let's press submit button okay after submitting uh the button C the recard has added successfully okay so now the second operation is that we would like to update this record okay so to update we are pressing the uh update
button so let's press the update for example I will change this to Usef okay and this is Java Third Edition and we can also change the um date okay so let's for example this is the October month okay let's press submit button see the recard has uh updated see the recard has updated and the last functionality is that if you would like to delete a Rec card by pressing this delete button we will be able to delete the record okay so let's press the delete button so press the delete see the record has deleted successfully
so it is all about that we will for um in this video we will use react as a prend noj our server side and uh for the database we will use my SQL database so let's get started before starting if you are new don't forget to subscribe our YouTube channel and also like the video so let's get started so let's first of all create our projects okay front end react project and also server side uh up so for that let's open I have opened the visual stud code press file and open folder and come here
to the CR app okay I will open this folder after opening the folder so now we will create our uh apps okay so let's create here first of all let's move to the terminal okay open the terminal after opening the terminal here we will create our react app okay so to create the react app we will use uh with JS okay uh npm create wi okay we can write at latest also to use the latest version of it so need to install following packages yes project name uh the project name is like client side okay
we will just assign an name client and framework we will use react press enter and we will use JavaScript that's okay okay so now it says move to the CD client move to the client directory and npm install then run this uh command Okay so let's move to the CD client folder after that on npm install it will install all the um necessary all those needed files packages and dependencies uh the packages has installed so now let's run npm run du command to run our uh react app so now let's move to this URL control
then press the URL and we came this is the default react app okay so now let's install a few packages that we need to use okay let's close this contrl c contrl c CLS to clear the screen and now we will install npm install uh first of all the boot stuff because we would like to use the boot Stu for Designing and the react router D for routing react router D and accs which is used for HTTP request and response press enter and we will install these three libraries yeah the packages has installed so now
let's move to create our server side app okay so for that we will come here and we will create a new folder inside this C app okay so let's create a new folder name it for example server and now let's move to back CD double do and CD to server and we will move to the server app uh folder see let's clear the screen now in the server um app we will first of all um uh create the um for the creating the uh Express or node off so for that first of all we will
write npm in it or initialize hypen y okay so it will just create a package.json file inside the server folder okay that has created so now what we will do now we will install those packages like npm install Express which is the framework of node and MySQL mySQL database then cars we will use cars okay so press enter we will install these three packages so the packages has installed so now for writing our node app code so for that we need to uh create a file inside This Server okay so let's press this button and
create a file by the name of index.js so now all code that we would like to write for our NOA we will write in this index.js okay the start will be the start file will be this file okay one um another package that we would like to install inside this server that is npm install NM okay uh this package is used whenever we write something inside our server app so it will automatically refresh our app okay we don't need to again run the command Okay so it will automatically refresh our app so package is used
for that so it is installing let's wait for it that has installed so after installing it we will just make um a little bit changes inside this pack packages Jon okay so here I will add comma here I will add start nmon IND index.js I think it something like this that we should write to use that package so now let's start our coding okay so let's close the package.json file and here in the index.js first of all we will import the express okay so importing we can write like this okay account require account Express is
equal to require um Express okay so we can use like require okay to import a package but if you would like to use the import uh statement okay so like this import Express from Express so it will generate an error for us okay so to remove the error so for that we need to write something in our package Adent here okay in this uh whenever you come here down from this here we will write uh type module okay so after writing type module so now it will not generate any error for us okay let's remove
this so now we can use this import Express from Express and also import MySQL from MySQL and also import we will import cars okay cars from Cars these are used for cross origin okay to access our server side of in front end now let's write here um yeah const app is equal to express okay we will call the Express method okay to create this app then we will use this app and also app. use we will use express. Json okay what this do this statement mean that Express the Json okay this will convert the data
that we transfer to the Json format okay whenever we pass the data so it will convert it to the Json format and also up. use cars to access it on the print now let's run our app okay so to run the server side app for that we need to write up. lesson here we should first of all install um uh port number okay the port number is for example 30 30 okay comma then we will create a callback function in the Callback function we will just write a console. log uh up running for example yeah
running okay let's save it and now let's run our server side up okay so to run it for that we will write npm start simple okay after npm start now let's check it okay see running it means that app is running so as um we said at the start that we are using the um uh my SQL okay so I have installed the zum server okay I I installed the zum server and I will use the PHP my admin yeah inside this PHP my admin I have created a database by the name of cat and
inside C I have created a table by the name of book in the book has four columns four attributes ID publisher name and date these are the um book ID publisher of the book the name of book and the date the data of published okay so these four columns we have in this table and just come here so now um first of all we need to create the connection Okay so create the connection with the my SQL database I will write the code in the same file okay so we can we can also use um
controller and routes in separate folders but as the CED we have just four API so I will write the whole code in this one file so for that first of all I will come here um const I think yeah my cql do create connection and inside this create connection we will assign those properties the first one is the host the host is Local Host with us then we have the data the password no password okay and I think host is Local Host password nothing and we should assign here username okay username or you I think
that is user root in the password no password sign a comma here also comma here and the database the database name is CCT with us okay correct now we will assign this connection okay to a variable okay so let assign this to a variable we will write con DB is equal to this is const DB we are sent the connection to this DB variable okay and also this is user not username user okay that's okay so after creating the connection so now what we will do we will like to write we will write our apis
the code of our apis for example we have four operations in this card operation create read update and delete so first of all let's write the code for to return the whole recards from database to our front end okay we will return the whole records we will fix the records from the uh wrting API for to p the recards to the front end okay so for that let's write the code op. git we will use git method okay because we would like to return the records we will use git method and we will use this
SL test okay and here we will create a call back function we will get request and response request is the variable which we are passing from Front End okay whatever we pass from front end we will get through this request and whatever we want to return back to the front end we will use this response let later we will use it okay so here now we will write our SQL query okay for the my SQL database const con SQL is equal to uh we will just select St from um book okay we will select the
whole records from book and then we will return that so now we would like to run our query okay so to run the query we will use DB variable db. query after query so now we will pass our SQL query okay after passing the SQL query we will get an error or data F error if you fa with an error so what we will do we will return uh response. Json uh for example error or we will return a message error or just simple error I return the error message else if there was no error
so what we will do we will return response response. Json and we will return the data so this is the whole code for uh our uh to return the data the recards to the front end so now we will write the code for whenever we pass data from our front end to server side and we would like to insert that to the database my SQL database okay so to we will write now this API so for that simply I will copy this code because to not waste the time because some code we are writing the
same just come here and here I will paste that code after that what we will do whenever we pass something we will use post for that okay whenever we are passing something from Front End use post method after that here we will assign a route that is for example create okay because we want to create a recard after that we will get request and response so now here we will like our SQL query to insert AR recard to the database so for that we will write instead of selecting we will write insert into book because
the table name is book uh we will uh insert to the the field name okay the fields name were first of all publisher publisher then name and then date we have these three Fields publisher name and date after that values now we will assign values okay so for the Val vales we can directly write our values here okay request. body. publisher. name. date but instead of that I will write here the question mark this is for the security purpose later I will assign the values like this okay first of all I will pitch the values
const values is equal to we will write our values like this okay requestbody do publisher okay the data that we pass from front end that is inser this request okay so we can read the data dat that we have passed like this okay request. body. publisher this is the publisher record data request. body do uh name and then we have the date request. body. date so after assigning these values to this values variable so now whenever we are running this query inste we will write here the SQL and here we will write our values like
this okay in the uh array notation here we will write values this values we will assign here so it will Lear it successfully okay so then we will get an error or data if we if get an error so then we will return the error otherwise we will return data so this was the code for to pass the data from front end and insert that card into the database so now we will write the code for whenever we are updating aray card okay so now we will write the server side the API code to update
a Rec card so to update the rec card I will simply copy this code because some code we want to write again paste it here now we will just customize this code update this code like instead of post when we are updating a Rec card we will use put method okay this is the first change then here we will use update Route slash whenever we are updating a Rec card we must pass an ID with that okay which record we want to update so here we will get the ID okay like this whenever we are
in ID so we can write that like this okay the parameter so after that here instead of this insert query we will write the update query here we will write the update query update uh book Set uh What uh fields we want to update we would like to update the publisher field publisher is equal to with question mark okay we will attach the value later comma uh then the name is equal to question mark then the comma then the date okay is equal to question mark where ID is equal to with question mark okay these
all values I will attach now we would like to update publisher name and date where the ID is equal to with which ID with which record okay the ID that we want to update so let's do it now first of all I will read the values okay as I I did okay we will read these request. body. publisher. name. date okay so after reading the these values we will attach values like this okay but we will get this the data of this ID also so to get the data of ID we will write like this
const ID is equal to request. forums. ID so we read the data of ID and we store that inside this ID variable so now here to attach this values first of all we would like to to attach the values okay so to attach the values control B here we will write the spread this operator okay these three dots before the values after that comma then we will use the ID okay like this first of all these three the values will be for these three variables then the ID for this where ID is equal to with
this okay so it will attach ID with this ID after that we will run this okay after running the query of error then we will return error if there was successfully if the query run successfully then we will return the data so this was all about the uh updating AR Rec card so now let's write the code the API for to delete a Rec card okay so simply copy this update come here down paste that here so first of all we will change this method to delete after after that instead of update we will use
delete and here we will pass again an ID because theard that we would like to uh Delete we must pass the ID of that recard also after that instead of update query we will write delete query delete from book where ID is equal to with question mark okay instead of right now we don't have any values because we will just get the ID after getting the ID we will pass ID here okay to delete that record so simply we will learn the query like this so this is the code for the delete API okay so
to delete a recard we wrote all the uh codes okay for the delete API for the put update for posting and for the getting the record we have done our server site code okay now we will move to our pront in to write the uh react code so first of all let's check the yeah the server side app is running okay it should be in running mode after that now let's move to our front end app close it come here close the server app come here to the client SRC all code is existed in the
SRC folder and this is the default code for the up. G6 okay so let's move to the browser so this is the default react app so now we will remove this default code and we will write our own code let's remove this code Also let's delete the CSS file all this code don't need this yeah for the first F uh first of all I will just create three components okay so let's create them first one is the boook where we will where we will pitch all the records display the records the second component is the
create book gs6 and the third one is the update book okay update book. JX after creating them so now let's write the default code we will use R Ace react a function component export okay it will automatically generate the code the reason that it has generated automatically code is that we have installed an extension of react check this extension okay install this ex extension same I will do part the create book save it in books that's okay so now we would like to first of all um move to the reactor toam okay to create routing
to move to different routes so just come here to the up. jsx in up. jsx I will implement the react Tut so first of all I will import that import browser router Brower router routes and route from pract to D after importing them so now let's use them okay instead of fragment I will use browser router inside that I will use routes inside that route in route we have two um Properties or parameter that we should pass the first one is the path part where we would like to move okay the first one is SL
just for the home and the element the second one is element which element we would like to call here so first of all we will call here the a box okay okay boook Enter that has imported close it so by default we will move to the boook component let's control shift arrow down arrow key okay it will take a copy of that and this one is for create or just just create okay create and we will move to create book component enter that has imported let's again shift all aruki and we will move to the
update I will just name it simple update okay and update book update book that has imported now let's move to the browser uh let's run our react app okay let's move to the terminal take a new terminal inside that CD client we will move to the client folder there npm run do so it will Lear react app yeah that is running let's close the terminal let's move to the browser and here ref press the page Yeah by default we are at uh we should be at the homepage the books component okay so let's move to
the app.jsx app is imported in main. G6 yeah that's okay uh the default route is sp books yeah let's come here to the books we should display the books okay but uh why export defa let's check it so let's check it where is the error just come here to the up. G6 yeah this is routes not route okay routes and Route should be inside that okay save it now let's move to the see we are at the book If you would like to move to create slash create we are at the create book and update
where are the update book component so now let's first of all just come here to the up G6 I will create one another um uh yeah we can name it or yeah we I will create another component by the name of now. jsx it means now bar okay inside the not bar what I will do I will just let's write uh employee our book management system I will name it like this okay class name deflex these are the bo stuff classes okay dlex and justify content content Center paring y should be three like two paring
by2 and Shadow SM sa it and we will import the Nob bar at the top of these routes okay it means that the no bar should be dis played on the top of all components we should import the no bar here save it see book management system it looks like this uh but it should move to the center uh we didn't import the bootstrap let's import the bootstrap import bootstrap sl/ CSS bootstrap.min do CSS save it now let's check it see it looks like this uh but the text should be let's make it like let's
assign Bo sub classes control Z font size should be two and also font weight should be like bolt close it yeah it looks like this right now book management system so now let's move to the books first of all we will display all books okay just contrl B and just come here to the book close this one come here to the book books here we will display all the books so to display the books first of all I will pitch the books from um server side okay from the my SQL database okay so for that
I will create um just use first of all I will create a state variable const uh let's name it books slit books the box is the variable that we will use and this set book is the method where we will use for updating this box is equal to use State and this is an empty array with us okay because this is an array we would like to store the array inside this now here uh we will use use effect hook okay it will render at the start create a call back function here in the second
parameter is um this is array dependency okay we believe it is empty okay it will just render at the start at the first time this use effect okay now let's use axis okay first of all let's import import the axis just come here import AXS from axis let's use now axis AXS dogit we will get the data okay and here we will use the url url is HTTP SL Local Host because we are fing data from Local Host after that we will assign the port number okay the port number is that we will take the
port number from our server side just come here to the server side index charg and to the down and this is the port number 3030 30 30 so this is the URL that we will use okay to pitch the data from our API okay do then we will get a result and after that we will what we will do now we will store this result the data inside this book uh box okay we will use call sit box and we will pass result. data okay the data that we pit that is inside result. data variable
okay we will write like this okay cage if there was an error so what we will do console.log eror save it okay so now to display the records for that we will use table okay in the table we will display the records so for that let's move to the bo strap code and we will copy a code up a table Bo strap five table just come here because uh it will just a simple HTML code that we can write it easily I will take this code okay copy this code and paste it here paste it
here okay what we will do we will just change let's yeah that's okay okay we don't need anything to change let's right click and permit the document it will format the document after formatting the document uh we will display now the records here okay is this is the header in the header what we will show this is for the ID and this is for a publisher publisher this is book name control Z publer and down uh book name date we have this for fi this is the header of table and down from that here we
will display the records okay here we will use the arrow method okay a row function uh sorry the map function okay map function here we will use map function we will use like this okay box let's write C Braes box. map function and here we will get um the data okay the book single book and after that we will use Row the table table row okay so like this table row and inside this row we will display the recards table data and inside the table data we will write book dot P all publisher p ID
okay book. ID then the publisher publisher then name and date like this okay it will just go through all the cards and it will display the all recards for us okay also we will assign a key here a unique key okay this should be unique the book. ID is unique with us that is okay okay so we we displayed the record like this now let's move to the our react app okay so update yeah one thing is that we we should right now correct that okay for the update we should pass an ID also to
the URL because we would like to update a specific record okay so for that we need to do something like this come here to the op gs6 and to the update we should pass an ID okay like this we will pass ID to that like this now let's move to homepage sa it see right now we have just the heer but let's wrap it inside the container just close it and come here to the books inside class name container see it yeah that looks like this and we should assign margin top five that is okay
uh we don't have any records right now okay it is empty but we should write here because in the DAT the database the table is empty right now with there is no record inside that we should write code here if there was no record we should display no records okay so for that just come here and we'll use it books if there was something U if the books was empty so then we should display let's close it we will use tary operators okay let's wrap the whole code the table inside these brackets that is okay
if the books there was data so then we will display this table records otherwise what we will do we will display just H2 no records let's check it is it okay or not right now no wait we should not see that okay we will write our condition like this okay if the books. length was not equal to equal to with zero it means if there was a records okay if there was a records so what we will do then we will display the this table otherwise we will display no records let's check it now see
no records right now okay there is no records right now with us so this is all about okay to display a Rec okay so now we will create a button on the top of this okay here we will create a button to create a new recard okay so let's do it just come here and here I will create I will use Link for that okay the link of react Ram link okay react because we would like to move to create route okay whenever we press on that link we will come here to the create just
come here and create and two is equal to we will move to slash create like this okay close it and here I will close the link here I will WR create book and also let's assign class name button button success let's save it and let's check it now just come here see create book okay now let's press this button we directly came to create book okay so now we will be able to create a new book so to create a new book for that we need to have a for okay to insert the record so
for the Forum again I will come here to the uh just to The Forum come here yeah let's copy in the code of bootst five for this is simple HTML code okay we can copy it from everywhere or we can write from scratch but it will take times okay okay I will copy this code okay then I will just make it let's copy first of all this code copy this and just come here to the create book paste it here I will close this input tag and also this one and I will remove this remember
me this two right click and format the document after formatting the first one is for publisher okay publisher and I will change it as publisher Forum table and also I will remove this action type is text with us Forum control ID publisher and place order enter publisher nameer and the second one is for uh this is the name okay name book name or we can write book name and just come here type text Forum control remove this ID we don't need right now enter book name simple name and I will copy this do okay and
I will use it for the date okay the second one is date publish date like this okay type is date with us remove date remove this also this is submit button with us save it and let's check it now the create book just come here it looks like this okay but I will bring it to the center so to bring it to move it to the center I will just add a few bootstop classes display Flex I justify content Center margin of three and width should be 50 width should be 50 okay let's check it
now it looks like this but yeah I should not assign with margin top three okay but I will assign class name width 50 yeah it looks like this set the center and at the top we can add create our a book okay book here it should be a flex column Flex column and I will make it justify content align align item Center save it yeah it looks like this art our book and um publisher book name and uh date now we will just store the data that okay we whatever we write in this input Fields
so we should store them somewhere okay so for that we will create State variables cons we can create an object also and we can create a separate State variable for every field also so const let's do something like this okay const values sit values is equal to use state it is an object with us okay we have publisher here publisher we will assign the public value the default value as empty string then we have name empty string then we have date empty string now whenever we write something in these input Fields okay we should update
this publisher name and date okay so for that just come here and I will call unchange event okay unchange event what we will do we will update now this object and we will update just the publisher field right now so for that let's create an AR function we will get an event here I will directly update every field here okay we can create a separate function for that and to update the fields there but I will update that here in this onchange event okay let's call set values inside it vales we will create an object
inside that the spread operator we will call values the previous value it means that we will keep the previous values as the same just we will update the publisher okay publisher is equal to with e. Target do value what it will do it will keep all these value it means that it will keep the name and date as the same as um it was before okay but it will update publisher to the publisher it will assign the data that we are writing in this input field okay whatever we are writing so it will e target.
will assign that to the publisher the same we will do for other fields also just copy this line come here to this one and paste it um here we will update the um name and here we will update the date just date that's okay okay we have updated the data so now whenever we press the submit button we will pass this data to our server site okay so let's call here a function on the for on submit we will call handle submit function now let's create this function const handle submit function is equal to here
we will get an event e. frent prevent default it will prevent the default submission and here we will use AXS now import accs as imported. post okay now we will use post method to post the data and then we will pass use the URL htps SL Local Host then we will use port for was 3030 after that we will call the route is create okay create and we will pass the data the data is vales with us after passing the data do then we will get a result let's first of all console.log the result okay
result what we get in the from the server side do cage if there was any error console.log error see it now let's check it okay what happened let's move and to the server side here let's um insert Fisher name like Ahmad okay and book name Java and the date publishing date okay so for the publishing date for example we inserted something like press submit button okay press submit button after pressing submit button now let's move to the console what we got in the result okay so it means yeah we got this object okay let's check
it the data Effect one message one server and heers we got status 20 it means status okay let's move to our yeah let's repeate see the record has inserted Ahmed Java and this is the date that we has inserted okay the first record has inserted successfully so now whenever we insert our successfully so then we should move directly to the um back to the homepage okay to the books page okay for that just come here and here we will use navigate okay so to use the navigate first of all we will import the navigate okay
so just come here I will create an instance of that con navigate is equal to use navigate the use navigate has imported from react autodom now let's use the navigate okay just come here navigate we will move to slash okay to the homepage back to the books page books component just come here now we will create one another record okay programming let's date select a date like this submit button see we directly came to the homepage and we have these two records right now the time has also added but we can extract that but right
now leave it as it is okay uh now I will add two buttons here at the right side okay one for update one for the delete okay so let's come here to the box and to the last one here I will add a header and I will name it date uh action okay and come here down and here I will add two buttons to every record table data and the [Music] button uh that is the button I think yeah button and here I will add update the second one would be let class name button button
primary or inpo button SM it means small and take a copy of this and this is for delete delete danger okay let's save it let's move see we have these two buttons let's add space between them margin and two that's okay now okay we have these update and delete buttons so now when we should change this update to link okay when we P this L update we should move to the update compony directly okay so for that just come here to the uh I will change this from button to link remove this okay and I
will add here two is equal to where we would like to move we want to move now to the update routes okay so for that come here and here I will light we will move SL update slash we will pass ID so to pass the ID for that I will use dollar sign and here I will pass book. ID okay I will pass the ID to that routes save it now let's check it okay just come press the update see we directly came to the update component now here we will be able to update the
recard so let's move to the update component move this so for the update component we need to have the same Forum as we had for create Forum okay and we need something like that okay let's come here back to open this create component create book and and I will copy this code okay just come here contrl C I will explain it to you okay don't worry contrl V and I think I missed something contrl Z yeah we should just control V that is okay and also we should have these functions and state variables copy this
paste it here and also this code copy it paste it here now what we should do um first of all we should pitch the record okay which record we would like to update okay for example we would like to update the second record so for that we we should have that record in this values okay okay we should have the publisher name the book name and the date here okay so for that just come here I will first of all change this to update book and after that I will fix the record based on the
ID okay first of all we will get the ID okay so to get the ID for that from router okay we have passed ID in url so for that let's first of all get the ID C ID is equal to and here we will use use for hook okay use for Hook from react what it will do it will pitch record data this ID from URL after fing the ID now we will fit the record okay so to fch the record for that we will use use effect hook use effect hook as we we had
the code for use effect in books when we pit all the records we will copy the same code okay as we had here just come here this use effect hook because we want to implement something like this update past it here okay access pitch the record but here we will get slash get record okay get record record and we will pass the um data also the ID also okay okay plus ID that we have see this ID we will pass this ID also because we would like to get a recard based on this ID so
whenever we pass the record so what you will do now here instead of this we will update update all these fields okay these three Fields so update these three fields we will just write sit values so update those values we will create an object values uh values and then we will write comma publisher to publisher I will assign result. data do publisher comma name is equal to with response. to um data do name and uh date is equal to with response or result. data dot date let's format the document document has formatted see what we
did here we have updated the values whenever we pitch the records we will assign those values that we pitch from that record okay to this default values okay to these variables when we assign the value to these variables now we will display those variables inside these input Fields okay so for that what we will do just come here and here we will assign value is equal to with Publisher uh values do publisher this is for the publisher and here value is equal to with values values dot uh name value is equal to with values. date
and also this is for the updating again if you would like to update so this um onchange event is for that so now let's write the code for this get record um API okay we didn't write this API code at the start but now we will write the code for this okay to pitch the record based on the ID just come here up.get SLG the route was G record and also plus ID request response con ID is equal to request. ps. ID first of all we will get the ID then con SQL is equal to
select staric from book where ID is equal to with question mark okay ID we will later assign that now let's run the query db. query pass first of all SQL then pass the ID and after that we will do something like this okay do let's copy this code control control contr C paste it here save it yeah that is okay now now let's move and let's repes it let's go back repes it and let's press the so we don't have the names the default names here okay so we should let's come here where is the
error come here to the update book use access. getet get record plus ID so the problem is that we should specify here the because whenever we return the recards so it return as an array okay array of recards so for that reason we should specify here the first recard that we have returned okay so here we will specify like this the first record of the array okay so let's save it and now let's move to our browser and we have this name default names Ahmad Java and we can see the date okay the problem is
that before when we were pitching the records there was also uh we have this extra time zone okay so for that we need to specify something okay come here to the nodejs file okay to This Server site and the server site here uh in the connection okay whenever we are creating connection with the database so there we will specify let's come here down dat string is equal to with date we will just uh it should behave with the date as simple date not the time or time zone or whatever is that okay just simple date
it will behave with the um date just like simple date year month and uh day okay so now let's move back and see it okay so come here press see we have just now the date okay without the time zone let's press update right now see we have the default date so now let's update it okay for example the publisher is John okay the Java Java 2 okay and also we can update the DAT okay but I think we didn't let's come here to the update book here we should specify the uh instead of create
we should specify the update Route and also we will pass the ID SL plus ID okay this record okay the ID that we have update this record and pass the values and we have change this to put yeah that is okay yeah let's save it now let's go back okay Java 2 press submit button see John Java 2 okay the record has updated let's press this one here we will update the date this is for example June uh 27 okay pre submit button see the date has updated successfully so this is all about the update
functionality how to update or card now we will move to the delete uh deleting array card okay so for that just come here and we will move back to the books company and the Box component we have this button okay for the delete so whenever we press this button we should be able to delete our recard okay so just come here unclick we will um assign unclick even to this uh we will call handle delete and we will pass the ID also okay so to pass the ID for that we will just write book. ID
and we should make it as a Rog function okay otherwise it will uh we will face with an error so handle delete we have passed the ID so let's come here and we will create now this function const handle delete and we will get um or we can make it a row function we will get the ID here so here we will just call our API so we will just write xs. delete and here we will appy the HTTP URL Local Host 3030 SL delete okay and also we will pass the ID slash plus ID
after passing the ID do th get result if we got the result so what we will do we will just refresh the page okay so to refresh the page in we will use the JavaScript Okay window location. reload. cage if there was an error console do log error yeah we have the delete um API okay come here to the delete see this is the delete API let's move and just come here okay let's press the delete button okay for example this one see the record has deleted successfully let's create another record script select date submit
see we have the so it was all about the C operation using react plus node plus mySQL database and that we have performed all the four operations um so I hope this video was helpful for you if you like this video Don't foret forget to subscribe our YouTube channel and like the video comment down thanks for watching