today's video is sponsored by skillshare we'll have all the details later on in the video today I'm going to talk about five different ways to connect the home assistant remotely some of them are easier and some of them are harder and I'll tell you which one is my recommended way so stay [Music] tuned so let's talk about my very first choice when connecting to home assistant remotely and that is going to be the home assistant Nabu so the home assistant Cloud the home assistant cloud is an easy way for you to connect a home assistant
it does have a cost associated with it and now in a lot of countries you can do a yearly or annual subscription it's about $6.50 per month or $65 for the annual plan so what is the home assistant Cloud it allows you access from anywhere uh it's easily or easy to connect to voice assistance and by the way I'm not a I'm not supported or sponsored by a home assistant but this is just the best way I found to connect the most easiest way it also allows you to fund the development of Home assistant and
ESP home you can get text to speech with a whole bunch of different dialects that's really cool and then it also keeps everything secure you just log in via home assistant and a secure connection with the cloud will be established no NE no need to open ports no Dynamic DS uh DNS no SSL certificates nothing like like that this is the easiest most secure way to do that with the least amount of work and then also they keep everything private you can read all about the privacy and everything on their website and to install this
and I won't go through installation for everything but I'm just going to show you how easy this is if you go into your home assistant instance and you go into your settings you'll find a section called home assistant cloud and if you have not created a an account already with them you just start your free month uh one month trial otherwise you've sign in uh with your username and password and you're now connected it's that simple and if you want to connect to uh your smart speakers there's a whole section on setting up your devices
through the UI you can expose your entities to the home assistant Cloud directly with this particular type of connection I would give it a level of effort of one being or one with one being the easiest and 10 being the hardest so it is by far the easiest and quickest way to get set up so next up is tail scale tail scale is a configure list or zero config VPN option uh and I'm going to go by some of the claims here I've used it I've used it successfully as a matter of fact quite a
few times it installs on any device in minutes manages firewall rules for you and works from anywhere I like tail scale for the fact that I can access stuff inside of my network uh through this zeroc configuration VPN by installing an add-on and home assisted in exposing the network uh through the tail scale add-on it's super simple to set up again one of these easy ones to set up this is a little more advanced in the fact that if you're just doing home assistant the no Costa cloud is for you if you need a little
more access to things within your network a little more uh granularity some more control over what gets exposed this is one of the options for you it is a VPN solution so you have a secure connection between your device and the input point which happens to be in this case your home assistant instance one of the cool things about this as well is that if I'm on my phone or my mobile device or a laptop and I'm connected via tail scale I can have it use my local DNS such as my ad guard or py
hole and then my ad blocking works just like it would if as if I were on the local network again this is super easy to install I've got most of these installed already because I'm I'm going to show you a couple things about them if we go to settings and we click on add-ons the add-ons store here is where you would go to find that stuff so down here's a little button for the add-on store you would just click that for anything you want to add to home assistant and if we look for tail scale
we do have uh it available in the home assistant Community add-ons section now the home assistant Community add-ons is an area where a non-core type add-ons are available and they're provided by the community now this is not the hacs the hacks which has a whole bunch more different types of add-ons and Integrations this is strictly just the home assistant Community add-ons and if you don't have the home assistant Community add-ons section in your home assistant setup you'll have to copy this repository and you'll go over here to your add-on store click these things add um
the link there and then when you click on ADD it'll add anything that's available in the add-ons to home assistant for to use and tail scale being one of them now when I look at tail scale I just want to show you a couple things here one is the configuration when we talk about zero config configuration for a VPN this is it there's nothing to configure you install it and you start it up and then it creates a connection from your home assistant to the tail scale infrastructure and then again no ports are needed to
be opened in your firewall all of that is done behind the scenes when you connect a tail scale the connection is made without you having to do anything at all so just a quick note about all this I'm not going to go into specific settings and setups for all this I do have videos on a lot of these things of already gone through I just want to go through a quick rundown of different options for you depending on your use case and I also say because I'm going to get probably comments about this not everything
works for everybody so you'll have to choose the option that is best for you I'm talking a lot about different types of Connections in this video vpns non-vpn direct connections SSL domains all that kind of stuff it might be a little bit overwhelming to you or you might want to know a little bit more about those Technologies well I've got the perfect place for that and that's today's video's sponsor skillshare skillshare is an online learning community with thousands of classes that you can take if we just look at skill shares browse we can see all
of the different types of courses they have from animation creative writing film and video Fine Arts graphic design all of these different ones if there's a specific skill you're looking for that's not related to the technology I'm talking about today in my video you can still find that on skillshare there are learning paths that take you through all kinds of different learning from getting started with digital illustration animation uh creative businessing watercolors drawing photoshops and there are dozens and dozens and dozens of Technology type courses available at skillshare now I'm currently taking a course to
help build my skills on this same type of technology that I'm talking about today it's called the absolute beginners guide to information security by Alexander Oni and he has a number of different security and Web building type courses this course covers the full range of everything you want to know about related to networking privacy and anonymity malware email security backups and encryption Windows 10 hardening and a whole bunch of other things you can discover all the skillshare classes for free the first 1,000 people to click in the link down in the description will get a
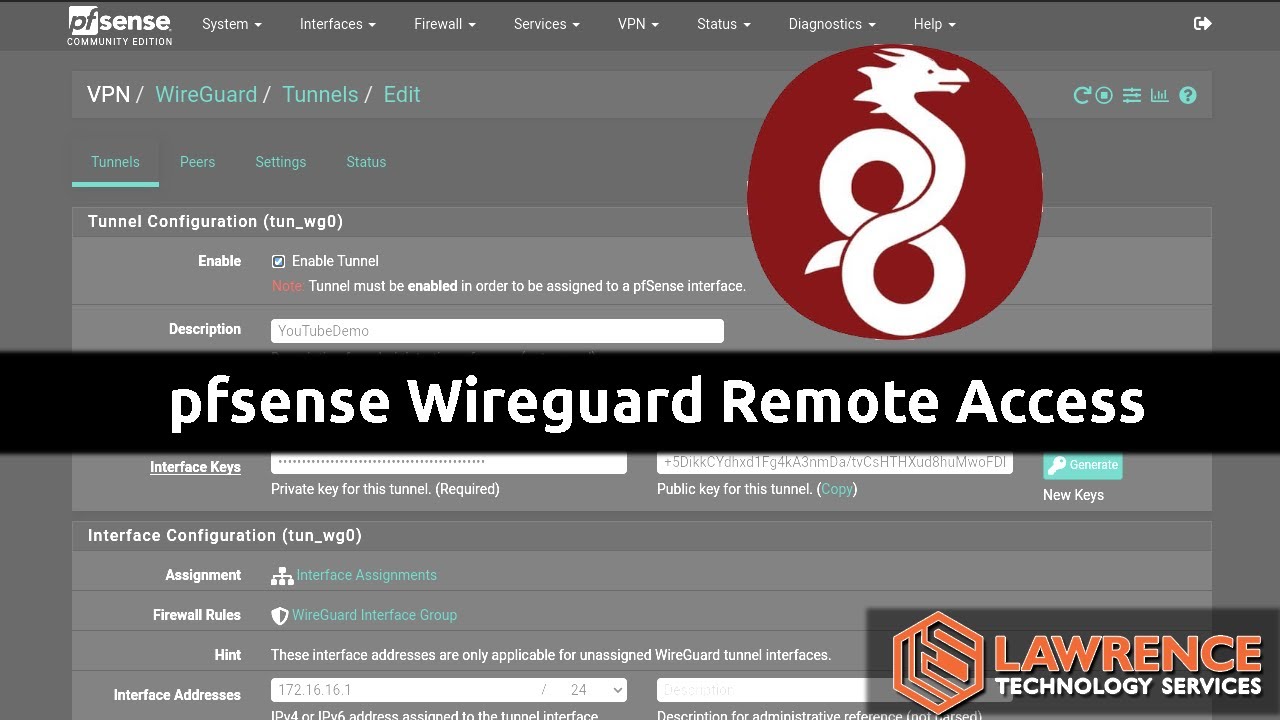
one month free trial of skillshare so take a moment pause my video if you want to jump on over to skillshare with that link and become a member and start learning all the stuff you want to learn all right so let's talk about my third option here which is called wire guard wire guard is a super fast modern um VPN tunnel setup and it is super fast and I guarantee you when you sign into it you're on it within second so it's really awesome there its claim is aims to be faster simpler leaner and more
useful than things like IPC while avoiding the huge headache it's more performant than openvpn there and these are claims that they've made I I haven't validated these against each other but I you know it's super fast it's designed as a general purpose VPN running on embedded interfaces yada yada you can read all about this on the wire guard website from a home assistant perspective if we go back over to our add-ons and we look at our add-on wire guard add-on again it's in the home assistant Community add-ons section you need to make sure that you've
installed that if you want to install this add-on but if we look at here um some configuration options here you do have some more things that you need to add here you do need to understand the configuration and there's there's walkthroughs I've got a video on it I'll link all these videos down below where I talk about how I've set these things up I've run through and run all of these that I talk about today so you'll have a video on all of them but you have peers that you set up and you have a
server that you set up and then you have a port that you have to be able to expose in your firewall so a automatically we now have a new level of complexity we have to mess with our firewall in order to allow the wire guard traffic in but I will say if this is the route you choose to use it just works just like the rest of them there is a lot of documentation it tells you how to set all this up and again port forward this port UDP in your router to your home assistant
instance or it's not going to work and then there is actually a QR code uh PNG file that you can download using Samba Visual Studio code or something else and this will allow you to scan that on your phone and automatically set up wire guard using a QR code so in terms of setting this up on other devices it is simple if you get this QR code but you do have to download it using some sort of uh device or some sort of uh other add-on to get to that file uh and then there's a
whole bunch of talk about the configuration on here so with wire guard it's very fast uh the level of effort here is going to be about I'm going to give it about a five because you're going to have to to mess with conf configuration files on both the home assistant side as well as on the phone and if there's a problem with it when you initially set it up you're going to have to do some troubleshooting so you're going to have to understand what is going on the other thing you need to make sure you're
aware of with wire guard is that you're going to have to be able to get back to the IP address of your home network or your local network meaning you're going to have to have some sort of domain or you're going to have to have a static IP that you always use to access your your home router which which is probably not likely in many home router cases so you'll have to have a Dynamic DNS of some sort set up and running okay so let's talk about option number four which is duck DNS duck DNS
is free Dynamic DNS hosting duck DNS does a couple things for you the first thing is it provides the Dynamic DNS component that you need to be able to get back to your local network so for example if your IP changes every so often duck DNS will report the add-on that you put at home assistant will report to duck DNS where your local IP address is and that way when you go to the duck DNS domain that you've chosen then you will be able to get back to your your local network uh if we look
at our settings again I'll go back to the add-ons page here and we do have duck DNS installed as a demo if I click on Duck DM DNS there's documentation that talks you through how to set everything up uh you've got to set up some configurations so again this is a little more involved you put any of the duck DNS subdomains on your account here one of the things that makes this nice is that you do not have to worry about the DNS part of it it's all done with induct DNS natively you don't have
to go out to a registar and get a DNS or domain name and do all of that all you have to do is just sign up for duck DNS and get a domain name it does require a duck DNS account so you have to log in with duck DNS and get an account support uh established it's free so it's not a big deal it does require that you have a port forwarded to your H home assistant instance on Port typically 443 or something else whatever Port you have duck DNS running on the other thing to
consider with all of these SSL based type installs is that when you turn on SSL on your home assistant instance you're going to have to be able to talk to it on SSL even on your internal Network that if you go to my domain. duckdns.org on the outside and that forwards to your ha your home assistant when you go into your local network and you try to get to it by local IP for example 172 whatever um it's going to give you an SSL certificate error that's fine you you can accept that in most browsers
and just override that but some things that you need to connect to within your iot network may not work so well on a home assistant instance that's got an SSL back in where a certificate doesn't work right or a certificate isn't U matched to the domain name the way I get around that is I go into adguard and I read direct all of my incoming or all of my local uh network connections to home assistant to the the public URL or public domain and then it rewrites that and puts it over to my home assistant
instance I would give this level of effort about a six five or six right along there with wire guard because you've got configurations that you have to mess with uh you've got other things that you need to deal with in terms of troubleshooting if it doesn't go right so you're going to have to have a little bit of knowledge on how the DNS stuff works and network works all of the stuff going on Within induct DNS again I've got videos on how I set all this up so you can follow along if you're interested in
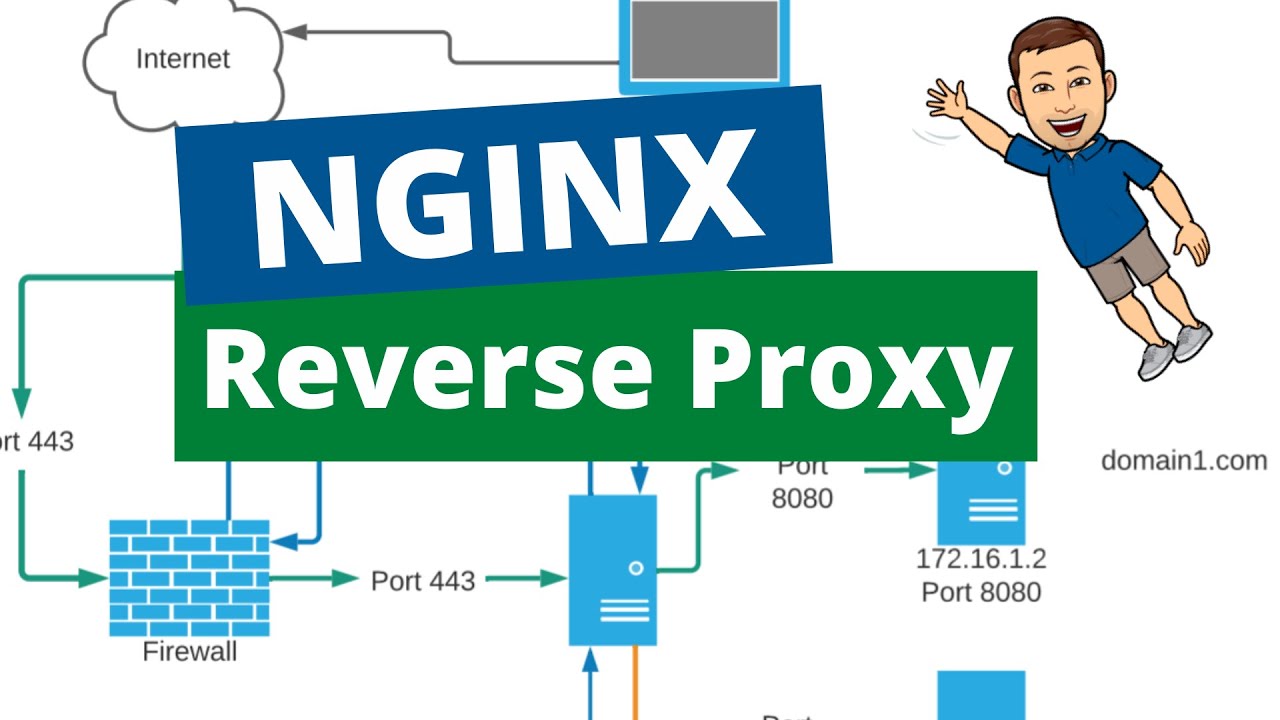
using any of these methods all right so my final method we're going to talk about today is the enginex proxy manager or enginex reverse proxy as it used to be known this allows you to set up bunch of domains all Point them to the same spot and then have the proxy server sorted out for you so this is just installed through uh the same community store that we talked about so if you go into add-ons and you search for the uh engine X proxy manager you'll see it in the home assistant community stores uh add-ons
if I spelled it right there we go engine X proxy manager is under this right here so we're going to just look at it again this is probably one of the most um involved in terms of getting it up and running properly you've got to open a port in a firewall typically again that's your SSL Port so like Port 443 uh and then you would go to a domain you need to run DNS on something somewhere I used cloudflare uh I was using Google domains I mean whatever you want to use I recommend a domain
that allows you to automate calls to the DNS server or the DNS setup so what that means is when you go into um the web UI for the engine X proxy manager and you want to provision a domain I'll just pick one here test do whatever you would go in here to SSL you would create a or request a new certificate use a DNS challenge choose your pro uh provider and then in this case you would throw in the token in this file here and then it would go out and automatically provision the SSL certificate
for you you've got a few steps you've got to follow which makes this one a little more complicated it's not hard it's just more steps to follow you would first go to your DNS provider you would tell it where your uh home assistant instance is and then you would open a port in your firewall to point to the enginex proxy wherever you're storing that or running that in h in home assistant and in my case it's um the 121 IP I would Point all my requests to that then I would set up as many hosts
as I have pointing here to the proxy and then if you have different servers or different devices on your network you would then point those over to your home assistant or your device where it belongs so basically everything comes through this enginex proxy manager and then goes off to different places in terms of of my preferences the very first and easiest way of course is the nabasa it does a number of things it's easy to set up and it also helps support the development of Home assistant and all the core services that we get from
home assistant uh number two is going to be in in order of effort is going to be tail scale it allows that zero VPN configuration just turn it on and go uh then we do uh wire guard which requires configuration on both the server side and the device side but you can use a cure QR code on the from the device or from the server to scan on the device and get it uh started up for you easily then we have duck DNS requires you to have a domain name and some other or doesn't require
a domain name but it requires you to do port forwarding in your router uh and also allows or requires you to do some stuff on your add-on to get it configured and set up and then the enginex reverse proxy is the most flexible for what you want to do it is not a VPN solution it allows you to connect to services within your network or on home assistant using one port for multiple domains so some of these are vpns some of these are just ways to access home assistant directly so I got a kind of
a mixed bag there let me know if you have any questions uh I will help as much as I can uh leave comments down below and I will link to the videos that I've made on installing all of these types of add-ons so that you if you want to use one of them that you can get in there and really dig in and figure out how to do it I'm on Discord as well also have a channel membership if you want to support the channel you can join as a member of the channel and I
really appreciate those that already have and thank you for watching this video um let me know what else you would like to see on the channel and we will see you on the next video [Music] he