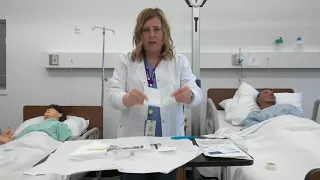
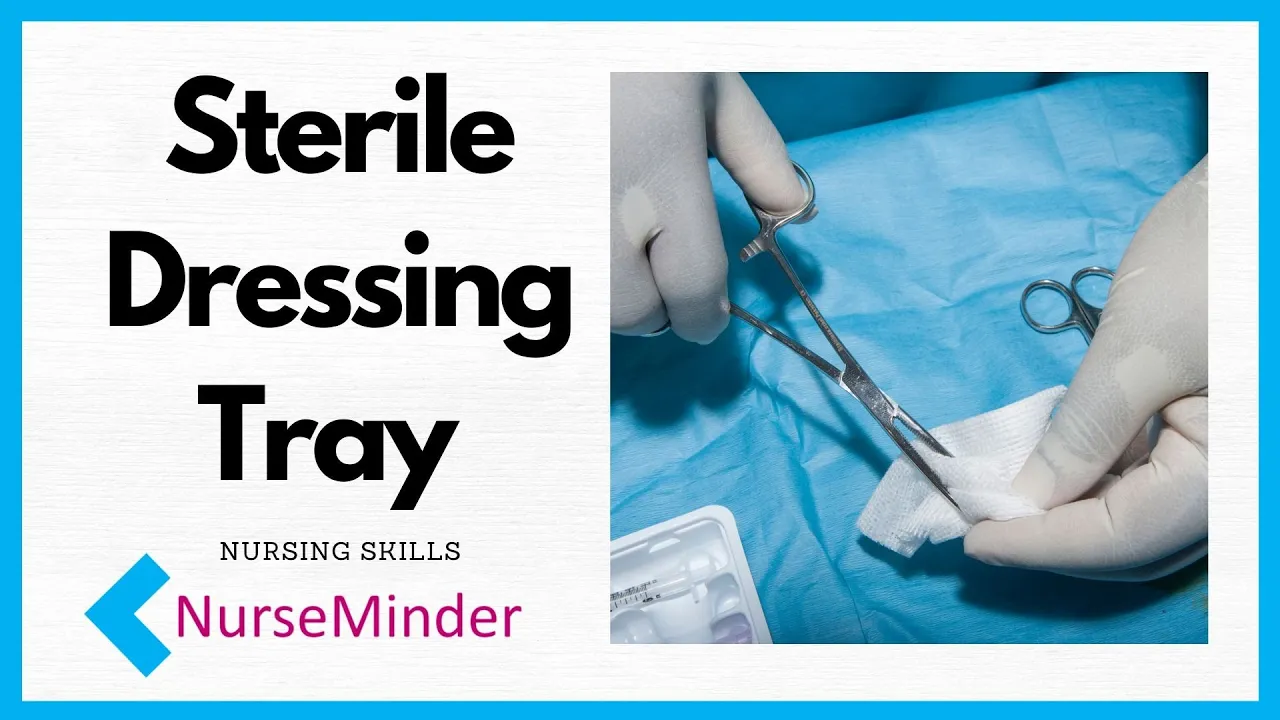
Okay you've got your supplies, you're ready for your first dressing change but you're feeling a little nervous or maybe you haven't done one for a while - well not to worry, we're gonna go over how to set up your sterile dressing field right after this. Welcome back my name is Tammy and this is NurseMinder and on this channel we do everything nursing from communication - to skills. So if you're new here consider subscribing below.
Now let's get into the skill of setting up a sterile field. there are several principles of sterility and we're going to go over those as we create our workstation. So let's get started.
Alright so after we've cleaned the clutter we are going to make sure the surface of our workspace is clean. You need a clean glove, a disinfecting wipe and you're gonna scrub that surface. Removing the old glove and discarding it and then cleaning your hands with alcohol rub in between letting them air dry.
Next grab your sterile dressing tray and tear along the perforated edge in the plastic, putting your tray on the table. So what's important to remember here is the principle of sterility that says we never reach over our sterile field. So if you're opening your tray this way - turn it around so that when you lift that first flap it is away from you and that will help us maintain that principle.
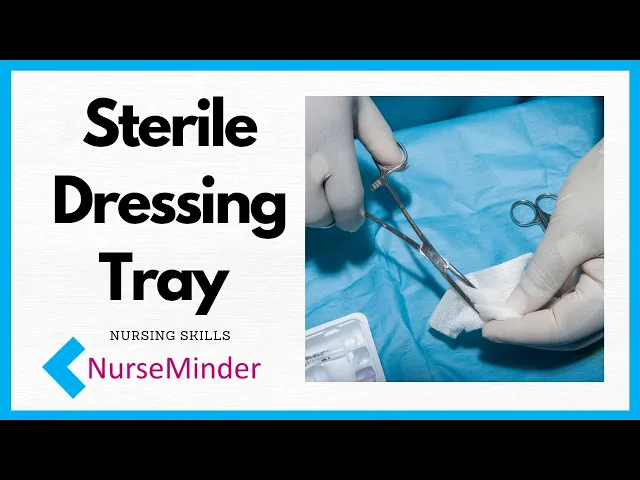
We're going to continue to unfold these flaps and what we notice as we unfold the last flap, is there is a sterile transfer forcep. It is okay to use your clean hands on the end and ensure that you keep forceps pointed down to maintain sterile tips. Now the transfer forceps are going to help us organize our work station.
We're going to remove the drape and the garbage bag and then I'm going to take the transfer forceps to grab on to my working forceps and put them to the one inch border of my drape. The one inch border of my sterile drape is considered contaminated and is where I will put the handle of my forceps. Then next I'm going to remove my two by twos and four by four so that my tray is empty and it can be an additional workspace.
At this point, the blue transfer forceps are no longer needed and I'm going to discard them. So let's check our solution one last time, review the expiry date, and get ready to pour. the next principle says remove your lid and leave it facing up.
We're going to put the label into the palm of our hand, we're going to position above the tray but we do not want to touch it, and close enough so that we can pour without creating a splash. If we were to splash onto the drape that would be considered contaminated and you would need to start again. So I'm placing my clean bottle on the clean surface - not in the sterile field, recapping it so that I can begin working with my sterile contents.
At this point we need to decide sterile technique or clean to sterile technique. If you want to use sterile technique go ahead and get your sterile gloves ready at this point. And if you're not sure how to put them on I have a video to help you out with that.
In the clean to sterile technique, you can use your clean hand to grab the outer edge of your forcep within that 1-inch border of your sterile drape. Keep your tips down and begin to work with your sterile dressing. To prepare our first 2 by 2 to clean a wound we're going to need to make this into a thicker wad of gauze.
So we're going to make what we call a wonton. Bring in the opposing edges together and then collect the remaining edges in towards the center so that we now have a thicker two by two mass to work with. Dip it into your saline solution and if there's too much water on there you have your third drawer in your sterile dressing tray to squeeze out excess.
Now you're ready to clean the wound. Let's look at the wonton again. We're going to gather opposing edges together, secure those, bring in your remaining edges, gather that collection of gauze together and now we have our wonton.
A quick dip, a shake, squeeze out the excess and you're ready to go. Okay so let's say you need to put your forceps down for a moment. Remember you have that 1-inch border in which you can place the contaminated component of your forcep down on, keeping the tips sterile.
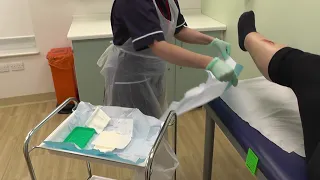
There are some common ways people contaminate their field one is it is out of sight. You need to be have it in a position beside you so you can work on the patient simultaneously. Anything below the waist is considered contaminated.
If you spill on your drape or your drape is wet, it's considered contaminated; and only sterile items belong in the sterile field so if you place a clean item in there - it's contaminated and you'll have to start again. Okay so let's have a little fun. You feel confident about your sterile technique so now I'm gonna play a little bit of a video that has a few errors - let's just say - and I'm hoping that you can pick them out comment below with the ones that you notice I will share that these are things I see in practice and they need to be corrected.
So there you have the principles of sterility I hope you found all those errors in that clip make sure you subscribe below. Comment. Let me know how this video worked for you give me a thumbs up if you liked it.
And I've got some other videos kicking in here so that you can catch up on the latest and greatest from NurseMinder.