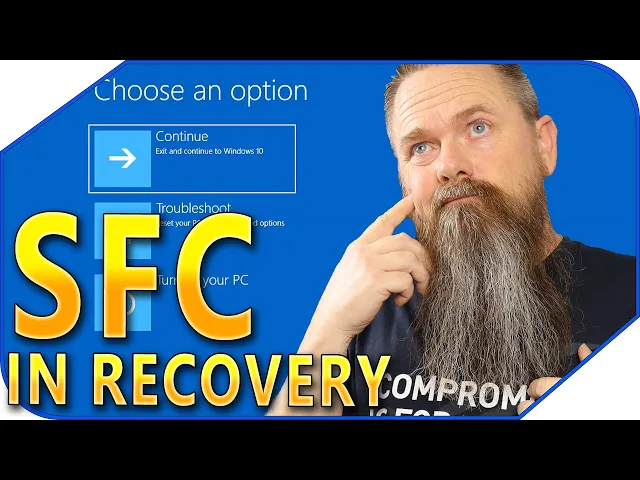
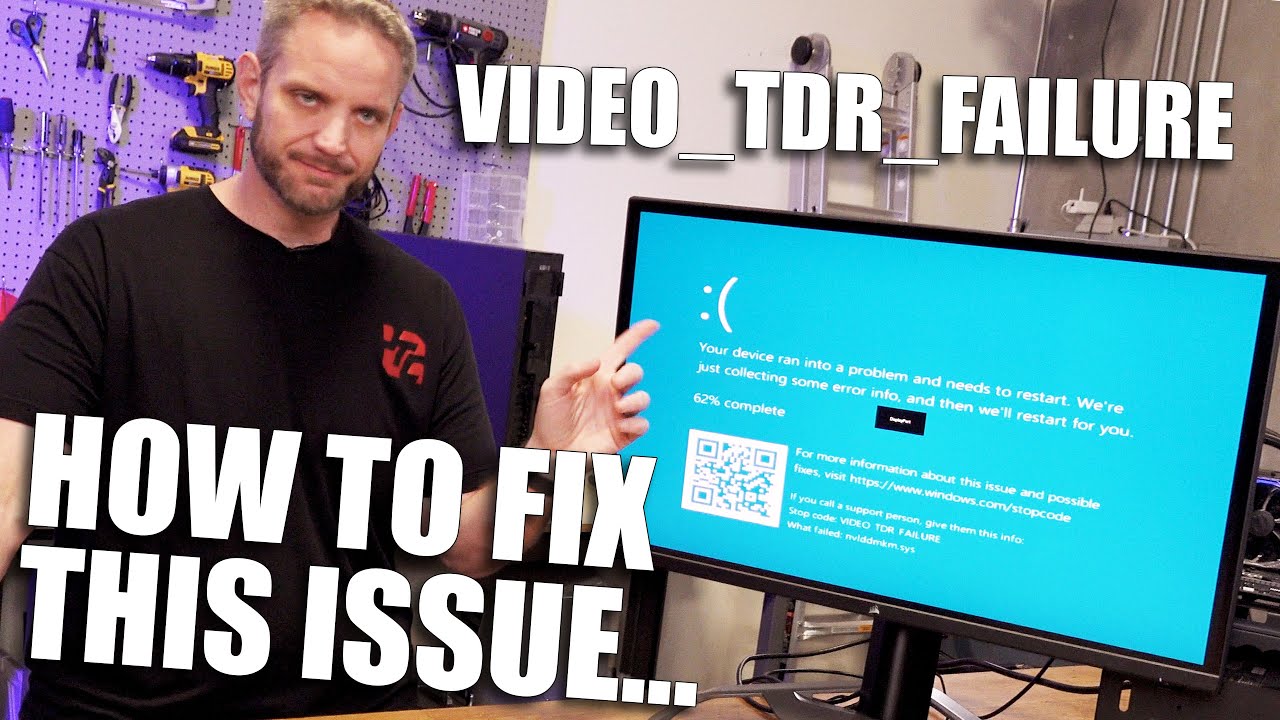
last week we talked about the proper way to use the system file Checker and dism to repair corrupted system files but what happens if your system is so corrupted that it won't boot at all well today I'm going to show you how to use those same commands in the recovery environment stay tuned [Music] last week I showed you the proper way to use the system file Checker we talked about also using dism to repair the windows image so the system file Checker can do its job however sometimes systems are so damaged that they simply won't
boot and if that happens you can't run the system file Checker obviously so that's what we're going to talk about today but first we got to pay some bills so here's a message from our sponsor is your copy of Windows 10 unactivated well it doesn't have to be because with today's sponsor VIP SCD key you can get a valid Windows 10 license for under 20 dollars stop dealing with that stupid watermark on the desktop the valid license for Windows 10. also with an activated copy of Windows 10 you can upgrade to Windows 11 for free
just go to the link in the description below and pick up a valid Windows 10 license key during checkout use the code cyber CPU for a 25 discount once you have your key go to your activation settings in Windows 10 and click on on the link that says change product key enter the product key you just purchased and hit activate now you don't have to deal with that stupid Watermark that come with running an unactivated copy of Windows 10. now on with the video now before we start there's a couple of things that we're going
to need in a perfect world you can get your system booted into recovery and if that's the case then this should really be easy however if you can't get your system into recovery this can also be done with any Windows PE install you could use a Windows install USB or even a USB boot drive like hyran's boot CD however in this case I highly recommend using a Windows install USB because there are some files on that USB that you're going to need in this process so let's get onto the computer make a really quick Windows
boot CD let me show you how to do it okay so to do this the first thing you're going to need is you're obviously going to need a USB drive I have a USB drive plugged in right now that already has a Windows 10 install on it so that's what I'm going to be using for this video but I'm going to show you how to create your own so in a circumstance like this you'll already have one so I'm going to go ahead and close this and we're going to open up our browser and the
first thing we want to do is just go to Google and search for Windows 10 media creation tool and then the first link should be the right one but right here this one right here it should be pretty easy so go ahead and click on that and you're going to want to scroll down to right where it says create Windows 10 installation media so go ahead and click download now and it'll download the tool and then once the tool downloads just go ahead and launch it hit yes yes to the user account control we can
get rid of our browser now while that's starting and it's going to take a second for things to fire up so I'll go ahead and Skip ahead to The Next Step okay so right here go ahead and accept the agreement there and it's going to take a little bit longer to get a few things ready this is going to be a waiting process and if your system's a little bit slower then it's going to take a little bit longer but go ahead and be patient and we'll Skip To The Next Step alright so at the
next step what we want to do is create the installation media USB flash driver DVD right here so go ahead and click on that and click next and then from here you can go ahead and leave all this default if you want click next and then we want to go USB flash drive and for that we go ahead and hit the next key and it's going to ask us which drive we want to use we click on that drive and hit next now of course I'm not going to do that because I've already created one
for myself but once you do that it should get to the end and you can go ahead and hit finish and be done with it okay now that you've created the USB drive let's get this system booted up off of that USB drive so I can show you the next procedure of using the system file checker on an offline system by offline I mean not booted regularly into windows so to do that you're going to have to look at your motherboard manufacturer's documentation to find out how to boot off of a USB drive but once
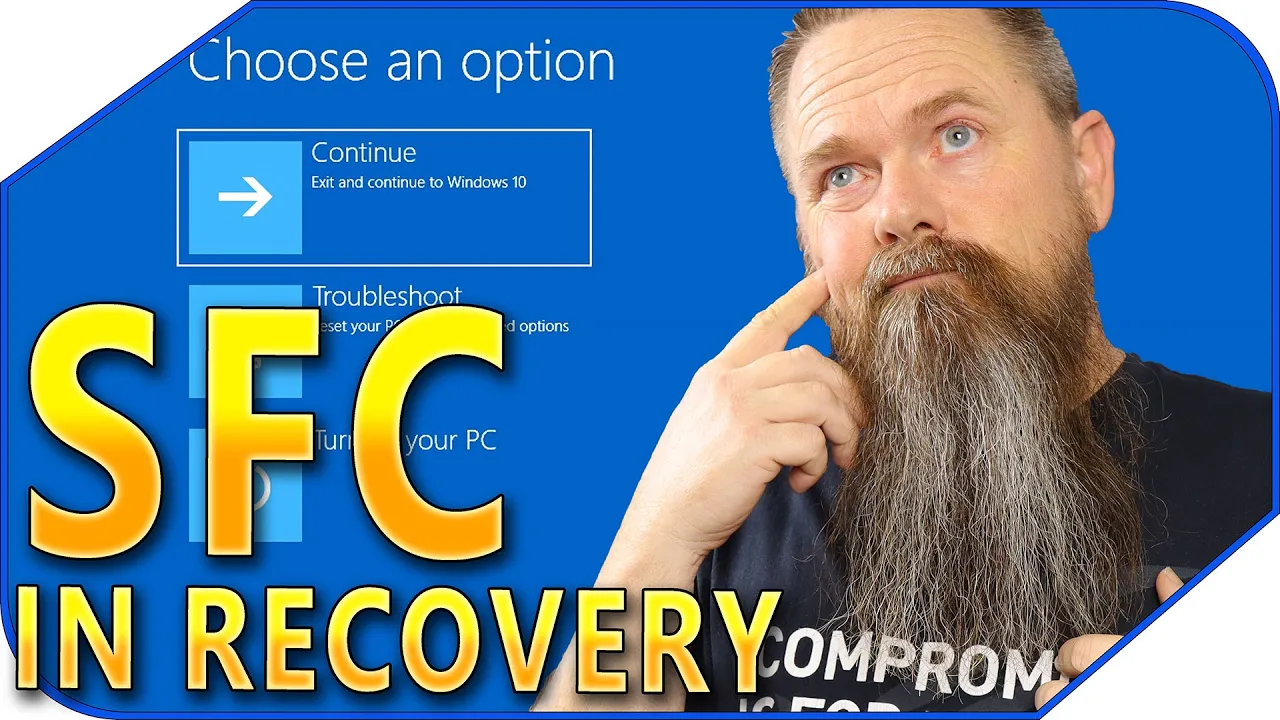
you do that I'll meet you in recovery mode okay so here's the screen that you should see once you boot off of a Windows setup USB however we're not actually going to set up Windows we're just using this for our own purposes so go ahead and hit next and then from next you don't want to hit install now you want to click right here where it says repair your computer so we're going to click on that and it's going to boot us into the recovery environment but this is the recovery environment that's on our USB
drive not the one that's on our system just in case there's something about the one in our system that's damaged and then what we want to do is click on troubleshoot and then from troubleshoot we want to go to the command prompt and then from here now we have the command prompt open we need to find our Drive letter for our primary hard drive and for that the first thing we're going to try is C and then go to C and go ahead and hit directory and as you can see here we got the windows
directory the user directories and I recognize this directory here cyber CPU from my boot drive so this is definitely the correct Drive however we also need to determine what Drive letter our USB drive is so for that I'm going to go ahead and hit d I'm going to run a directory here and as you can see on here we've got set up exe and we have the sources directory here so I think this is the USB drive so we should be good here so I'm going to go back to our C drive and the First
Command that we're going to run is dism just to make sure that we have a good image to run sfc off of and to do that just type in dism space forward slash image Colon c colon backslash and this is telling us that the image that we're actually wanting to check is the one on our C drive obviously we don't want to check the one on our USB drive right now so we're going to go ahead and hit space we're going to hit forward slash clean up Dash image space forward slash restore health space and
then we're going to do another forward slash and we're going to tell it the source so for this one we're going to try Source colon c Drive backslash windows and then from here we should be able to hit enter and it'll run the dism tool and it might take a minute and you might get this error about not having a scratch directory now I have found that that really doesn't make much of a difference but once it finishes here I'll go ahead and show you how to set up a scratch directory just in case you
don't want to see the error or if the error does cause problems for you and I'm going to go ahead and Skip ahead until the scan is finished okay as you can see it says the operation completed successfully and like I said the scratch directory option isn't that important but in some cases it might be so let me show you how to set a scratch directory so the first thing we want to do is make sure that we have a directory on our C drive and as you can see right here we do have a
temp directory so I'm going to remove that directory so I can show you how to create a new one so now that I've removed it I'm going to go ahead and hit a directory and as you can see I don't have a temp folder anymore so I'm going to go ahead and hit MD for make directory space temp and that should make a temp directory and if we run a directory here real quick you can see that yep right there we have our temp directory so that's going to be our scratch director so to do
this all you do is hit the up Arrow to give us back the command that we did before so we don't have to type it all over again and then at the very end I'm going to go ahead and hit space I'm going to hit a forward slash and I'm going to type in scratch dir colon and then you want to path to your scratch directory so that's going to be C colon backslash temp just like that and then once we hit enter it'll go ahead and run dism again and as you can see we
no longer have that Arrow so if this works for you then great it should be able to use Windows update to be able to download any corrupted files that it might have to repair the windows image however if you're in a situation where you don't have internet or for whatever reason it doesn't work the way that you want to and you want to specify where the source image is at let me show you how to do that okay so if we want to specify an alternative image for dism to use to rebuild the windows image
we're going to actually use the one that's on the USB drive that's on the system so we're going to go into the D drive since we've already determined that that's the USB and then we want to go into the sources directory right here so what we do is we just type CD sources and then run a directory here this is going to be a super long directory but all we really want to do is go ahead and scroll through here until you find your right here your install ESD file now it's either going to be
install ESD or install Wim so depending on which one it is is going to be real important for the next step and to help find it just make sure that it's definitely going to be the biggest file inside of this folder so once you find it you determine whether yours is install ESD or install Wim we can move on to the next step and to do that we're going to go ahead and hit our up Arrow so we can get our Command back right here and then what we want to change is right here where
it says Source C Windows obviously we want this source to be that file that I just showed you so to do that we're just going to go ahead and back up right here and we're going to delete C windows from here and we're going to type in D colon backslash sources backslash install dot ESD and then from there we're going to go ahead and hit enter and it's going to use the ESD image that we just specified in order to rebuild the windows image so this is going to take a second to finish but once
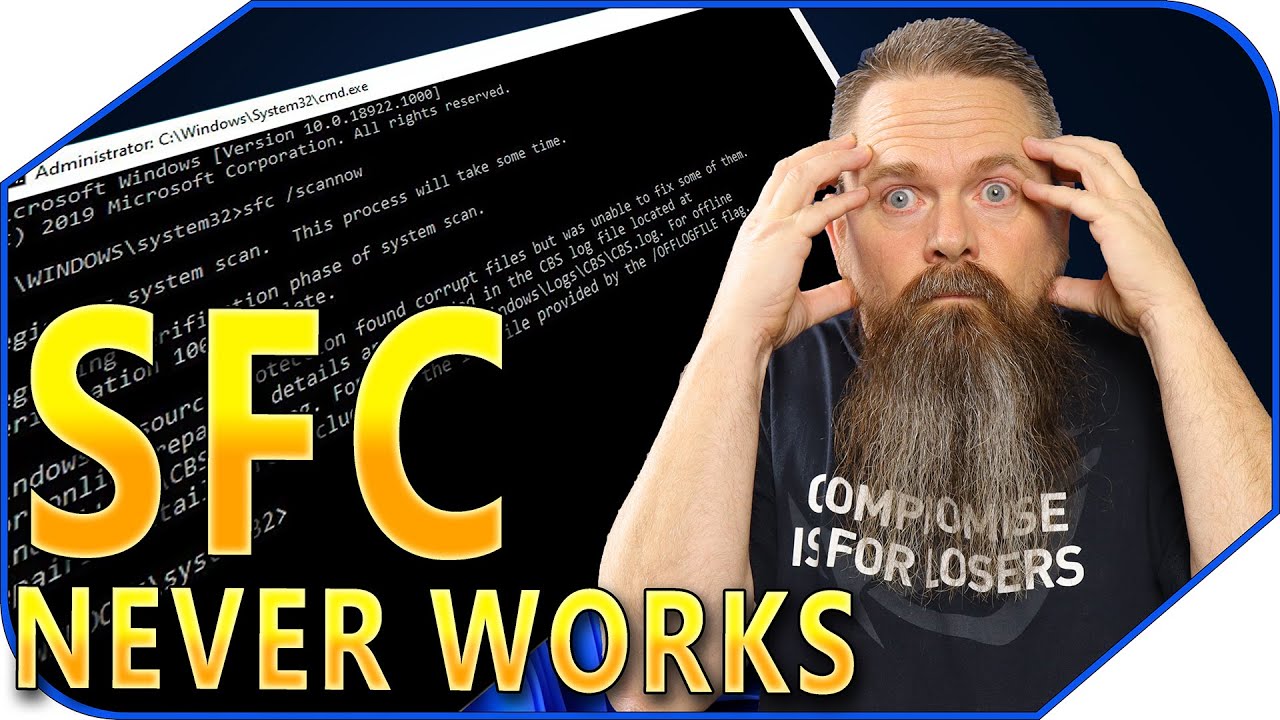
it does we'll move on to the next step and here we are we're at the next step now so now that we've ran dism and we know we have a good image now we can actually run sfc so to run sfc you just type in sfc and then you would go forward slash scan now space and typically you would just hit enter at this point and it would run however we are in an offline operating system and we don't want to run sfc on the recovery install we want to run it on the offline install
that's on our C drive so to do that we have to make sure to tell it where the offline Drive is so to do that we're going to go ahead and hit forward slash off boot dir equals and then from here we want to specify the drive letter itself so we already know the drive letter is C so then we're going to hit space again we're going to hit forward slash again and we want to type off wind dir equals and we want to specify the windows directory on the offline operating system so for that
it's going to be C colon backslash Windows just like that and now we can hit enter and it'll go ahead and run sfc on the offline operating system now as you can see it's not giving you a progress bar and this might take a second but once it finishes it should tell us if there was any errors in the process okay it finished up and it said Windows resource protection did not find any Integrity violations and the reason why is because I've ran sfc on this drive several times in preparing for this video however if
you had any problems it'll tell you that it did find corruption and it fixed the problem if for whatever reason it was unable to fix it it'll tell you that also so hopefully it doesn't give you any more problems but now to get out of this recovery environment and get back into Windows go ahead and click the little red X right here and that will bring you back into your regular menu and at this point you just click continue to Windows 10 and it should boot it back into windows 10. so I'm going to go
ahead and do that now so as you can see the system file Checker is a really powerful tool and it can fix a lot of problems with Windows as I stated in the last video I want to put together a series of different how to's that will help you to fix broken installs of Windows because honestly I think too many people just reload Windows when they really don't have to it's almost never necessary to reload Windows anymore like it used to be with a little bit of knowledge and a few fairly easy to use tools
that come built into Windows you can fix most problems that would cause many people to just give up and reload Windows unfortunately there are a few circumstances that will require you to reload Windows one of those would be if you want to downgrade from Windows 11 back to Windows 10 after the 10-day downgrade window fortunately though I made a video showing you how to do that without losing your programs and data you can check that video out here I also did a sequel to that video that that shows you how to do the same thing
for free but it's just not as thorough as that one is so as always you guys have a great day foreign