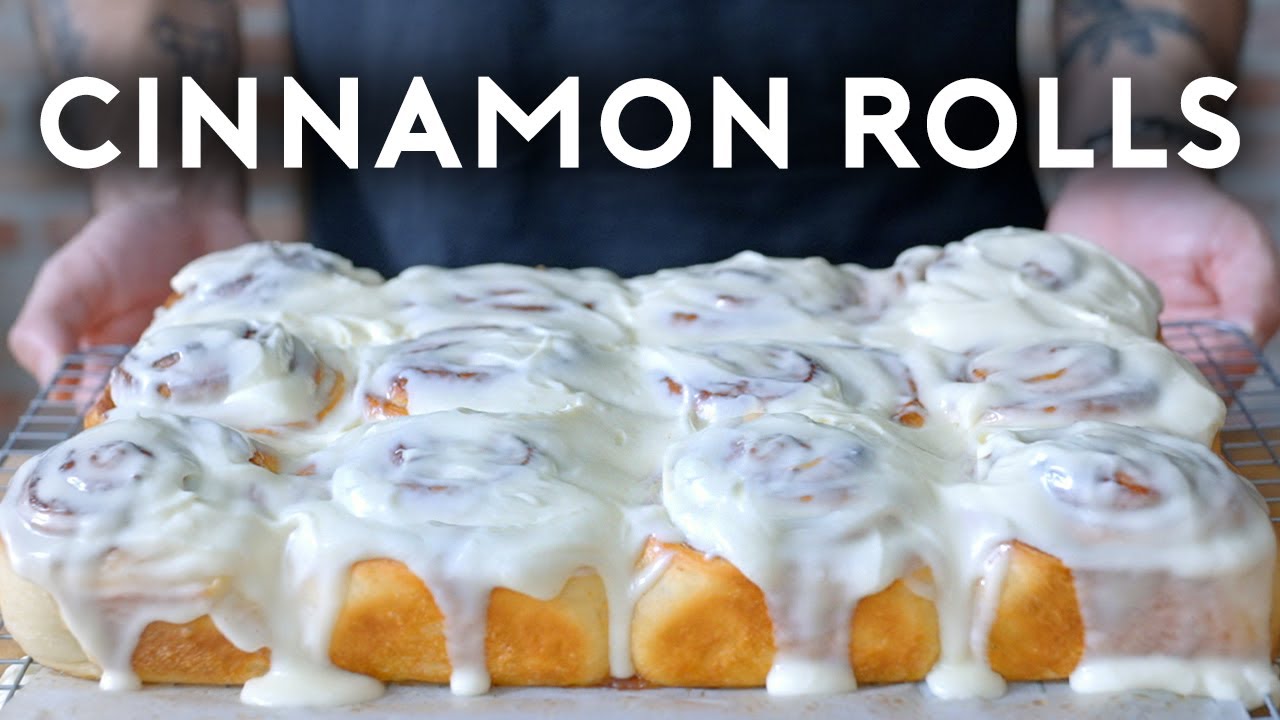
hey what's up today I'm going to show you a recipe for the easiest actually good cinnamon rolls you can make at home this recipe doesn't require a stand mixer and it goes from mix to oven in only about 90 minutes most of that time being passive plus the form factor for these cinnamon rolls is pretty unique and kind of quirky but awesome to get started into a saucepan I'll drop 115 G or one whole stick of butter and just melted gently a few seconds later I'll kill the heat so the butter doesn't get too hot
then I'll drop in 225 g of plain Greek yogurt big shout out to Stella Parks from brav tart by the way for showing me how perfect yogurt is for a cinnamon roll it's got protein moisture acidity and fat all at the same time and it makes for a really rich tender cinnamon roll with just a little bit of twang next I'll add in5 G of milk and then stir everything to combine try to keep the temperature here between 85 and 90 F if the mixture gets too hot it's going to make it impossible to develop
the gluten in just a second from here I'll drop my butter Girt milk mixture into a bowl along with 7 G or one packets worth of instant yeast then I'll stir that to combine since we're going to be hand mixing this dough it really helps to make sure that the yeast is fully hydrated before we add in the dry stuff speaking of that next in goes 450 G of allpurpose flour 100 g of sugar 2 G of baking soda and 8 G of salt from here I'll grab a sturdy spoon and just stir the wet
stuff into the dry stuff and once it is it should look like this that's not dough yet so to continue this mix I'm going to switch from a spoon to a soaking wet hand then I'll squeeze everything together until it unifies into a homogeneous Mass from there I'll switch over to a kneading motion right in the bowl use whatever movement feels natural to you here you just want to make sure that you're getting some effort or Force put into the dough because that's what ends up linking the gluten proteins in total I'll give this dough
3 minutes of assertive elbow greasing then I'll bring in just a little bit more strength and organization to the gluten by rounding and tucking this dough into a tidy little ball I know this isn't the prettiest dough that we've ever made on this channel but trust me you guys are going to when you see what this turns into in about an hour and a half now I'll drop a lid on the bowl and check back in 15 minutes 15 minutes later when I come back you can see that this dough is not strong enough to
hold itself together let alone be rolled up full of cinnamon sugar so I'm going to need it one more time for 3 minutes and if you're wondering hey Bri why didn't we just need this dough more in the first step well this dough has a lot of sugar fat and milk products in it and those inhibit gluten formation giving the dough a short rest allows it to hydrate and activate more gluten protein this means that during the second need we have more potential glutens in there to link up so we can get the dough quite
a bit stronger than if we had needed it for 6 minutes up front and after about 3 minutes this dough should be able to stand up to the tug test and it does so I'm going to drop it back in the bowl then round it into a tidy ball one more time then the lid goes on and I'll ferment it for 75 more minutes to mix this dough in a stand mixer if you've got one I would say rip it on medium high speed for 8 to 10 minutes one caveat when you're mixing highly enrich
Do's like this one in a stand mixer friction becomes an issue and you can heat up this dough and potentially degrade the gluten Network so if you decide to use your stand mixer instead of heating the yogurt mixture to 85 to 90f I would say heat it to 75 to 80 just to be safe now while the hand mix dough is rising let's make the cinnamon sugar filling for that I'll drop 115 G of a very soft butter into a bowl then I'll hit it with 150 g of brown sugar 20 G G of cinnamon
and 1 G of salt next I'll grab a spatula and smear the butter into the sugar and cinnamon if your butter is nice and soft that shouldn't take more than about a dozen stirs and once the butter sugar looks like damp sand I'm going to move from a spatula to a spoon then whip this butter sugar vigorously to try and cream it out a little bit creaming is a process that kind of fuses the butter and sugar together in a way that stirring doesn't it's usually done with a stand mixer for things like cookies but
in this context it helps keep the butter for melting out the bottom of the cinnamon roll of course we can't cream by hand like we would be able to with the stand mixer but 60 seconds of whipping this butter mixture with a spoon gets us pretty close and gives us a product that stays put inside the roll a lot better than if we had just stirred the butter with the sugar now after 75 minutes of rising I'm going to come back and preheat my oven to 375f then check back on my dough as you can
see it's just about doubled in size and it's looking nice and strong before I roll out this beauty of a dough I want to thank Bob Bob's Redmill for Milling the flour that I used to mix it I switched over to using exclusively Bob's products well before they sponsored any of my videos and I've been on that stuff for well over 4 years now the unbleached white allpurpose flower that I'm using this video just never steers me wrong I love it because it's very high quality it goes through a ton of testing to ensure product
safety and most importantly for me it's a consistent product that's really important for baking at home in general but it's especially important for me Who develops recipes for other people to use so the flowers got to be the same every single time and Bobs is beyond being a total simp for the unbleached white all-purpose flow I also love all the other flowers grains and cereals that Bobs Mills special shout out goes to the gluten-free one to one flow and Bob super fine almond flour since Lauren's gluten-free these are in heavy rotation at my house in
fact we just used that one to one flour to do a GF version of my chocolate chip cookie recipe and it hit real right you can conveniently find Bob's gluten-free flowers and all of Bob's other products on Amazon check out the link to my Amazon storefront down in my description to see some of my favorite Bob's products I'm looking at you palenta this is a great company with great products and I'm really stoked to be partnering with them if you want to check out their products again click the link in my description you're going to
love them thank you Bobs now to roll out these cinnamon rolls I'm going to flip this dough onto a lightly flowered work surface Degas it a little bit with the flat of my hand to pop any large bubbles then a touch more flow to keep things from sticking then I'll grab my pin and roll roll this out with a few slow deliberate movements to spread the dough evenly one thing that hand mixing has over stand mixing here is that the dough is weaker which is bad for most things but it's actually quite nice for cinnamon
rolls because it makes it really easy to spread out strong doughs tend to snap back and can get a little bit tough and toothsome from being overworked with a rolling pin at this point I'm just going to push this pin out into the corners to get the oval turned into more of a rectangle then I'll get the other corner and once I've got this evenly spread out and rolled to about a/ in thick I'll call it good widthwise I'm looking for about 12 in and length 16 to 17 next I'll drop down all of my
hand creamed sugar butter and I'll use a spatula to spread that out as evenly as I can try not to use downward pressure to spread this out because that's just going to smush the dough and not really move the butter instead try to keep the back of the spatula flat and glide it over the butter in Long shallow low motions think of it like spreading creamy peanut butter on a piece of white bread the more you press it the more the white Bread's going to get torn up and once the suy butt is spread from
edge to edge I'm going to roll this thing up for that I'll grab just the tip of the end and barely fold it over like maybe an inch Max then I'll tuck that in and crimp it down and from there I'll push forward 90° or about 2 in then I'll pull back towards myself while tucking things in again I'll roll forward 2 in then pull the dough back towards myself slightly to keep things nice and tight I'll also pinch slightly as I do that this movement might seem a little bit fussy and overly deliberate but
it makes a huge difference in terms of structural Integrity this creates a tight spiral with a lot of tension which leads to a huge oven spring and a beautiful spiral look in the final roll this movement is actually very similar to how you would shape a bagette as you roll you're pulling back to create internal tension and that really helps it explode in the oven and once I get towards the top here I'm going to slide the whole thing down in front of me then I'm going to shore up the ends then I'm going to
roll the whole thing over the seam while pushing down slightly to make sure that gets sealed up that's also a bag at move now to break this into individual rolls I'm going to grab my razor sharp lagger Strom 8 in chef's knife and cut off both of the ends if you want a sick knife and help support this channel these are available for sale Now link in description once the ends are cleaned up I'm going to wipe my knife clean with a damp towel to keep the sugar from smearing then I'm going to cut the
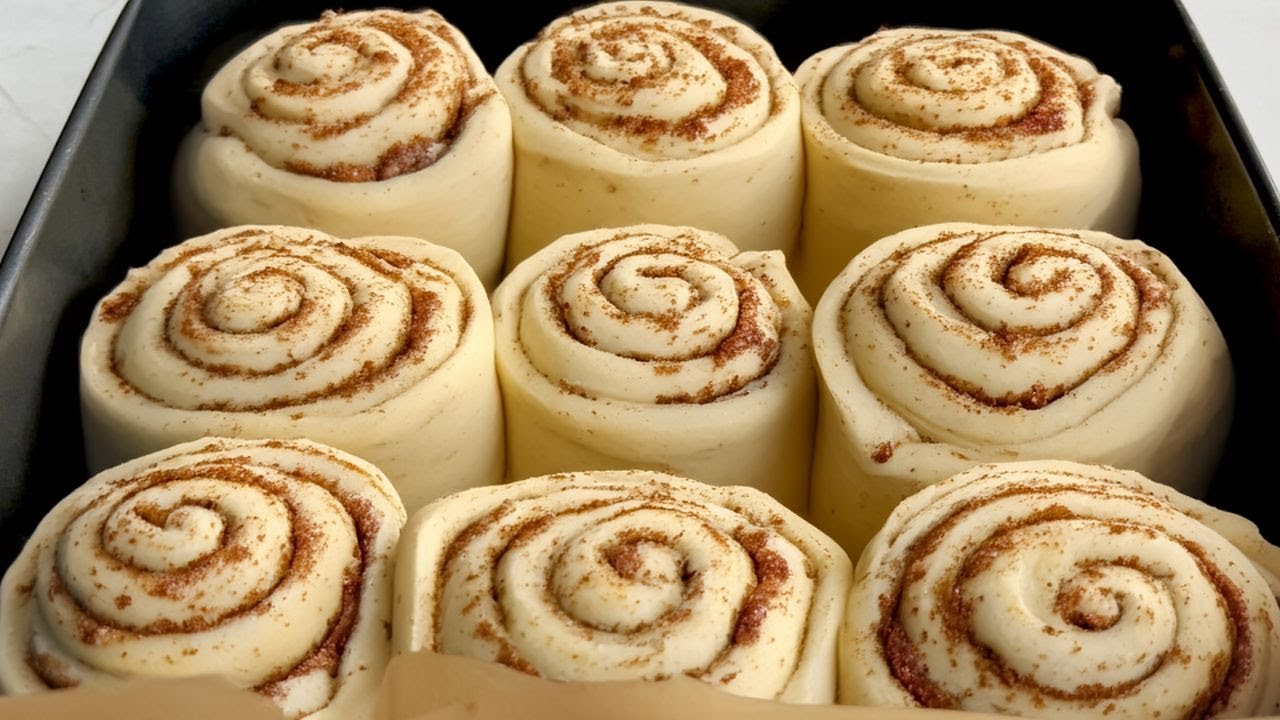
entire thing in half if you don't have a super sharp knife like this one I would say try a serrated knife ooh baby look at that nice spiral next I'll cut both halves into three pieces giving me six rolls in total then I'm going to grab a muffin pan specifically I've got a 6C count jumbo pan here certainly you could cut your rolls down into TW if you have a smaller muffin pan or if you prefer softer sides you could bake this in an 8 to 9 in brownie pan I'll show you the process for
that in just a second next I'll spray my muffin or cupcake pan with some pan spray then I'll load in my cut cinnamon rolls for this recipe I prefer a muffin pan because I think it makes for a really unique aesthetically pleasing texturally Dynamic product for now I'm going to load these cinnamon rolls right into my 375f oven to bake for 40 to 55 minutes cut to one of the best time lapses in the history of this channel but also possibly of all time oh and after 45 to 50 minutes at 375 it's time to
pull these bad babies out of the oven dude these are sickeningly sick looking look look at the level of golden brown o look at the spiral look at the bubbly cinnamon sugar you guys now I'm going to need to set these up on a wire rack to cool down so they don't get too browned in the pan and I'll come back with icing in 10 minutes to make these cinnamon rolls in a brownie pan first I'm going to roll them up into a slightly longer tube that's about 18 to 20 in instead of the 12
to 24 then I'll cut it down into nine pieces and load it into a sprayed 8 to 9 in brownie pan 3x3 next I'll bake these things covered with foil for 35 minutes then at the 35 minute Mark I'll remove the foil this keeps the cinnamon rolls from getting all wacky in the oven cut to some rolls that I baked without foil those are downright zany and they're not going to bake evenly after deoiling I'll bake for 10 to 15 more minutes or until they reach the desired level of golden brown once they're baked I'll
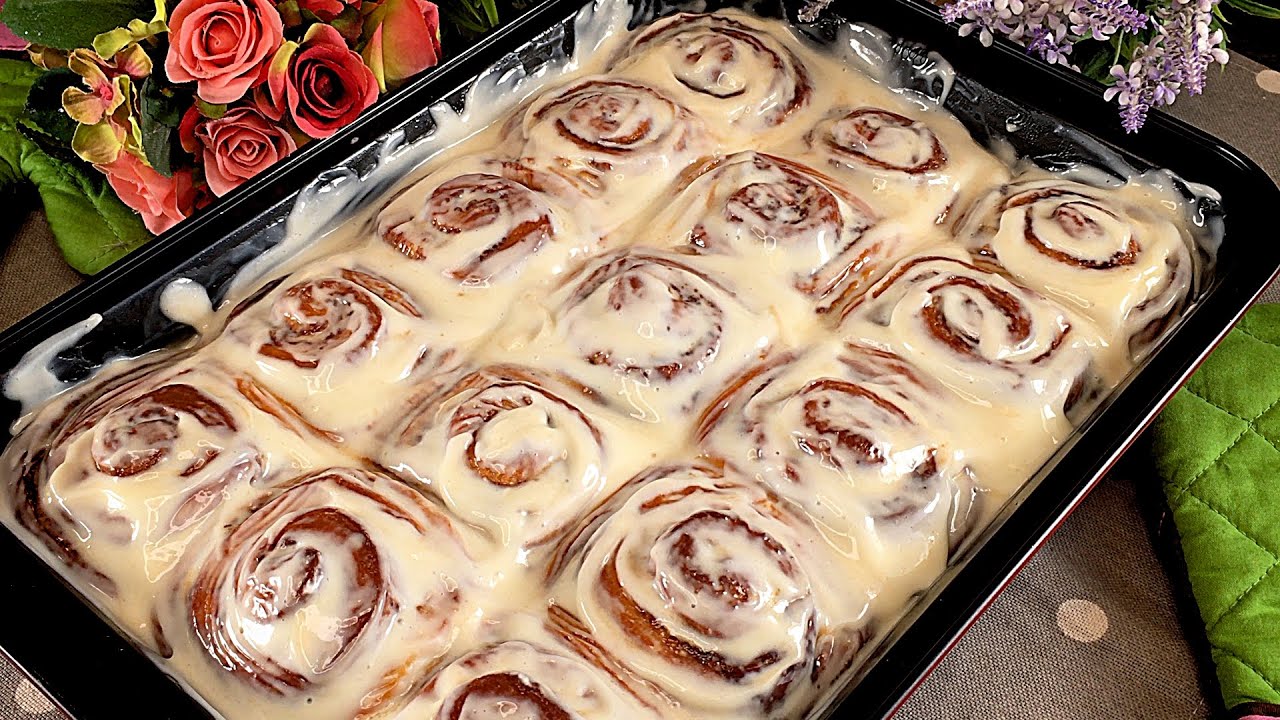
slide them over to a wire rack to cool then slather them with cream cheese icing how do you make that well into a bowl I'll combine 25 G of cream cheese with 75 G of heavy cream next next I'll whisk the cream cheese into the cream to work out any lumpiness then I'll grab 150 g of powdered sugar and drop that on top then a tiny pinch of salt from here I'll whisk until everything is combined and this looks a little bit thick so I'm going to add it about 10 G of water or cream
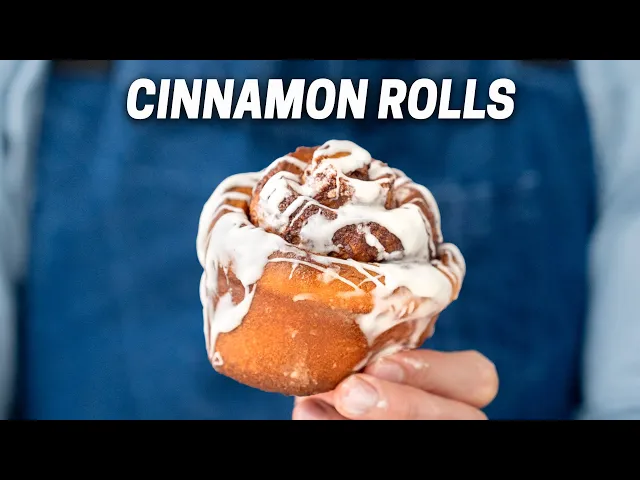
and that'll give this icing just a little bit more of a saucy texture now the most aesthetically pleasing way to use this icing on these cinnamon rolls is to gently drizzle a couple of ziggies right on top this is great for getting likes on Instagram but for me the real way to ice these things is to just smear the icing all over the top and the sides get it in the spirals get it all over your fingers and just slop it on there this just makes for an epic eating experience the icing saturates the exterior
and soaks deep into the cracks and crevices bringing that sweet twangy hit from the cream cheese to almost every bite now let's taste this thing the big question is how do you do the first bite do you peel it open or you just go Whole Hog into the side of it here we [Laughter] go what texturally this thing is extremely Dynamic you get some crystallized crunchy sugar right on the bottom then you get a little bit of a biosi I don't want to say chewy but you get a little bit of a toothsome bread bite
on the outside and then it's just squishy gooey cinnamon roll all the way through it's so good if you want another easier version of a classic baked good check out this video for my easiest actually good back at I'll see you there
![ULTIMATE CINNAMON ROLLS AT HOME [Cinnabon Style]](https://img.youtube.com/vi/sfHT7r4XoJY/maxresdefault.jpg)