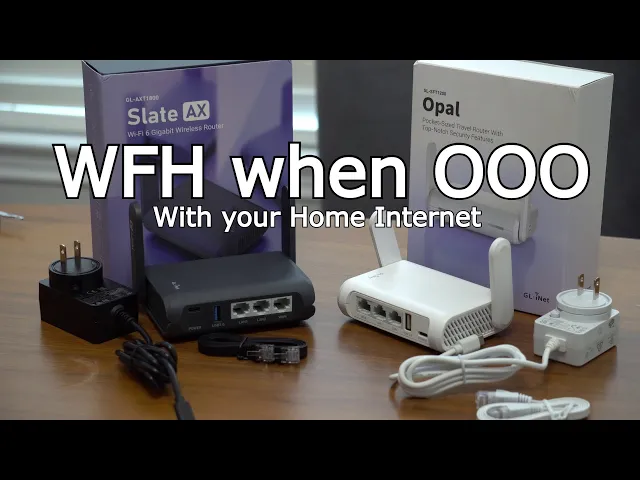
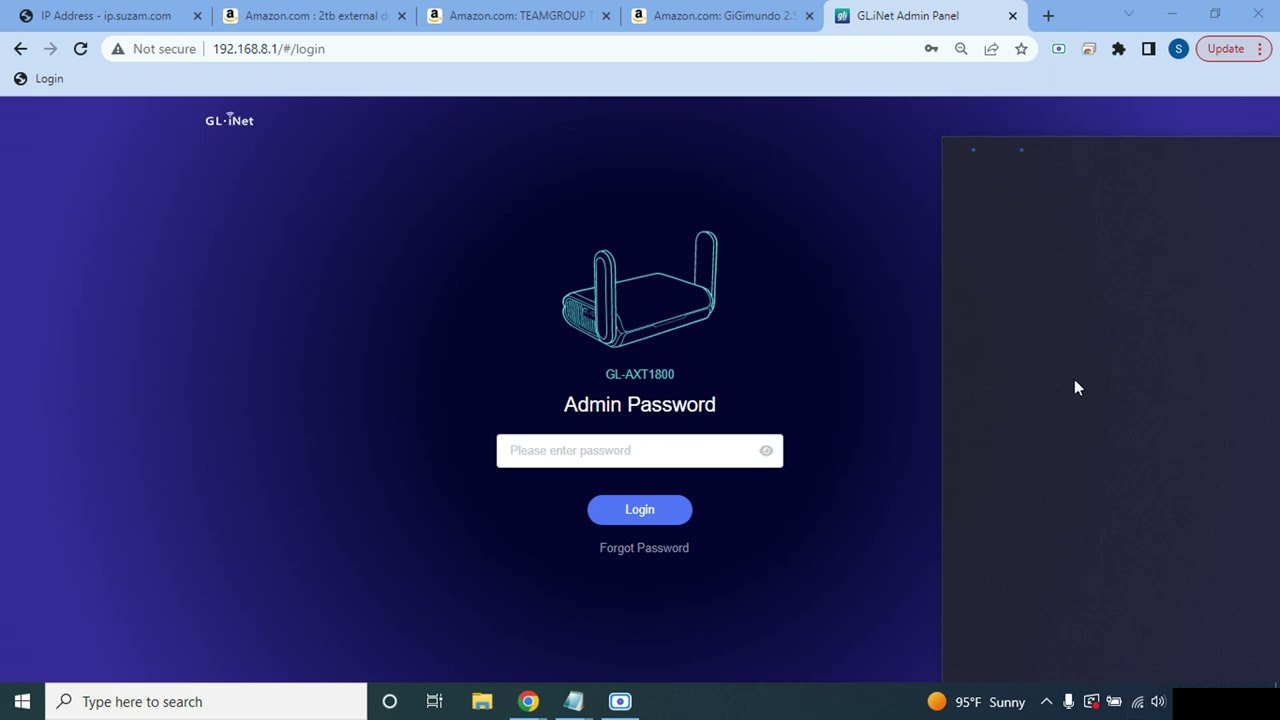
all right so last time we took a look at the slate ax a new wi-fi six pocket travel router from glinet and we set up nordvpn that way we could use dallas as our location no matter where we were in the world but now what if we want to take that to the next level and actually use the ip address that's here at my house anywhere in the world so that's where this second pocket travel router comes in this is the opal it doesn't have wi-fi six but it still has gigabit ethernet ports and for this setup i'll be using wi-fi but theoretically i would plug this little router into my home router that my internet service provider provides to me and this would be left at the house this one's going to go with us and connect to this one to share the ip address that's here at the house all right so the opal again it has ethernet ports already and it has wi-fi and for this demo i'm going to be using wi-fi just because everything is here on the table so from the computer let's get the screen recording set up here okay so each of these devices have their own ssids they're both on right now the ssid is on the bottom of the device in this case it's gl sft 1200 so i connected to that one and as as usual you would go to 192. 168. 8.
1 on either device i already logged in so once you log in you get here your first time you're obviously going to need to set up your admin password once you log in you'll either need to plug in the ethernet cable or in my case i already connected to the wi-fi um you know you would typically hit scan find your wi-fi network connect to that and now that we're connected the main things that we're going to focus on is i guess first thing is make sure that there's no upgrades so this one's already on the latest firmware and since i have residential internet my ip address can change so we're going to use something called remote access under the applications tab here and we're going to turn on dynamic dns the user interface is a little bit poor here i actually missed this the first time i was making the video so i'm actually remaking the video again to be more efficient there's a little very hard to see toggle you need to toggle that on to enable ddns you don't need to enable any of the other things in fact that'll actually make you less secure if you enable those things so just leave those off you do need to check to agree to the terms of service and privacy policy and then you're going to hit apply on the bottom of the device is a device id and that device id is also visible here if you hover over this information bubble if you hover just right you can double click on that and copy that that instead of using your ip address you can use that address so this address will always be updated anytime your ip address changes this little device is going to reach out to gld's ddns service here and update the ip address automatically so this is going to be useful later i like to use notepad because i'm a little bit old i guess so i just open up a new notepad file and i'm pasting in that address and now we'll go on to the next step well now that this is enabled we could do a dns test and you'll see your your residential ip address here in this case we're also getting an extra warning that we are behind a nat so it just kind of means that we're gonna have to do some extra setup as far as port forwarding so i guess on the topic of port forwarding that's outside the scope of this video because everyone has different routers you're going to need to search your different providers and find a video on how to do port forwarding we're just going to discuss what ports you're going to need so under the vpn service here we have openvpn server and wireguard server openvpn is the older one which is also a little bit slower wireguard is newer and faster so we're going to set up the wireguard server and one of the first options you'll have here is allow access to local network again this makes you a little bit less secure in my case i went ahead and turned it on because i wanted to have access to the other computers that are on my network even when i'm away but if you don't need access to the other computers on your network go ahead and leave that in the toggled off position if you tile it on you'll actually get a warning that it is a little bit dangerous to enable this and in my case i'm hitting yes and continuing on the ip address range can be set from here you can just leave it as the default the main thing is you don't want to have any collisions so using 10 is usually a good to use because your residential router is usually going to be 192. 168. something now the main thing that we need to grab from here is this port this 51820 is the port that we're going to need to do port forwarding on our router so i'm going to save that port to that notepad file that i started so at this point we have our dns address and a port that we need to port forwarding on the router i guess at this point i'll cut over to how i do port forwarding on my frontier router that might cover some people but other people will need to look up other videos on how to do the port forwarding but essentially you're going to find the port forwarding section of your router and you're going to put in the ip address that was assigned to this device it won't be this 10 address it's going to be 192.
168. something that's assigned to this device and you're going to go in the port forwarding and put the ip address that was assigned by your residential router to this router and this port number 51820 or whatever port that you get in your administration interface and set up the port forwarding all right so now this is my residential frontier router we're going to look for the firewall tab and then port forwarding from here you'll need to use the password that's usually on the on the device itself and then we can select the device in this example i'm actually using a unifi router but this would be the opal router and then you're going to give it a good name that way you know what it is once it gets added to the list leave tcp and udp selected and type in that port number that we saved you'll also put that port number in the local area and then also finish off the port range with that same port number because we only need a single port hit add to add it to the list and you should now see your new port forward rule in your list and with that we can move on back to the opel router and then back over here on the wireguard server we can hit start so it is now started and now we can go over to the management tab as i said i am redoing this video so i already have a user here which i set up as slate ax but you won't see that so you'll you'll simply hit add new user you want to give it a name i already use slate ax so i guess i'll call this one demo and hit add and now you'll see it has been assigned an ip address and there's a little configuration icon here if you click on that it's going to open up a window with a qr code this is useful if you want to have your your phone connect to the wireguard server that way your phone could also use your residential ip address but in our case of using two routers we're going to need to hit the plain text tab and there's some information there that we're going to want to copy and paste into our notepad file so select all that copy go over to our notepad file and paste and let's discuss some of these things here so under interface there's not really anything that we need to change there's the ip address that was assigned to this demo user a listening port a private key and dns really what we're going to need to change is over here under peer so by default it's using the ip address and like i said the ip address can change so we want to use the dynamic dns address that we enabled and paste that into just the ip address part we want to leave the colon and the port number there so i've copied and pasted that in and there's the colon and the port number again you need to set up port forwarding before you can have the wireguard vpn service work on this other router but for now that is all the information we need now we need to switch over to the router that we're going to be taking with this which in my case is the slate ax so i'm going to disconnect from the gl sft 1200 i'm going to choose the gl axt 1800 which is the slate ax so both of these routers you log into them the same way so 192. 168.
8.