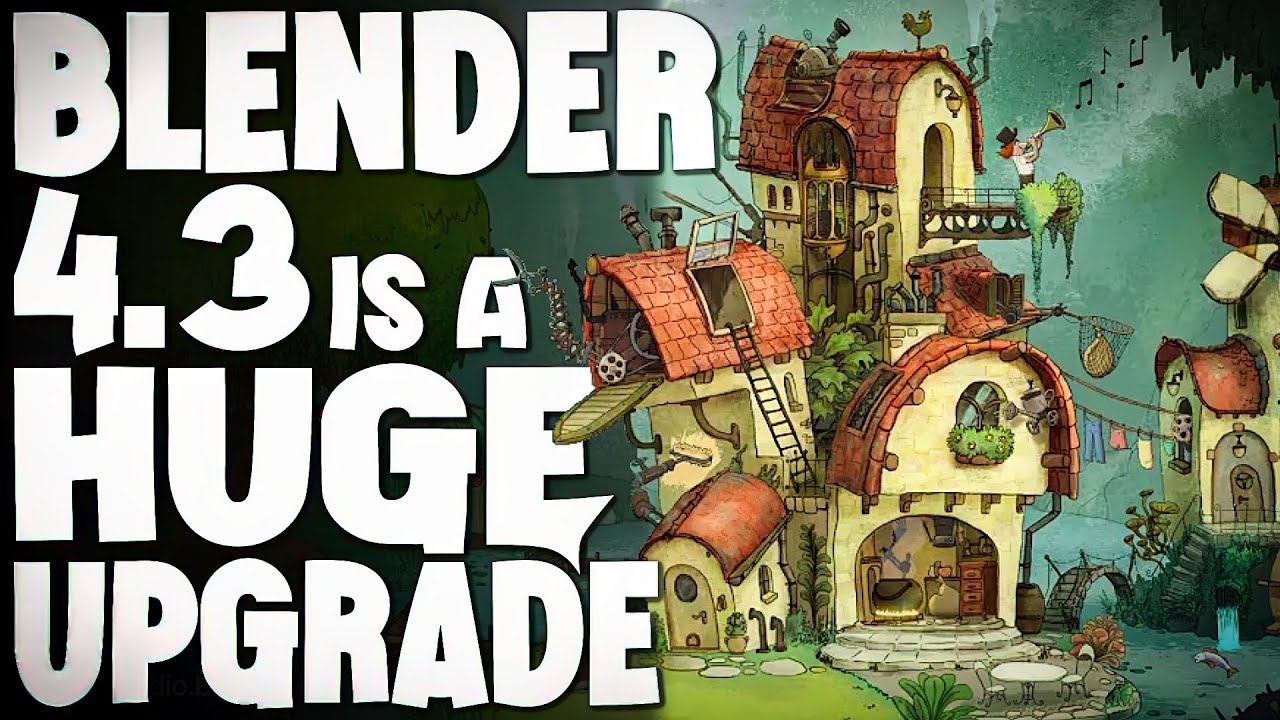
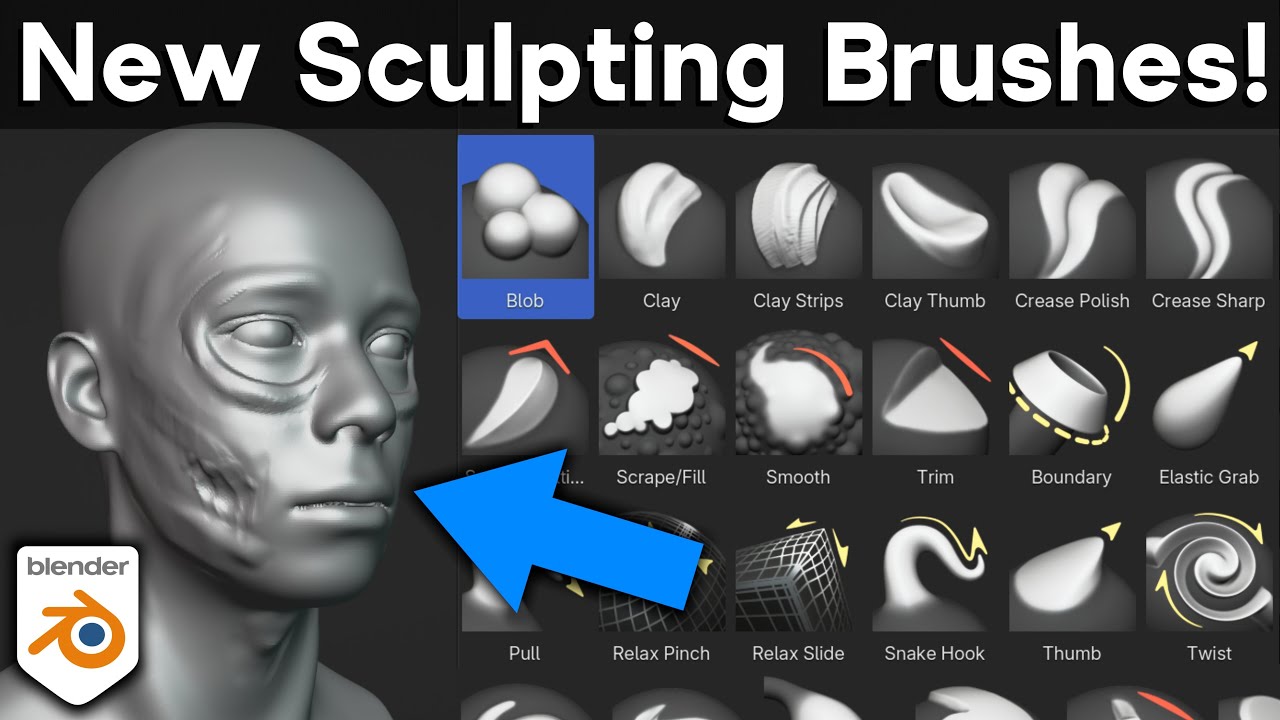
blender 4. 3 has just been released and the biggest updates are related to grease pencil geometry nodes and sculpting but as usual there are improvements all across blender I'm Jonathan lampel from CG cookie. com and in this video we're going to cover everything that's new in blender 4.
3 first the bevel modifier can now use any Edge attribute as a bevel weight which means that you can now have multiple modifiers that use different custom weights for complex hard surface objects or for sharpening up subdivision surfaces this will help you keep more of your modeling non-destructive it also means that you can control bevels via geometry nodes even though there's not yet a bevel node did you know that mesh material slots could also be assigned to the object rather than the mesh data it makes it so that instances can have different materials well now in 4. 3 if you have a setup like that the copy material to selected commands keeps that object relationship like you'd expect when it comes to UV unwrapping there are some cases where blender angle based and conformal operations can leave you with a little too much area stretching the new minimum stretch option based on the slim algorithm aims to improve that in some situations it's great for tricky surfaces that need to be straightened or when you don't want to place too many seams working with sculpting texturing and other brushes in blender has just gotten a bit more convenient now that brushes have been converted into assets which can be shared between files that means your favorite custom brushes will now always be there and you don't have to keep importing them into every project and now instead of a large number of brushes in the toolbar you can find the main types of tools in the toolbar and then all of the brush presets for those tools in the asset shelf you can search for and jump to brushes easily even without the shelf by clicking on the brush icon in the tool settings or by using the shift space hotkey all of the settings for the built-in brushes have been tweaked based on user feedback so you should find the out-of-the-box sculpting experience much more polished than before it's faster too thanks to many parts of sculpt mode having been Rewritten entering sculpt mode can be around five times f fter and brush evaluation itself is about eight times faster also in sculpt mode the voxal size operator now works in relative mode by default the lasso tools now have optional stroke stabilization a polyline gesture can now be finished with double click sculpt mask is now accessible in node tools and a new mask from boundary operator was added to modify mask values based on mesh or face set Islands now here to share with you the good news about geometry nodes updates welcome back Harry blend thank you Jonathan all right then it's that time again time to take a tour of the new geometry node Innovations from exciting new nodes which bring with them a fresh array of powerful new possibilities to a faction of familiar nodes who have had some fanciful feature facelifts so let's follow the noodle shall we first there's the for each element Zone where nodes are evaluated multip multiple times just like the simulation and repeat zones that we already know and love but here the evaluation happens once for each of a selected element for example I can take these cubes and for each face create a curve line using that Face's position and normal as its start position and Direction then converting each Face's curve to 10 points I can instance sphere on them spheres scaled with the distance between the original face and the point the output for each of the elements is automatically joined together and piped out of the bottom green socket while this second socket up here outputs the original geometry there's also this integer socket over here which gives us the index of each element A variation on this particular innovation in zon has been carried through to the repeat Zone where a new iteration socket now gives us the iteration number for each iteration and if you're a zon head you're really being taken care of with blender 4. 3 remember that pesky skip checkbox in the simulation Zone you kept accidentally pressing no I don't either the new math integer node allows you to do math directly with integers its menu has both operations familiar and to gole Google but Traditional Values don't get all the love because there's now a matrix determinant node and a hash value node which can hash various attributes into an integer my mate Dave who's really into crypto says that hashes can be used to generate stable Randomness I said that's cool Dave but how long are you going to be staying on my couch now here's a change that affects multiple nodes string input sockets have been widened to make maximum use of a node's width the label now appearing as a placeholder waiting to be erased all of this makes longer strings much more legible see names are very popular these days because next we have the new set geometry name node this lets us name our instances so we know who is who in the spreadsheet where this new area here shows us which geometry is used used by which instance this will make debugging instances a lot easier and now we come to the Gizmo nodes named after that adorable furry creature in the classic 1984 movie Splash these are something very new because they allow us to create gizmos in the viewport gizmos that can be manipulated to modify geometry node inputs just like this one on this grid node you don't connect the Gizmo directly to the input but the input to a value node that you connect to the Gizmo this creates a neat new kind of noodle signifying that the value node is controlled by the Gizmo which connected to the grid controls its X size when I let go of the mouse the Gizmo returns to the origin we can maintain its position by creating a two-way dependency where the changed value affects the Gizmo position and the Gizmo position changes the value if this isn't handson proceduralism I don't know what is Transforming Our grid doesn't automatically transform our Gizmo we need to tell it to do that and we can tell it to do that by joining it in all three Gizmo nodes work in the same fundamental way with the value connection being the big new idea to chew on and I suspect the second hottest geometry node YouTube topic this 4.
3 season next no time ings are more accurate which is great news for those of us who use them to time our eggs and speaking of baking bakes can now be packed into your blender file in fact they are by default which makes them as easy to share as a bake well tart now a word about warnings group warnings here I have a mesh Circle node inside a group with an input linked to its vertices if there's an error with a node inside a group we already get a warning on the that group well now we can customize These Warnings with the warning node sure it may arrive like a drunk robot but we can use its Boolean input to determine the conditions in which a warning is shown and we can use the string input to set the warnings message there are three types of warning available this is an error warning but there's also a warning warning and an info warning a warning node is evaluated if the group that contains it is and if this group is inside other groups all warning types get sent to the very top by default though the new warning propagation setting allows us to control this on a node by node basis finally with this guy there's a Boolean output this could be used to connect the warning state to a switch changing the geometry output to make it very clear in the viewport that something's gone terribly wrong blender 4. 3 comes with a whole new version of Grease pencil and you better believe that geometry nodes supported many of our favorite curve nodes like this trim curve now work with grease pencil geometry this is because geometry nodes look at a grease pencil object and see curves organized in layers and if we stare at the spread sheet we can see them too to manage these LS there's the new merge layers node this is an important optimizing tool merging them by either name or group ID to make grease pencil geometry compatible with everything that curves are we can convert back and forth with these two nodes grease pencil to Curves and curves to grease pencil with the latter you can also generate grease pencil geometry from scratch in short which I am grease pencil is now warmly embraced by geometry which means we can now do with grease pencil geometry so many geometry nody things like use it to simulate these wiggly wiggly worms that share a collaborative Destiny so that is it all that is new with geometry nodes in blender 4. 3 the only thing left for me to do is turn the music off then hand you back to Jonathan who's going to talk to you about what's new in animation in blender 4.
3 thanks Harry that was amazing as usual on the animation side of things the properties editor now has an animation panel for any data block that supports animation in it you can select which action the mesh object world or whatever it is that you're animating is using that way you don't have to open up the action editor just to switch actions the default motion path theme can now be set in preferences also in preferences under theme the autoc key indicator is now colored red when enabled for extra Clarity you definitely don't want to forget to turn that off when you're finished when inserting new key frames all other keys are now deselected this should lead to fewer accidental Transformations when working quickly in the dope sheet and graph editor bone selectors in the properties editor now have an eyedropper so you can easily select them from the 3D view or the outliner blender's grease pencil has been completely Rewritten for blender 4. 3 the main goal of this third version of the grease pencil was to improve performance and better integrate grease pencil objects into the rest of blender the first part of this is the integration with geometry nodes that Harry touched on already combining the powers of proceduralism with the handcrafted beauty of illustration should lead to some amazing work from the community in the coming months this new system also comes with a couple new features you can now group layers together for better organization and easily managing visibility the layers drop down and draw mode has been promoted to the top bar just like with sculpting the grease pencil brushes now use the new brush asset system the Eraser tool now allows you to cleanly cut through Strokes anywhere because it can create new points on the parts that touches whereas before it could only get rid of existing vertices you can now set the size of the brush in pixels according to the view or in proper scene units the simplify option is now measured in screen space pixels rather than in World space units the active smoothing to reduce input Jitter has been Rewritten and is supposed to feel more accurate and less floaty the trim tool can now do multiple Trims on the same stroke at the same time in edit mode there's a new fill gradient tool that can be used to adjust fill gradients in the active material layer adjustments are now evaluated before modifiers rather than after them grease pencil operations are now multi-threaded whenever possible which should lead to a big boost in performance for heavy scenes do be aware that there is forward compatibility for grease pencil V3 but no backwards compatibility so if you save a grease pencil file in blender 4. 3 you will not be able to use the grease pencil objects again in blender 4.
2 or earlier but anything saved in blender 4. 2 or earlier will be imported forwards just fine in blender 4. 3 also know that a few features have not made the jump to this new system including screen space stroke thickness though you can now recreate that same effect with geometry nodes selection order for the interpolation tool in edit mode no longer works the same drawing guides have been removed for now but are expected to make a comeback later and editing The Strokes as be8 curves now only works by setting the stroke type to beer and now to talk about the rendering changes we have another special guest take it away Chris my name is Chris Tyler my YouTube channel is Christopher 3D we're going to look at a series of rendering and material enhancements being introduced into blender 4.
3 first blender 4. 3 introduces form more phase functions to the volume scattering node adding to the original hen Greenstein mode allowing for more nuanced volumetrics these are tuned for different environments and thus have somewhat different behavioral characteristics for instance raay is designed for atmospheric or Sky scattering fornier forand for under water environments drain for Interstellar scattering and me scattering is best for simulating clouds and fog unlike the atmospheric ra scattering which affects tiny particles and shorter light wavelengths me scattering involves larger particles like water droplets and wavelength Behavior typical of clouds and fog these are currently only supported in Cycles let's take a quick look at an example that's appropriate for comparing hen Greenstein in 4. 2 to the new me scattering in 4.
3 that's appropriate for fog and clouds the cloud cover in the scene it's actual geometry with some thickness that has a volumetric scatter applied to it now if we switch over to 4. 3 and we use the new me scattering that's appropriate for clouds and fog we get this that's quite a big difference isn't it with this simple underwater scene let's compare 4. 2 which is this rendering to the new fornier 4and option which is specifically tuned for underwater scenes and we get this next a new panoramic camera type called the central cylindrical has been introduced in response to requests from artists working on architectural renderings this camera type gives the ability to pre-render heavy exterior elements in a way that doesn't have vertical Distortion this is then appropriate for being mapped onto a cylinder surrounding a scene prior to blender 4.
3 there were two methods for creating diffuse surfaces using the principled bsdfs base color or the diffuse bsdf shading node however each method employed a different diffuse algorithm in blender 4. 3 the principled bsdf now includes a diffuse roughness input slider this slider allows users to transition from the older lambertian diffuse algorithm to the more physically accurate diffuse algorithm called oron ner the oron algorithm better approximates highly rough diffused surfaces such as concrete bricks rough wood rocks and sand the default value of zero maintains the appearance of the diffus material created in earlier versions of blender additionally the Orin ner bsdf algorithm has been updated to be energy preserving and accounts for multis scattering at a microfacet level a new metallic bsdf node debuts in blender 4. 3 it contains two modes the first is the f82 tint mode this is the algorithm currently used by the principal bsdf when it's set to metallic mode The f82 Tint approximation is artist friendly allowing the artist to Simply set the color for the metal it's it's very useful for generating a broad range of metallic surfaces including anodized Metals the second mode is physical conductor it's designed to use physically accurate laboratory measured complex index of refraction values per RGB channel the two parameters used are the index of refraction and Extinction coefficients this allows the node to generate very accurate metallic surface representations Eevee does not directly support physical inductor mode however if you configure and use it with EV the node will internally convert to an approximate f82 tint equivalent keep in mind that this approximation may not be as accurate as when used in Cycles if you'd like a more complete video on how to use both the metallic bsdf and the Orin n diffuse roughness slider you can find this in a 4.
3 release playlist on my YouTube channel a new white balance function has also been introduced into blend 4. 3 The View transform now supports white balancing the rendered image as part of the color management system white balancing remaps colors along both the blue red axis and a green magenta axis this allows you to shift the tonality of the image to make it warmer or cooler or more green or more Magenta in tone this is a very important feature for architectural renderings which may use very warm interior lighting producing a rendering that appears too yellow white balance allows you to adjust the overall tonality without needing to change lights or reender the image if you'd like a more complete video discussing the use of the new white balance feature you can find this in a 4. 3 release playlist on my YouTube channel a new noise texture node has been added called Gabor noise Gabor noise is characterized by random interleaving bands whose Direction and width can be controlled Gab or noise is particularly useful in simulating natural procedural materials such as sand dunes or ripples of sand on a beach support for Hardware accelerated Ray tracing has been added for the Linux platform and uses the open-source hip RT libraries for both Linux and windows thanks Chris and for the next couple sections I'll continue passing the mic this time coming to our Aid with EV info is 80 80 borrows here from creative shrimp let's take a look at some Eevee updates light and Shadow linking was recently introduced into blender Cycles Render engine and now with version 4.
3 we have access to that same Wizardry with an Eevee as a reminder we are breaking the laws of physics here and it's the sort of stuff lighting artists which they could do on a real live set say if we have a scene of an ancient Corridor with a mysterious object that just isn't popping the way we need it to at the moment but we want it to be a little subtle with the light and have it not affect the rest of the environment and and of course in EV now we can select the light give it a light linking collection here I'll just add a new empty one note that's just a collection that shows up here it's not a collection that we'll see up in the outliner as such then we can drag the object that we want that light to effect into the box and then we're done with the object now in this list we can invert the result if we want to by unchecking it and as for the shadow linking that works basically the same way what if our light was a sun here now our sunlight isn't affecting the rock since the rest of the environment is casting a shadow and blocking the sunlight so that could be where the shadow linking comes in when adding the environment into the shadow linking area it means it'll only cast a shadow onto that environment object but if we uncheck that now we have the environment object casting no Shadows when it comes to our otherworldly sun lamp in previous versions of blender there is fast Global illumination approximation that we'll find within the ray tracing panel now in version 4. 3 that section is available to be toggled on or off let's take a look at some of the video sequencer editor updates there's now an easy way to connect and disconnect strips you can see if a strip is linked with this little chain link icon when moving one connected strip the rest of the connected strips will move along with it or when performing other actions such as splitting the strips basically it makes this kind of process more streamlined and faster moving up to the preview window the tools are now open by default and the default tool has been changed from the eyedropper to the select tool the preview window now supports snapping and we can choose what we want to snap to here we've got everything enabled so if we have multiple strips we can snap to them or to the center or to the borders of the main window in the modifiers in previous versions The Mask settings were sort of prioritized and placed at the top even if you weren't using them now in 4. 3 they've been moved to the bottom when slipping audio with the S key we could move things around a frame at a time easily enough but now when holding shift we can slip the audio on a subframe level and get really precise control as well as using the shortcut there's an option to do the same thing in the side panel and there's much more too A lot of the updates have been for optimizing and speed up running through them we've got speedups in the tone map modifier color balance modifier saturation and multiply strip color controls color transformation image processing rebuilding Movie proxies drawing the timeline and the strip thumbnails among others all right let's take a look at the compositor updates in 4.
2 using EV as the render engine you can see in this example as I click through the outputs and run the compositor through the 3D viewport that we're not getting much of anything clicking through there but now in 4. 3 for Eevee we have that multipass compositing support as you can see when clicking through the particular passes in this same example we get the necessary output also in the compositor we have a white point conversion mode added to the color balance node that we can get to using the pull down menu allowing us to warm or cool up our image to whatever we like this works similarly to the white balance view transform but also allows control over the target white point in other words in the color balance node we also have access to change the input and the output white balance values in 4. 2 when using the file output node we would expect when saving an exr to save out as linear but if we switch over to a different format like PNG now if we wanted to select linear for this it's nowhere to be found which could be important when saving something like a roughness map or a normal map some non-color data basically in 4.
3 though we have a new save as render checkbox which we can disable and now we have a color space option and there we'll find the linear x 79 option again looking at the file output node we find that the GPU catches up with the CPU in the compositor once more as it now supports Crypt map metadata saving to exrs so with a couple of Crypt matap passes that I've rendered out to an exr file we can use the Crypt matap node to analyze and display that data which we can see in that pull down menu called object and mat taking a look at the pick output there I'll switch to the mat option which are the different materials in the scene there clicking on the plus icon and then using the viewer node in the image editor window there it can read what the names of the materials are and output meaningful text rather than just seemingly random strings of digits finally for the compositor section the auto render option that could be seen in previous versions has been removed these days since the introduction to the viewport compositor it makes less sense to use anyway and that's a wrap from me thanks ad as for the UI changes all icons in the UI are now rendered as svgs which makes them extra crisp at any UI scale speaking of the maximum resolution scale has been increased to three times for interactive elements and up to six times for properties at this size you might even notice that the blender logo in the top left looks a little different the active editor is now indicated by Edge highlighting rather than a tinted title bar this is intended to help with accessibility and you can make this brighter or darker according to your preferences in the theme settings splitting editors is a little different now you can still right click between any editor just like before but now dragging From Any Corner initiates a docking operation it may take some time to get used to but what it enables is really cool you can now just rip the outliner from the top right for example and place it on the left of the 3D view or put it back just as easily the trick to adjoining adjacent areas is just to drag it ever so slightly and not go too far enough to replace the other editor you can also hold control while dragging to swap editors or hold shift while dragging to pop the editor out into a new window windows with a single editor now show descriptive titles these operations are now also hinted at in the status bar the status bar also now has better spacing and alignment and can fit more hot Keys onto the screen data block selector lists are now a bit wider tool tips when hovering over a data block now show a preview for images movies and fonts there are styling options for Tool tip text and for developers periods are no longer appended to the end of all tool tips color picking from the viewport while in rendered mode now Returns the linear color value without the view transform applied also I don't think anyone ever thought it was slow but color picking performance has been greatly improved and the Color Picker UI is now more compact I also love how in this new version everything's just nicely aligned this may seem like a small thing but the forwards and backwards Mouse buttons now go forwards and backwards in the file browser rather than an undo or redo step I cannot tell you how many times I had accidentally done that node groups can now have a default node width and hovering over panels on nodes now shows their descriptions as a tool tip inserting nodes with drag to search is much nicer now because you can now connect the new node by plopping it over the noodle as with regular a insertion you can avoid this by holding alt on Mac Mickey Mouse apparently now grabs dialogues and areas just like in the rest of the OS also on Mac copy and paste now works for images in the image editor a bit of padding was added to UI lists a bit of padding was also added to the bottom of the vsse and nla editors to make room for the adjust last operation panel there's now a custom cursor when adjusting strips in the vsse that looks really clean the control points in custom curve properties are now larger editors with horizontal scroll bars now hide them when there's not enough room which means you can have a tiny timeline files not found are no longer removed from the recent files list automatically but can now be removed with the clear function dialogues now show a move cursor at the top to indicate that they can be dragged when it comes to importing and exporting the universal scene description file format in blender can now export Point clouds material purposes can be assigned on import handling of asset paths has been improved and exporting animated attributes is now more efficient gltf received a huge number of fixes as well as some enhancements which include associating udm material names with tile numbers using matrices as custom attributes and exporting joint leaves at the tail of leaf bones and that's everything that's new in blender 4. 3 you can download it today from blender. org and don't forget to support the Development Fund while you're there to help make future updates even better thanks so much for watching I'm Jonathan lampel from CG cookie.