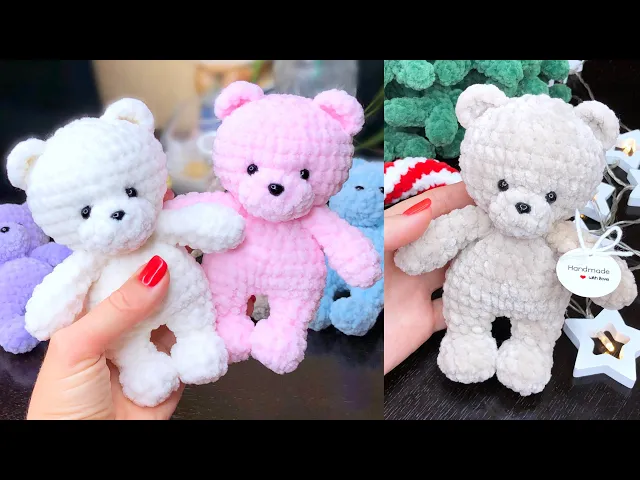
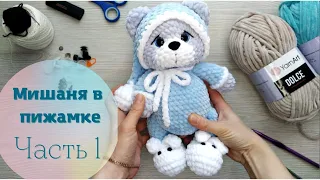
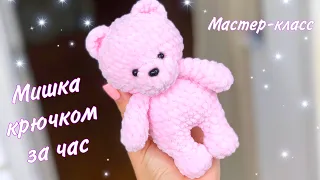
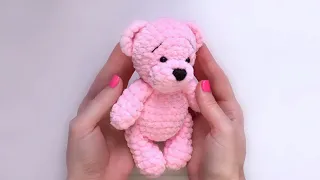
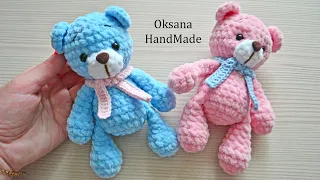
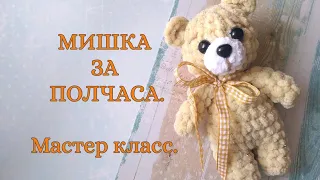
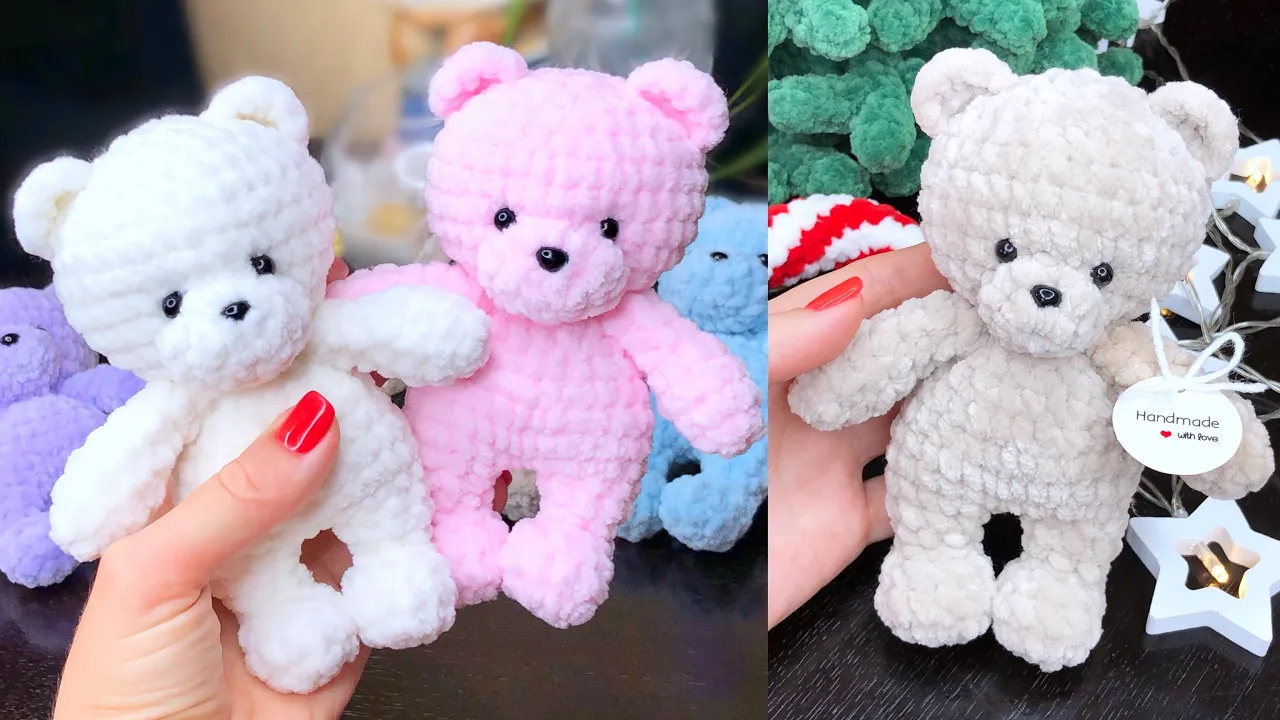
Hi, guys. Today I want to show you how to crochet these cool bears. You can crochet these bears very quickly.
It took me about an hour, maybe an hour and fifteen minutes. The size of the bear is fourteen centimeters. For crochet I will use Himalaya dolphin baby yarn.
You can also use any yarn, including non-plush yarn. Any yarn can be used. With regular yarn, the toy will be smaller.
The toy with a height of 14-15 centimeters is made from my plush yarn. Hook number 4. Yarn consumption is very small.
Probably less than half a skein. One skein should definitely yield two bears, or maybe even three bears. But I haven't tried it.
Therefore, approximately for one bear you need half a skein of Himalaya Dolphin Baby yarn (100 grams). The nose is about 5 millimeters in size and the eyes are also about 5 millimeters. I use sew-on eyes - beads.
We will also need filler, a marker, scissors, and a needle and thread for sewing on eyes, ears, muzzle and arms. The remaining parts, namely the legs, body and head, are crocheted as one piece. We start crocheting from the legs.
As usual, I attach a video for beginners here. See how to make single crochets, how to start. Everything is there.
Here I’m just telling and showing how to make a small bear. Let's start making legs. First we make one leg, then the second, then we will connect them.
I make a loop and 2 chain stitches: one, two. In the first chain stitch we make 6 single crochets. one two three four five six.
2nd row: 6 increases. In each stitch there are 2 single crochets. this is the second increase, this is the third increase, the fourth increase, the fifth increase, the sixth increase.
3rd row: 12 single crochets. We should have in total twelve single crochets. Therefore, we make 12 single crochets in the 3rd row.
The third row is finished. 4th row: 3 single crochets at the beginning of the row. one, two, three.
Now we make 3 decreases. I will also attach a video about decreases in the upper right corner in the tips. here is the first decrease, the second decrease, the third decrease.
Next we crochet 3 single crochets until the end of the 4th row. I recommend to put a marker. The 4th row is ready.
5th row: 2 single crochets at the beginning of the row. one, two. Again we make 3 decreases.
one two three. There is 1 single crochet left until the end of the row, so we crochet it. At the beginning of the 6th row we make 1 single crochet.
At this stage, I will remove the hook to the side for now. We add filler because there is already little space here. I'll add some filler and move on.
Look, I added filler to this particular part and continue crocheting. We have already made one single crochet in this 6th row. In general, in the 6th row we need to do: 1 single crochet and 1 increase and repeat this combination three times.
One single crochet has already been done, now we make 1 increase in the next stitch - this is the first time. 1 single crochet and 1 increase is the second time, 1 single crochet and 1 increase is the third time. 7th row: 9 single crochets.
two, three, four, five, six, seven, eight, nine. Make a slip stitch in the next stitch and cut the thread. We pull out the thread, tighten it, and hide it inside.
One leg for the bear is ready. This is how it turns out. Distribute the filler evenly.
We crochet the second leg in the same way. We just don’t make a slip stitch at the end and don’t cut the thread. We will continue to crochet with this thread.
The second leg is also ready, everything is the same as in the first leg. Finished with the 7th row and 9 single crochets. Next we crochet 7 single crochets along the same leg: one, two, three, four, five, six, seven.
We take the second leg made earlier and find the slip stitch. The slip stitch is clearly visible. From the slip stitch we count two stitches: one, two.
I repeat once again: we find the slip stitch, it is visible. In the second stitch from the slip stitch we make 1 single crochet. In this way we connect the legs.
Now we make 2 increases. the first increase, the second increase. Next we make 4 single crochets: one, two, three, four.
Now we make 2 increases. We make an increase as if under a slip stitch. I say this as a guideline.
Something went wrong. . .
here is the first increase, and in the next stitch we make the second increase. Now we make 4 single crochets again. We do not skip the stitches.
one. It is important to crochet each stitch. two three four.
We make 2 increases again. This is the first increase. We have already proceeded to the other leg.
the second increase. Four single crochets again: one, two, three, four. Again we make 2 increases: the first increase, the second increase.
and 1 single crochet to the end of the row. This is how we connected the two legs of the bear. 9th and 10th row (two rows): 30 single crochets in each row.
I recommend using a marker to control the crocheting process. So that you get exactly 30 single crochets. We make two rows of thirty single crochets ourselves.
Now I have already made two rows of thirty single crochets. This is what crochet looks like now. This is the beginning of our row.
11th row: 3 single crochets and 1 decrease and so on until the end of the row. We can do this six times. We simply crochet a combination of 3 single crochets and 1 decrease to the end of the row.
The 11th row is completed. 12th row: 24 single crochets. We simply make one single crochet in each stitch.
The 12th row is ready. 13th row: 2 single crochets and 1 decrease and do this until the end of the row. We can do this six times.
The 13th row is ready. 14th row: 18 single crochets. We simply make one single crochet in each stitch.
The 14th row is completed. 15th row: 1 single crochet and 1 decrease and so on until the end of the row. Rearrange the marker.
We crochet the combination to the end of the row: 1 single crochet and 1 decrease. The 15th row is done. 16th row: 12 single crochets.
We simply make one single crochet in each stitch. We have finished this row. Now we will make the head.
At this point I remove the hook and add filler. We evenly and tightly fill the legs and body of the bear with filler. And then we will continue further.
Filler added. This is what the bear looks like. It will be a very beautiful toy.
17th row: 12 increases. In each stitch we make 2 single crochets. In the last (previous) row we have made 12 single crochets.
Now we need to make 2 single crochets in each stitch, that is, we make 1 increase in each stitch. It’s better to put a marker here too. I place a marker in the first stitch.
and we continue further. . .
. the second increase, the third increase and so on. .
. We have made 12 increases. 18th row: 1 single crochet and 1 increase and do this until the end of the row.
At the end of the row there will be 36 single crochets. Remember, the main thing is not to skip the stitches. For everything to work out, you need to clearly count each stitch.
Here is one single crochet done and put a marker, continue further. and 1 increase is two, three, 1 single crochet is four and 1 increase is five, six, seven and 1 increase is eight, nine; and so on until the end of the row. The 18th row is completed.
There are now 36 single crochets in the row. From the 19th to the 23rd row inclusive (5 rows): 36 single crochets in each row. 5 rows done.
This is what the crochet should look like at this point. Next we will make decreases. 24th row: 4 single crochets and 1 decrease and do this until the end of the row.
Here is one single crochet done and we move the marker. And we continue to crochet the combination until the end of the row: 4 single crochets and 1 decrease. We can do this six times.
25th row: 3 single crochets and 1 decrease and do this 6 times just until the end of the row. Then in the 26th row: 2 single crochets and 1 decrease, also doing this 6 times until the end of the row. Add some filler at this stage.
27th row: 1 single crochet and 1 decrease and do this 6 times just until the end of the row. Add the filler completely. We finish making the head with decreases until the hole is closed.
And the head will be ready. Head, body, this preparation is ready. I'll show you: I'm already finishing crocheting.
Now I'm doing the sixth decrease on the last row. This is already my seventh decrease. I'll make a decrease as a slip stitch.
Cut the thread and tighten it here. Insert the hook from the side, go out into the middle and pull out the thread. We pull and tighten the thread and it turns out like this.
Here we tie a knot. We just hide the thread inside in this way. The end result should be such beauty.
Now we will crochet a muzzle for a bear. Let's start as usual. Loop and 2 chain stitches and in the first chain stitch we make 6 single crochets.
one two three four five six. 2nd row: 6 increases. In each stitch there are 2 single crochets.
one two three four five six. 3rd row: 1 single crochet and 1 increase and do this until the end of the row. At the end of the row there will be 18 single crochets.
We make a slip stitch in the next stitch and cut the thread. We pull out and tighten the thread, stretch it to the other side, and turn the muzzle inside out. This muzzle for the bear is ready.
Sew the muzzle to the head. We will sew with a regular needle and thread. So I attached a thread to the muzzle, put it here and just sew it on.
First I go into the head with a needle, now into the muzzle, and so on in a circle we sew the muzzle to the head. Look, we sew it like this, we sew it in a circle, but we don’t sew it all the way. We will need to insert the nose, fix the nose in the middle and add filler to the muzzle.
Only after this we will finish sewing the muzzle to the head. It's simple. We finish on our own.
This is how I managed to sew on the muzzle. The nose is inserted. All we have to do is crochet and sew on the ears and arms of the bear.
Let's crochet the ears first. We crochet the ears in two rows. The first row is 6 single crochets in the first chain stitch or in an amigurumi ring, as usual we start crocheting.
I make 2 chain stitches, and in the first stitch we make 6 single crochets. 2nd row: 1 single crochet and 1 increase and do this until the end of the row. Here is 1 single crochet and 1 increase is two, three; 1 single crochet is four and 1 increase is five, six; 1 single crochet is seven and 1 increase is eight, nine.
We make a slip stitch in the next stitch and cut the thread. Pull out and tighten the thread. We stretch each end of the thread to the opposite side.
Be sure to turn your ear inside out. I cut the ends of the thread and stitch them with a regular needle and thread so that they do not stick out and get in the way. We crochet the second ear in the same way.
Both ears for the bear are ready. Now we need to sew these two ears to the head. Everyone sews where you like.
The main thing is that everything is smooth, symmetrical and beautiful. We apply and sew on the same as the muzzle, first we go into one part, then into the other, nothing complicated either. I just take an ordinary needle and thread and sew on first one ear, and then the second ear.
Look, I have already sewn on one ear and sew the second ear on this side in exactly the same way. This is how I managed to sew on the ears. I like everything.
All we have to do is crochet the arms and sew them to the body. We also make 6 single crochets in the first stitch or in an amigurumi ring: one, two, three, four, five, six. 2nd row: 1 single crochet and 1 increase and do this until the end of the row.
We can do this 3 times. We now have 9 stitches in the row. 3rd and 4th row: 9 single crochets in each row.
Two rows with nine single crochets in each row are made. 5th row: 1 single crochet and 1 decrease and do this 3 times just until the end of the row. Here is 1 single crochet and 1 decrease - this is the first time; 1 single crochet and 1 decrease - this is the second time; 1 single crochet and 1 decrease - this is the third time.
6th, 7th and 8th row (3 rows in total): 6 single crochets in each row. Three rows of 6 single crochets are made. Now we make a slip stitch in the next stitch and cut the thread.
Pull and tighten the thread, hide the thread inside. We do not add filler to the arm. We will crochet the other arm in exactly the same way.
And then we just need to sew the arms to the body of the bear. I sew with a regular needle and thread right here, where we have the transition from the body to the head. I'll show you on a bear I've already made.
It will be better visible on a light bear. That's how I sew it, it's simple. Look how beautiful the toy looks, how beautiful the bear is.
I really like these proportions, the head is large and the body is smaller, it’s just a sight for sore eyes. This is what I wanted. Now I will sew on the eyes.
Take a thick thread. You need a strong thread so that the eyes are well sewn and held securely. I don’t tighten the muzzle of this little bear, so there’s nothing special to show about sewing on the eyes.
I just sew on two eyes. Everyone chooses independently where to sew on the eyes, where you like; at the distance you like, just sew it on and that’s it. I sew the eyes several times, then I cut the thread, pull the thread here inside the head so that it gets tangled in the holofiber, I cut the thread and it’s done.
As a result, we have such a beautiful bear. The toy is just lovely, small and cute. By the way, you can make it in the form of a keychain.
Attach a mount for the keychain here. The toy will be like a keychain. This is how the bear looks in beige, pink bear, yellow bear, blue and purple.
This is what I have crocheted so far. We're done, I hope you enjoyed this video tutorial. If YES, then like, write comments and subscribe to the channel, who has not yet subscribed.
See you soon!