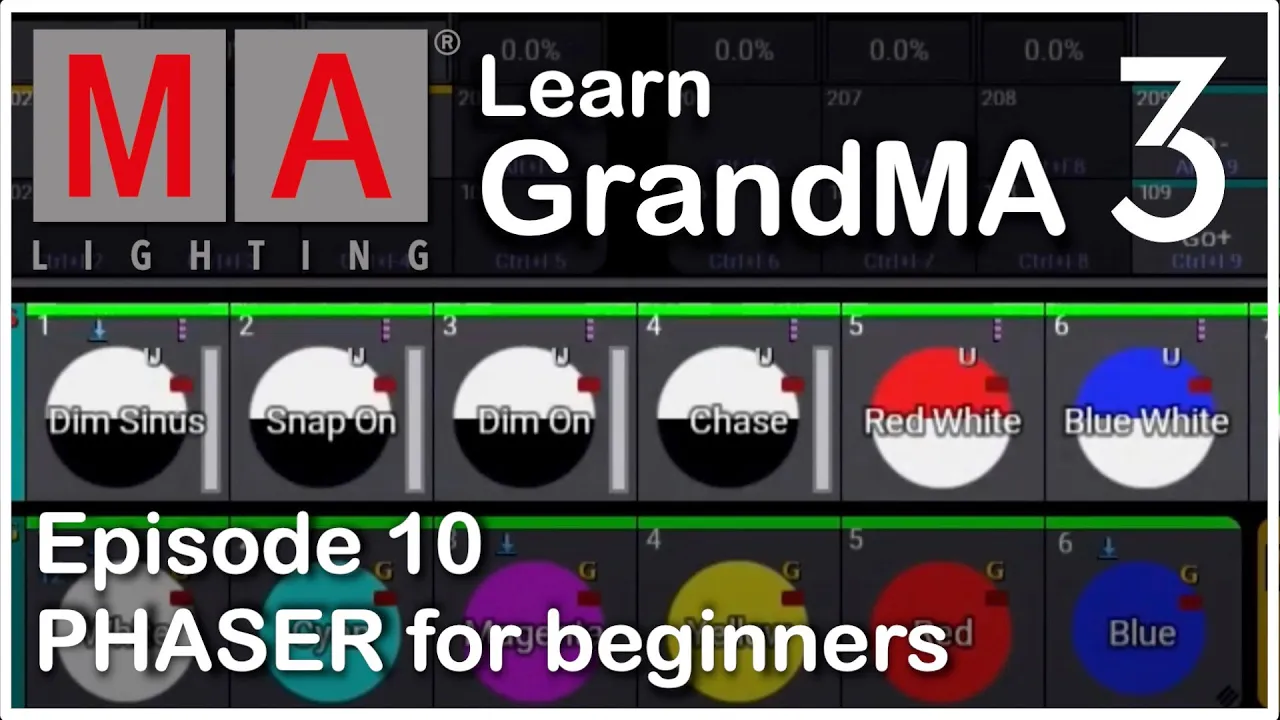
If you are interested in the new way of making movements and all kinds of automated stuff in the GrandMA 3 console, this tutorial is for you. We are going to dig into the phaser, which is the new effect engine on the GrandMA. It's kind of different; it's very different from the old one on the GrandMA 2 and on the GrandMA 1.
I think it has potential, but I think the learning curve can be a little steep. So, in this tutorial, we're going to look at the new phaser and try to load some predefined effects. If you have been looking at the console and have been trying out the software, you will find that there are no predefined effects there; you have to load them from a macro, and we haven't touched on macros in this tutorial series yet.
So, we are going to do that in this one by loading a predefined macro, which can load some predefined phase effects. It sounds a little bit complicated, but it's really not. So, if you want to learn more, watch the video all the way to the end, and I will show you some cool effects.
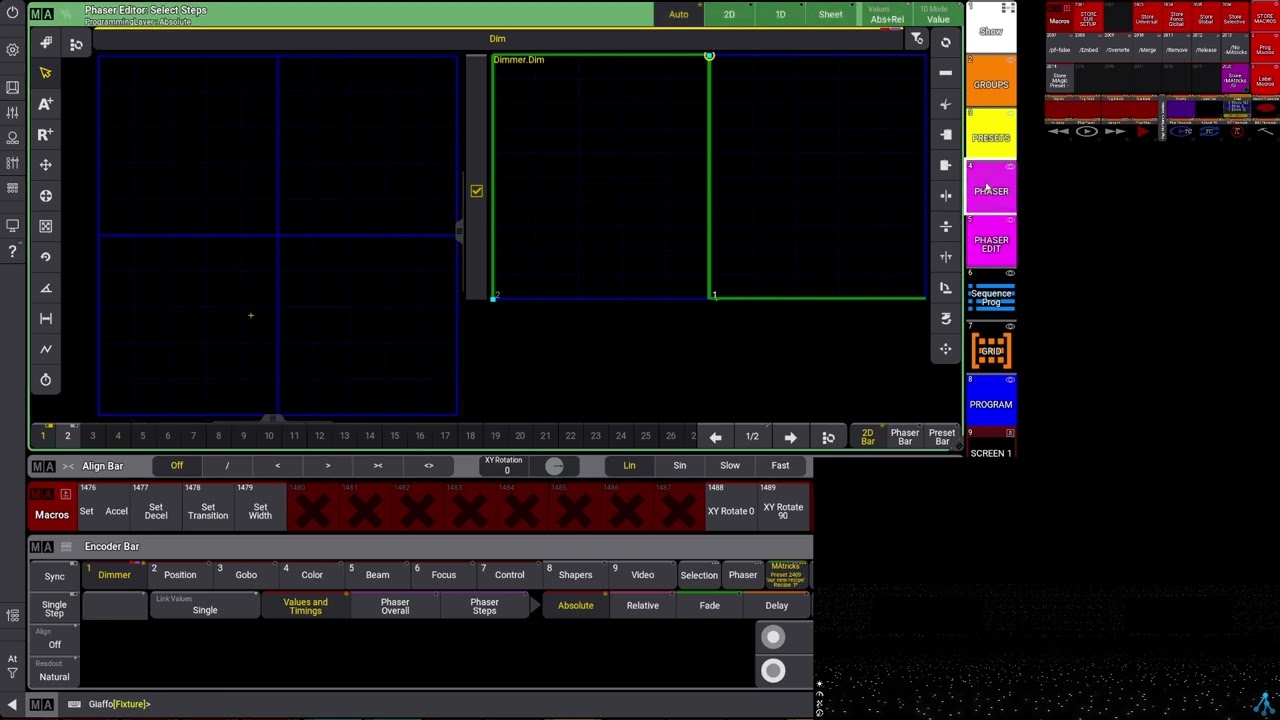
As you can see here, I just prepared a new view. I inserted a macro view down here, and I inserted an old preset here. If you don't know how to find the old preset, I can just show you here: click on the empty space, go into presets, and select the first one of all the presets down here.
The same thing applies; you go into the pools and find the macro pool. You select it, and it's going to open the macros. I mean, you can do this in any way you want.
Remember, if you want to change the view so that you can get more room on your computer, go into the icon up here, go into configure display, and this is going to show you this window. You can set the scale if you right-click to 0. 075, and that's going to give you a lot more room to work with.
But for the sake of people watching on smaller devices, I'm just going to stay at one here. So, we have our macros down here and our old preset here. What we need to do is create a macro.
If you haven't worked with macros before, we're going to get into that; that's in another world, basically. Many macros are being built that can do amazing things on the GrandMA 2 and on the GrandMA 3 as well. Macros are really, really cool!
But for now, I'm just going to show you a simple little thing. If you go down here and right-click, it's going to open and say 'new macro line. ' You can go into import; if you click import, you can search for phaser like this, and you have a macro called 'import predefined phaser.
' If you click that one and say import and then just close the window down, it's going to create a new macro for you here. The only thing you have to do now is to click it. When you click it, it's going to populate the all preset with a bunch of macros.
There are, I don't know how many—22 macros—and I believe this is going to grow over time. I’m sure that MA is going to find a different way of doing this when the software updates at a later point. But this is your all preset, and this is your predefined effects.
By the way, if you like this video or get any value out of it, please consider liking the video and maybe even subscribing to the channel. That way, you're going to get a notification every time we upload a new video. Right now, I have my vipers on right here in cue 1.
We built that in a previous episode, and what you need to do here is select your vipers and press one of the effects, and it's going to start to do something. There are a lot of different things here. The first ones are dimmer effects, and they can do different things with the different dimmer curves.
You can have some—maybe if we clear this one—you can probably take some color effects as well, where it goes from white to red, and the same here: blue to white and green to white. When we get further in this tutorial series, I'm going to show you how to build the effects on your own. But right now, if you want to do something, then you can start by working with the predefined effects.
If you can go further than this and say we had some color presets, we can do some—it we select the vipers, we can do some tilt. We can probably add some pan to it as well, and it's going to move real slow. Then we can adjust the speed and the size and everything after that.
There are a few other things here—some slow fly-outs. I haven't used this one ever, so let's see if it works. Yeah, it's actually a fly-in right now.
But that's the way you can load predefined effects, and then you can save them and modify them and do whatever. So, let's try modifying an effect. If we clear here once again and let's say, okay, we want to build a tilt effect, and we want to build a pan effect, for instance.
We go up into all our vipers here, we press the tilt effect, and it starts to work right now. It's doing everything at the same time; there's no phase in between them, there's no randomization or anything. But what you can do is go down to all these buttons down here and choose 'phase,' and this is only the tilt parameter working right now.
So, if you press the tilt parameter and you are under the phaser menu, it's going to ask. . .
You what you need to, what you want to do, what we could do was to put on a zero through 360 on it, and it's gonna spread out the pan effect. Oh, sorry, the tilt effect from 0 to 360. And you can basically do this again and say, "Okay, I want it to be the other way around.
" It's going to move the other way, and there's a lot of different things you can do in here. You can even say 0 through 360 through 0, and then it's going to do something like this. So, there's a lot of options in here, and it's really cool to work with, but it needs—if you haven't worked with GrandMA before—the learning curve is pretty steep.
But let's try something different here. So, now we have our effect moving. We want to save it in a sequence.
I just closed down all the sequences down here because we needed the room for the macros. We can close the macro window down again because we don't need it anymore. Then, we can click this one, choose our sequences again, and say I deleted the rest of the sequences; we only have this master cue list right now.
So, right now we have all our vipers. We are only working with one parameter, which is the tilt. We could save that on a fader, so let's do that.
We say “store,” and we put it on this one, number 202. So, if we clear here, we have our effect running on sequence number two right now. What we could do is say it's very slow right now, so I would like to make it move faster.
So, if you go into sequence number two up here and you right-click it, I just need to open the right window here—sorry, there we go. If we right-click—hello, where are you? —there you are.
And then we go into the settings, and we can start playing with some speed options in here. Right now, we don't have a speed master on it, so let's do that. Let's start by defining a speed master for the movement.
So, if we go down into this one called 110, and we right-click on this one, there's nothing in it, but we can basically define a special master to control our movement speed. So, if we go down to the master section here and then go into speed number one, for instance, and we close it down, you can see now there's a fader here, but it doesn't do anything—there's no movement, no change in the speed whatsoever. So, if we go up to the sequence again here, and we go into the settings of the sequence, we can choose speed master down here.
And here we can choose speed number one. If we close this one down now, and we take this one all the way down, you see the effect stops. If we take it all the way up, the effect is much faster.
If this is not fast enough for you, you can do something in here. You can go into sequence number two, you can go into edit settings under speed master. Just below that one, there's a speed scale; you can click the speed scale and multiply it by two.
If you right-click, you can see all the different options you have in here. This one is the first one we had before; this is one to one. Basically, if you right-click it, you can divide the speed by four, then it moves a lot slower, and the handle here reacts to the division you made.
Again, you can say, "I want to multiply it by two," so it moves fast like this. And now this is the fastest it's going to move. Then you can take the speed down like this and make it move real slow.
So, that's a very, very simple phaser in a movement phaser. Let's build another one and say, "Now this is our movement phaser. " Let's name it right here.
We can use our swipey and say “label,” and we say “tilt effect. ” Like this, let's build a color effect of some sort or maybe a dimmer effect. Let's take all our vipers again and see if we can find something fun here.
We have a sinus dimmer curve, so if we push that one, it's going to slowly start to pulsate like this in a sinus curve. Once again, we go down to phase, we go into our demo, which is the active parameter right now, and we say 0 through -360, for instance, then it starts to move like this. Then we can say, "Okay, this effect is now the way we want it.
" We can set the speed if we want; we can say it's at 60 beats per minute right now. You can turn it up; you can turn it down. That's all up to you.
But let's say, "Okay, this is what we want," so we can once again say—oh, sorry, we need to store—and we can put it maybe here, and we can rename it to “sinus effect. ” There we go. And now we have a speed master for our movement down here, but we don't have a speed master for our dimmer.
Let's just start by renaming this one to speed number one. If we go into speed number one and we go into edit settings, it’s called speed one. We can call it “move speed,” and now we can identify what is what.
Let's build the next one and say on this one we need to right-click on this one, we go into our handle, and—sorry, we're going to our object—we choose our master, and you can see we changed speed one to move speed. Let's select number two, close this one down, go into it again, and say we need this to be “dimmer speed. ” There we go.
And right now, we have stored our effect over here. Let's just clear. We have stored our effect right here on our sinus effect.
If we take this one up. . .
It's going to start, but right now we have no control over the speed at all. So we need to go into the sinus effect here, and we need to go into the settings. We need to go into the speedmaster, and we need to select dimmer speed.
So now we should be able to control the dimmer speed here the way we want it. And again, if you want to change the multiplication, if you want to make sure that it's the right scale or whatever you want to call it, you can go into your settings again and you can set your speed scale down here if you want to. So this is a very basic tilt effect; this is a very basic sinus effect.
Let's end this with a small color effect. We can just take this one down, and it's, once again, open. Let me show you another way of doing it.
Right now we have our predefined effects here; we can build our own, which is actually quite easy. Let's select all our wipers. Let's go down to color; let's go to this one down here, which is number one.
If we write—sorry, we need to do something here—we need to choose a color. Let's say white. Then we can—oh, we need to—right now I just selected one parameter.
This is kind of annoying that it always does that, but it's actually quite beneficial in other areas. We have to check this one feature, which is the entire handle right here; otherwise, it's only going to touch the green right here. So once again, we do this and go into white, and then select all three of them.
Let's go to step number two and select maybe a—let's just do a blue. And now it starts to work between white and blue. We can just briefly go into phaser here, which is our facer window, which we're going to touch in another episode; this is where you can really customize your effects.
Right now we just need to change our demo curve or our transition from one to the other. If we go down to this small icon down here and you press it, you can see you have a sinus curve here; you have like a sawtooth here, or I don't know, this one is what was called a PVM in the GrandMA 2. If you press this one, it's not gonna fade; it's gonna go on or off.
If you choose this one, you can see here it fades between them. If you choose this one, it snaps between them. So now we have this one: white, blue; and then we could go into our face here again, and we can offset it zero through 360, and it's gonna do it like this and do it with the base color as well.
So this is another way of doing an effect. This is once again because we only have the green parameter, then it's going to do this weird stuff here. So if we go into feature again and we offset it, they're going to follow along, all of them.
So be aware of this link phaser; it's been bugging me a few times. It's really annoying that it's not always set to the value where you want it, but when you need to split it up between different values in pan and tilt, for instance, and even in color as well, it's quite useful. So just be aware if it does funny stuff; that might be why.
I hope you enjoyed this tutorial, and please check out one of the other videos linked on the screen right now. We'll be back next week with another tutorial on GrandMA 3 and GrandMA 3 programming. If you haven't liked the video, please do so.
If you want to check out another video from us and maybe even subscribe to the channel, you are more than welcome to do so. But thank you and see you next time. Bye-bye!
![Hands-On Power BI Tutorial 📊Beginner to Pro [Full Course] ⚡](https://img.youtube.com/vi/5X5LWcLtkzg/maxresdefault.jpg)