In today's video, I'm going to be comparing Premiere. Pro's Lumetri Color Panel to the film. Convert Nitrate Plugin.
Now, you may have seen. Several professional filmmakers talk about film. Convert on YouTube.
It's essentially a creative color grading tool that allows you to take your digital video and create creative color grids with. Film emulation and grain. Now, it does cost money, but you only have to pay once.
It's not a subscription plug in. So I'm going to take a look at the similarities and the differences. And then color grade, the same shot using the film convert nitrate and Lumetri icolor.
So that way. We can answer. This question is it worth it to.
Get the film convert nitrate or is Lumetri color good rnough and let's get into it! First of all, let's talk about the similarities. Both of them are creative color grading tools.
You can create a color grade using both. And second, they both. Have creative presets.
Built in. So Film Convert. Has their film stock presets.
And the metric color from their. Creative dropdown has a bunch of creative looks that you can choose from. And third.
They both have basic. Correction tools. So if you need to.
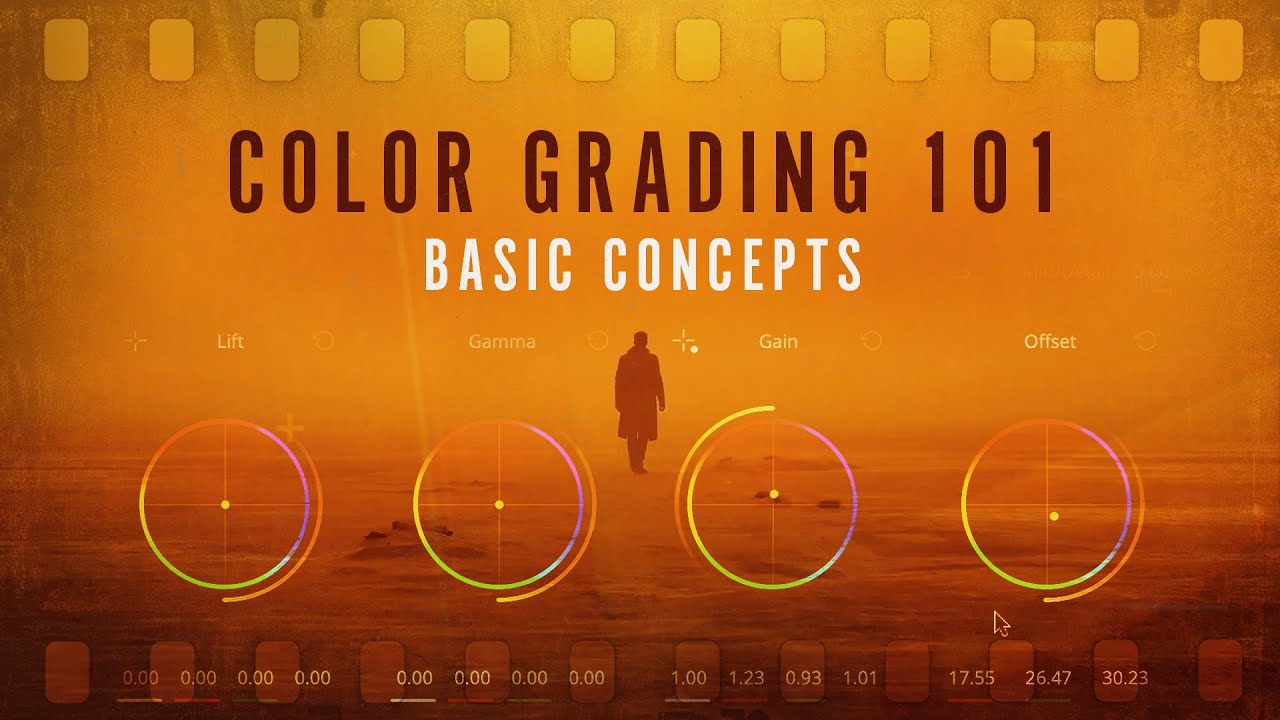
Increase your exposure. Or change the temperature or tint, they have those. Tools available and they both have color, wheels.
And. Curve. So if you need to adjust the color of the mid tones, highlights or shadows, you.
Can do it in film convert and low metric color and they both. Have a curved. Section so you can adjust the brightness with the.
Luma curve or RGV colors as. Well. And the last similarity is once you're done doing your color grade, you can export it and save it as your own lot, which you can use in future projects.
So those are the. Similarities and they both. Offer a great set of tools that will allow you to color.
Great. But now let's go into the differences. Let's talk about pricing as the first difference luminary.
Color comes built in free inside of premiere pro film convert. Is something actually that you have to purchase. For premiere pro and it costs $139 once.
For after. Effects and Premiere Pro if you want to get the entire. Bundle which has.
A plug in for all the different. Software it costs. 199 But compared to other plug ins, it's actually nice that it's not subscription, right?
And then in terms of. Usability. You can use Film Convert and.
DaVinci Resolve. Premiere pro. After effects.
In Final Cut Pro and with Lemon Tree, it's only available in Premiere Pro. Obviously the next difference is input LUTS. With the metric color, there's a.
Drpdown where you can import a technical. LUT that will. Either change your image from, for example.
A log. Format to rec seven or nine. Color space.
And a film convert. They do not have. This, but film.
Converter. Does have. Camera.
Profiles. Which in a sense are kind of like input technical, but because they will essentially change the. Color for that particular.
Camera. Profile. For the camera that.
You use. And Luma. Tricolor doesn't have that.
You do have to either purchase. Or download your own free input. LUTS to use.
Another benefit of Luma. Tricolor that will have to. Give a point to blue metric four.
Is that. It has a new auto button that when you click on it, Adobe Sensei will make auto adjustments to all your basic controls. If you have no idea what.
To do. It can do it for you. And there's a strength slider.
And it has a lot more basic controls. That film convert does not. For example.
It has the. Shadows and the highlights. Contrast blacks and whites.
Which film convert does not have in their basic. Controls. And the next one goes.
To film convert. Film convert comes with. Six k grain.
Scans and a whole. Ability to adjust the. Grain size of the film.
Emulation and the matrix color doesn't have a built in grain feature. They just have the presets, but there's no grain. The next difference is in the film stock selection.
So Film Convert comes with 19 different film. Stock emulation is the. Metric color has a very.
Limited. Set of film. Stocks and they're dropdown and they aren't mapped.
To accurately display. Your camera color. Which film convert does.
So each style that you see. From the dropdown has been mapped. Accurately to each.
Of the 19 film stocks, including. Color, negative, color, positive, black and white and Polaroid. Now each.
Style. Has been modeled. To accurately.
Match. The colors provided by the camera itself, and it's coupled with a proprietary s RG B. Viewing transfer to mimic an ideal film projection onto your s.
Rg B display. So compared to a metric film convert definitely wins here. And lastly, this one actually goes telemetry.
Which has more. Secondary and hue. Saturation curves.
So there's no secondary. Or selective. Color grading options in film convert.
So if I wanted to change the color of an existing hue, that's something that I would. Have to. Do in the metric.
Color. Now that said, those. Are all the main differences.
Here, but. Remember. That.
You can use both of them together. So while. You may want to use.
Film convert for those great film stocks, you. Can always then use the metric color at the same time to do some more. Selective hue saturation adjustments.
So let's. Go ahead and color. Grade the same shot.
I have the shot. Here from art. Grid it's by Brad.
De and he shot this on a red helium in eight. K. So the first.
Thing we need to. Do is. Download the camera.
Profile that you shot your footage with. First you're going to choose the camera manufacturer. In this case, we're going to choose.
Red. And then I'm going. To choose.
The red helium weapon and then choose your operating system. I'm on a mac and then choose the region that you're in and then download the camera pack. So here in the timeline, I.
Had this raw clip that was shot on the red. Weapon. If you're.
Curious to know what camera profile. It. Is, you can just click on the clip.
And then from Effect Controls, if you click on Source, you can see the image pipeline. IP, P two, which is very useful information. So the first thing we need to.
Do is go to. Effects and search for film, convert and double. Click to apply it to.
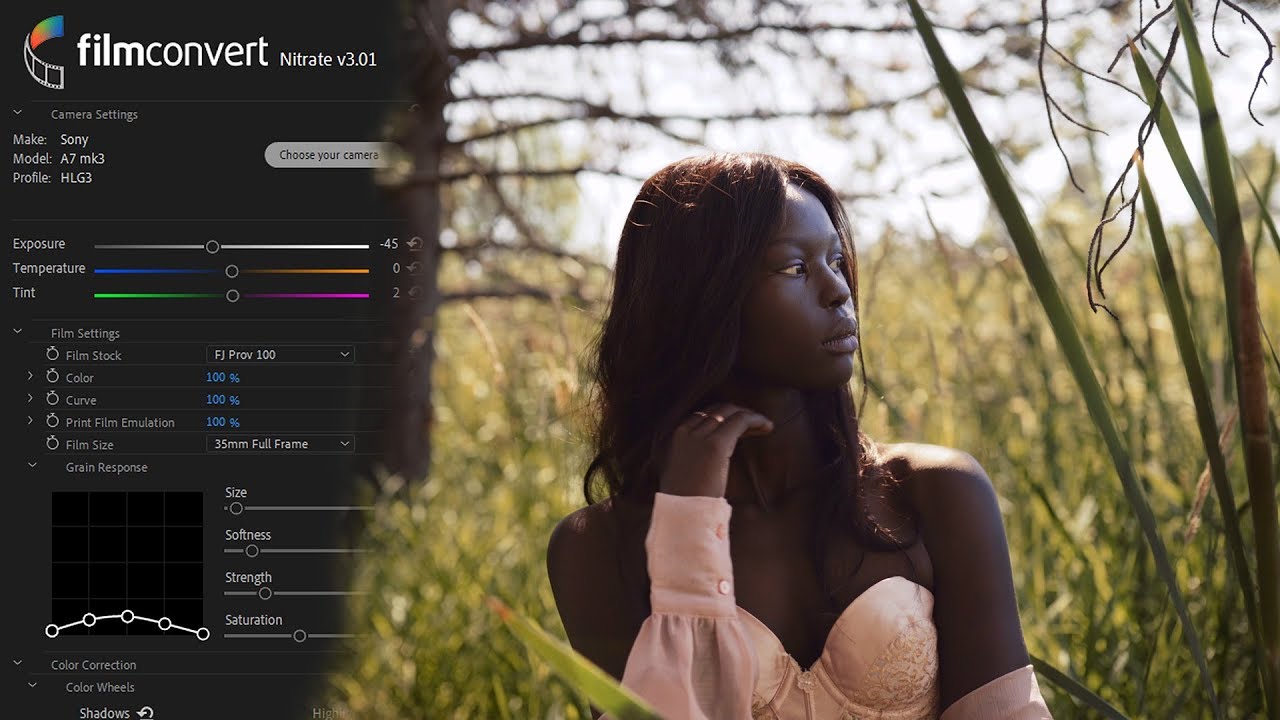
The clip. Now I move the effect controls over on the right hand side because now when we click on this clip, you'll see film convert nicely. Laid.
Out here in a vertical format so it's. Just easier to use. So the first thing we need to do.
Is. Choose the camera and from here I'm going to. Choose.
Red and then helium weapon. And then from the dropdown here. We're going to choose IP to and press apply.
And immediately you can see. It looks a lot better. Now.
Right now it's. Just defaulted to the Kodak 5 to 0 seven. I'm actually going to change it to the.
Fuji 8543 vivid. And it looks really nice. But we're going to make a few adjustments here because.
It does look a. Little bit blown out on the right. So right now it's at 35 millimeter, which I'm going to leave it.
Out for full. Frame. But you can see if I change it to Super eight.
It just looks. Far more grainy. If I zoom in here, you can see the grain difference here.
That's Super. Eight and this is. 35.
Millimeter. Just gives it a more soft look, which is why people really like. Using film convert.
And then from the film. Size, there's a. Grain response parameter here where you can adjust.
The size, the softness. In the strength saturation. And then below that there's some color correction.
So if we. Want to make adjustments. To the shadows highlights and.
Mid tones, for example, if I want the. Shadows to be a little. Bit more.
Blue. I can bring this down the highlights. I can make it a little bit more red.
And you can also. Adjust how. Intense you want the.
Highlights to. Be. And then saturation.
I can move this over if I want the colors. To be a little bit more vibrant. Another thing we can do.
Is use the curves, and this is where I like to actually pull up. Telemetry. Scopes, which looks like.
This right now. I have the Luma waveform, which represents the brightness. If you don't see this, you can go to the rental.
Tool, make sure you have. Waveform and under waveform type. Go to Luma.
Which represents the brightness. Basically, we want the bottom of the curve. To get as close to.
Zero in the top, to be. As close to. 100 for optimum contrast.
So we can use this line here, the Luma curve to control that. So we're going to do. Is use the bottom curve here.
And bring this down just around right. Here is good. So this is the after.
And you can see the Luma waveform is fully ignited. It's exactly where it's supposed to be. And if we turn it off, you can see it's just more.
Washed. Out and flat, kind of that. Log raw look that we don't like.
So let's turn. It back on again and let's play it back. And you can just see.
It looks really. Rich and awesome. So now let's do the same shot.
But with Luma tricolor this time. Now as I talked about before, it doesn't come with built in camera. Profiles, but.
You can from different camera. Sites download free light that will. Convert.
It to a. Rec 709 format. So in this case, if you're using red, you can go to the red website.
You can download creative lights and the. IP to output presets, which is what. I downloaded.
So from the dropdown, the input light, I'm going to. Select, I'm going to go to Rec seven. Or nine folder and I'm going to.
Choose. The medium contrast. With soft size.
It does look a bit better. But we still need to make some more adjustments here. So one thing that we can do with low memory color.
Is. Click on this. Auto button.
So when we do that. It's going to. Shift these controls over.
Automatically based on what Adobe Sensei, which. Is the I. Think makes sense.
For this shot. So this was the before. And the.
After. So you can see it just added. A bit more contrast.
Here. Of course we can adjust the intensity. So if we want it to be way more contrasty, we can slide this.
Over. Or we can lessen it. So it's.
Just a subtle. Amount really depends on your subjective point of. View.
If I want to keep it just a little bit above the. Midpoint here and then underneath the. Creative tab, this is where there's the look dropdown.
And you can. See that they have some Fuji and Kodak. Filters and monochrome ones and a bunch of.
Other momentary presets. That come loaded up inside of Luma tricolor. So we can try out one of these and this one.
Looks okay. But it kind of made it. A little bit overexposed.
So we can. Do is we can adjust the intensity here. So it's not quite.
As hot as it was. We can also add in a little bit of saturation. We don't want it to be too much, but just a subtle amount.
Just like with the. Curves in film convert, we can adjust. This curve so that we can get closer to zero.
So we can move the bottom to add in some more contrast like that. I think that looks. Okay right here.
And then. There's also the color. Wheels and match.
Like we did before. So we can bring the shadows down to the. Blue slightly.
And the highlights into the red. Just a little bit. Not too much and some of the mid tones into the blue.
And there's also. A vignette if you want to make. The edges a little bit dark.
You can move. This to the left and see how it adds a. Vignetting around the.
Edges. Just a slight amount. And one last adjustment I would make is maybe a lower.
The highlights just slightly here, so. It's not as intense and there's a little bit more information in the upper. Right with.
The sun reflecting back at the camera. Here. But this was the before.
And this is. The after. But to really see what it looks like, let's actually do a comparison view so you can see the side by side here.
Film converter just. Produced an overall more. Accurate color.
Accurate image compared to a metric. Color you'd see it looks a little bit yellow. In the sand and not as vibrant and.
Rich overall. Film convert. Because of the.
Camera. Profile and color accuracy for that. Camera, it.
Just produced a better result. And I do recommend, especially if you're filming for weddings or films to shoot in either. Raw or the.
Like format to produce. The best results here. So try out the trial.
With my link below and if you are convinced you can use my code premiere gold to get 10% off. And I am an affiliate with film convert. So if you do use my code, I do earn a small commission from that.
So thank you in advance. If you decide to purchase film convert so if you also shoot with two different types of. Cameras, for example, a canon and a Sony, and you want them to have the same.
Look, but they have a. Different color. Science will.
Actually film convert created a new. Tool called. Cinema that.
Which will allow you to. Essentially match those two cameras. To look.
The same. And I made a full. Video about.
It and you can. Click right over here to go check that out where I compare. My Canon and Sony color matching with cinema.
And that's all for today's video. If it helped you out, be sure to give it a thumbs up as well as subscribe. And as always.
Keep. Creating better. Video with gal.
See you next time by.