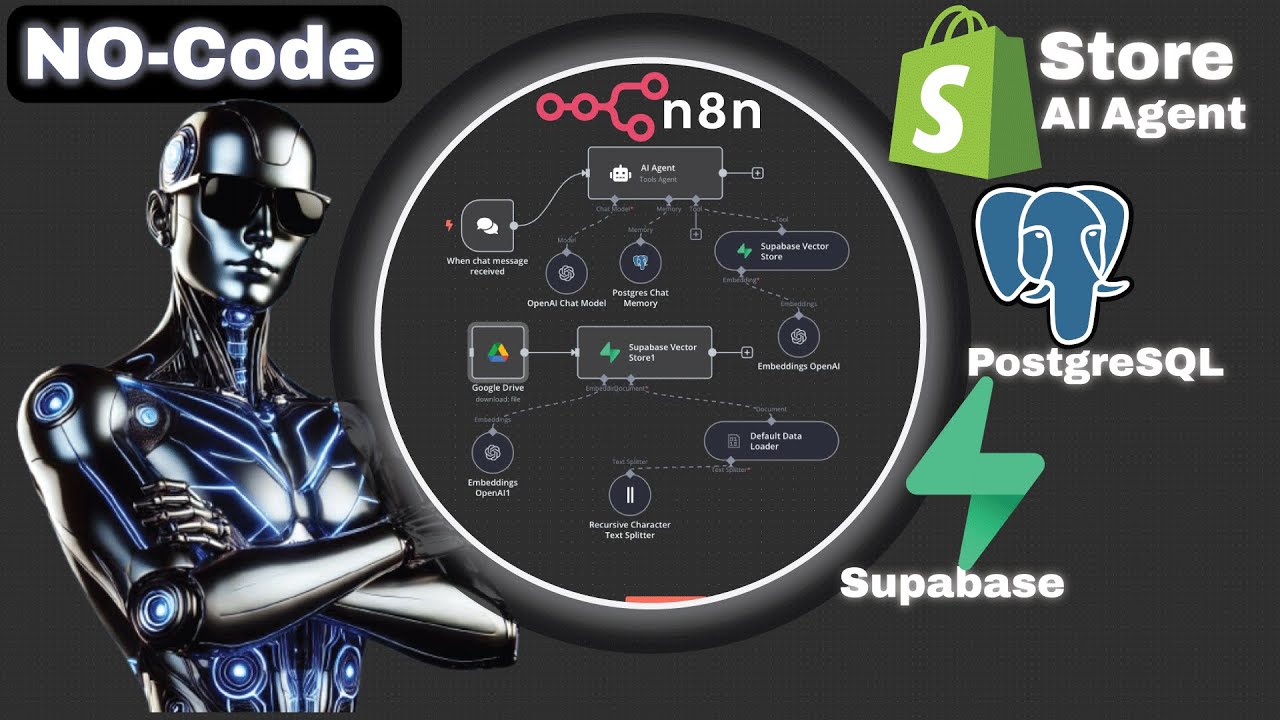
So today, I'm going to be showing you guys how to connect PostgreSQL and Supabase to Naden. What I'm going to be doing today is walking through signing up for an account, creating a project, and then connecting them both to Ed. You guys can follow every step of the way.
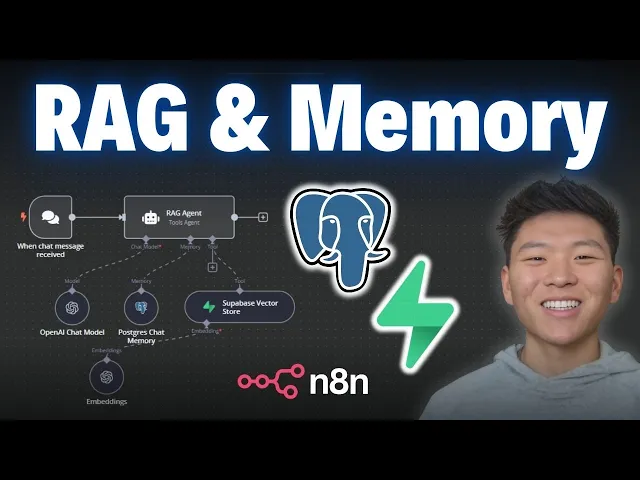
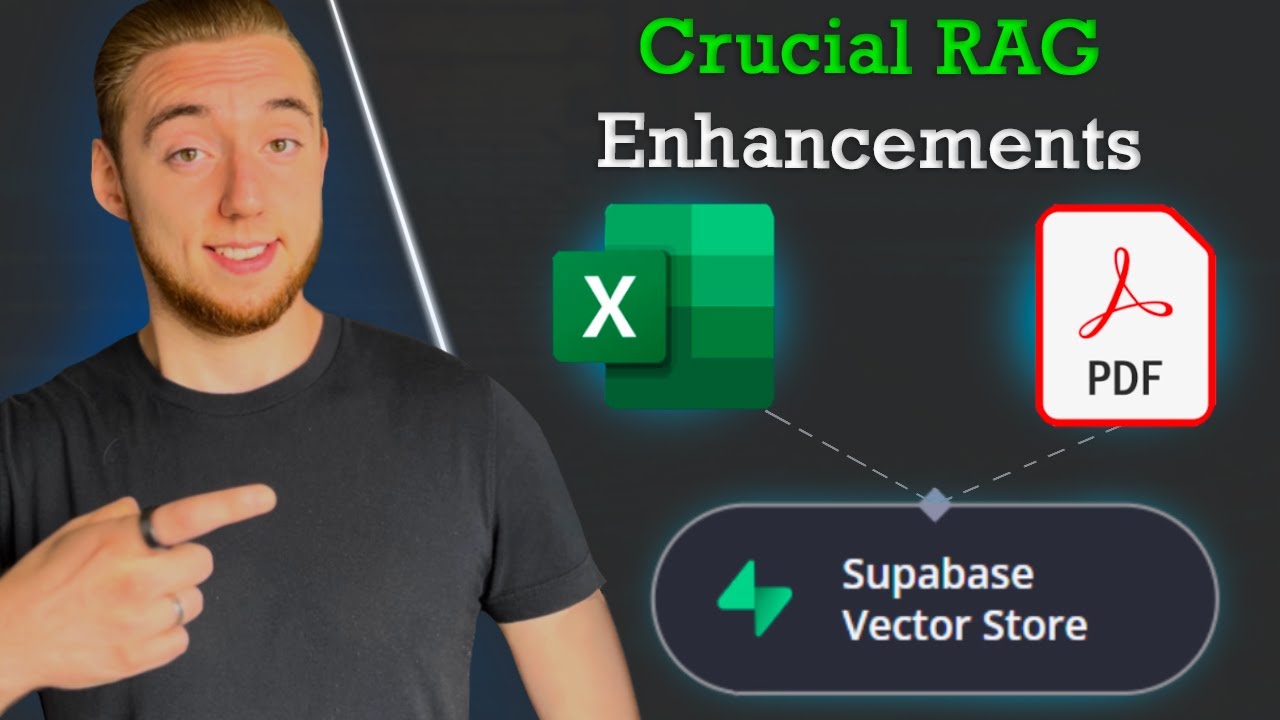
But, real quick, PostgreSQL is an open-source relational database management system that you're able to use plugins like PG Vector if you want vector similarity search. In this case, we're just going to be using PostgreSQL as the memory for our agent, and then Supabase is a backend-as-a-service that's kind of built on top of PostgreSQL. In today's example, we're going to be using that as the vector database.
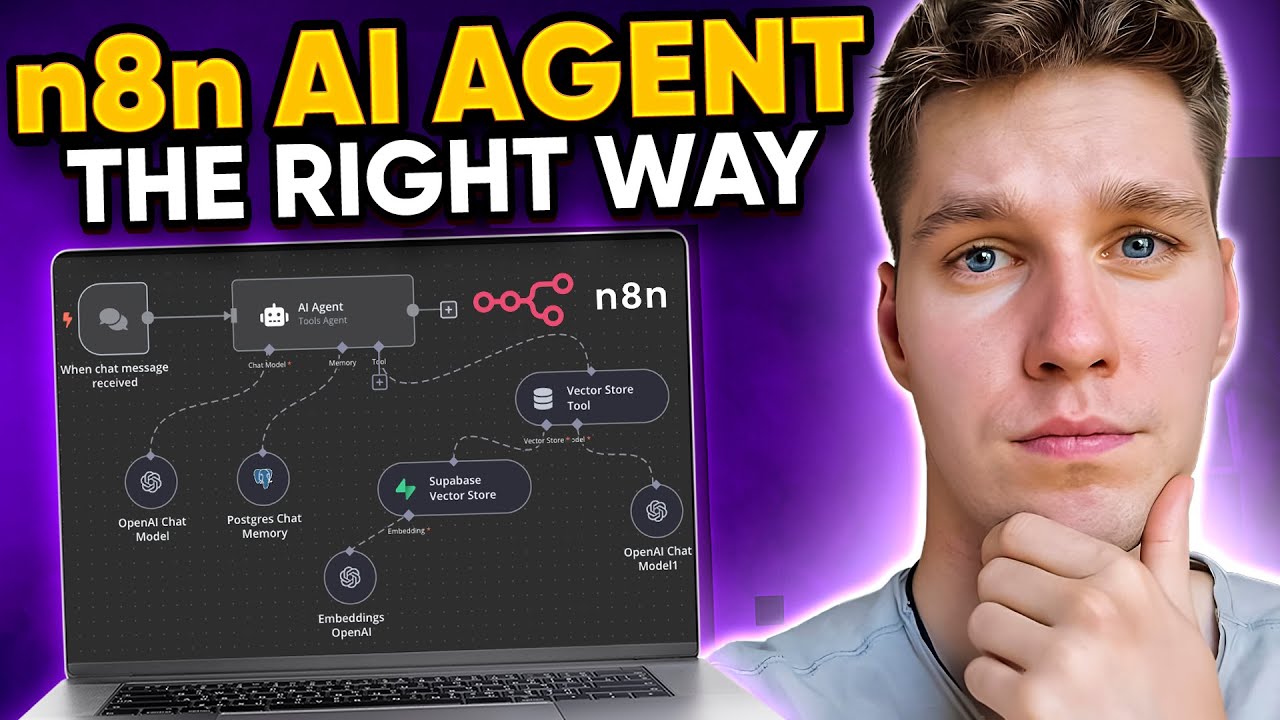
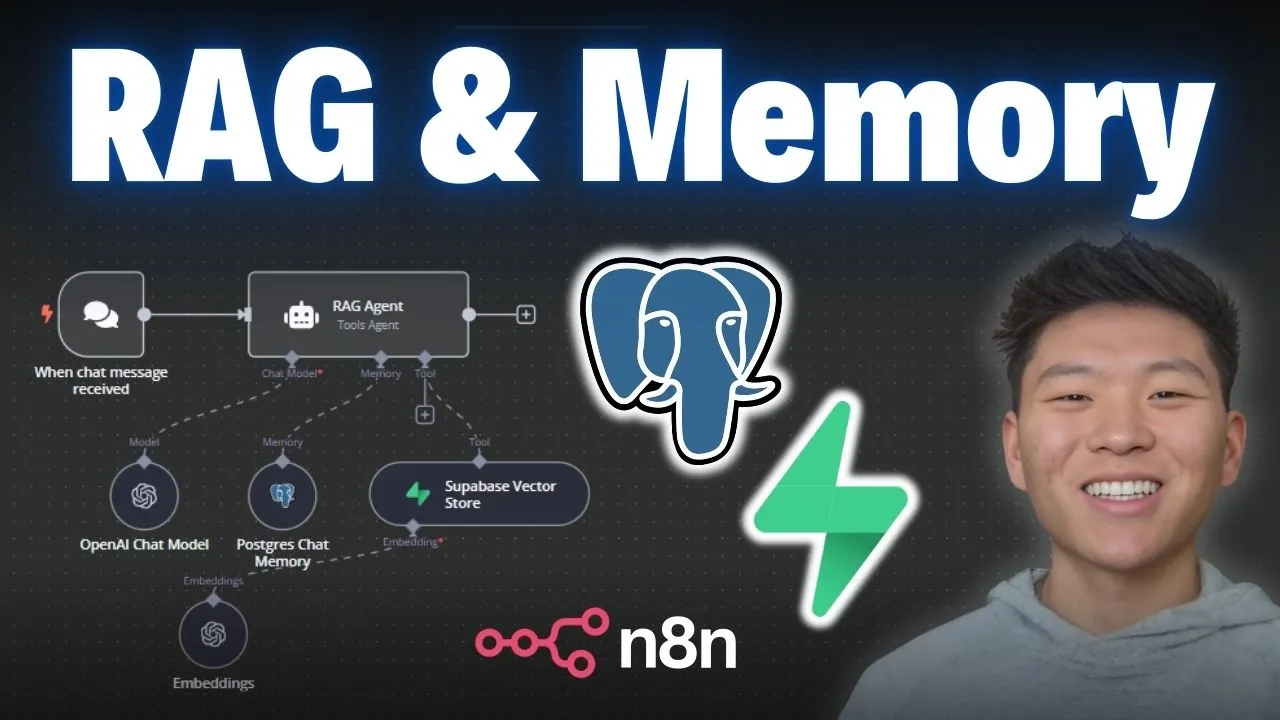
But I don't want to waste any time here; we are at Naden, and what we know we're going to do here for our agent is give it memory with PostgreSQL and access to a vector database in Supabase. So for memory, I'm going to click on this plus and click on PostgreSQL chat memory, and then we'll set up these credentials. Over here, we want to click on the plus for Tool; we'll grab a Supabase vector store node, and this is where we'll hook up our Supabase credential.
So whenever we need to connect to these third-party services, what we have to do is come into the node, go to our credential, and then we want to create a new one. We have all the stuff to configure, like our host, our username, our password, and our port—all this kind of stuff. So we have to hop into Supabase first, create an account, create a new project, and then we'll be able to access all this information to plug in.
So here we are in Supabase. I'm going to be creating a new account, like I said, just so we can walk through all of this step by step for you guys. The first thing you want to do is sign up for a new account.
I just got my confirmation email, so I'm going to go ahead and confirm. Once you do that, it's going to have you create a new organization, and then within that, we'll create a new project. I'm just going to leave everything as is for now; it's going to be personal, it's going to be free, and I'll hit create organization.
From here, we are creating a new project, so I'm going to leave everything once again as is. This is the organization we're creating the project in. Here's the project name, and then you need to create a password.
You're going to have to remember this password to hook up to our Supabase node later. I've entered my password; I'm going to copy this because, like I said, you want to save this so you can enter it later. Then we'll click "create new project.
" This is going to be launching our project, and this may take a few minutes, so just have to be patient here. As you can see, we're in the screen; it's going to say setting up project, so we pretty much are just going to wait until our project's been set up. While this is happening, we can see that there's already some stuff that may look a little confusing: we've got project API keys with a service R secret, we have configuration with a different URL, and some sort of JW secret.
So I'm going to show you guys how you need to access what it is and plug it into the right places in Naden. But as you can see, we got launched to a different screen; the project status is still being launched, so I'm just going to wait for it to be complete. Everything just got set up; we're now good to connect to Naden.
What you want to do is typically come down to product settings and click on database, and this is where everything would be to connect. But it says the connection string has moved. As you can see, there's a little button up here called "connect," so we're going to click on this, and now this is where we're grabbing the information that we need for PostgreSQL.
So this is where it gets a little confusing because there's a lot of stuff that we need for PostgreSQL. We need to get a host, a username, our password from earlier when we set up the project, and then a port. So all we're looking for are those four things, but we need to find them in here.
What I'm going to do is change the type to PostgreSQL, and then I'm going to go down to the transaction pooler, and this is where we're going to find the things that we need. The first thing that we're looking for is the host, which if you set it up just like me, it's going to be after the dash. So it's going to be AWS, and then we have our region, pool.
superb. com. So we're going to grab that, copy it, and then we're going to paste that into the host section right there.
So that's what it should look like for the host. Now we have a database and a username to set up. If we go back to that Supabase page, we can see we have a D and a U.
The D is going to stay as PostgreSQL, but for the user, we're going to grab everything after the U, which is going to be PostgreSQL dcom and then these different characters. So I'm going to paste that in here under the user, and for the password, this is where you're going to paste in the password that you used to set up. Your Superbase project, and then finally at the bottom, we're looking for a port, which is by default 5342, but in this case, we're going to grab the port from the transaction pooler right here, which is following the lowercase 'p.
' So, we have 6543. I'm going to copy that and paste it into here as the port, and then we'll hit save. We'll see if we got the connection tested successfully.
There we go, we got green! Then, I'm just going to rename this so I can keep it organized. So, there we go, we have connected to Postgres as our chat memory.
We can see that it is going to be using the connected chat trigger node; that's how it's going to be using the key to store this information, and it's going to be storing it in a table in Superbase called "nadn_chat_histories. " So, real quick, I'm going to talk to the agent. I'm just going to disconnect the Superbase so we don't get any errors.
Now, when I send off "Hello AI agent," it’s going to respond to us with something like, "Hey, how can I help you today? " "Hello, how can I assist you? " Now you can see that there were two things stored in our Postgres chat memory.
We'll switch over to Superbase, and now we're going to come up here on the left and go to the table editor. We can see we have a new table that we just created called "nadn_chat_histories," and then we have two messages in here. The first one, as you can see, was of type "human," and the content was "Hello AI agent," which is what we said to the AI agent.
The second one was of type "AI," and this is the AI's response to us, stating "Hello, how can I assist you today? " So, this is where all of your chats are going to be stored based on the session ID. Just once again, this session ID is coming from the connected chat trigger node, so it's just coming from this node right here.
As you can see, there's the session ID that matches the one in our chat memory table, and that is how it's using it to store sort of like the unique chat conversations. Cool! Now that we have Postgres chat memory set up, let's hook up our Superbase Vector Store.
So, we're going to drag it in, and then now we need to go up here and connect our credentials. I'm going to create a new credential, and we can see that we need two things: a host and a Service R secret. The host is not going to be the same one as the host that we used to set up our Postgres, so let's hop into Superbase and grab this information.
So, back in Superbase, we're going to go down to the settings, we're going to click on "Data API," and then we have our project URL and our Service R secret. So, this is all we're using for the URL. We're going to copy this, go back to Superbase, and then paste this in as our host.
As you can see, it's supposed to be HTTPS, and then your Superbase account. So, we'll paste that in, and you can see that’s what we have. Also, keep in mind this is because I launched an organization and a project in Superbase's Cloud.
If you were to self-host this, it would be a little different because you'd have to access your local host. And then, of course, we need our Service R secret. So, back in Superbase, I'm going to reveal, copy, and then paste it into the end.
Let me do that real quick, and as you can see, I got that huge token; just paste it in. So, what I'm going to do now is save it; hopefully, it goes green. There we go, we have connection tested successfully!
Then once again, I'm just going to rename this. The next step from here would be to create our Superbase Vector Store within the platform, so we can actually push documents into it. You're going to click on "Docs" right here; you are going to go to the quick start for setting up your vector store, and then all you have to do right here is copy this command.
So, in the top right, copy this script, come back into Superbase, and you'll come on the left-hand side to the SQL editor. You'll paste that command in here; you don't change anything at all, you'll just hit run. Then, you should see down here "success: no rows returned," and then in the table editor, we'll have a new table over here called "documents.
" So, this is where, when we're actually vectorizing our data, it's going to go into this table. Okay, so I'm just going to do a real quick example of putting a Google Doc into our Superbase Vector database, just to show you guys that everything's connected the way it should be and working as it should be. So, I'm going to grab a Google Drve node right here; I'm going to click "Download File.
" I'm going to select a file to download, which in this case, I'm just going to grab "Body Shop Services Terms and Conditions," and then hit "Test Step. " We'll see the binary data, which is a doc file over here, and now we have that information. What we want to do with it is add it to Superbase Vector Store, so I'm going to type in "Superbase.
" We'll see Vector Store, the operation is going to be "Add Documents to Vector Store," and then we have to choose the right credential because we have to choose the table to put it in. In this case, we already made a table, as you can see in our Supabase; it's called "documents. " So, back in here, I'm going to choose the credential I just made, I'm going to choose "insert documents," and I'm going to choose the table to insert it into—not the NAD and chat histories.
We want to insert this into "documents" because this one is set up for factorization. From there, I have to choose our document loader as well as our embeddings. I'm not really going to dive into exactly what this all means right now.
If you're kind of confused and wanting a deeper dive on RAG and building agents, definitely check out my paid community. We've got different deep dive topics about all this kind of stuff. But I'm just going to set this up real quick so we can see the actual example.
I'm just choosing the binary data to load in here, I'm choosing the embedding, and I'm choosing our text splitter, which is going to be recursive. So now, all I have to do here is hit "run. " It's going to take that binary data of that body shop file, split it up, and as you can see, there are three items.
So if we go back into our Supabase vector store and hit refresh, we now see three items in our vector database, and we have the different content and all this information here, like the standard oil change and the synthetic oil change, coming from our body shop document that I have right here. We put it in there just to validate the RAG. We know that this is a vector database store rather than a relational one because we can see we have our vector embedding over here, which is all the dimensions, and then we have our metadata.
So we have stuff like the source and the blob type, all this kind of stuff. This is where we could also go ahead and add more metadata if we wanted to. Anyways, now that we have vectors in our documents table, we can hook up the actual agent to the correct table.
So in here, what I'm going to call this is "body shop. " For the description, I'm going to say, "Use this to get information about the body shop. " Then, from the table name, we have to choose the correct table, of course.
We know that we just put all this into something called "documents," so I'm going to choose "documents. " Finally, we just have to choose our embeddings, of course, so that it can embed the query and pull stuff back accurately. And that's pretty much it; we have our AI agent set up.
So let's go ahead and do a test and see what we get back. I'm going to go ahead and say, "What brake services are offered at the body shop? " It's going to update the Postgres memory, so now we'll be able to see that query hit the Supabase vector store in order to retrieve that information and then create an augmented generated answer for us.
Now we have the body shop offers the following brake services: $120 per axle for replacement, $150 per axle for rotor replacement, and then a full brake inspection is $30. So if we click back into our document, we can see that that's exactly what it just pulled. Then, if we go into our vector database within Supabase, we can find that information in here.
But then, we can also click on NAD and chat history, and we can see we have two more chats. The first one was a human query, which was, "What brake services are offered at the body shop? " The second one was AI content, which is, "The body shop offers the following brake services…" and this is exactly what it just responded to us with within NAD, down here, as you can see.
So, keep in mind this AI agent has zero prompting. We didn't even open up the system message; all that's in here is, "You are a helpful assistant. " But if you are setting this up, what you want to do is explain its role and let it know, "You have access to a vector database; it is called X, it has information about X, Y, and Z, and you should use it when a client asks about X, Y, and Z.
" Anyways, that's going to be it for this one. Supabase and Postgres are super, super powerful tools to use to connect up as a database for your agents, whether it's going to be relational or vector databases. You’ve got lots of options with self-hosting and some good options for security and scalability there.
So, anyways, hope this one was helpful! If you learned something new, please give it a like; it definitely helps me out a lot. I appreciate you guys, as always, so thanks, and see you in the next one!