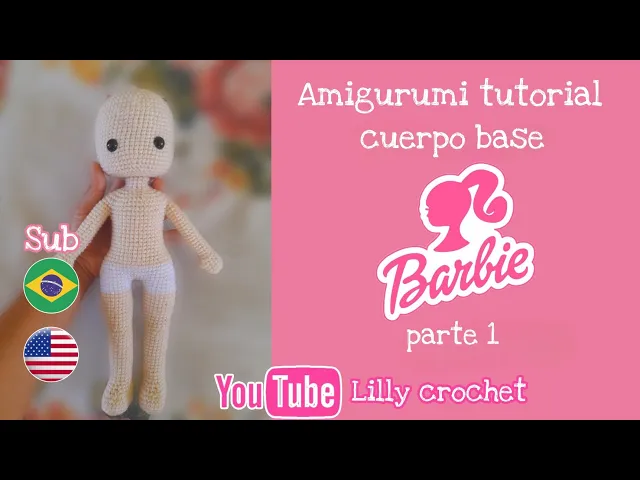
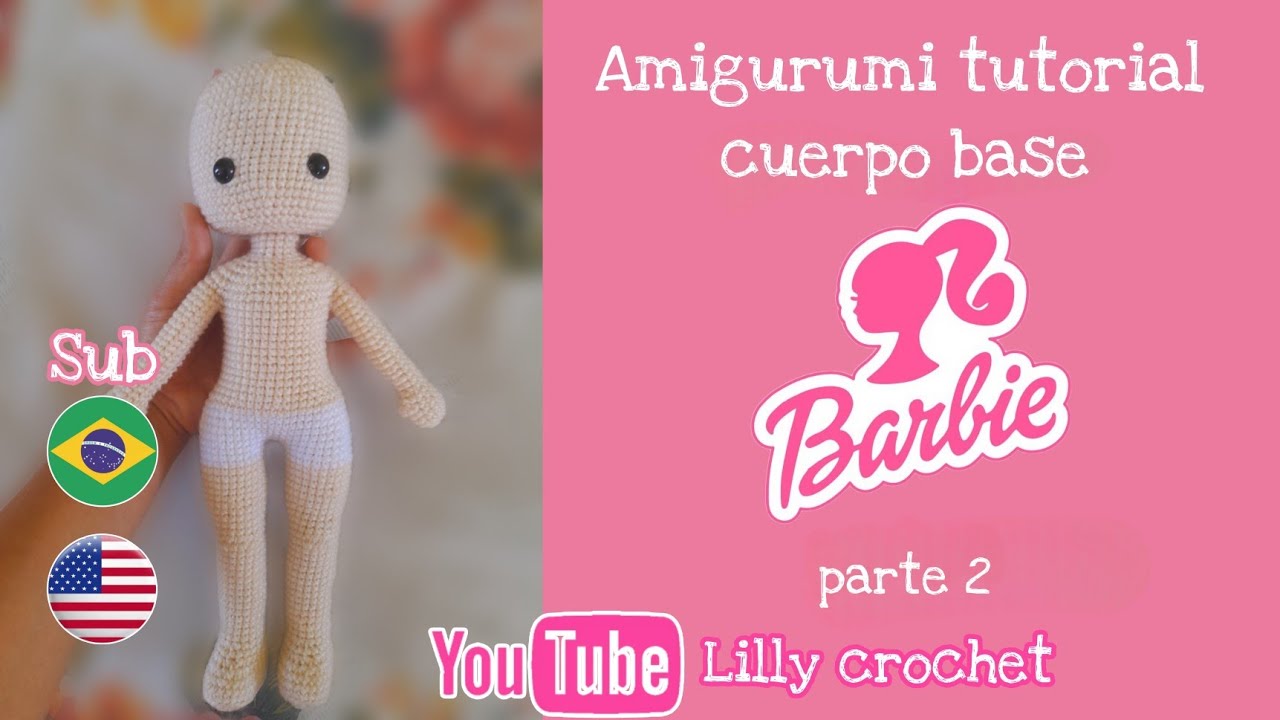
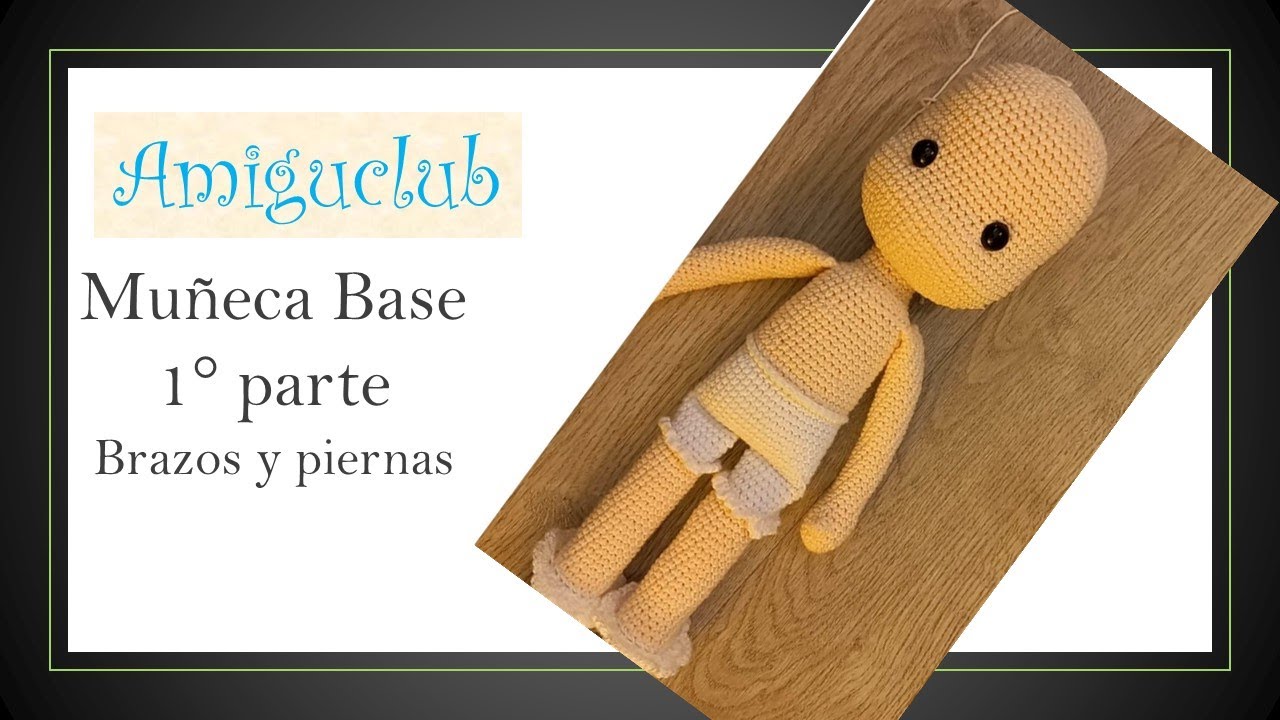
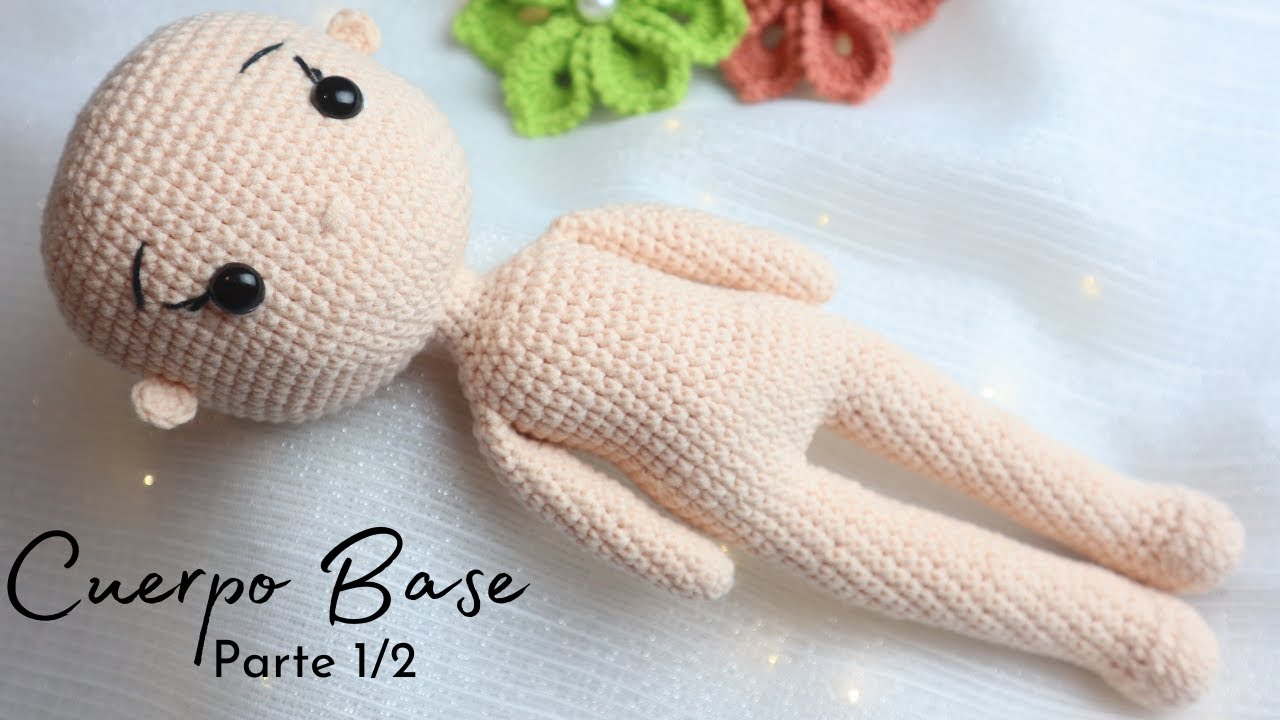
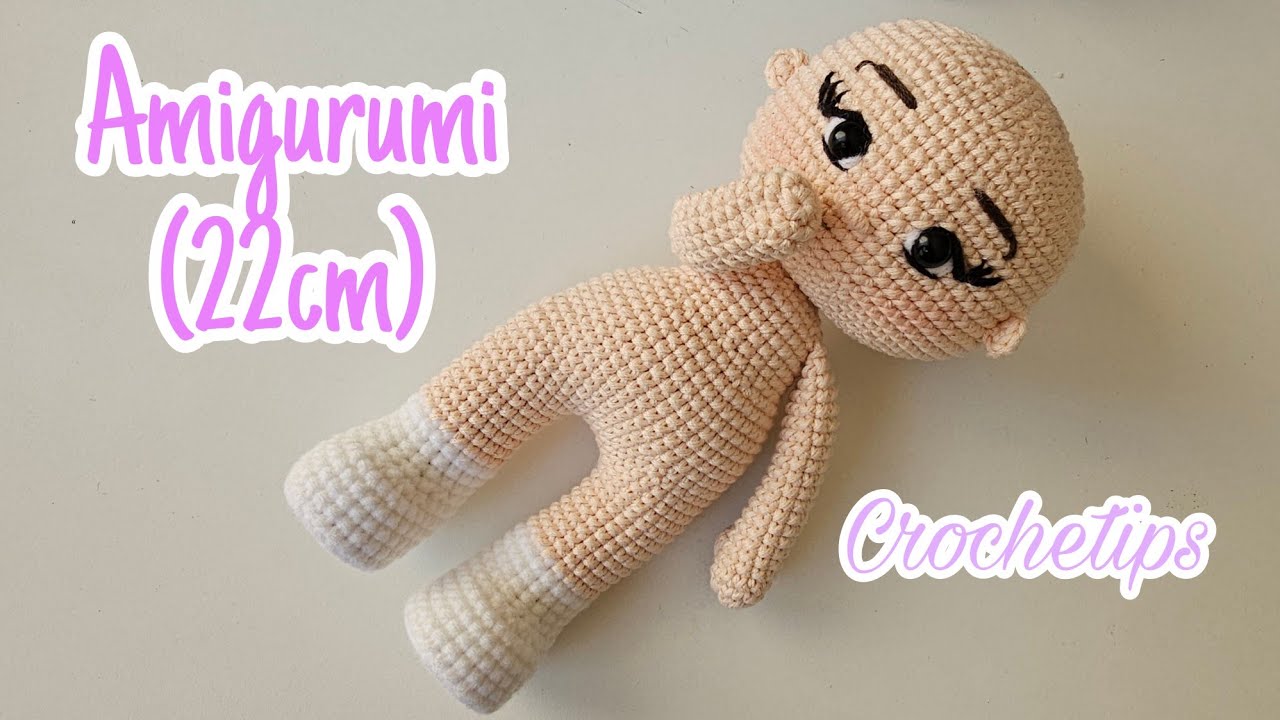
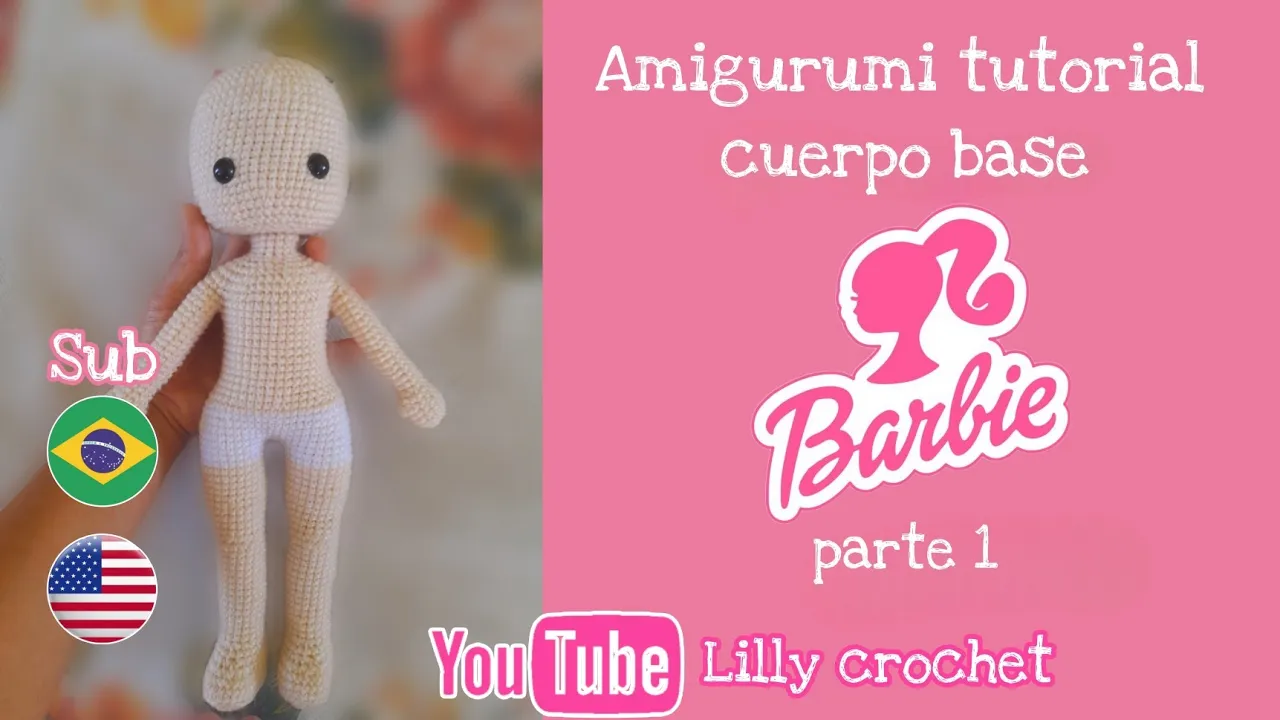
Everyone is very welcome once again to my channel My name is Lily Morán and now we are going to be making this beautiful base body for a little doll that we are going to be dressing in a next video the materials that we are going to need will be colored thread skin and the white color we are going to need a plastic base for the sole of the foot woolen needle the 2. 5 crochet needle and the thread will be the same thickness as our needle some safety eyes that would be covering us a little more than three rounds the filling to put all our little doll in this little doll that we are going to make, we will be able to move the little head, it will not have it completely fixed and in this first part we are going to be making the head, the little arms and the legs of our doll like this without further ado Let's start with our tutorial and before starting with our tutorial I invite you to give me a like and leave me in the comments how did you like our doll share our video to other people who might be interested in this tutorial subscribe to my channel and activate the notification bell so that YouTube notifies you every time there is a new tutorial so without further ado Let's start we are going to start making the little arm of our doll and we are going to start with a magic ring to make a magic ring we are going to pass the thread through our two fingers we are going to form an x once the x is formed we are going to put the needle under this thread and we are going to grab the thread on top once we grab it we are going to turn and we are going to grab this thread again that we have grabbed, we go through the ring and here we would already have our magic ring now we are going to begin to make 6 stitches inside our magic ring we are going to put the needle inside our ring we are going to grab the loop we will have two rings left on the needles we are going to grab the loop and go through the two we repeat again we insert the needle we take out the thread we go through the two rings and here we would have the second single crochet Like this we are going to do until we have a total of 6 stitches 3 4 5 and 6 once we finish the six stitches we are going to grab this thread here and we are going to pull it and we are going to close our ring once we close our ring we are going to go to the first stitch we made and we are going to close I am going to be closing the rounds with a slipped stitch and going up with a chain that would be we are going to grab thread we are going to have two loops left and we are going to pass this loop that we grabbed through the one we already had on our needle and here we would be closing our round now to continue with the second round we are going to make a chain now we are going to start making increases we are going to make 6 increases in a row how we are going to make the increases we are going to go to the first stitch we made we are going to make a single crochet and at that same point we are going to make another single crochet we are going to be making two single crochets in the same stitch and that would be an increase we are going to repeat we are going to make two single crochets in that same stitch to make an increase so we are going to continue around our knitting we are going to have a total of 12 stitches now to close this round number 2 we are going to skip the slip stitch and the chain that we made and we are going to go to the first stitch And again we are going to make a slip stitch and we are going to go up with a chain now we are going to do it before stitch over stitch what would we do the same amount of stitches in this case we are going to do the same 12 stitches that we already have this we are going to do it for three rounds that would be round number three round number 4 and round number 5 see you once we finish round number 5 and this way our three rounds of stitches on stitches would be finished now we are going to start round number 6 that we are going to do we are going to grab the loop we are going to go to the first stitch we grab thread we are going to go through the first two rings and it will fit us in this way now we repeat again we grab the loop we go to go to the first stitch we take out the thread we go through the first two rings again and we repeat two more times we make the loop we go to the first stitch we take out the thread we go through the first two rings AND we repeat one more time and we go through the first two rings again Now we are going to have 5 rings left on our needle we are going to go through the 5 rings we are going to grab the loop and we go through the five rings and now we close the stitch Now we are going to knit stitch over stitch of the 11 stitches that remain one two three four five six seven eight 9 10 and 11 Now we are going to go to this stitch, which is the stitch that we made the first and we are going to close our round as we normally do, making a chain and going to start round number 7 we are going to do the same seven stitches now for round number 8 we are going to start with a decrease as we are going to decrease we are going to grab the front loop of our first stitch if you notice the stitches look like a B So we are going to grab the front loop we go to the next stitch and we grab the front loop again we grab the loop and go through those two loops now we grab the loop and go through the two loops of our needle Here it would be a decrease now we are going to do 8 stitches 1 2 3 4 5 6 7 and 8 now we are going to make another decrease we grab the thread of the first stitch the thread of the second stitch we go through the two threads we are left with the two thin ones and we close the stitch that we would have the other decrease now we are going to finish this round with a total of 10 stitches after having finished that round number 8 we are going to start making rounds of stitch on stitch of these same 10 stitches And so we are going to continue until we reach round number 24 at the end of the round we are going to cut the thread because we are not going to need it long to make our magic ring we are going to grab our thread we wrap our two fingers we put the needle under this thread we grab the thread we turn and then we grab this thread that we are holding [Music] now to make the low points we are going to put the needle inside our ring we take out the thread we have two rings left and we go through it so we repeat we put the needle we take out thread and go through the two rings And so we are going to continue doing until we have 6 low points once finished We are going to close the 6 low points and we are going to go to the first point that we made. I will be doing all the rounds closing each one of them with a slip stitch and going up with a chain.
Now for round number 2 we are going to make increases to make the increases we are going to make two stitches in that same stitch we go to the second stitch and do the same two stitches in the same stitch And so we are going to continue in all the rounds and we are going to have a total of 12 stitches now for round number 3 we are going to make a pattern that would be a point and an increase we are going to repeat a point and an increase we are going to do this throughout our round and at the end we will have a total of 18 points once round number 3 is finished we are going to go to round number 4 where we are going to make another pattern that would be two stitches one two and an increase we repeat this throughout our round and we are going to end up with a total of 24 stitches now for round number 5 we are going to make Three stitches one two Three stitches and an increase we are going to repeat that throughout our round and we are going to end up with a total of 30 stitches for round number 6 we are going to make 4 stitches 3 4 stitches and an increase we do it throughout the round and we end up with a total of 36 stitches for round number 7 We are going to be making another pattern that would be 5 stitches 1 2 3 4 5 stitches and an increase we repeat it throughout our round and we are going to end up with a total of 42 stitches now for round number 8 we are going to make 6 low points one two three four five six and an increase we repeat this throughout our round and we are going to end up with a total of 48 stitches now we are going to do round number 9 where we are going to be making a pattern that would be seven stitches 2 3 4 5 6 7 stitches and an increase we are going to repeat this throughout our round and we are going to end up with a total of 54 stitches after we finish this round number 9 we are going to do round number 10 to round number 21 of stitch on stitch of those same 54 stitches and that way our round of stitch on stitch would be finished now we are going to start with round number 22 and we are going to make 17 stitches 1 2 3 4 5 6 7 8 9 10 11 12 13 14 15 16 and 17 points now we are going to make a pattern that would be one point one point and an increase we are going to do this three times here we did it the first time we repeat one point and an increase the second time a point and an increase that would be 9 that third time After finishing this pattern we are going to do 8 points 1 2 3 4 5 6 7 and 8 and now we start another pattern that would be an increase and a point we are going to do that too three times an increase and a stitch an increase and a stitch After finishing an increase and a stitch we are going to finish with the remaining 17 stitches After finishing this round number 22 we are going to do two rounds of stitch on stitch of those same 60 stitches that we would have with the increases So we are going to do round number 23 and round number 24 of stitch over stitch and that way our rounds would be finished and now we are going to be placing our safety eyes on our little head we are going to be them locating between round number 20 and round number 21 we are going to leave 8 stitches apart and now we are going to start Knitting round number 25 and we are going to make a pattern [Music] that would be 8 stitches 1 2 3 4 5 6 7 8 one once the 8 single crochets are finished we are going to make a decrease we grab the front loop of the first stitch we grab the front loop of the second stitch we go through the two loops we have left in two rings and we close our stitch and here we would have a decrease now we are going to do this pattern perform in our entire round and we are going to end up with a total of 54 stitches once round number 25 is finished we are going to do two rounds of stitch on stitch of those same 54 stitches would be round 26 and round number 27 now once the two rounds of stitch on stitch we are going to begin to make a pattern that would be in round number 28 we are going to make a stitch and a decrease we repeat a stitch and a decrease we are going to repeat this throughout our round and at the end we are going to have a total of 36 stitches now we fill in our little head and we try to fill in the cheeks of our face well, which is where we made the increases now for round number 29 we are going to make a pattern that would be 4 stitches 1 3 4 stitches and a decrease we will do this We are going to repeat our entire round and we are going to end up with a total of 30 stitches for round number 31 30 Sorry we are going to make Three stitches one decrease we are going to end up with a total of 24 stitches and for round number 31 we are going to make two stitches and a decrease ending with 18 stitches then we are going to make rounds of point on point that would be from round number 33 to Pardon 32 until round number 42 and that way our rounds would be finished now we are going to introduce this part of the neck inwards of our head in this way and so we are going to reserve it to continue with the other part of our little doll. Now we are going to start making the little foot of our little doll and we are going to start making chains to make the chains we are going to start with a sliding knot. to grab we are going to make a ring and the smallest part is going to be above and this longer thread is going to be below we are going to put the longest thread in the little wheel that we have and we pull and here we would have the beginning of our chains now we are going to start making 8 chains 1 2 3 4 5 [Music] 6 7 8 chains once the 8 chains are finished we are going to start working on the second chain we are going to start and we are going to make 6 low points we are going to go to the second chain we have the needle and this is the first chain and the one that follows it would be the second we insert our needle we take out thread we have two rings on our needle we grab thread and go through the two rings there we would be making our first stitch under we repeat we go to the next chain we insert our needle we grab thread we grab thread again and go through the two rings here we would have our second stitch below we will repeat it four more times to have 6 single stitches here we would have three four five and six and here we would stay a chain in that chain we are going to make 6 low points we are going to make the 6 low points in that same point that we say one 2 3 4 5 and 6 once the 6 low points are finished we are going to start working on the other side of our chains if you notice in this part here they look like some lines that are where the chains go that would be one two three four five and so where we would go making the chains now on this side we are going to make 5 low points we go to the next chain we grab the loop we go through the two rings and here would be the first one we go to the next chain we grab the loop we go through the two rings and this would be our second single crochet we make the third four and five now in the last chain we have left we are going to make Three Low stitches in that same place we do the first we do the second and we do the third at this point here I'm going to be closing our rounds with a slip stitch I'm going to go to the first point I made I'm going to grab thread And now this loop that Here it is on this side we are going to pass it through this loop and Here we are going to be making a slip stitch to continue with our second chain Excuse me to continue with our second round we are going to go up with a chain I am going to be doing that throughout our knitting but you can do it in a spiral by putting a marker at the beginning of each round now to start with our round number 2 we are going to start making increases we are going to do the increases by making two stitches in the same stitch in this case we go to the first point that is where we make our slip stitch we insert our needle we take out thread and make the first single crochet now we are going to go to that same place we are going to take out thread we go through the two rings and here we would have the second stitch and that would be our increase we go to repeat another increase that would be making two stitches in the same point here we would have our two increases now we are going to make 5 low points that would be the first the second 3 4 and 5 once the five low points are finished we are going to make increases we are going to do 6 increases in a row would be the first increase the second and so we are going to continue until we have the six single crochets and the six increases sorry and we would have four five and six once the six are finished the six increases we are going to make 5 single crochets 1 2 3 4 and 5 now we are going to finish with two increases that would be the first increase and that would be the second increase now to close that round we have the slipped stitch and the chain that we made that we are going to skip and we are going to go to the first stitch that we made and go we're going to do the same we're going to close with a slip stitch and chain up for the next rounds now for the next round we're going to do a round of stitch over stitch How to do the round of stitch over stitch we're going to do the same amount of stitches that we already have in this case we finished our round number 2 with a total of 30 stitches So we are going to repeat those same 30 stitches 1 2 3 4 and we are going to continue in this way throughout our round until we have 30 single stitches and that is how it would remain Once our Round of stitch on stitch is finished, now we are going to use a plastic that is somewhat thick to put it on the bottom of our template.
We are going to take this template that we have made now as a base to continue with round number 4. stitch over stitch but now just taking the back loop if you see the stitch the stitch looks like a V shape So we have this front loop and this here is the back loop So we're going to grab just the back loop and We are going to do that Round of points on point we are going to do the same number of stitches in this case it would be 30 stitches once we have finished the round of stitch on stitch for the back loop we are going to do two more rounds that would be round number 5 and round number 6 of stitch on stitch of those same 30 stitches and thus the rounds of stitches on stitches for round number 7 would be finished.