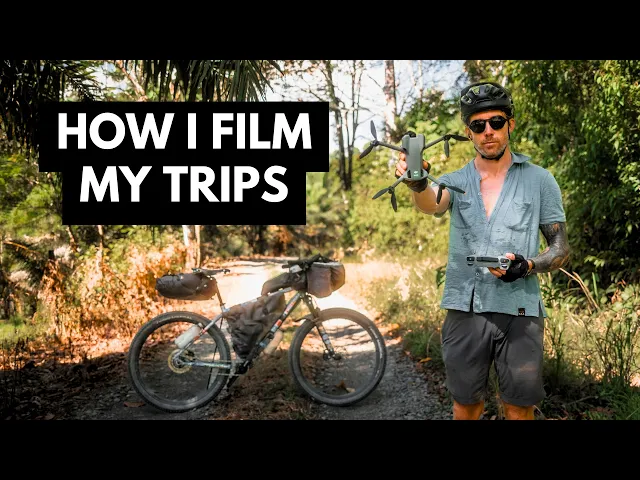
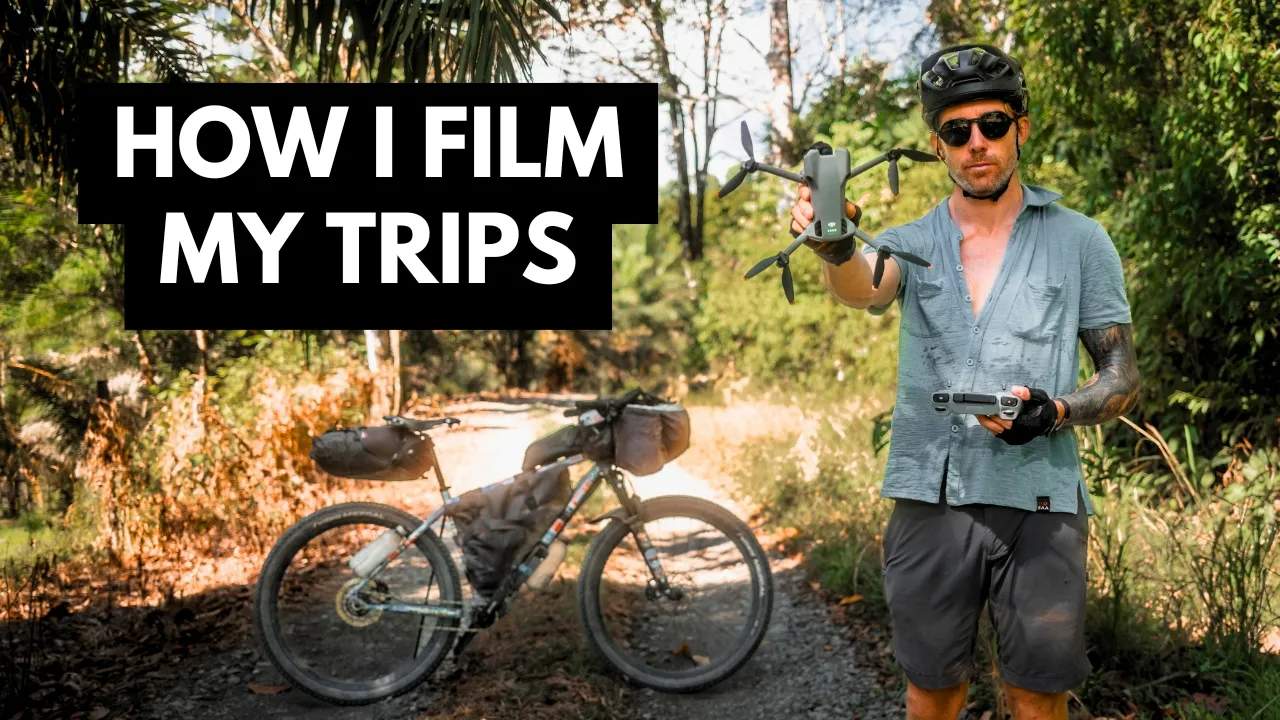
It's always funny seeing comments asking who films my videos, who's holding the camera, or who's driving the support vehicle. Trust me, I wish I had a support vehicle. The truth is, capturing cinematic footage whilst living on a bicycle is a faf.
It takes a lot of time and effort, but over the years, with a lot of fine-tuning, it's got much easier. And most importantly, filming my trips has got a lot more fun. So, in this video, I'm going to walk you through my full film making process as a solo traveler cycling around the world.
Right, let's start by running through the actual filming process and the cameras that I use. I'm currently bike packing through the Osa Peninsula in Costa Rica. It is very beautiful, but it is the hottest time of the year right now.
It is brutally hot, so I want to get through the filming as quickly as I can. So, let's get straight to it. The first thing to talk about is my thought process and how I approach filming when I'm out on the road.
One thing that's changed a lot for me is that I'm now much more intentional in each video I make. I used to just head out there with no particular idea what I was looking for, just filming anything that I thought might be interesting along the way. And then later on, I'd look at the footage and try and figure out what I could do with it.
These days, I do it the other way around. Before I even get started on a trip, I've already thought about it and come up with some ideas for what the story might be and how I might want to tell it. Spontaneous adventures are a big part of traveling, so there will always be things that come up that I can't predict, but having a rough idea in advance of some story angles makes a big difference to how I approach filming.
I also find that it significantly reduces the amount of wasted footage I capture. I know what I'll likely need and what I won't, so I don't waste time filming things I know won't be used in the edit. The other big advantage of planning your videos in advance is that if there are any specific shots that you need to tell a specific story, you can make sure that you get them.
Whereas just going out there and filming whatever comes your way will often leave you missing key scenes, which you'll then have to make up later. All in all, I'm now much more efficient and targeted in my approach to filming, which has made the whole process much more streamlined. Let's move on to the equipment.
My main camera now is a Fuji X1006, a mirrorless APS-C camera with a fixed 35 mm lens. It's extremely light and compact, but also very high quality. It's not the best camera I've ever owned, but it is my favorite.
The Fuji X1006 is generally known as a photography camera, but it also takes really nice video, even though it's missing out on some video features like a fully articulating side flip screen, which would make framing when filming myself quite a bit easier. One really nice thing about the Fuji is that it comes with a built-in four- stop ND filter. You can easily flick on and off, so you don't have to carry a dedicated physical ND filter.
I do carry ND filters for all my cameras and drones as I always shoot with manual settings and stick to the 180° shutter rule to ensure my footage has some natural motion blur. Because my Fuji is limited to a fixed 35 mm lens, I pair it with the DJI Pocket 3, which has a 20 mm focal length to cover my wide angles. I really like the Pocket 3 as it's perfect for vlogging and the footage is fantastic for such a tiny camera.
Having a camera with a gimbal is amazing, and it's unobtrusive enough that it's perfect for filming encounters with people I meet along the way. In my experience, most people get uncomfortable when you point a large professional camera at them. But the Pocket 3 looks like a toy, even though it captures really highquality footage.
The main downside of the Pocket 3 is its fragility, so I don't use it in bad conditions such as rain. For inclement conditions, my backup is just to use my iPhone, which is fully waterproof. Phone cameras.
these days have gotten so good that you can get some very usable footage with just your smartphone. And if you don't have time to pull out your main camera, your phone can absolutely do the job in a pinch. My iPhone 17 Pro records in 4K and can even shoot in log color profile, the same as all my other cameras, which makes it really easy to color match the different cameras in post-prouction.
It's pretty crazy how far smartphones have come. And although I definitely prefer the quality of my other cameras, filming a full video on just your smartphone is a very viable option these days. Whether you're shooting on a high-end cinema camera or just an iPhone, one thing that will always make a huge difference to the final video is music.
So, I'm very thankful to the sponsor for this video, Music Bed. My go-to platform for music licensing for the past year. Finding the right songs these days is super easy.
Since this video is essentially a tutorial with a lot of talking, I need songs that support the story I'm telling rather than just acting as overbearing background noise. Finding songs that strike that balance used to take forever, but Music Bed makes it really straightforward. Instead of spending hours hunting, I'll just jump into the search tools.
For this edit, I'm filtering the genres by ambient and indie. Then to make sure it sits nicely underneath the voice over, I'll select chill and contemplative in the mood section. There are no filler songs to sift through because everything on the platform is handpicked by their team.
Music Bed only features work from real artists and composers, so you completely avoid that cheap stock music sound. Best of all, there are new artists being added all the time, so you'll never run out of options. Just proper music that's easy to find and ready to drop into the timeline.
If you want to take your own films up a notch and find better music for your edits, hit the link in my description to check out Music Bed and get a free twoe trial. For the aerials, I'm actually running two drones, which might sound over the top, but they do very different things. I have the DJI Mini 5 Pro for the big establishing shots, for photography, and for when I want the absolute best follow footage.
But my go-to drone for riding B-roll is my second drone, the Hover Air Pro Max, which is the drone I definitely reach for the most. Both of these drones have tracking software that allows them to automatically follow you whilst you're moving. Unlike the DJI, however, the Hover Air doesn't even need a remote controller to do this, and it deploys so quickly that it's barely a minor inconvenience to use.
The DJI drone takes a lot longer to fire up as I also have to turn on and link the controller, wait for a satellite lock, launch the drone, and then manually set it to track me. It works very well and gets some amazing shots, but it does take a bit of time to set up. Add to that relatively high battery usage, and quite often I end up not bothering.
With the Hover Air though, it's incredibly quick and easy to launch. You just turn it on, hold it up so it can scan you, and it'll do the rest autonomously. The ease and speed of use mean I end up getting a lot of extra footage that I otherwise wouldn't.
The Hover Air is rubbish for manual control and establishing shots, however, and it's useless for photography. So, mad as it might seem, carrying two drones makes sense, even in a setup as minimal as mine. Drnes are really a gamecher for this kind of thing.
Back in the old days, I always had to do the classic set up a tripod, ride past it, and run back routine whenever I wanted footage of me riding. And it was a major pain in the ass. >> For reference, that was a shot of me filming myself, filming myself, filming myself.
And this is getting a little bit ridiculous. Today, I still do that occasionally if I want a static shot, but most of the time I can just pull out a drone and get a better shot faster and with much less effort. I guess I should also mention my tripod, the Aoka Carbon Travel tripod, which at around 500 g is the lightest full-size tripod I found.
It's not particularly stable, but with a small camera like my Fuji, it does the job. I keep it strapped to my handlebar bag so I can access it very quickly whenever I need to. The real key to making all of this work is packing.
The biggest lesson I've learned over the years of doing this is the importance of access. More important than having a really highquality camera is having a way to quickly and easily access it. If your camera gear is packed away and a pain to access, you're often going to skip filming, especially when you're tired.
Almost all of my camera gear now fits into this one hit pack, which I wear everyday whilst cycling. Keeping the cameras on my body helps protect them from vibration damage from the rough roads I like to ride, and it also lets me access them quickly. In a matter of seconds, I can pull out any of the cameras, which means I never have an excuse not to film.
In the past, when my drones lived in my frame bag on my bike, I found I was much less inclined to use them since it took longer to pack and unpack them. Now, both of my drones, my drone remote controller, and my main Fuji camera all fit into my hit pack, so they can all be accessed extremely quickly. The only camera that doesn't go into my hit pack is the DJI Pocket 3, which instead lives in my top tube bag, meaning I can grab it to start filming even whilst I'm moving.
The fact that I can fit all of these cameras into my hip pack is the main reason I chose the Fuji X1006 over a larger interchangeable lens camera like my Sony A74, which I've used in the past. The Fuji's small size lets me fit everything in. And although it means I miss out on the versatility of changing lenses, being able to fit everything into just one small hip pack is actually much more important for running and gun filming on the road, the fixed 35 mm lens is still very versatile, especially when paired with the shorter lens on the Pocket 3, as I can just use the Pocket 3 whenever I need a wide angle.
So, that is just about it for my camera gear. But, I should also mention audio. A lesson I learned the hard way from my early videos is that audio quality is every bit as important as video and you do need to take it seriously.
Fortunately, with the right equipment, it's very easy to get clean audio with minimal effort. My solution is to use the DJI Mic 3. It's a tiny wireless mic I've been very happy with.
It pairs automatically and quickly via Bluetooth with my DJI Pocket 3, which is great since that's the main camera I use for vlogging, making things very easy. I don't bother carrying a receiver, just the transmitter. So, when using the mic with my Fuji camera, I record straight onto the microphone's internal 32bit float recording and sync it with the video footage in post-prouction.
Another nice trick with the internal recording on this mic is to record background riding audio to pair up with my cycling drone shots. The drones don't capture audio, but including background riding noise elevates the footage quite a bit. So, I record it separately and again pair it with the drone footage in post.
The last equipment choices I should mention are my batteries. All of these cameras draw a fair bit of power, and I keep them charged with two big 20,000 mia hour power banks, plus one spare battery each for my Fuji and both of my drones. All of that can keep me charged up for around 2 weeks if I ration, which is generally more than enough.
Right, I think that should be all of the shots I'm going to need from the jungle. So, that is part one of the process done and I can now put away the cameras and switch off from filming mode for a while. For the next stage, I should hopefully be somewhere less ferociously hot.
Maybe even somewhere with air conditioning. Right, it is a few weeks later. I've made it to Panama City and I'm clean.
I'm fresh and thankfully there is air conditioning. So, let me show you the final stage of the editing process. The first step is getting everything off the SD cards.
Losing footage is a nightmare, so I always make sure it's regularly backed up on an SSD and directly onto my laptop. I use a fairly high-spec MacBook Air M4. I absolutely love this thing because it's relatively light and packable, but it's more than powerful enough to comfortably handle 4K video editing.
I'm definitely not an Apple fanboy, but to be fair, I haven't found anything that works better. For the actual edit, I use Da Vinci Resolve Studio. I've used other professional software such as Final Cut and Premiere Pro in the past, but I massively prefer Da Vinci.
I've had literally zero complaints with it, which is more than I can say with the other two. There's a 100% free version of Da Vinci that does almost everything you might need. So, I would definitely start with that.
But if you're going to use it a lot, the paid studio version is well worth it, especially since the AI features are now crazy good. Now, I'm not going to make this a tutorial on Da Vinci since there are already hundreds of videos on that and I keep the editing process pretty simple. For most of my videos, I first organize my footage by date so it's in chronological order.
Then, paste all my video clips onto the timeline. Then I go through and cut it down to only the usable clips. Once I've got rid of the rubbish, I know exactly what I have to work with.
And from there, I can start arranging those clips to build the actual story. I separate my A- roll and my B- roll and start putting them all together. Once the visual story is there, I need to add the voice over.
First, I write the script, and this is where I can fill any gaps in the story. Because I'm traveling and staying in standard hotel rooms or host, I obviously don't have a soundproof studio. So, I just use my DJI Mic 3 to record my voiceovers sitting in a closet or hiding under a blanket on the bed to reduce the background echo.
It looks completely ridiculous, but it works. Being a travel creator is a glamorous business. Once the voiceover is dropped into the timeline, the film really starts to take shape.
This is usually where I add the music which as I mentioned earlier I get entirely from music bed. Once I've chosen my songs, I'll drop them into the timeline and the whole sequence is ready to come to life. Okay, so the film is almost there.
I've added the music and I've also added the small details including any graphics, transitions or text. The final step is color grading. I shoot all of my footage in log format.
So I have a lot to play with. To be honest, I'm not a very good colorist and it's something I've been working on, but it is a hugely satisfying part of the process as it brings everything together. I don't use any lots but do my grades manually.
It's been a long learning process, but I think it's well worth it if you want to really get the most out of your films. And that is everything. The film is ready to go.
It's never going to be perfect, but it's as good as I can make it right now. So, it is all ready to render and then to upload to the internet for all of you to watch. I hope you've enjoyed this video and found it useful.
Please like and subscribe if you have any thoughts, any suggestions, tricks, anything related to the process. I'm always looking for ways to improve, so please do let me know in the comments. This will be my last video for the next month as I'm currently preparing to kayak around the Darian Gap and into Colombia and the start of South America.
So, I am very, very excited and a little nervous for this next adventure. I've never done a kayaking trip before, so this is going to be something completely new. Looking forward to sharing the film with you once it's ready.
So, wish me luck and I will see you in the next one. I just film myself walking into a closet. What has my life become?