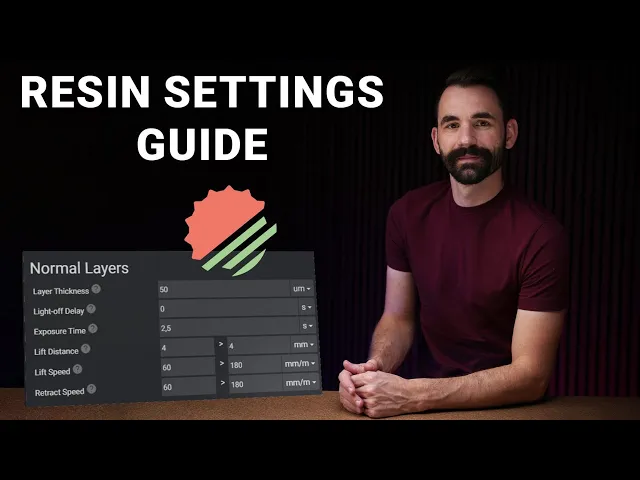
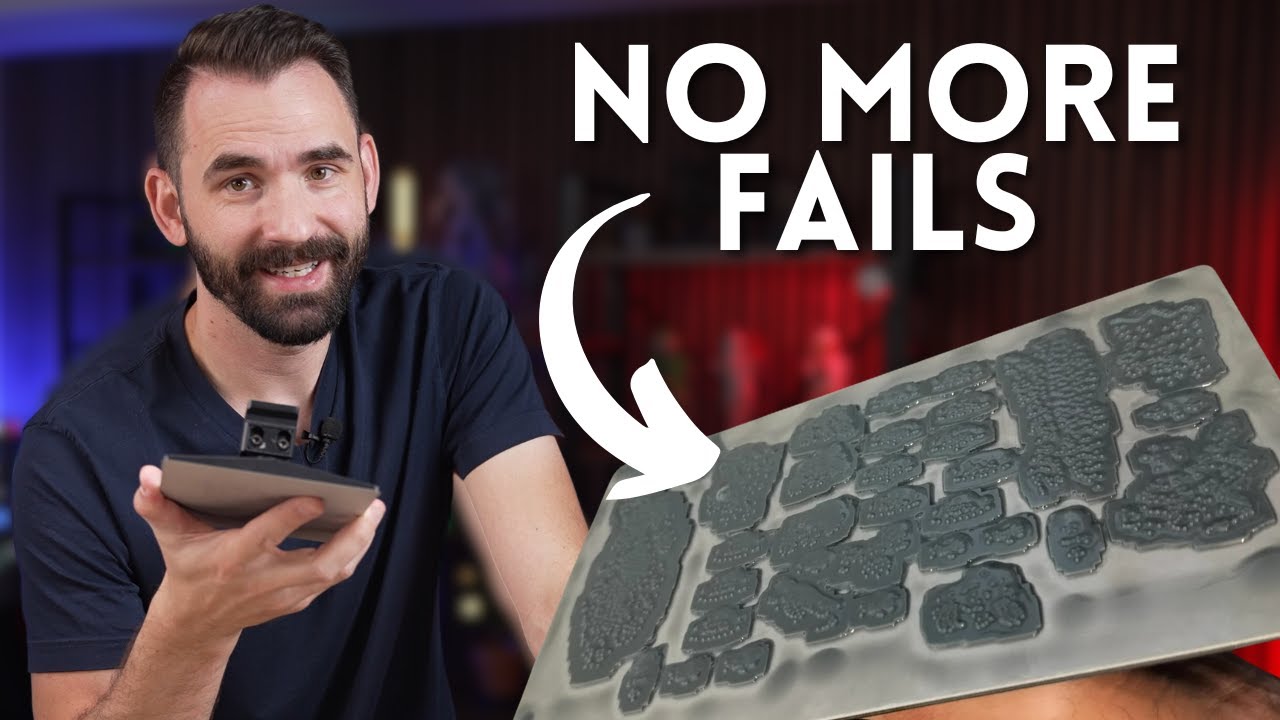
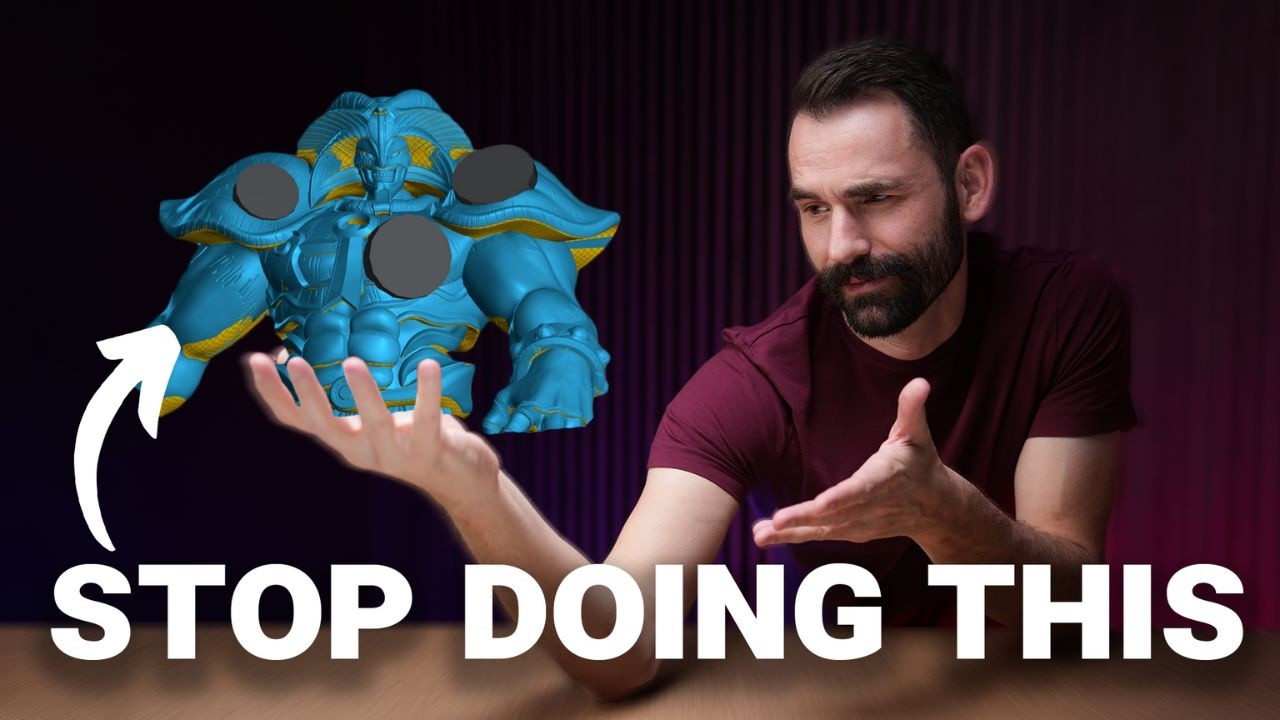
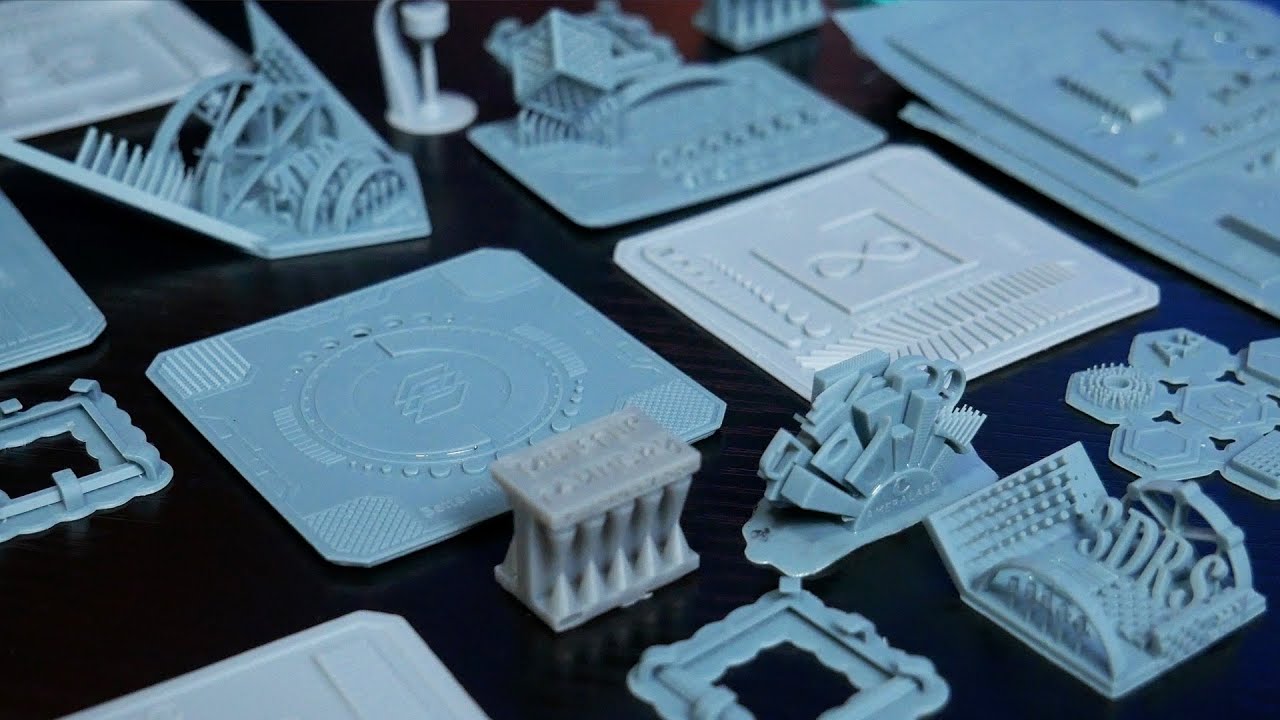
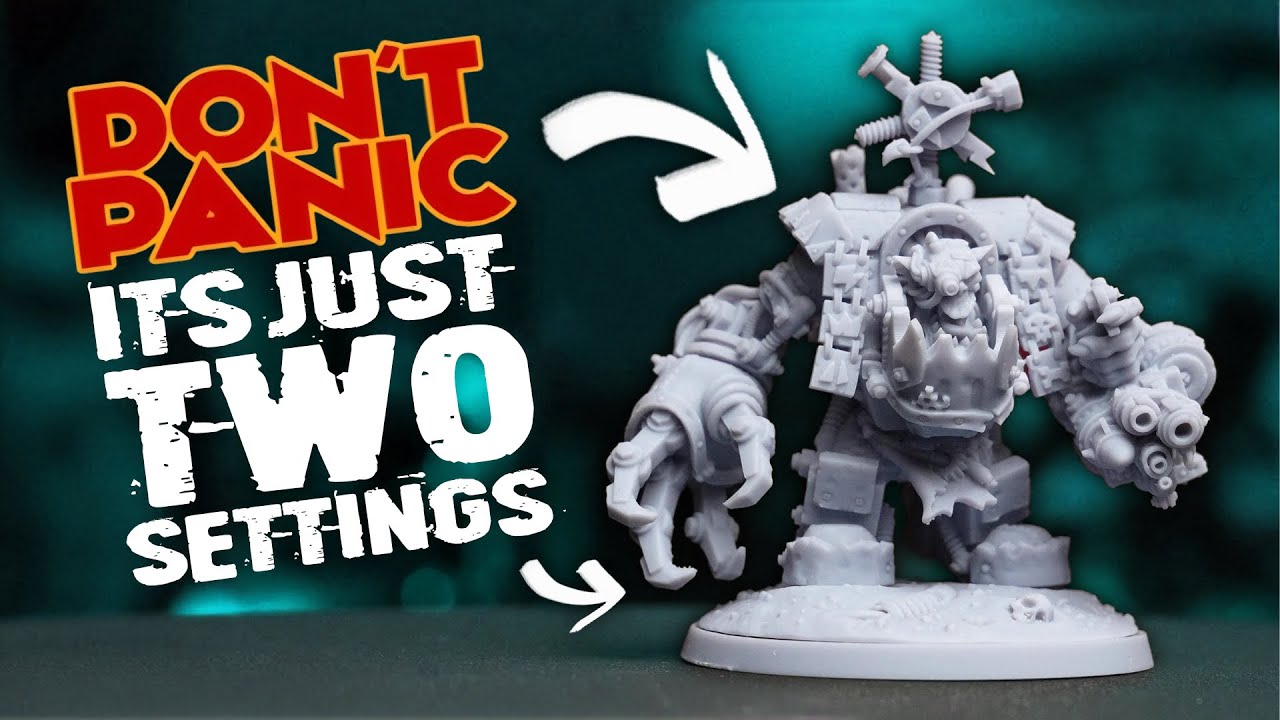
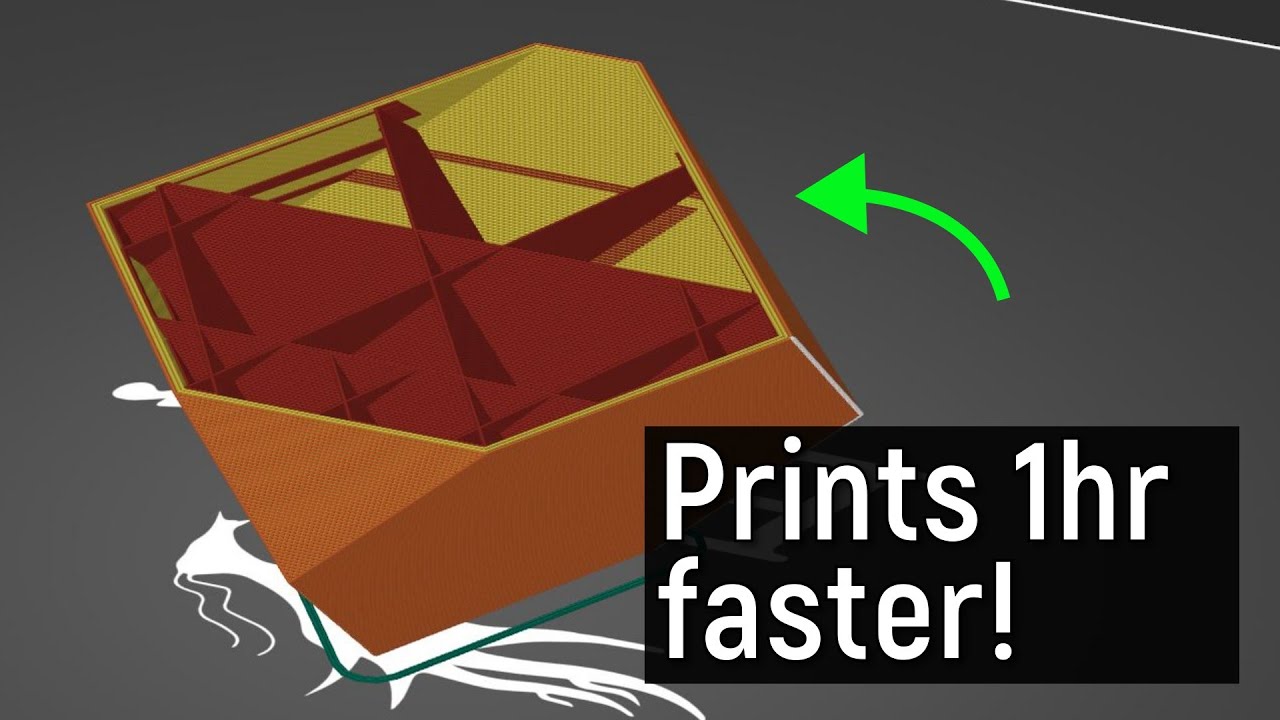
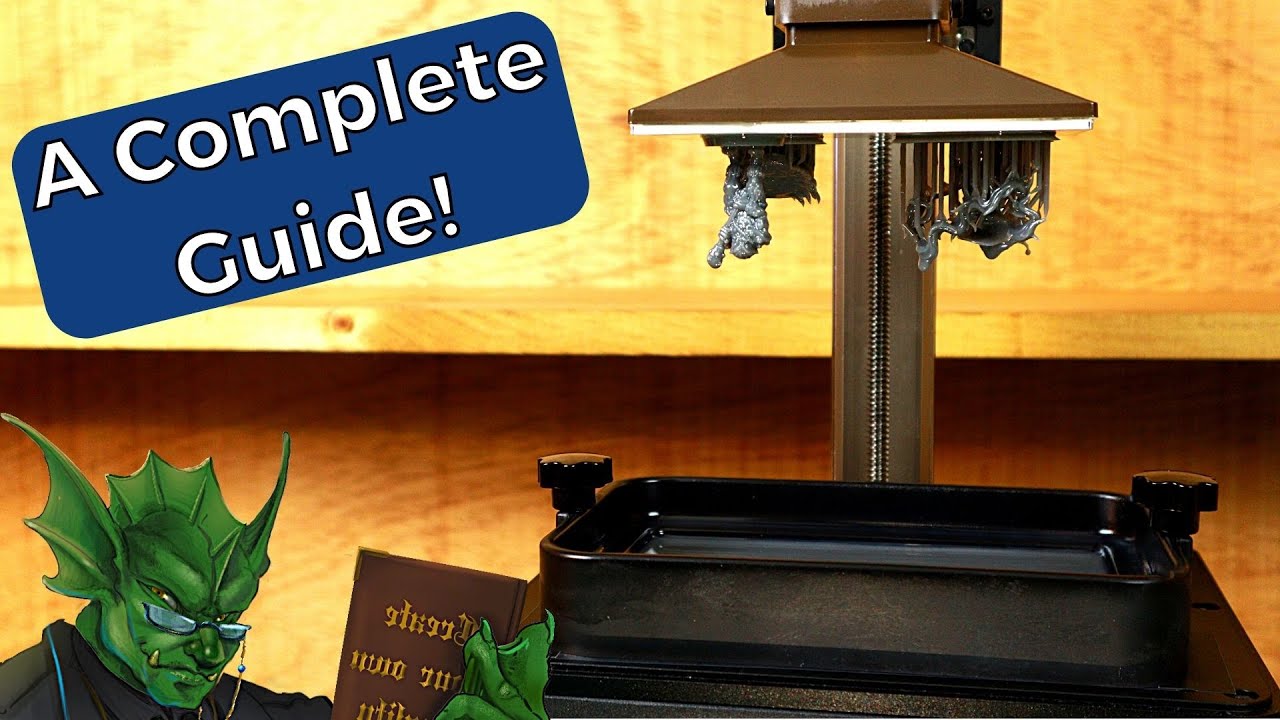
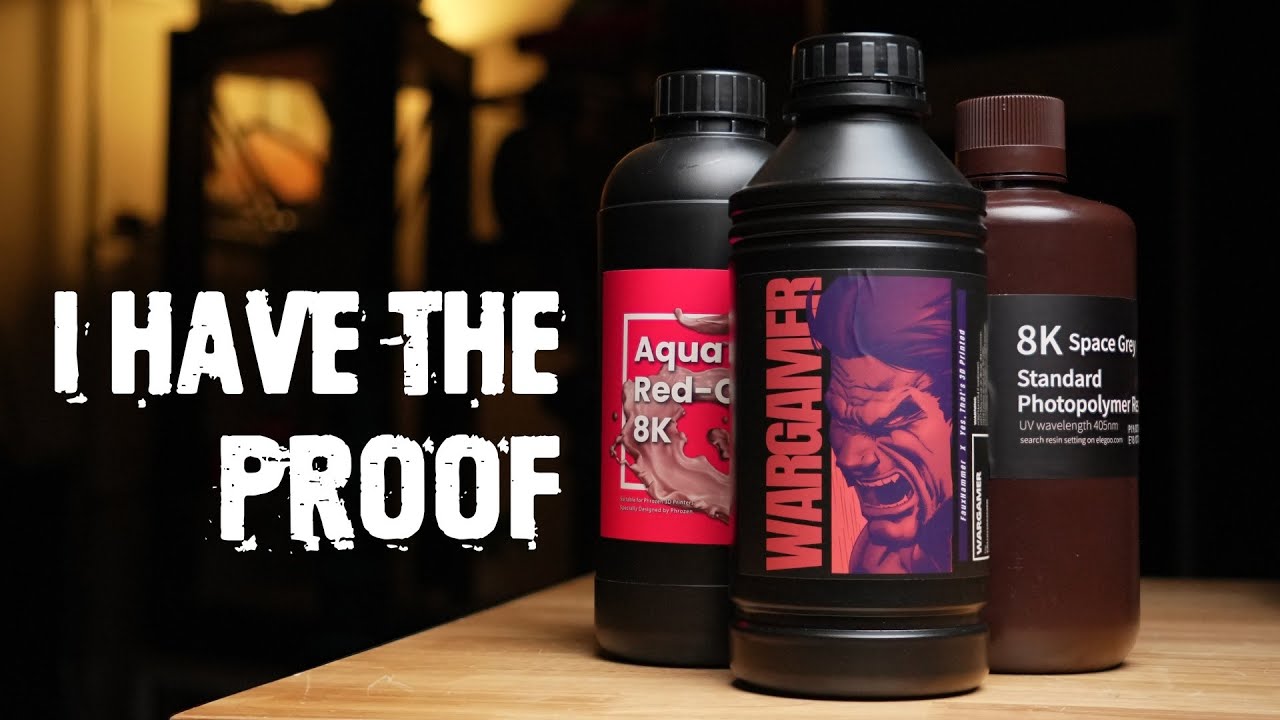
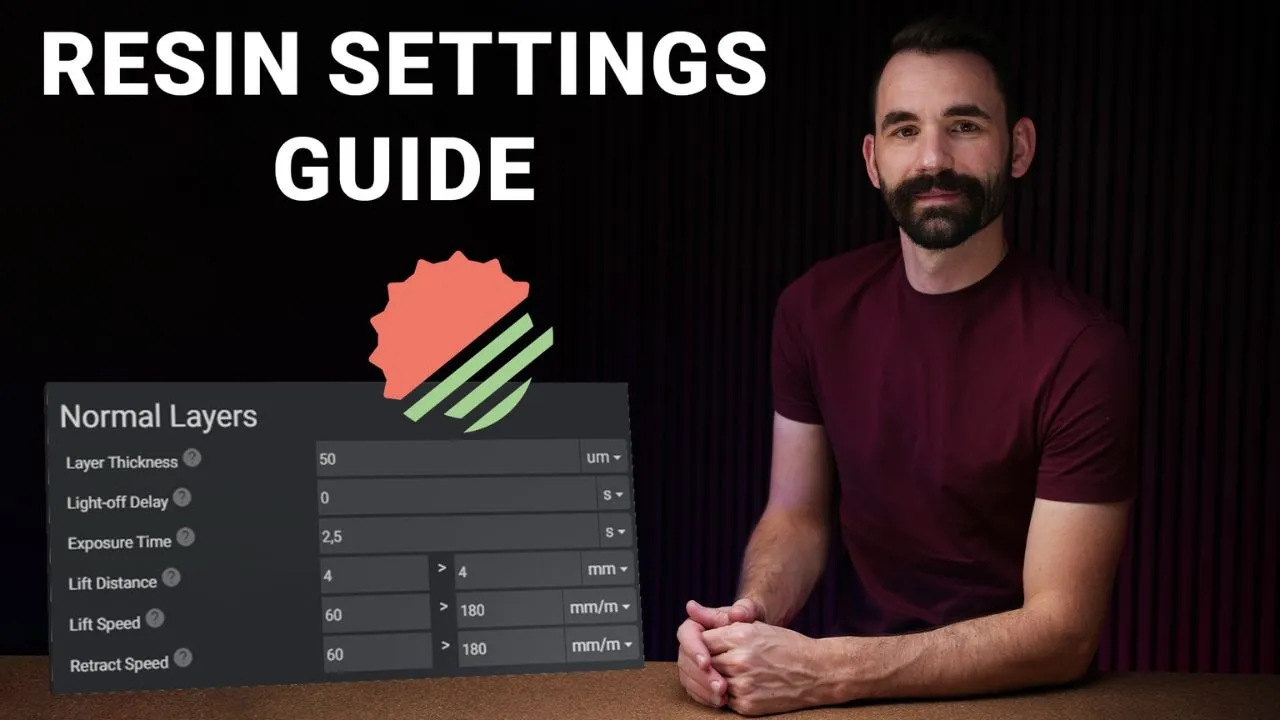
in this video I'm going to cover a topic that I get ask more than any other topic when it comes to resin 3D printing and that is what do the resin profile settings do how do they affect my print what does tsmc mean and know it's not a chip manufacturer and whether or not you've been 3D printing for 2 years or you just barely got your first 3D printer I think you're going to learn something in this one so first off why do I have all of these resins here on my desk and yes it took a long time to put them all here each one of these is unique and I wanted to show off the fact that each one of these I've calibrated and printed on several printers the point of that is just to kind of uh give you an idea of where I come from on experience I'm still learning there's a lot of information a lot of room to growth so please don't take this video as like the gospel truth there's lots of room for discussion and lots of more education that I need to learn uh from the community and I think we can learn together and so with that kind of established let's dig into the meat of this video and before I show the settings and start explaining them there's a couple more things that we need to talk about one there are two basic types of 3D printers out there there's any cubic that basically makes their own motherboards and they have different settings and then there's printers that use chichu systems motherboard that's going to be like your Frozen your eligo um uniformation Apex and quite a few others use chichu system motherboards the settings are almost the same but there's some that are different and so with that we want to make sure that you can identify which printer you have and so you know which settings apply to you specifically I also think it's important to point out a pattern that I've noticed after calibrating this much resin times three I've noticed a pattern and the pattern is is that most of the resins especially your like fast abs like they use 90 95% of the exact same settings across the board on almost all printers across the board there are a few resins that I've tokened as specialty resins these resins are like engineering grade like maybe this form laabs uh basically Prime to print rubber like this EML 400 from Frozen or this incredibly High accurate resin the M70 or this really crazy stuff uh from loc type these are specialty resins there's a couple of them in here but most of you will probably never come across these specialty resins they're very unique in the way they work and generally you're after some pretty crazy properties to use those ones for these ones use what the manufacturer has on the website but for everything else this video is going to cover these completely so with that let's get going all right how do I do this uh let's just try to move these over all right just a big old resin hug now if you're new to LY slicer when you first opened it you're going to have to add in a printer so for that just click on 3D printer in the top left click on ADD right here in the green I've got a lot in here already just pretend that I don't and you're going to click on resin this is a video about resin 3D printing I'm going to add in a printer I don't have uh yet let's see about um Apex maker X1 all right now from here when you first add in a printer it's going to add in a default resin this is is because the way Lighty works you can't have uh a 3D printer without resin it's they're tied together but you really don't want to use this one you can come in here and you can edit it but we don't want to do that what we want to do is we want to add in a new resin so you're going to click on here add new resin this is going to open up the L Community profile resin this video isn't about that one so we're going to skip over this and I'm just going to click on add new resin now from here I can pick the brand let's do the RPG resin and uh gray now the RPG is coming in a two in a few new colors with haven't added them yet but you can always click on ADD if you say you know they're coming out with like a red and you can do what you want here and then you can make something like a little note for yourself for your resins sometimes I've seen people use this to say like what how long they exposure it for me I just do boxes because I calibrate everything to boxes um but you can put whatever you want there it's just a little comment to help you memorize it so now that we're here we're looking at this one this is what a resin Prof file looks like for a printer with a chichu systems motherboard I talked about that in a little bit and real quick I want to show you what it looks like one for a any cubic motherboard but first let's point out what you're going to see that's different on this one I've got these two tabs right here under Global perimeters I can set this tsmc and I'll explain that a little bit on or off and you'll see that some settings go away or I can set light on delay on or off um again I'm going to explain this in a little bit but these are you're only going to see these Triggers on a 3D printer that uses a chichu systems motherboard and I said that's most everything outside of any cubic but for now the way I recommend using this is with tsmc on and light off delay off now what you don't want to do is have them both on having these both on right here um it triggers a bug in chicher systems motherboard and some of the settings might not apply properly during the print so you can either have them both off or you can have one of them on but not both of them on so for this one we're just going to do on off and hit okay now I want to show you what an any cubic uh motherboard looks like let's take a look at the M3 premium one of my all-time favorites you see I've got lots of resins I've used for this particular one uh if I just open this one up you'll see it's a little different I don't have that Global parameters on off of the top I have light off delay as my only option and I'm missing some settings here as well one of the settings I'm missing is retract distance I have retract speeds but I don't have retract distance so let's start with the N cubic we'll kind of explain what this means and we'll move on to the chichu systems cuz it's a little bit more complex so starting at the top left let's talk about Burnin layers so Burnin layers these are the first layers that are going to be 3D printed the ones that are closest to the uh LCD and in here you set how many burning layers are going to be applied so which means all the settings on the left colum burnning layers those are only going to apply to the first four settings in this profile if I you know turn that number up it'll apply to more but in my experience you don't really need more than four the second thing is the exposure time for the burning layers now the burning layers need a lot lot more exposure time because that's where the print is going to hold on to the build plate not enough exposure time and the print may fail to hold on to the build plate what I see all over the Internet is a particular comment which I'm not a huge fan of and it is my print stuck to the release film or to the fap I don't like that because it puts the blame on the wrong side what I think you should say the print failed to hold on to the bill plate and that way it kind of gives that idea that we're looking in the right thing to fix that and this is where you're going to fix it in the burn in layers so the UV exposure time this4 is only going to apply to the very first four layers the next thing is transition layers now the transition layers is where we're going to slowly go from 24 seconds under the burning layers over to the in this particular instance 1. 1 seconds which is really low this is a a fast resin on a powerful printer uh it's going to slowly transition between 24 and 1. 1 seconds and it's G to do that over three layers this just kind of helps with um well resin doesn't like to cure to resin that's fully cured so if I were to take a resin that's completely cured and pour resin on it and cure it it will hold but you can separate it it doesn't hold as well and because these burn layers are exposing for 24 seconds that's a lot of time if we were to go straight from 24 seconds to 1.
1 that Bond wouldn't be very good so putting a few transition layers can kind of help glue everything together and just get a better adhesion for those first layers next we have lift distance now on the burnning layers your lift distance needs to be higher than on the normal layers and this is because those uh the longer you expose resin the more it's going to stick to everything including the release film so we need to lift a little bit higher uh just in case it's a little bit too sticky and it doesn't like to release and so with that let's talk about tsmc because that's where this comes into play tsmc stands for two-stage motion control two-stage motion control what that mean is the motion is controlled in two stages a first stage and a second stage hence the the two the first stage here is not is notated by this four on the left and this little symbol right here the greater than sign could be read as and then so what this is going to do it's going to lift 4 millim and then it's going to lift an additional 4 millim a total of 8 millim which means for the first four layers this is going to go up by a total of 8 millim four and then four and then it's going to come down a total of 8 millim cuz what goes must come down a travel distance of total of 16 mm per a layer so you can see if I crank that number up really really high the more your printer has to lift up and down the longer the print's going to take so we don't want to get crazy with these numbers and what I've noticed is that four and four works for pretty much any resin on any 10in printer which is your average size printer most people aren't using 13 or 17inch printers but if you are using a 13 or 17in printer like the M7 Max or the gk3 ultra add an additional 2 millimeters so maybe you do four and six U I wouldn't do five and five I do four and six and I'll explain that why later in coming up and that gets us the next thing lift speed you'll see that there's actually two stages for Lift speed as well 40 and 100 now the left columns being the 4 40 and 100 are actually all tied together and the right columns the 4 160 they're all tied together as well so let me kind of read this out too like a maybe like a story problem for the first four layers this is going to to lift 4 mm at 40 mm a minute it is then going to lift an additional 4 mm at a 100 millimeters a minute so it's going to speed up then when it comes back down it's going to start coming back down at a 100 millim a minute and then as it gets closer to the bottom it's going to slow down for the last 4 millim at 60 mm a minute so it's two stages it's going to go slow it's going to go fast and then when it comes back down it's going to go fast and then it's going to go slow the reason for that being the closer we are to the release film or the ACF the slower we want to go the reason for that being is that well resin has weight and releasing from the film has peel force and pushing uh a print through a vat of resin has fluid dynamics so there's a lot going on here as far as you know gravity fluid dynamics peel force and section Force I'm not going to get too much into that in this video but all that's happening which is why we want to go a little bit slower the closer we are to the release film and that's the advantage of tsmc it allows you to go slow where it matters but fast where it doesn't well some might say why not just go 4 Mill up four 4 millim down at the slower speed why go the full eight well the reason for that being is that it's true that probably most of the layers were release at 4 mm uh under the slower speed however the chance of some of the layers being really sticky and not releasing fully is pretty high so the extra 4 mm is really Insurance just to make sure that everything releases from the film so we don't get a failed print and that's also why we go faster we want insurance but we don't want to pay a lot for it we like cheap insurance that covers us and that's what that is on the Burnin layers there's only four of them don't rush them they're incredibly important if those fail your entire print fails everything fails it's a big waste of time so that one I say never ever ever go faster than 100 mm a minute on the burning layers there's no advantage to speeding these up and there's only tons of advantages to slowing them down in fact what you might want to do is even make this really slow on the retract speed so as we get really really low we slow down a lot and really give time for that printer to come down and become more Square um these ones I run very very slow even if I'm running very very fast settings on the normal layers I'm still running my burden layers really slow just because while that's success or failure uh it's very important and so moving over to normal layers we have lay layer thickness now layer thickness is how um thick that's going to be sliced up if you know what 3D printing is you're taking a 3D object and you're slicing it like a bunch of papers and how thick each one of those papers is is the layers the layer thickness now 0. 03 mm is probably the lowest I would ever recommend going that's not because the printers can't go lower pretty much every 30 printer on the market can go to 0. 1 however the resins they can't uh this is where you get into PSI you try to squish a thick viscous resin down to 0.
1 millimeters it doesn't want to do it it can be done but uh I'll tell you about what you need to do if you want to print something that low which is why 03 is probably the lowest I would go 05 being the most used out there the difference between layer thickness uh I'd say 03 and 05 is if you're doing like minis you're really going to get in there and paint you might want to use 03 because there's going to be less uh stepping just a little higher quality and detail and that will be noticeable if you are someone who who really loves the very best quality and you really spend a lot of time painting more than you do printing the next thing is light off delay now light off delay is like s tier this is probably one of the most important settings here and this is why so you might this might be new to a lot of people even if you've been printing for a long time when the motor stops spinning uh and you know there's a motor that spins on the resin 3D printer that make moves the build plate up and down when the motor stops printing spinning the printer isn't done moving the printers are um well they're you know they're not $20,000 and so they're not necessarily the most rigid things out there they're going to bend and warp and move the LCD is going to push down to the frame the LCD is going to warp and the arm on the bill plate is going to bend a little bit so when that motor stops spinning that printer is going to come to square as it squishes that resin and the thinner the layer thickness so let's say 01 the harder it's going to be for that printer to come down to square and then the next thing is is the resin must stop flowing so until the printer stops moving the resin will be flowing a little bit and if you cure resin that's flowing your accuracy is going to go to trash now 2 seconds is about the sweet spot for most resins on a 10-in printer it's where there's like a bell curve where it starts you know that the printer really comes to square really really fast and then it starts to kind of slow down towards the end and so the waiting more than 2 seconds for most resins is is diminishing return because it really increases the print time if you're using a very very thick resin you might need to go up to three or if you're using a really big printer or a printer that has more bendy than others you might want to use three as well or something like the Saturn 4 ultra where the entire vat moves the resin's moving around so much in that that it takes a while for it to settle down on that particular printer you're going to want to use about 3 seconds as well the next thing is the exposure time now the exposure time is very much related to the layer thickness the thinner the layer the less exposure time you need per layer because the UV light doesn't need to penetrate and cure as much resin this is something that you're going to have to calibrate for this is one of those settings that you could copy from somebody but because your printer might not be exactly the same the temperature in your room might be slightly different your exposure time might be one or two um 0. 1 or2 seconds off from theirs if you have the same printer same resin even the same temperature so that's where you have to calibrate for Lift distance this is the same as the burned layers except for this is applying only to the normal layers it's the same thing on this one we're going 3 mm and then additional 3 mm a total of six the reason why we're not lifting as high on the normal layers is because they're not being exposed for as long remember I told you the longer you expose resin the more it's going to stick to stuff including the release film this is exposing for such a small amount of time 1. 1 seconds um which I'll say is very low um most resins most of these resins here at uh 0.
03 mm or 30 if I switch this to um 30um is going to be about 1. 8 on almost all resins I found that to be very very across the board 1. 8 and we don't need as much lift so that 3 plus three a total of six is more than adequate now if you want to risk it and maybe you know move these down a little bit like two and two a total of four you're welcome to try but if you start seing failures come back here and add three three the advantage of not lifting as high is just gaining some print speed but I've not found uh pretty much any resin on any printer within that 10 in to need more than than 3 and three or total of 6 mm second thing is lift speed 45 mm per minute I've found to be like a very safe you're in the green zone right over here green zone is a place where pretty much any resin will print at 45 mm per minute beautifully but it doesn't mean you can't push it as you be get more experienced and as you have like really high success rate let's say you've printed you know 10 uh 10 bottles of resin you know you've had maybe like one failure across the whole time you're very comfortable with it you can start to push that if you want to gain a little more speed what I would do is go from 45 is safe 100 is starting to push it anything beyond 100 millim per minute on the first stage you're getting into the Red Zone but I would say 100 you're probably in the yellow zone and anything under 60 you're in the green zone and that's for the first stage for the second stage that's kind of what I talked about earlier where most layers will be released from the film for the first 3 millimet this second 3mm is mostly insurance and the layers that tend to stick are really thick layers with really big cross-sections what that means is we can go fast because the odds of damaging these layers are relatively low unless you have suction cups but I won't get into that this video I've got another video on hallowe in suction cups uh on the L channel so go ahead and check that out and while you're at it make sure to like And subscribe this video so on this one because most of the smaller layers have all already released we can actually go fast on this one I would say this is the one setting that there is no speed limit to most 3D printers have a maximum speed limit of about 40 450 mm per minute some of them go up to like 600 I haven't found any that go up Beyond 600 but I don't have them all and I haven't been able to test them all it takes some time to figure that out but over here you can go pretty fast for me uh I still like to keep it you know around 250 to 300 uh more testing honestly on my part is would be needed to like just test all these at different speeds uh it's a lot of time and effort so I haven't quite done that one yet like I said there's there's a lot I have yet to learn but I found this right here is is safe we're in the safe Zone I would say if you're going up to um 450 you're probably um I me you might be in the yellow zone honestly I don't know if there is a red zone for this particular setting now coming back down on the retract speed this 180 you'll notice that's a little slower than the other one the reason for this being is retraction is a little bit different you have to Envision that you've got this plate with your print on it and your print you don't know where it's it's always going to print really thin layers that are going to be suspended by all these supports and so if you're pushing that print down into the resin all the way down to that release film uh you know a hard surface that's going to have pressure and resist that movement if you're doing it really fast the odds of things tearing shifting moving warping actually go up quite a bit so I would say on the retract speed there is a speed limit and I find that speed limit the green zone to be about under 200 the yellow zone to be probably around uh 200 to 250 and the Red Zone to be anything above 250 the Red Zone being uh do it at your own risk test it out see if it works for you on the retract speed uh for the second stage this is as your print comes closer and closer to that release film again we're going to slow down quite a bit more but not as much as we do on the burnning layers reason for this is that I've played with this going really really slow and uh anything lower than 60 I haven't seen an increase of failure at all but above 60 I start to see more warping and more issues so I found that pretty much again for all these resins on almost all 3D printers that 60 is in the kind of the the green zone but I've noticed about once you get to like 80 or 100 start getting in the yellow and anything above 100 you start getting into the red again more testing is needed on more resins to confirm whether that's always true but in my experience that's what I found to be relatively true now for the other settings here we don't really need to talk about these ones but while I'm here let's talk about this one print time override now these settings right here these lift distance lift speeds the printers they don't exactly always do these exact movements they do close to these movements the motor doesn't always spin exactly the the build plate doesn't always move exactly and there's ramp up speeds and ramp down speeds and so the print time override is to help you figure out why do my print time estimates not match reality well it's because the printer doesn't match reality no printer actually moves at the proper speed that the that the profile says it it's physically actually impossible and so what you do here is you time your burning layers uh so you'll sit there with a stopwatch and you'll time the first four layers you'll average it out you'll put in how well how many seconds it took per layer and when it comes to the normal layer so maybe you wait till like layer 10 on this one to get past the Burnin and the transition you'll probably count uh you know time how long it takes for the printer to do a full layer that's you know up down cure um you'll time it you'll average it out maybe four or five and you put that value there if you do that as long as you don't change your settings up here your uh print time estimates will actually be accurate instead of really really far off which they're going to be if you don't use this setting at all again that's because lii can't we can't actually tell you what the printer is doing especially on something like a chichu box motherboard they've got some special things built in as well that actually change some of the settings from the slicer and there's no way to override it it's built into the motherboard a lot of those settings are nice they're helpful uh they're kind of under the hood things that they do and it's different for every printer so yeah print time override just helps you simply understand uh how to get your 3D printing estimates exactly now let's move over to a printer with chichu systems motherboard there's one important thing to note and that is not all of them have this uh Global parameters toggle for example the revo which is using a newer version of the teacher systems motherboard doesn't have that uh which pretty much means the settings that I say to use are baked in it always uses those settings uh which are the best settings anyway so there you go and so the really the big difference here is you what we don't have is a setting called light off delay you'll see it's missing here that was that 2 seconds instead we have weight before print and we've got one here in the burning layers and one here in the normal layers now this is a little bit deceiving because the way that the chichu systems motherboards work is they always read the weight before print from the normal layers this right here uh this only works under certain circumstances and I'll tell you when it works and when it doesn't but for most of the time this 20 seconds it won't be applied it will always read the 2.
2 from the normal layers but weight before print is the exact same thing as light off delay that we found on the ubic system they're the same weight after print what this does is it's going to go down expose the layer and then it's going to wait until it lifts personally I found that it waiting to lift actually increases the forces and doesn't decrease them and so putting time in there can negatively impact uh your print I've seen a few people say that actually waiting a little bit of time allows the resin to fully form before you lift I personally haven't tested that or seen it and so I don't know uh if that's true and it could be true I haven't tested for it I don't really know how to but it could be say you like putting 0.