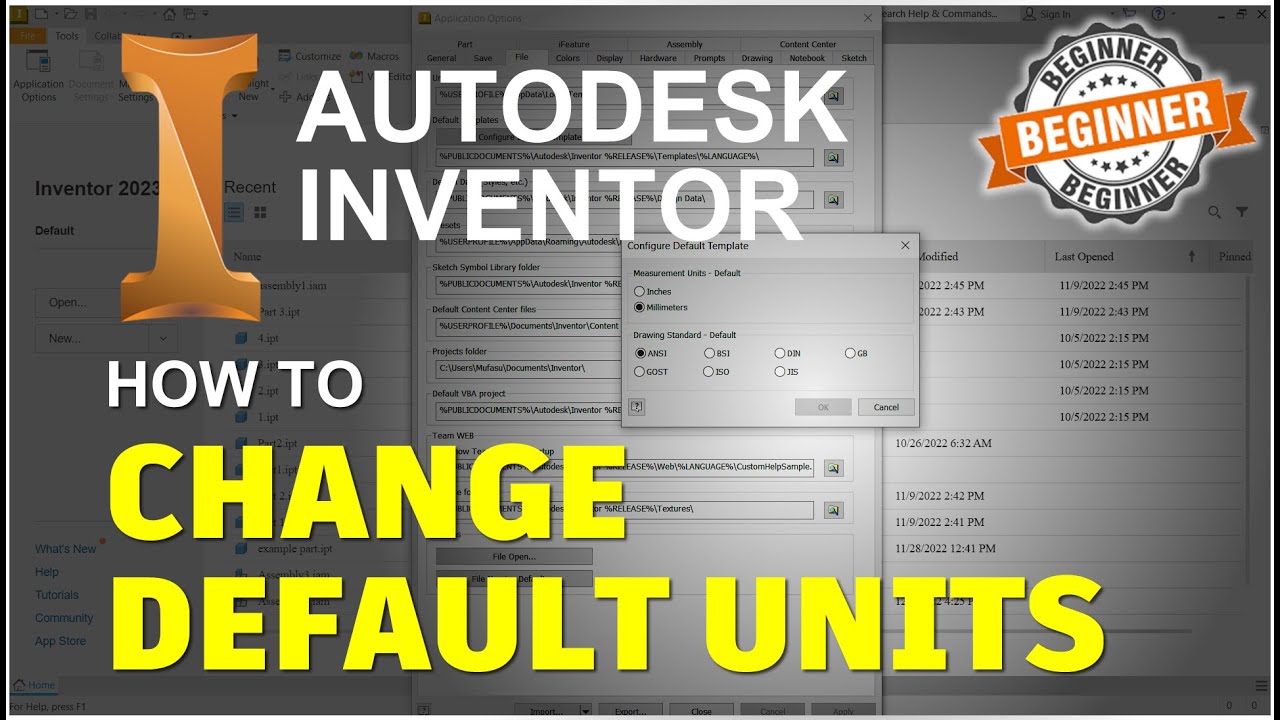
now you're ready to create a new project and before you create your first project you need to specify the home folder for all your projects to do this close the new file dialog box and then click the tools tab and open the application options now click the file tab in the projects folder window you can see the default folder for your projects this is the root folder for all your projects and as you'll see later a project file is simply a file that keeps track of the folders in the project this folder will contain all
the subfolders you'll use to store your parts and assemblies one thing you might want to do is store inventor files on a different hard drive on your computer on a server or on another computer if you don't want to store your files on the same hard drive your operating system is located on you might want to change the default now I store my inventor files in a folder called projects all the files created in this course and our other inventor courses will be stored in this folder if you want to create a new location for
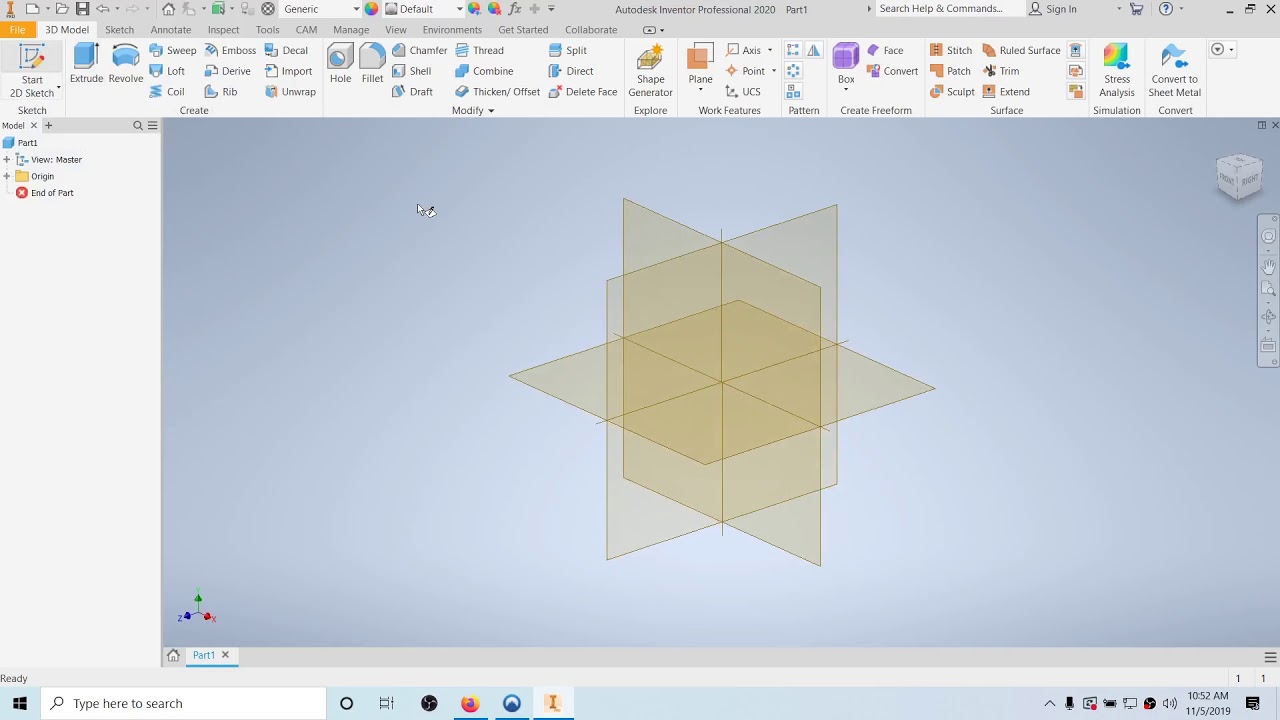
your projects this is the time to do it otherwise leave the project folder set to the default when you're finished click OK to apply your changes and close the dialog box now it's time to create your first project the first step is to close all the files the inventor window should look like this when all the files are closed if you have open files click the inventor icon and then select close to close all the open files now open the projects dialog box click the getting started tab and then click either the open or new
commands now click the projects button to create a new project click the new button at the bottom of the dialog box there are two types of projects you can create the Autodesk vault add-in has to be installed in order to use this option in this course does not cover Autodesk vault throughout the course we'll use a single user option so select it and then click the next button the first step is to name the project the top window is where you enter the name of the project file and the first project you're going to create
is called tests so enter tests in the window the second window shows the location of the project file if you modified the home folder for your project files the path you gave it should appear in this window followed by the name of the project this is the location where the project file will be stored and it's where the files you create will be stored the bottom window shows the full path in the name of the project file notice that the project file has an extension ipj so what is the project file as you'll see in
just a minute a project file keeps track of the files used in the project for the test project all the files created in the project will be stored in the test project folder if this project needs to access files from other projects the project file controls the accessibility of the files click the next button and you'll get a sense of what I mean this window is where you can add libraries to the project libraries can be standard parts like nuts bolts and screws or they can be custom parts you make yourself there are no libraries
in either of the windows so we can't add one now but if we added one the project file would keep track of it click the finish button to create the project inventor is determine that the path for the project file does not exists and ask if you want to create it click OK now the test project is highlighted and to the right is the location of the project file in the lower window the first line shows the type of project it is it's a single user project which means that all the files you create will
be stored in a single location the second line shows the location of the project any file you create will be stored in the test subfolder of the projects folder for this example included file equals is blank because this line is used to include another project file if you include another project file the files from that project can be accessed from this project we'll cover the other items later in the course but for now I'd like to show you the options for keeping backup copies of your work old versions to keep is set to 1 by
default meaning that one copy of the previously saved version is stored on your computer if you were to set this value to 2 the previously saved version and the version before that would be saved if you have a reliable computer and network system you may want to leave this setting set to 1 if you find that you're losing work for one reason or another you may want to increase the number of backup copies you save one thing to consider is the size of three-dimensional files can be large and if you keep several copies of older
versions it can quickly use up your hard drive now let's talk about how a project works when you open an assembly file or a presentation file inventor finds and opens the part files to create the assembly or presentation it looks in the file location specified in the project file the project you created will only look in the test subfolder since it's the only active path listed before you start the next lesson delete the test project and then create another project called accelerated productivity activate the default project by double clicking it and then right-click on the
test project and select delete now create the accelerated productivity project click the new button use the single user option enter accelerated productivity in the name window and confirm that the path is correct the accelerated productivity folder should be in your default project folder and as you can see the accelerated productivity project file will be stored in the project folder when you're ready click the finish button









![Old Hindi Songs 😌Unplugged 🥰[Unplugged Covers] Song || core music || Old Hindi mashup 💞|| Relax/Chil](https://img.youtube.com/vi/8YB-zGeNfD4/maxresdefault.jpg)